
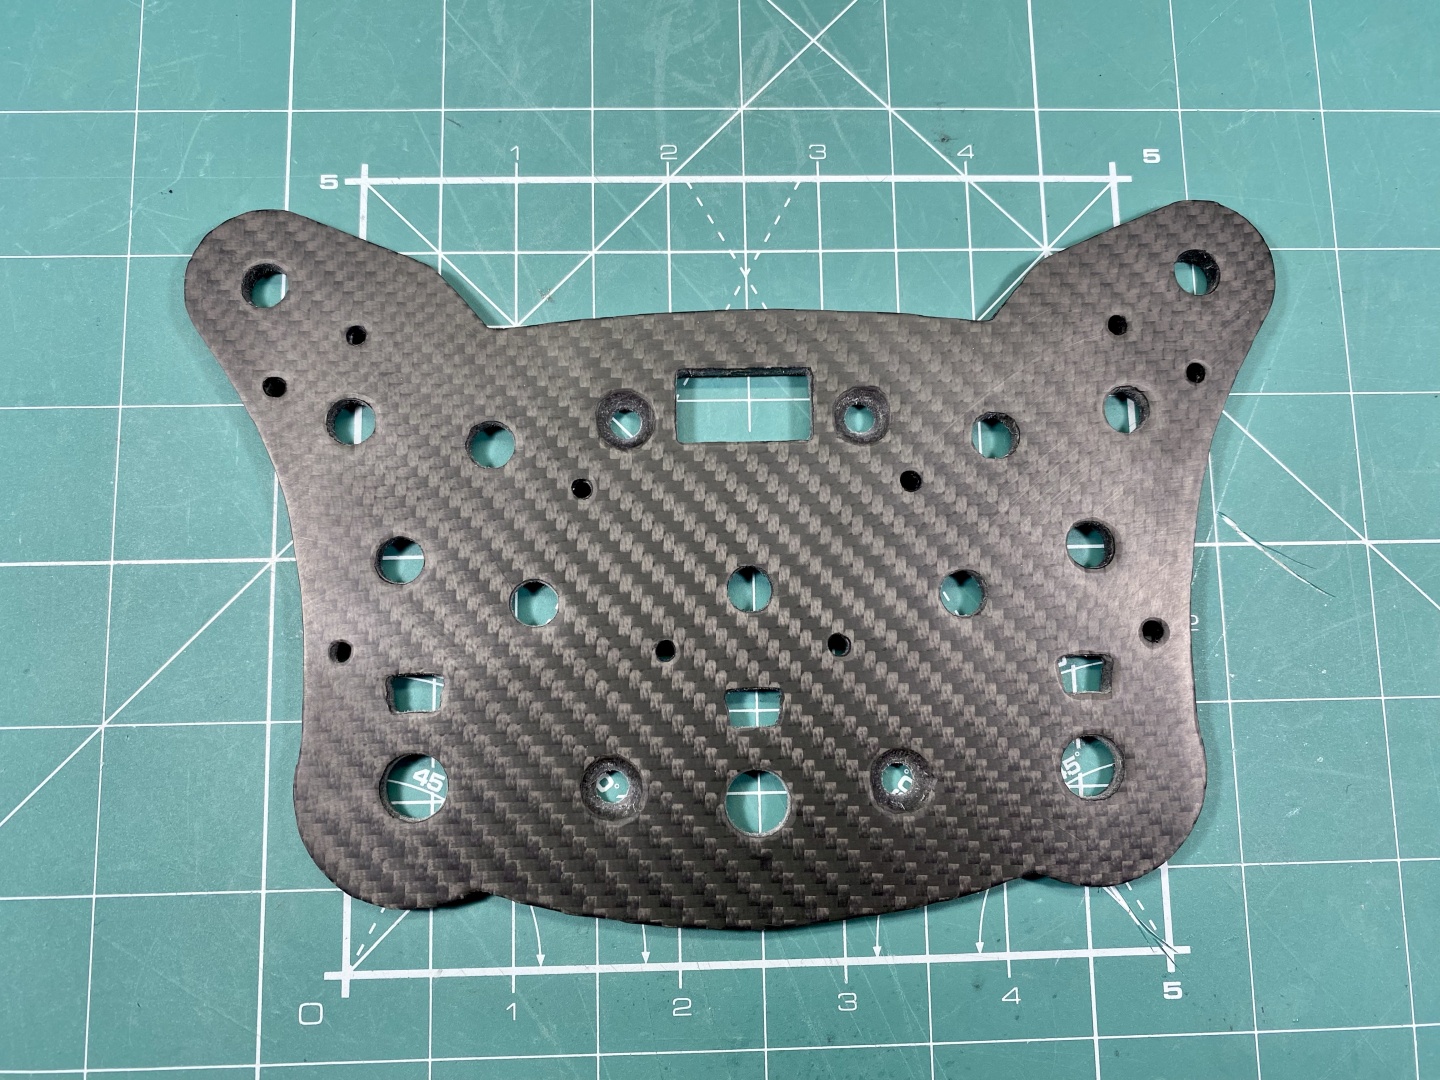
Tools and Materials
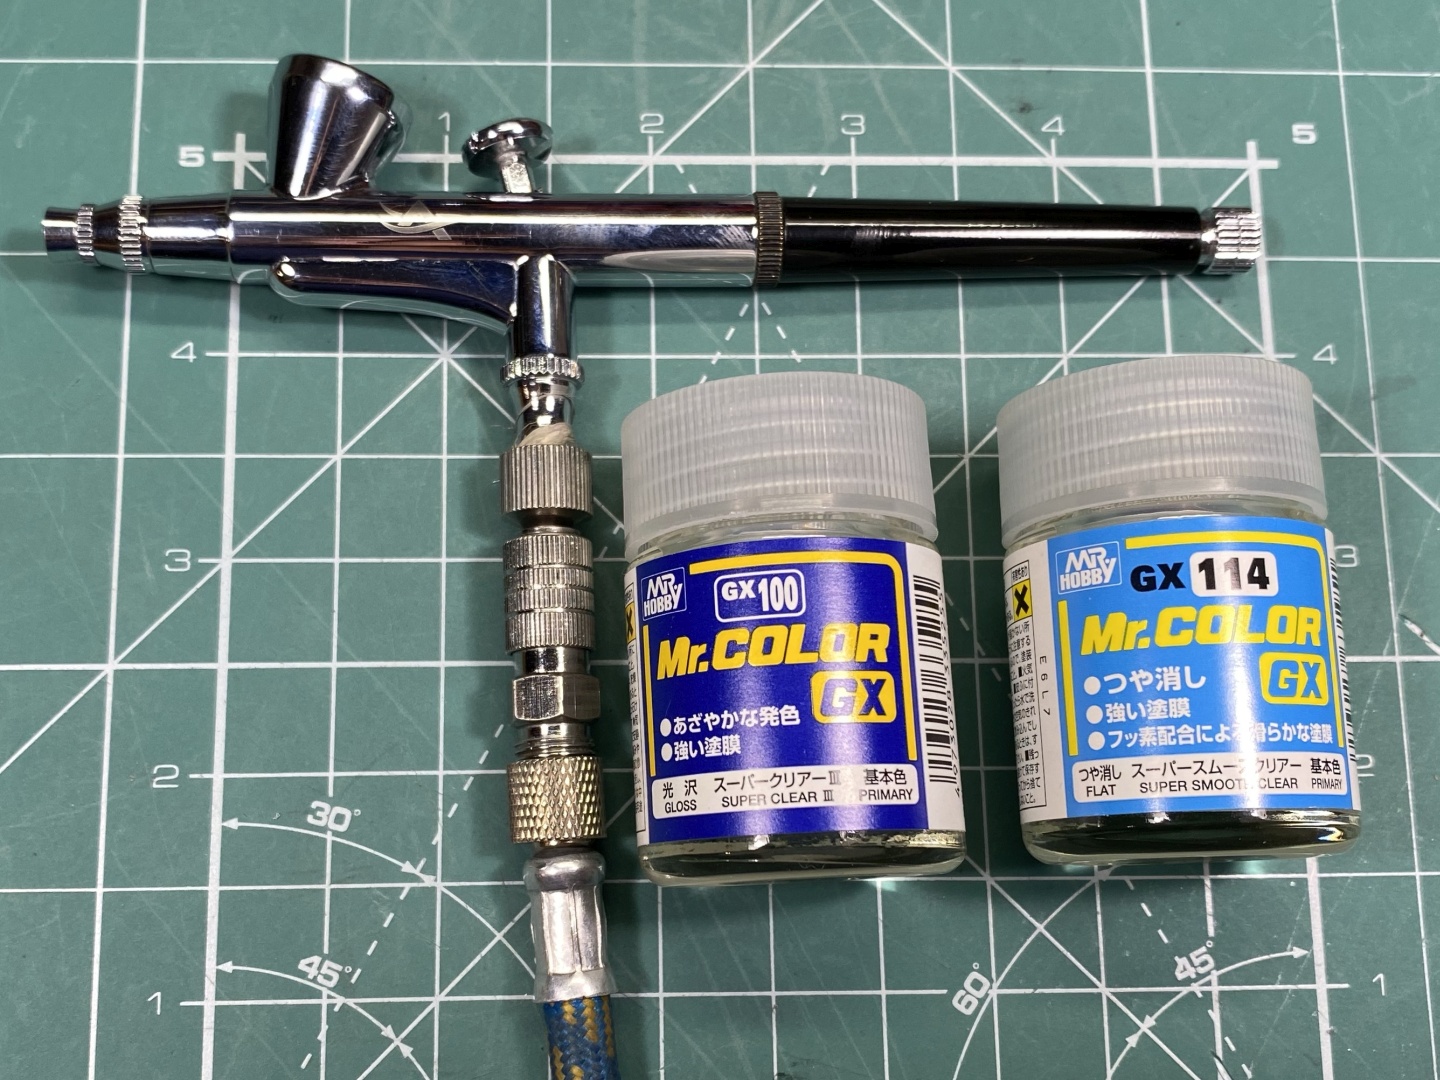
At this stage you can use automotive clear coat and polish compounds but I prefer using scale model materials as they provide better finish for smaller objects. For clear coat I use Mr. Hobby's Mr Color GX Super Clear Flat top coat lacquer (GX 114) which provides very smooth and flat finish. Using such top coat preserves the underlying look and you get either glossy or matte finish depending on when you stopped sanding at previous stages. It is very easy to use, dries fast and is quite durable. If you prefer full gloss look you can go for Mr Color Super Clear III (GX-100) - this is what I use for the bodies or my car scale models. It produces very tough and extremely clear finish, which polished looks amazing, it is regarded for a reason as the poor man's 2 component top coat. Keep in mind it is extremely glossy and needs definitely polishing for more real look. As I prefer matte and semi-gloss finish I Stick with the Flat lacquer, but below you will see you can achieve quite glossy effect as well. Mix and match of resin finish and clear coat will provide different results to your liking. If you do not own airbrush - do not worry - these paints come also in spray cans.
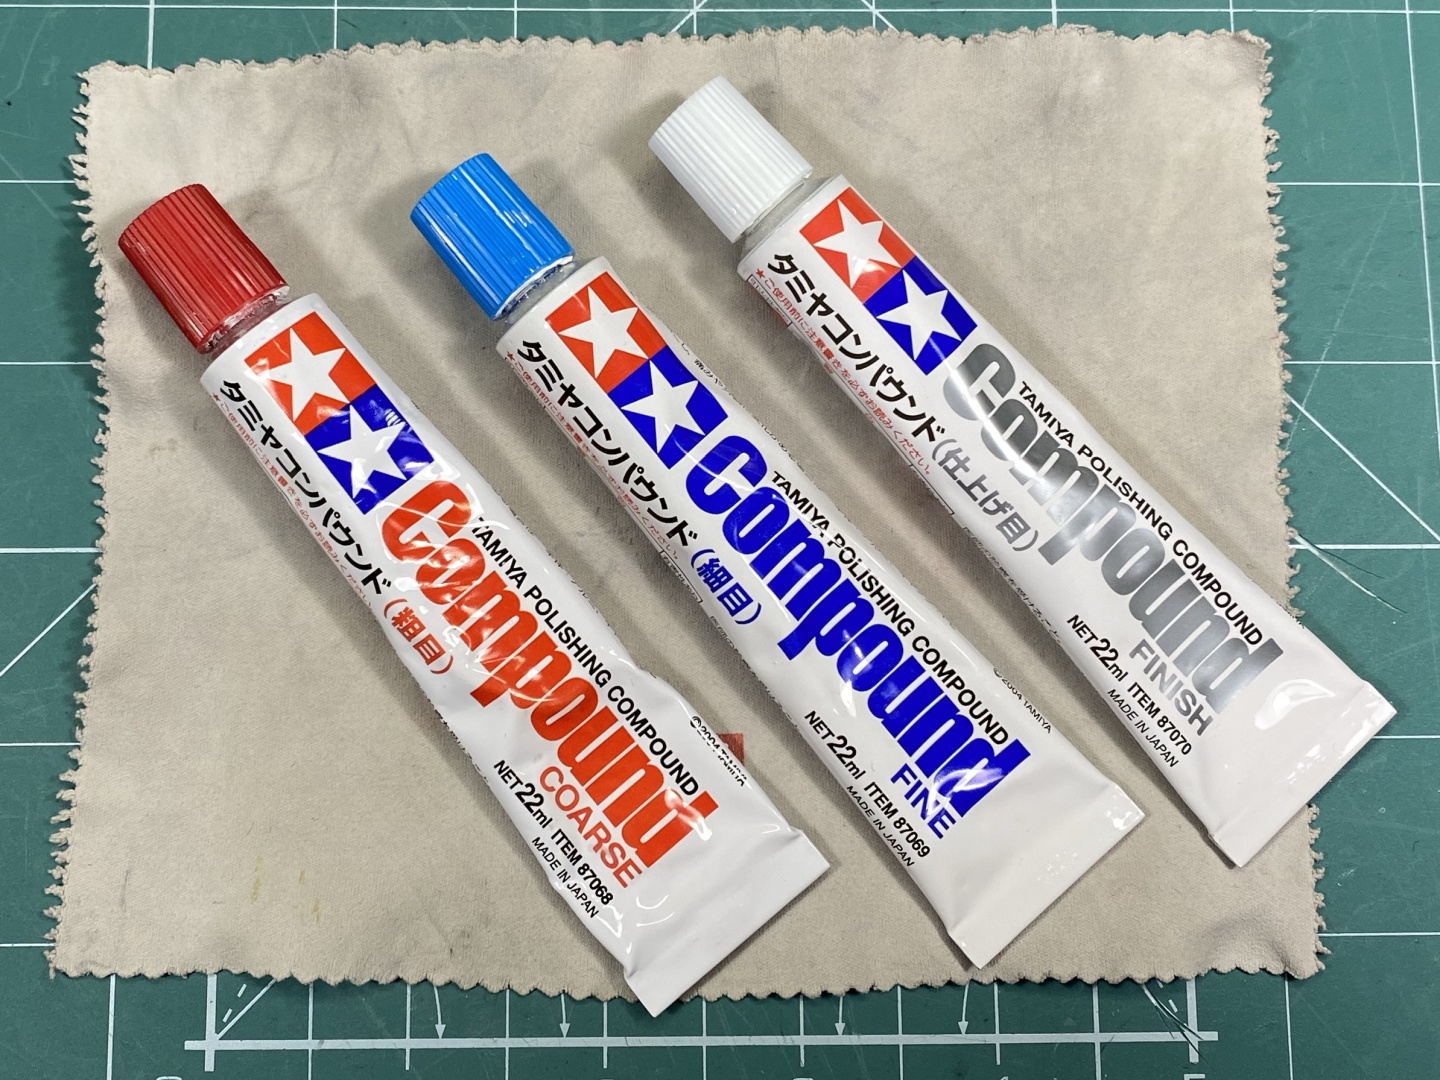
Next you will need some polish compounds. You can still use automotive ones, but I get much better effect with hobby grade. For this project I am using my Tamiya polishes as they are cheaper and rarely use them on models. The have finer particles than automotive grade and provide much better result for small details such as what we are doing today. I generally go up to Coarse polish, Fine produces quite glossy result and if I remember corrctly I used Finishing only once to compare.
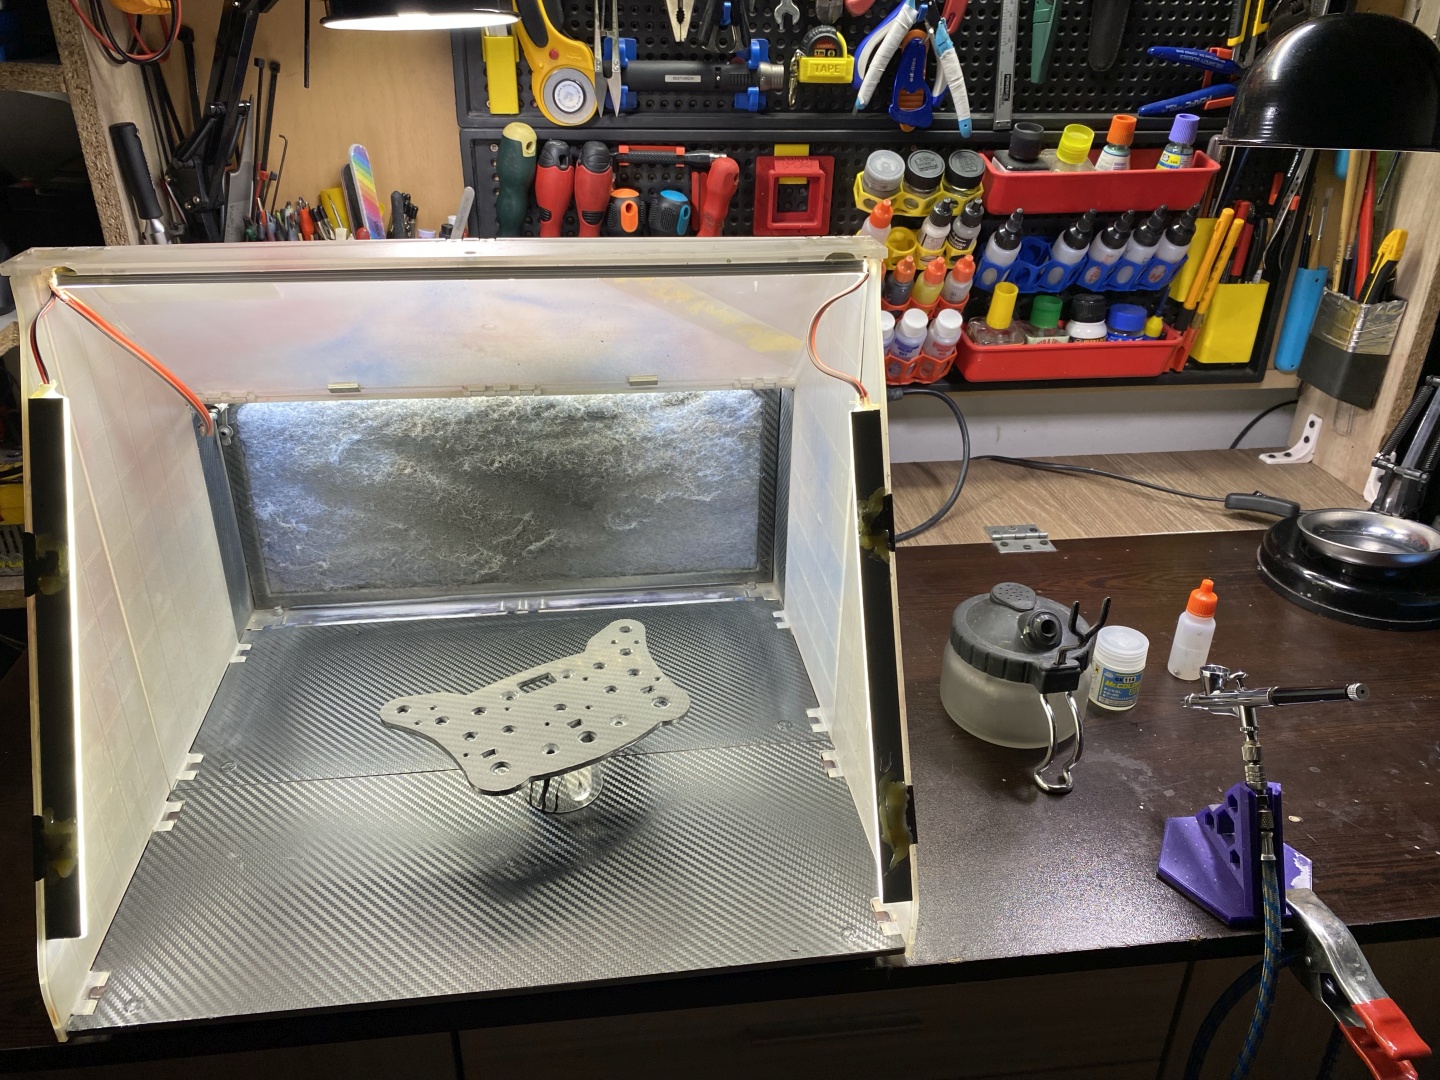
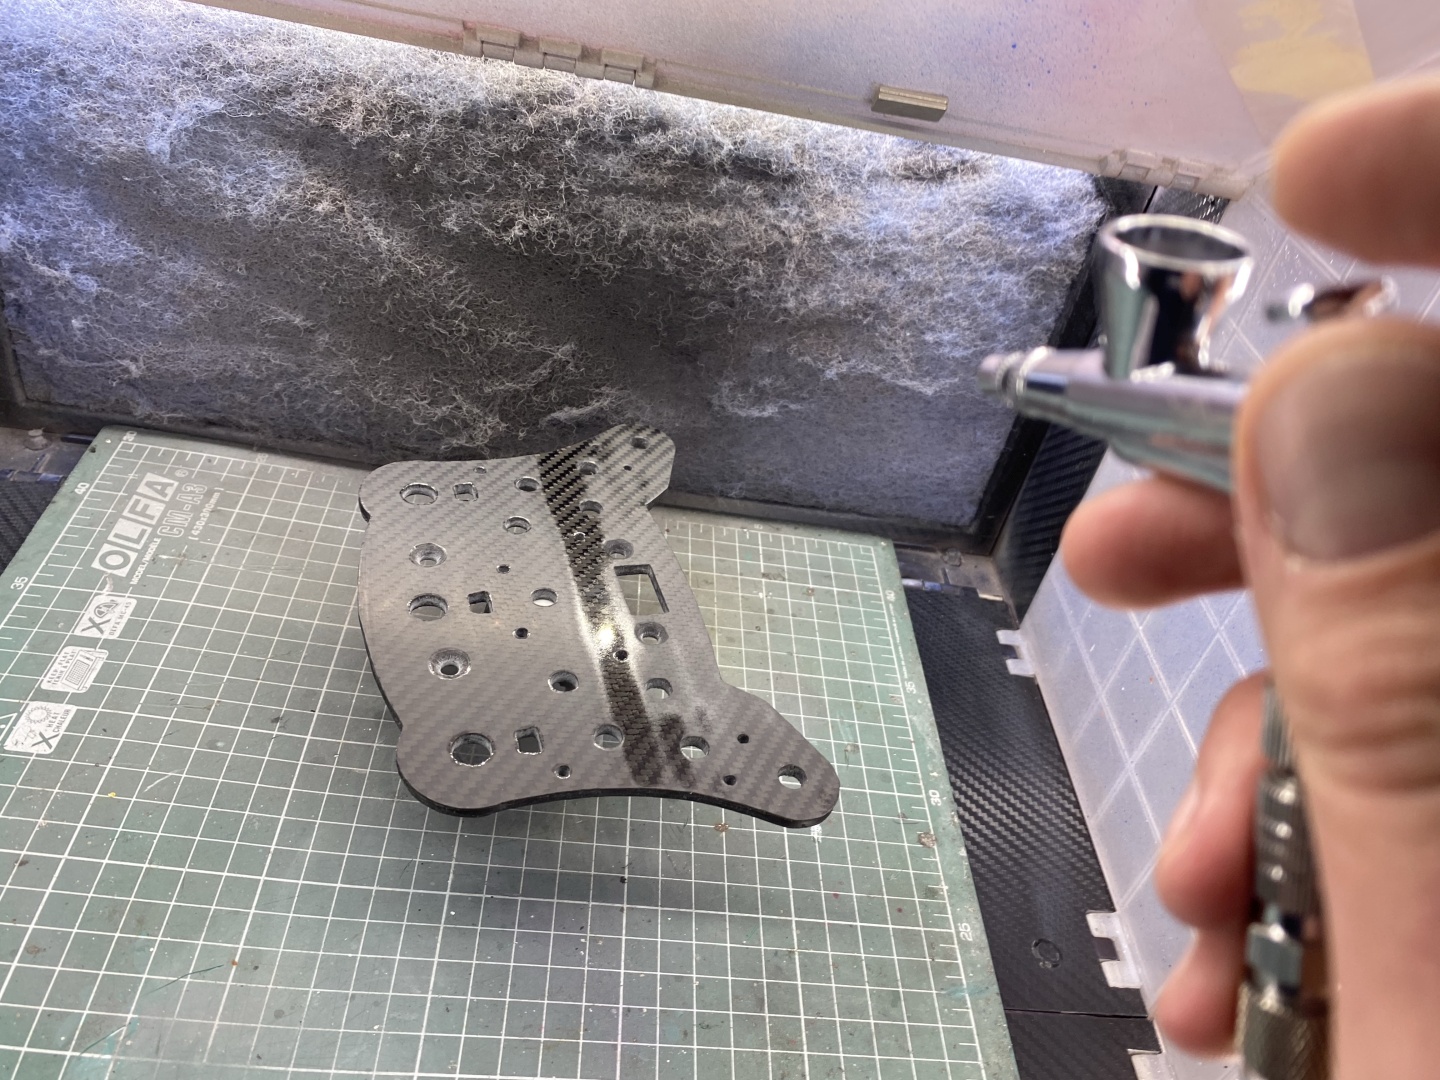
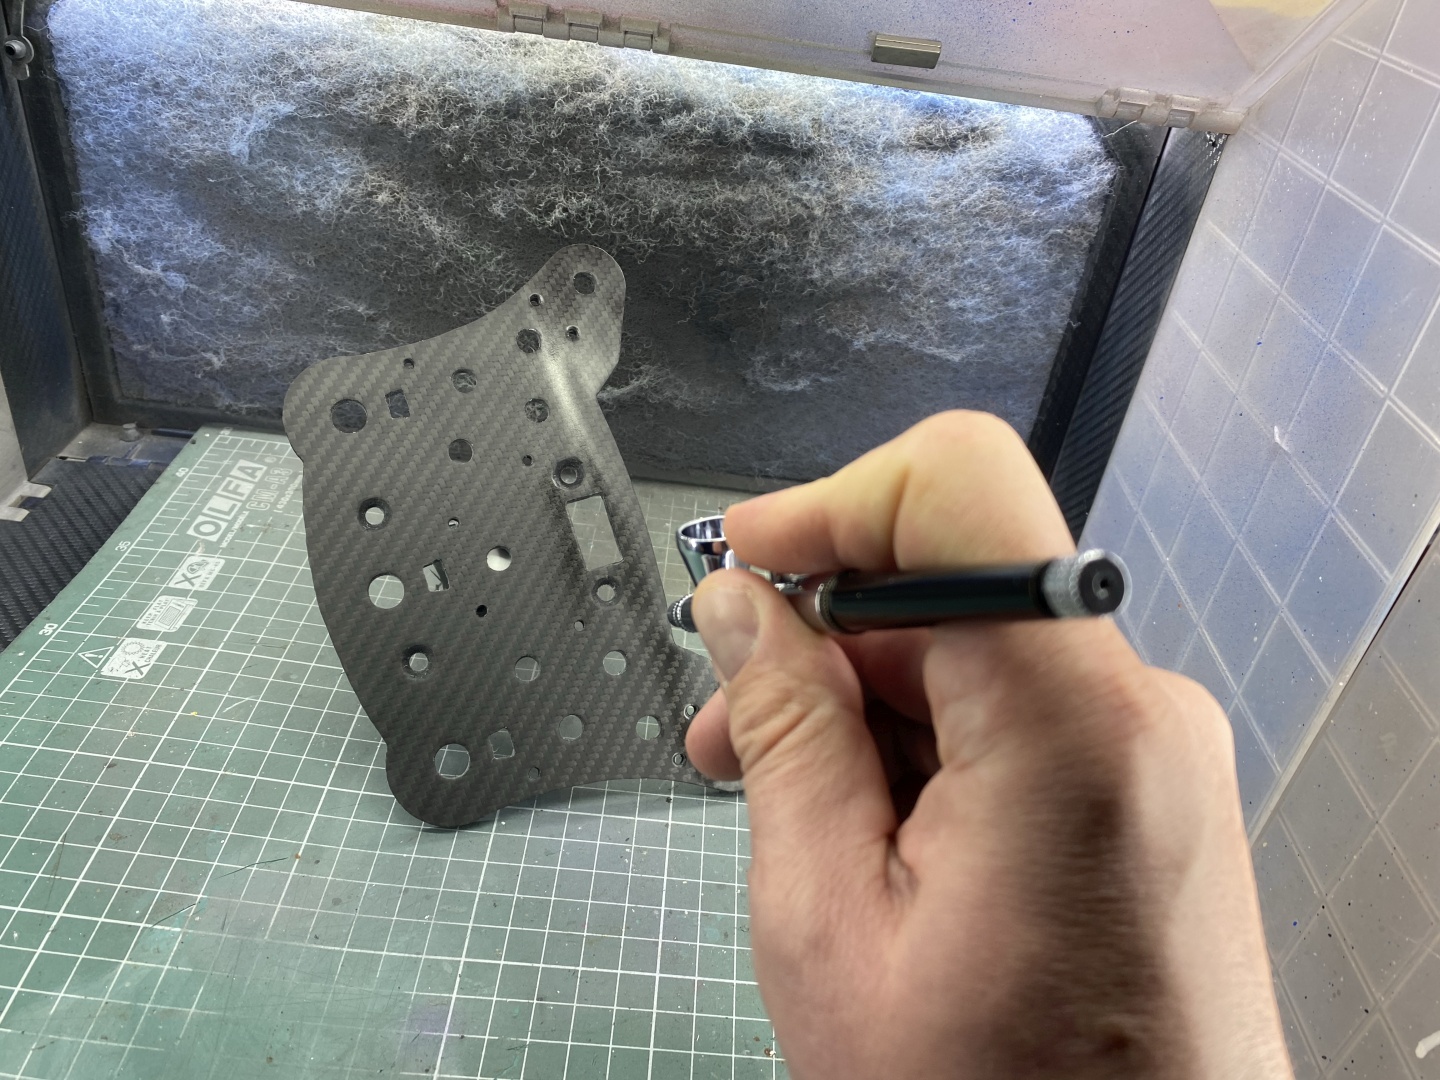
Spraying clear coat should be done in well aired and clean space, having hobby spray booth helps immensely:
Spray the Clear Coat
Clear coat usually is sprayed at 3-5 layers depending on your preference. I stick with 3 and for me is more than enough. Using these hobby paints is very easy, this particular clear coat cure time between layers is 30-60min between layers. As it dries super fast I figured out it works very well to wait only 15 minutes between coats, the whole process takes me a little more thjan an hour with 3 hands of clear coat.
First Hand of Clear
This coat is usually a little lighter, but in either case the clear coat I am using is quite forgiving and hassle free. Spray the first hand in overlapping straight lines:
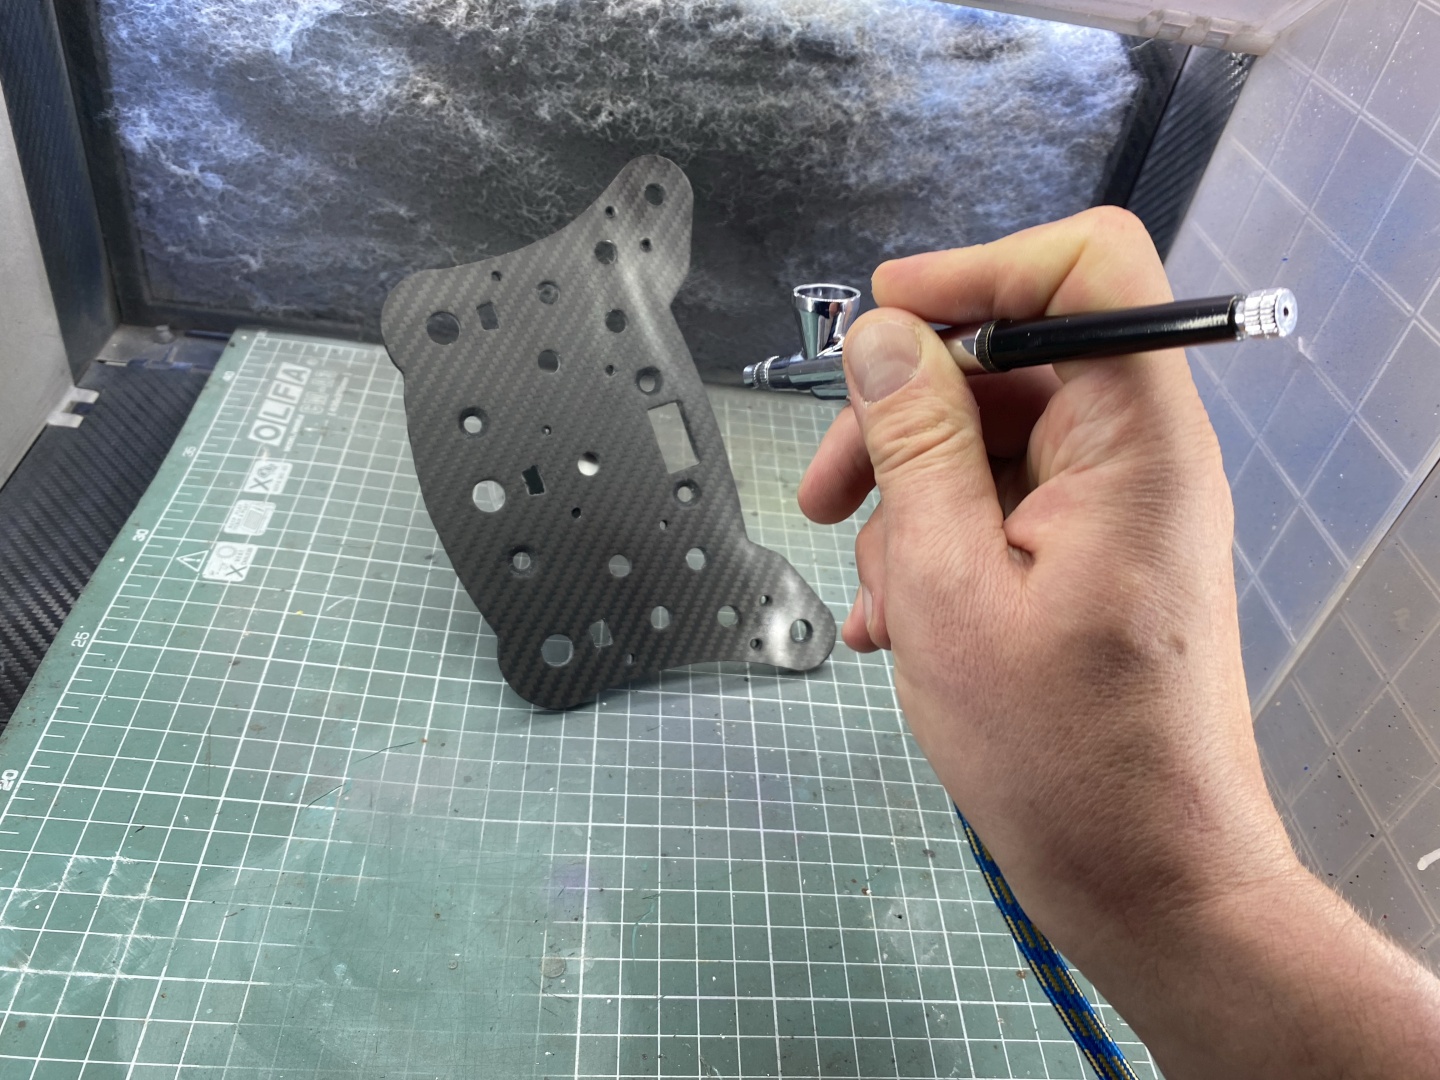
Second Hand of Clear
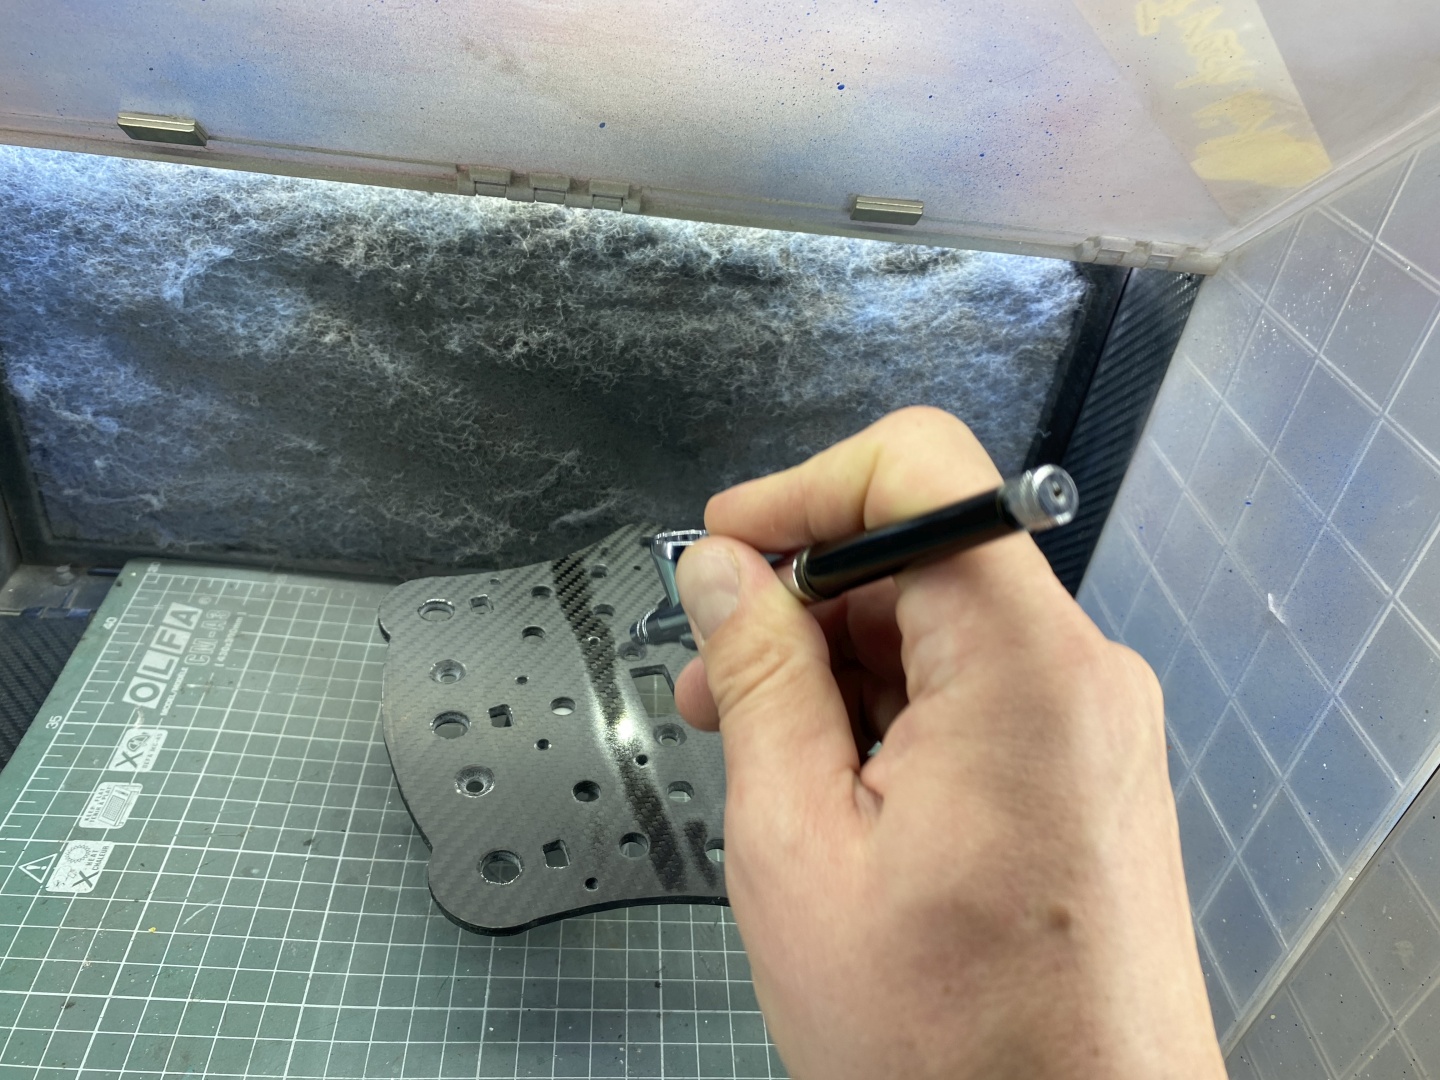
Wait 15 minutes and proceed with the second clear coat. This time the layer is thicker and you are after full coverage. For this layer switch direction - here I am spraying the faceplate in vertical direction:
Second Hand of Clear
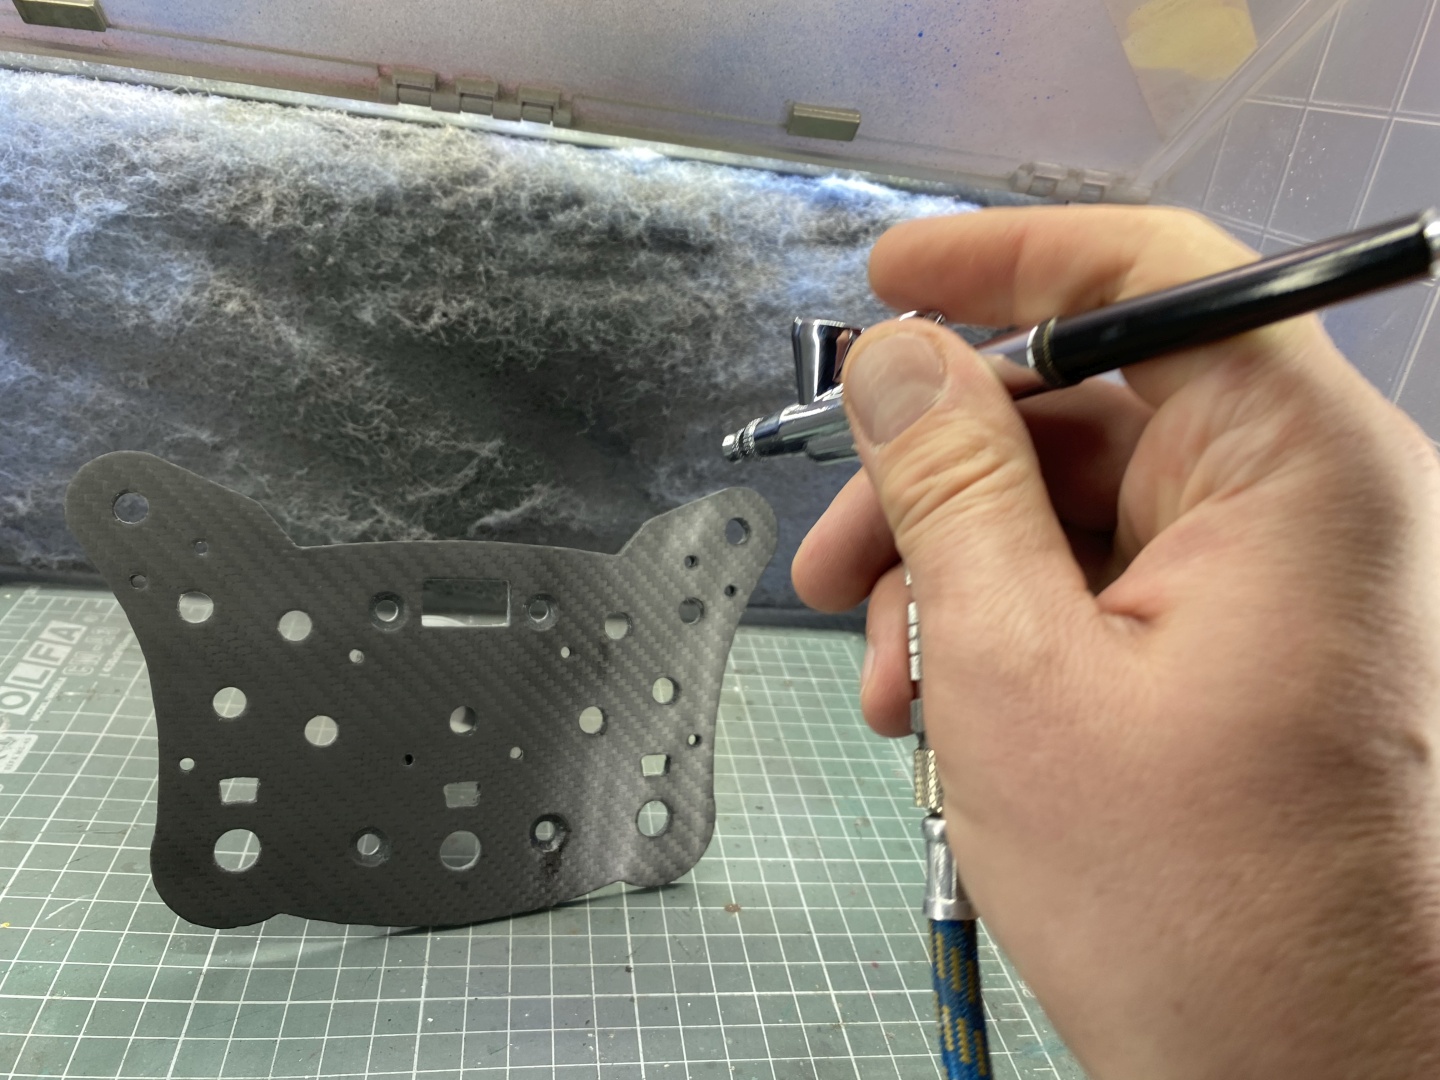
Wait 15 minutes and proceed with the third and final clear coat. Again heavy layer which has to cover any sport you might have missed and build up nice and thick top coat. For this layer switch direction as well - here it is back to horizontal spray lines:
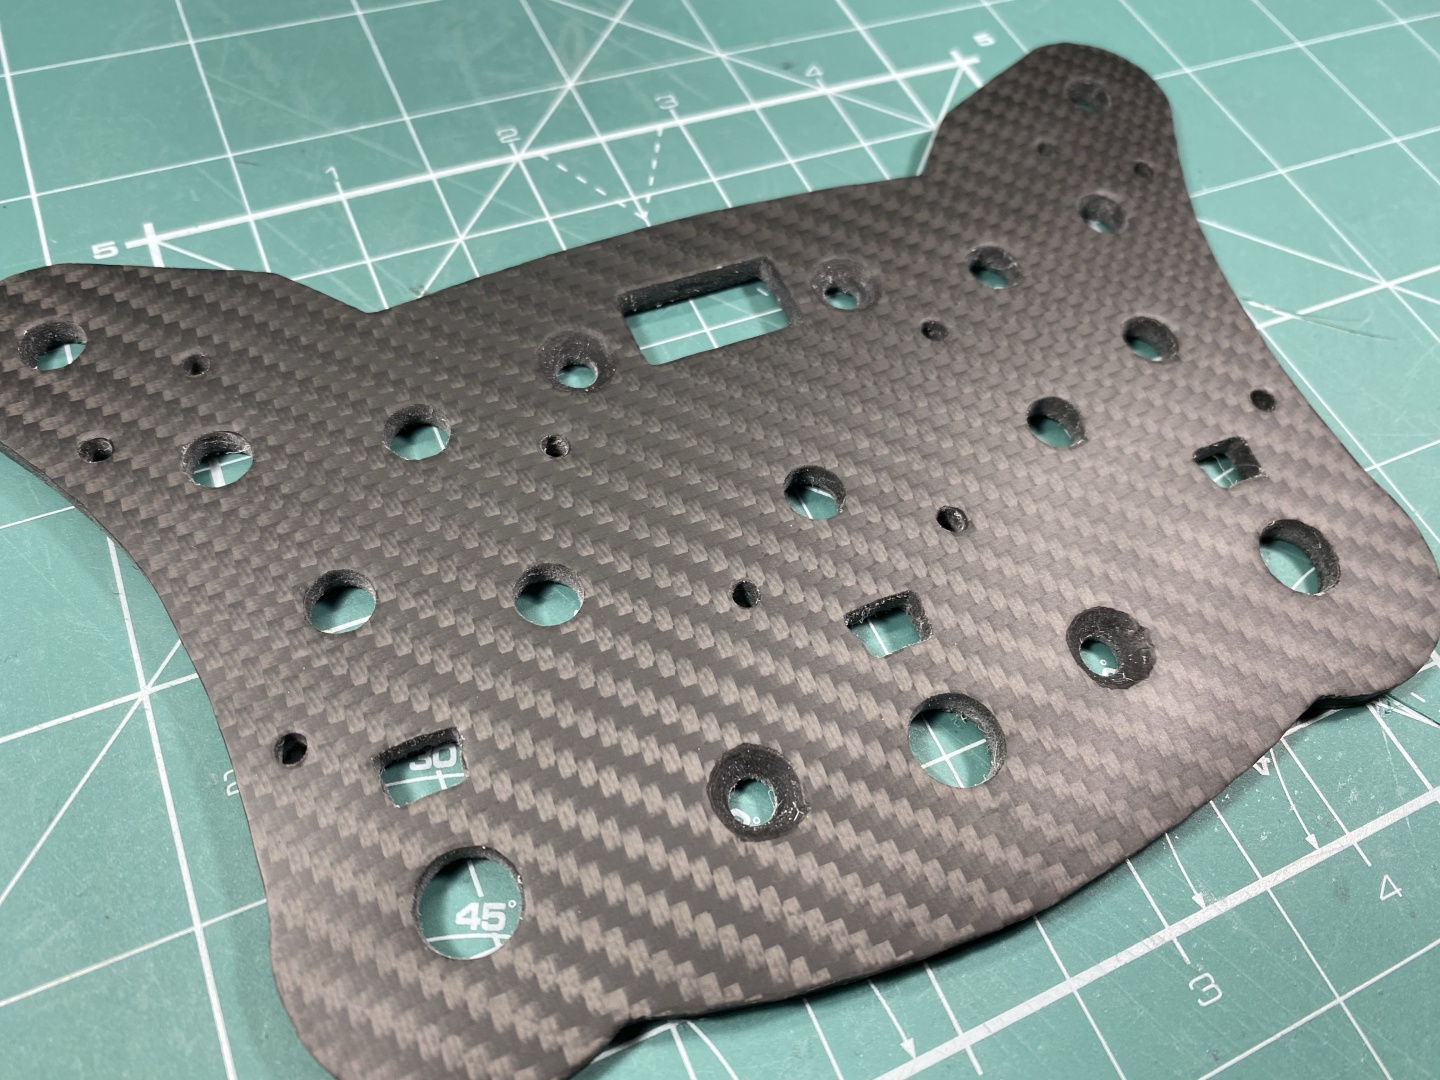
Dry Time 24 Hours to 3 Days
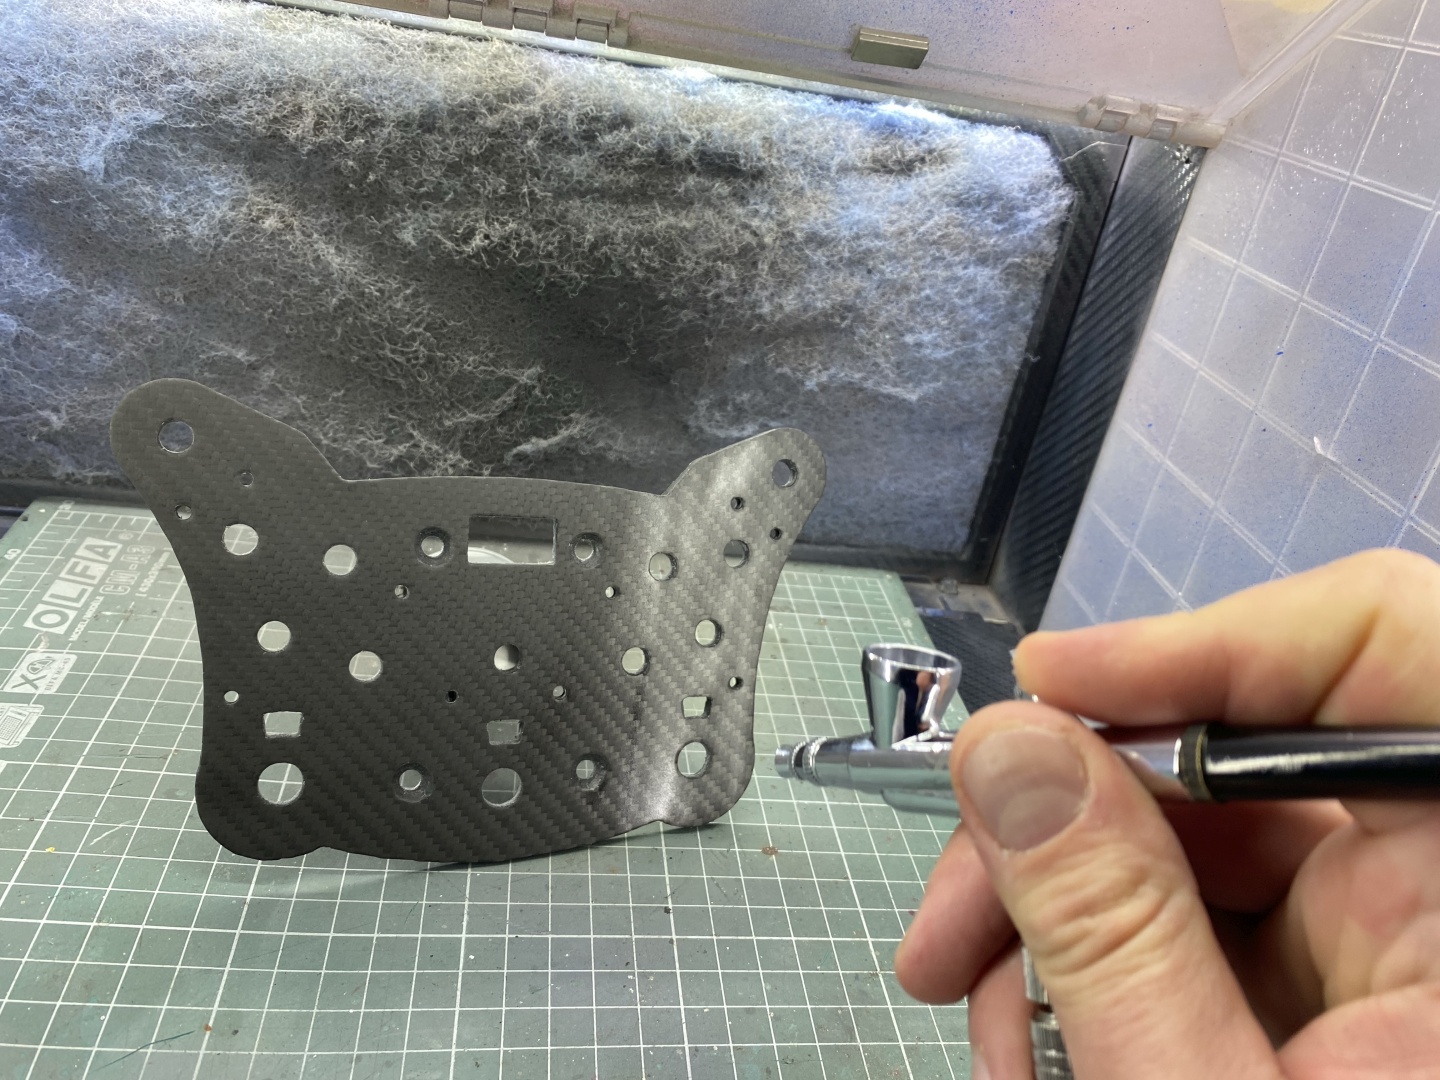
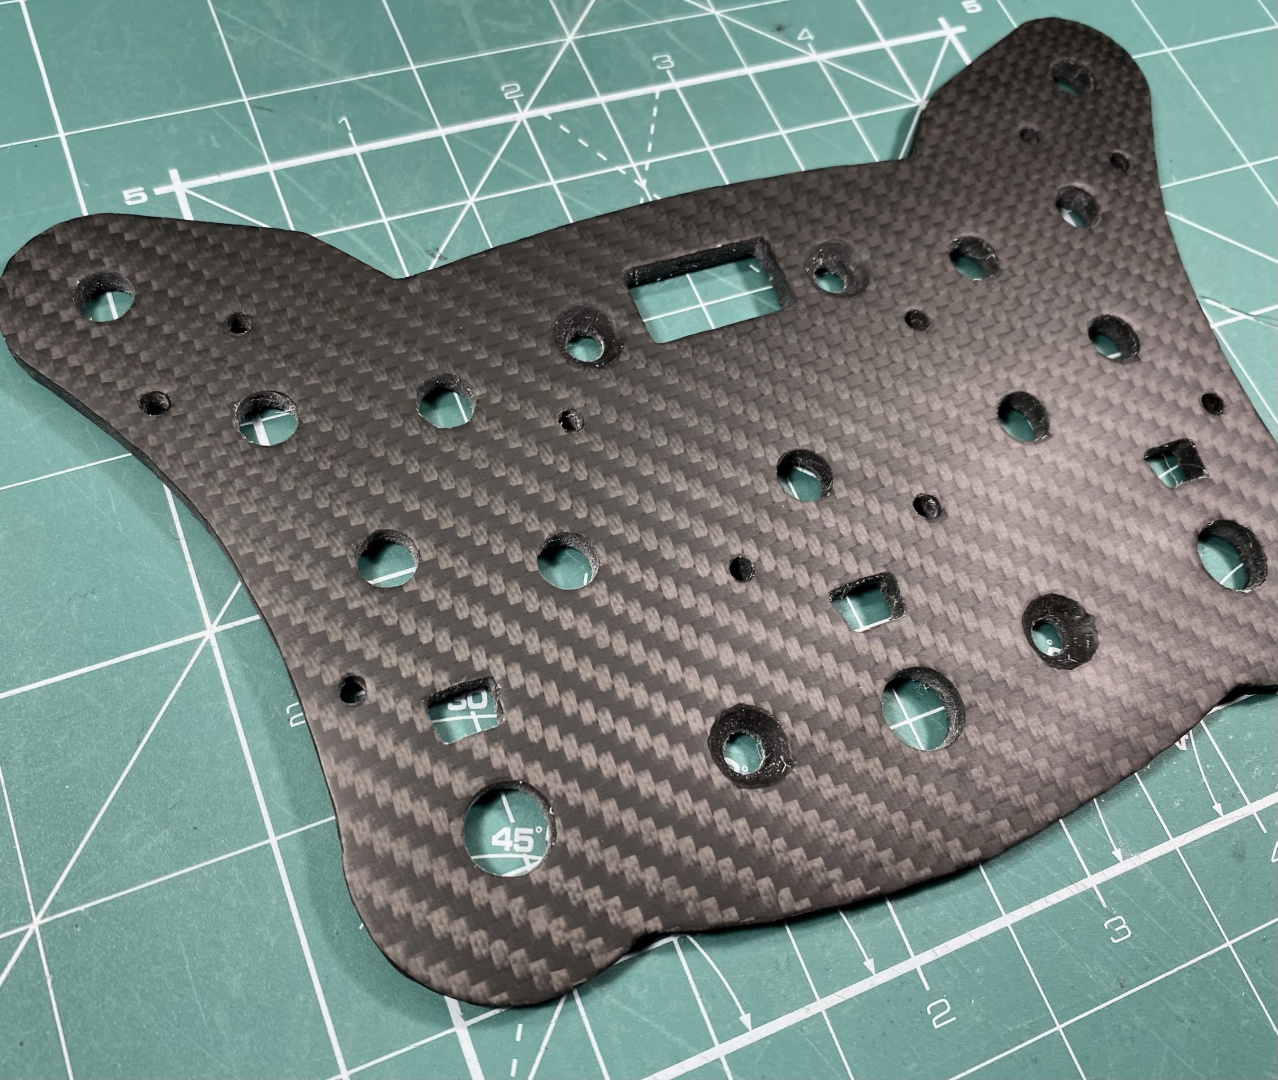
Clear coat curing time is 24 hours but the more you wait the better. I figured out for this particular brand I usually need two days to let it cure fully. Below you can see the result - it looks almost like the finished product but carbon fabric looks puffed. This will be fixed when clear coat is polished.
This is the result when we stopped sanding at 1200p, Clear Coated with Flat:


Polishing the clear coat
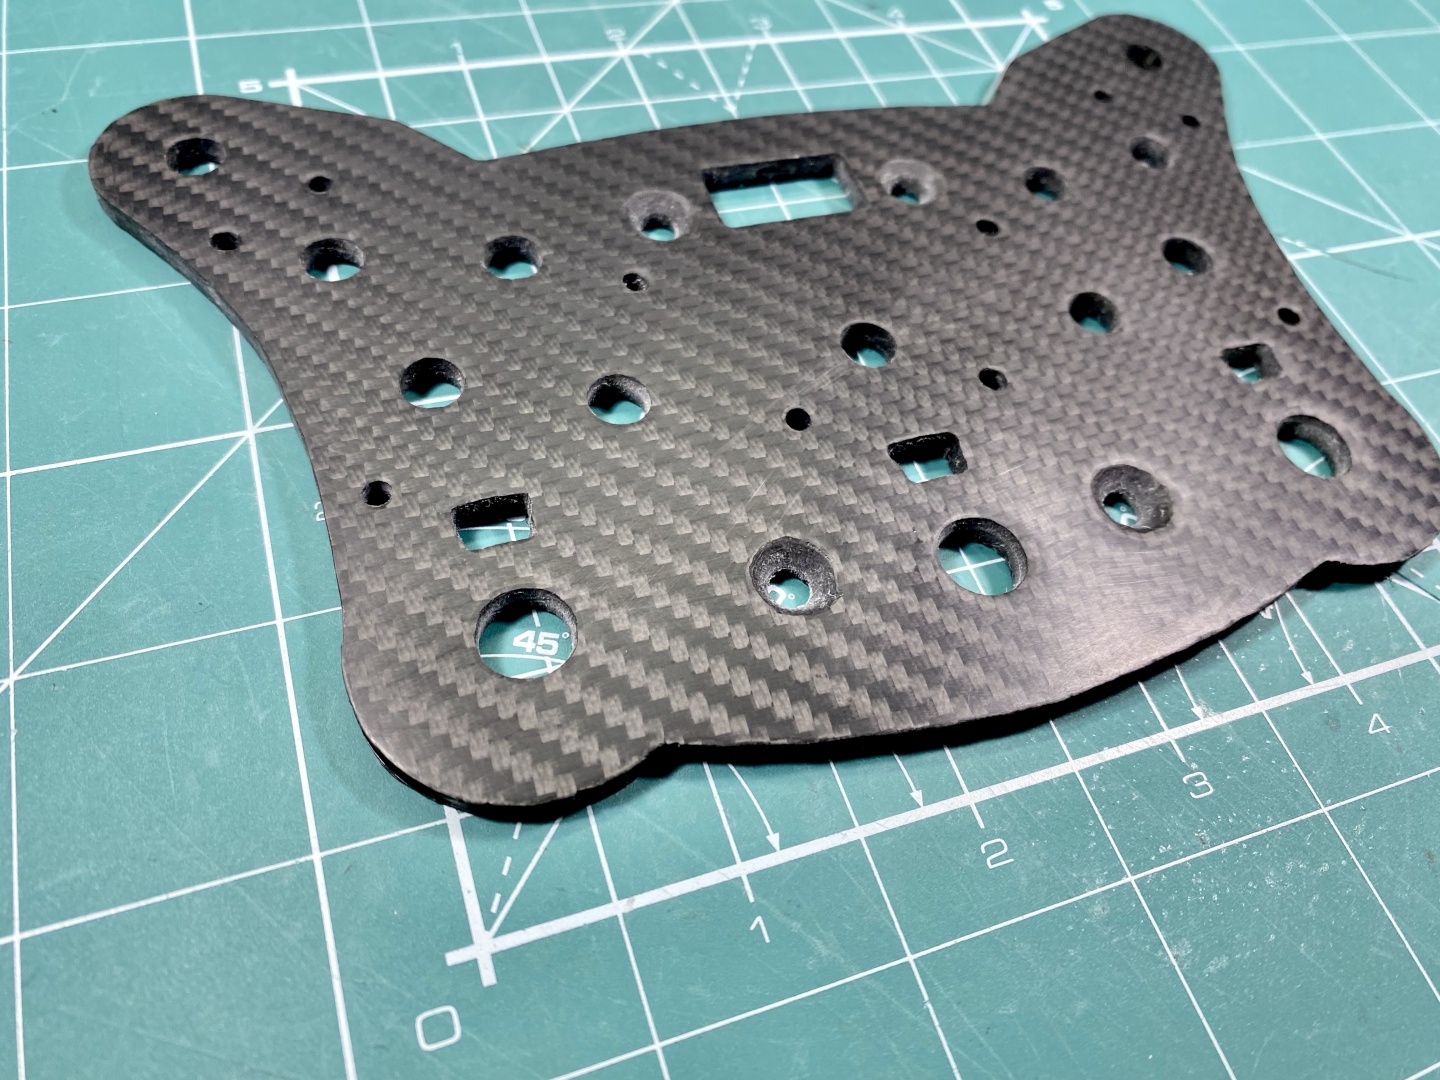
This would be the final step of the process. After waiting enough time for the clear coat to cure we start by wet-sanding the surface with 2000p sand paper. As the faceplate was sanded at 1200p before coating if has nice matte finish which is almost ready:
After each step wash thoroughly and proceed to next finer finishing compound. You can achieve the effect you are after by stopping at the desired finishing stage. Below you will see the results from using Coarse-Fine-Finishing compound.
Sanded @1200p, Polished up to Coarse
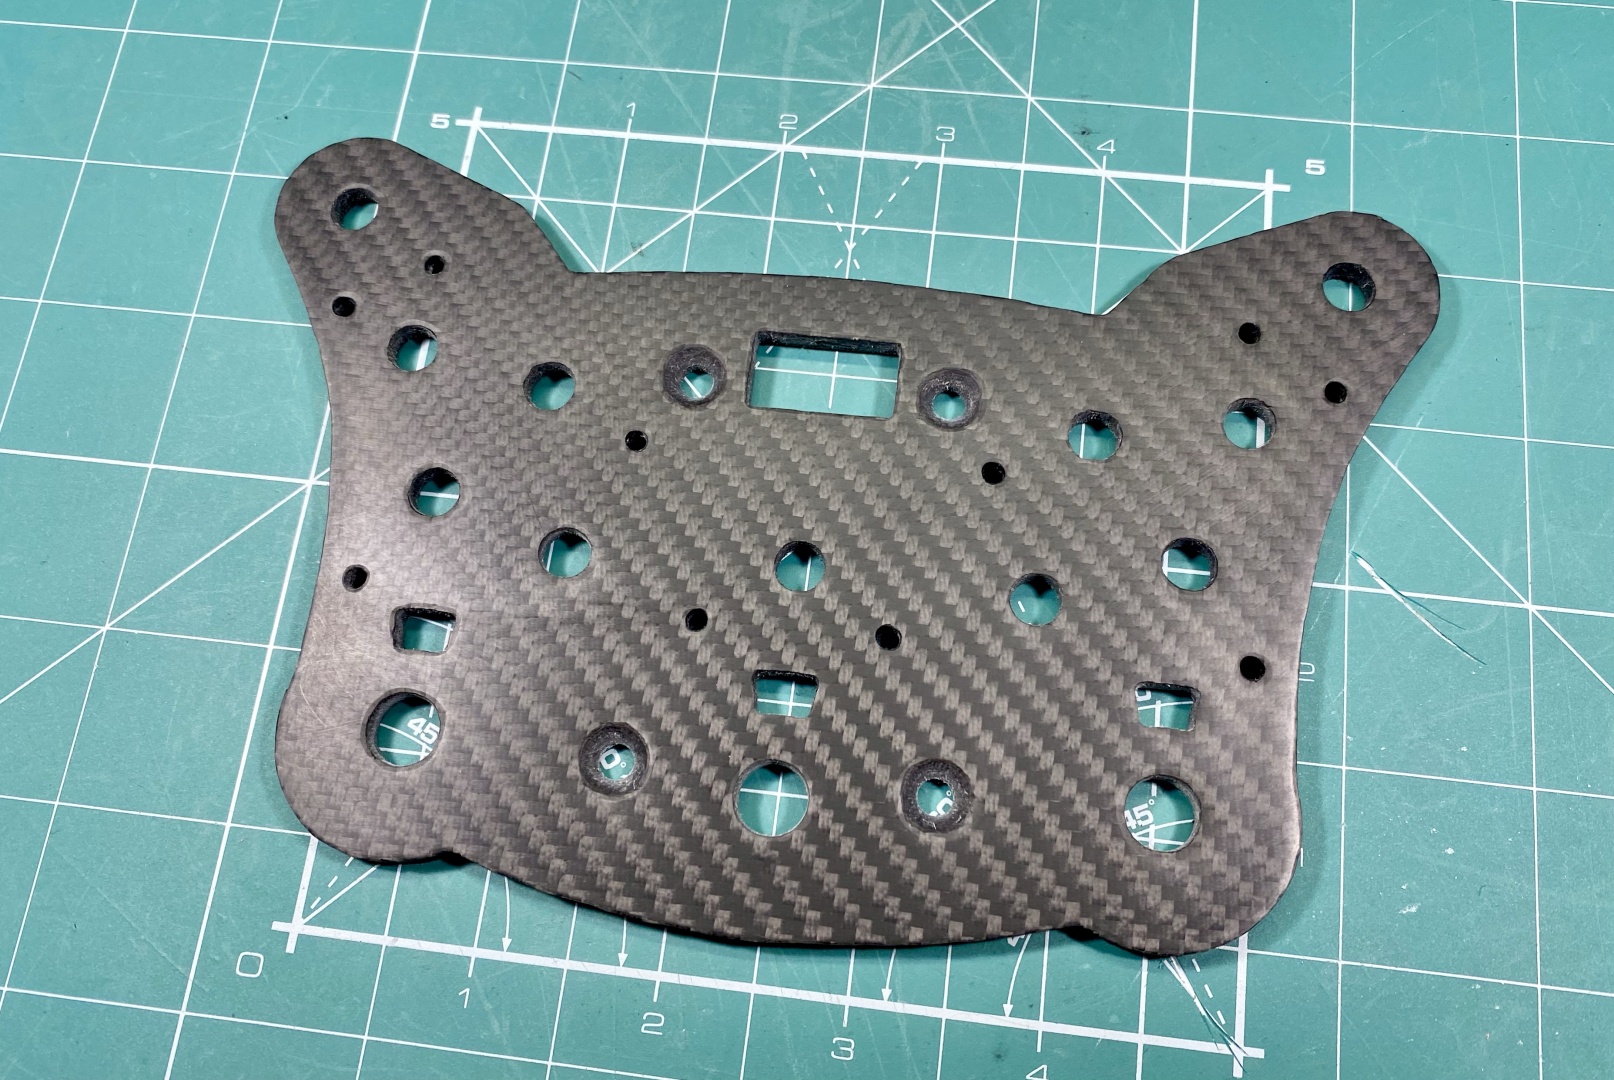
This is exactly the matte finish I was after. It looks a little strange because of the multiple light sources on my workbench, but the finish in reality is actually impressive. As it is polished only to coarse compound it has very subtle texture on touch, you can feel it is not completely smooth. This would be nice in paddle shifters as it has some surface friction.
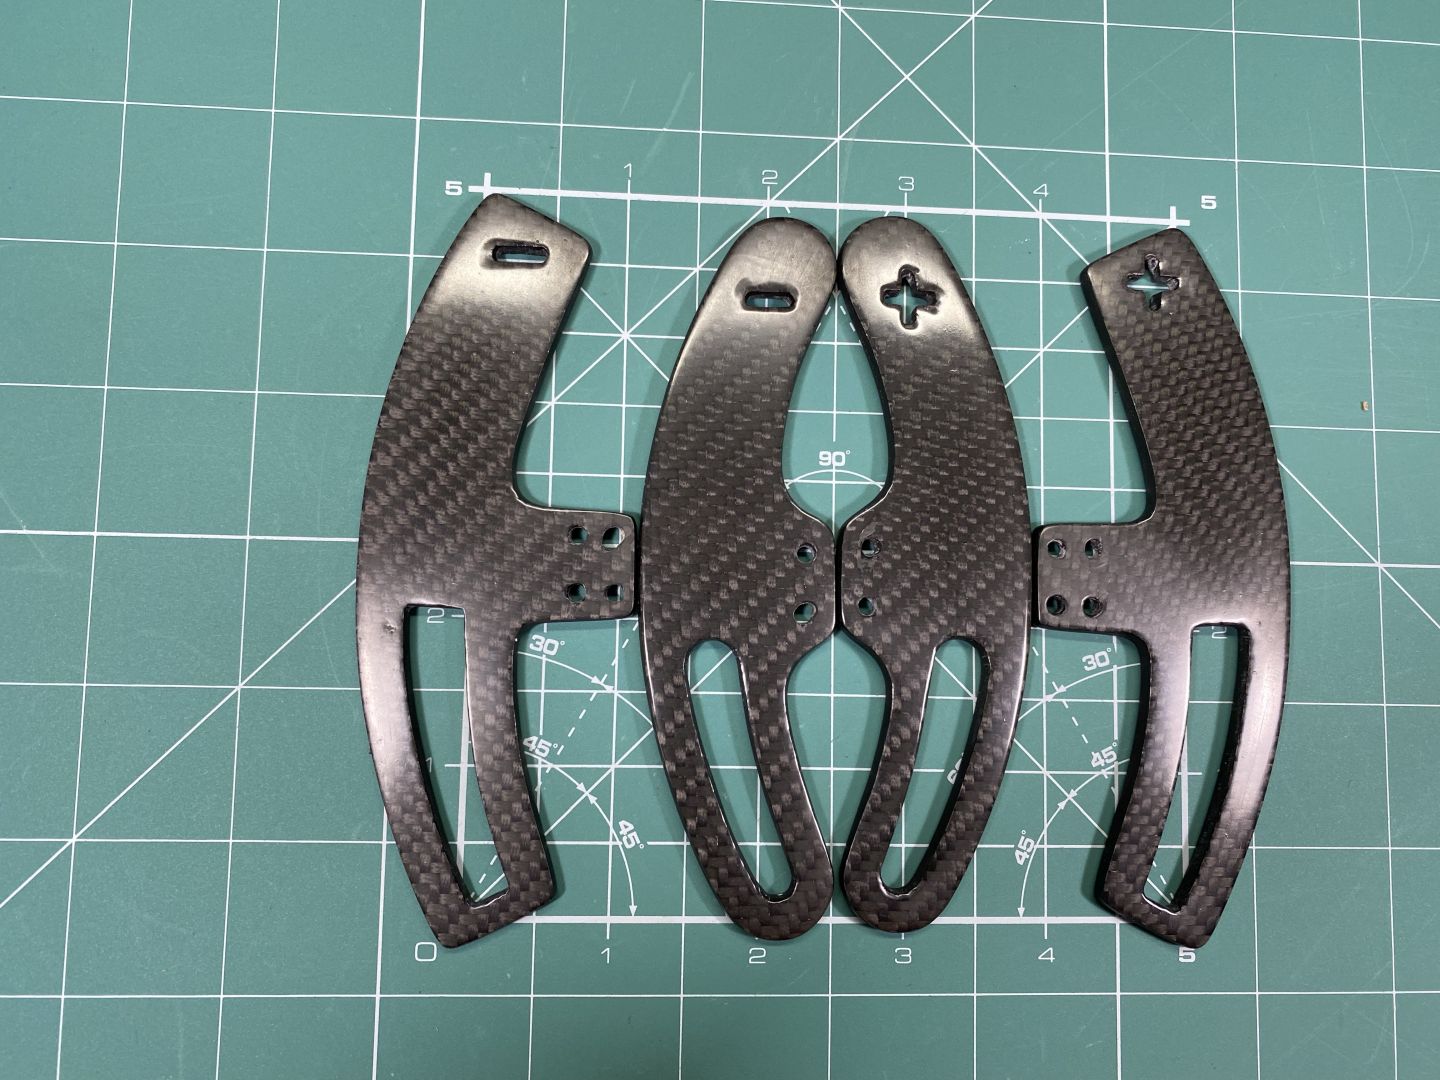
Sanded @2000p, Polished up to Fine
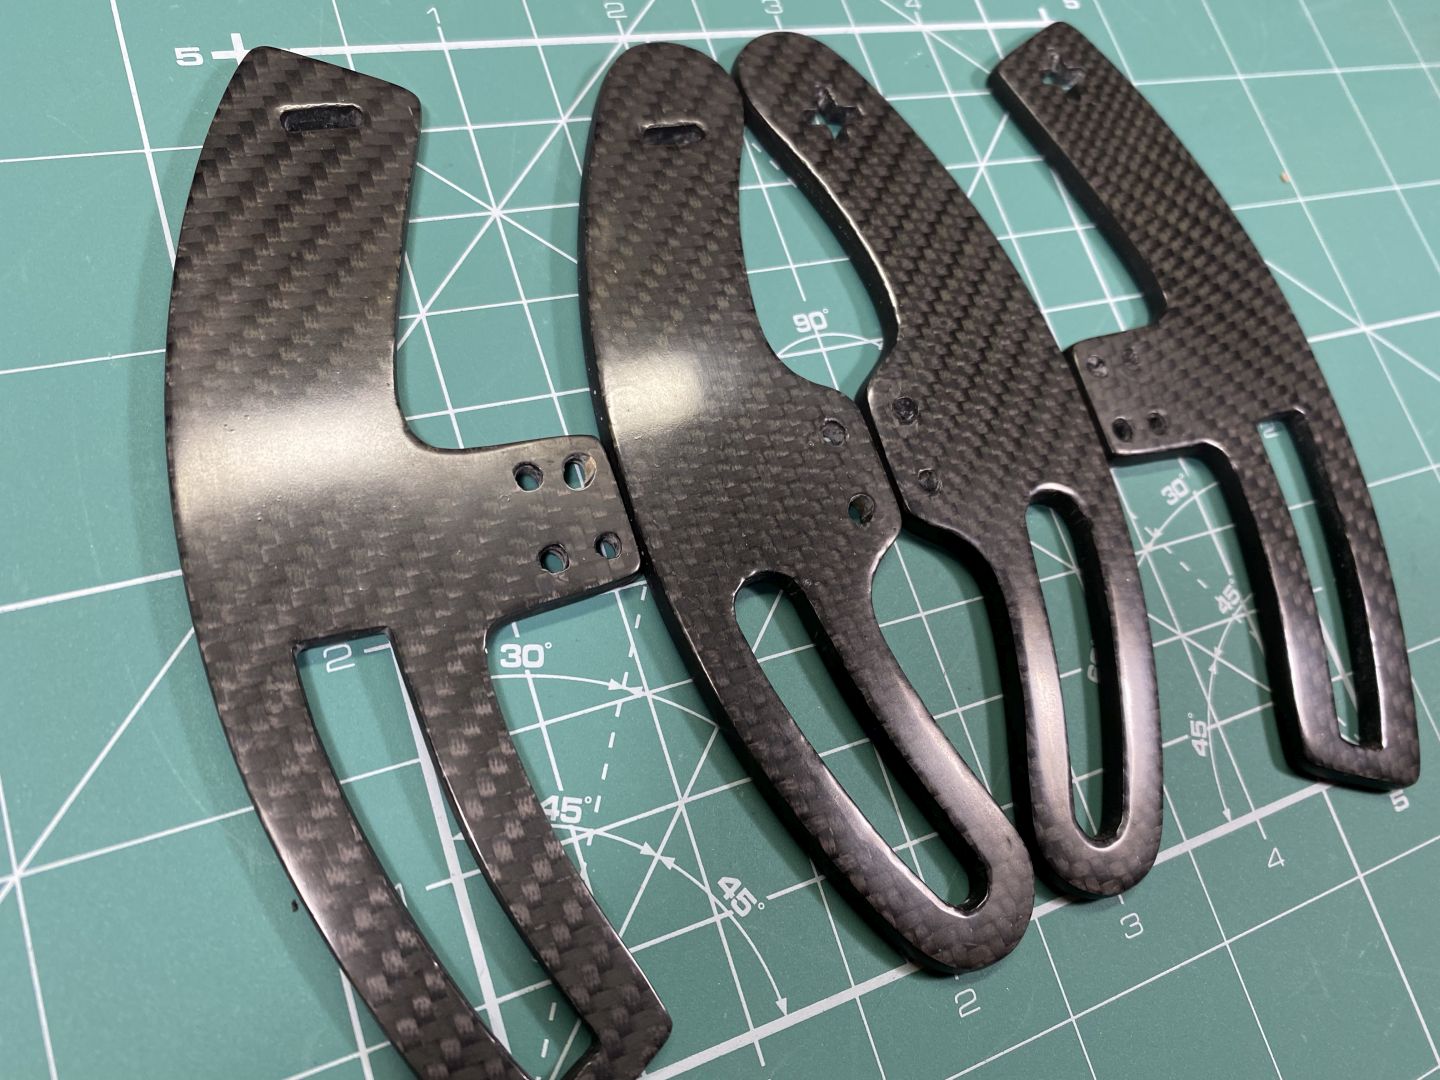
This is from previous project where I was trying to achieve matte look, but actually it came out as Semi-Gloss. The carbon fabric itself is somewhat off as still was perfection the process at the base coat level. On the second picture the small, rounded paddles actually are test for various finishing stages. Left to right it goes as follows:
- Left - sanded up to 2000p, polished with Coarse before clear. Finally polished up to Finishing compound.
- Middle - sanded up to 2000p, polished with Coarse before clear. Final polish - Fine compound.
- Right - sanded up to 2000p before clear. Final polish - Fine compound.
The difference seems subtle but in reality it is quite visible. The leftmost paddle is very shiny even with the Flat clear coat. Also on touch it is extremely smooth, but still not slippery. You can literally feel how flat the surface is - one of the properties of this clear coat is very low surface friction because of the smaller particles it uses.
Now that we have finished product let's head on to our last chapter - Gallery and Conclusion: