Base Coat
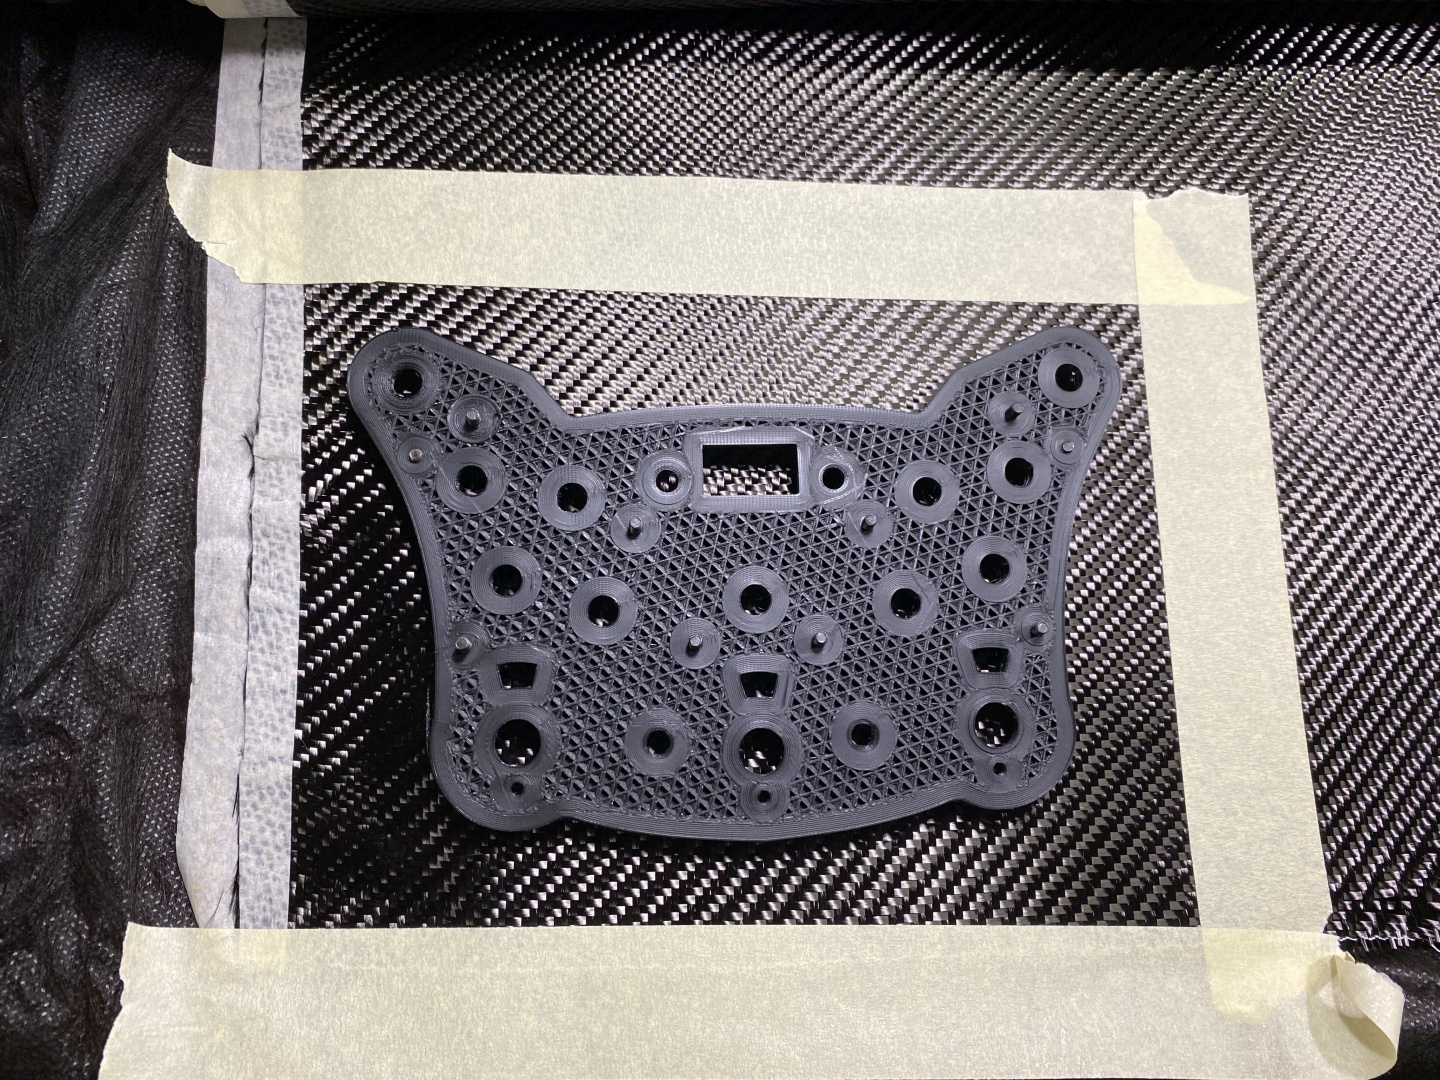
Now comes the fun part - applying the Base Coat layer. As stated earlier you can presumably save some money and substitute this layer with resin but in order to do so you need surface which has good adherence to it. I tested - PLA did not stick well at all using the clear resin and it was total failure. Either way it is highly advisable to apply regular base coat - it sticks to wide array of surfaces, fills in the small grooves and dents and is black - it will hide all possible imperfections you might have in the carbon fabric itself.
Wash again the surface with soap water, rinse it and clean with isopropyl alcohol to remove any oil and dust residue.
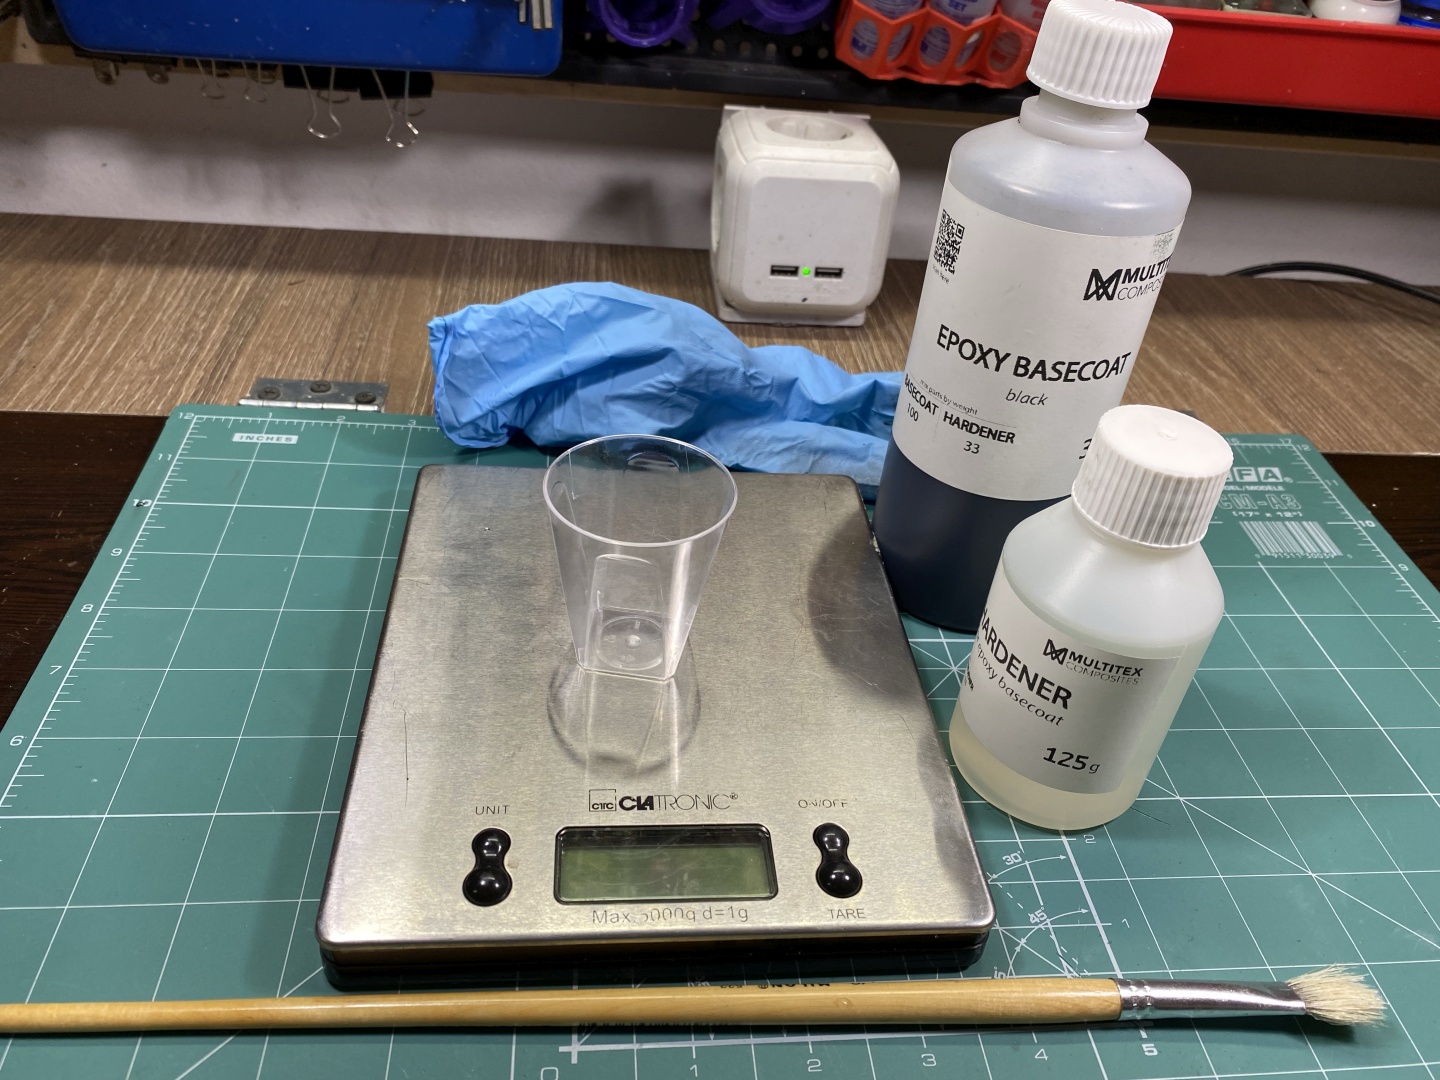
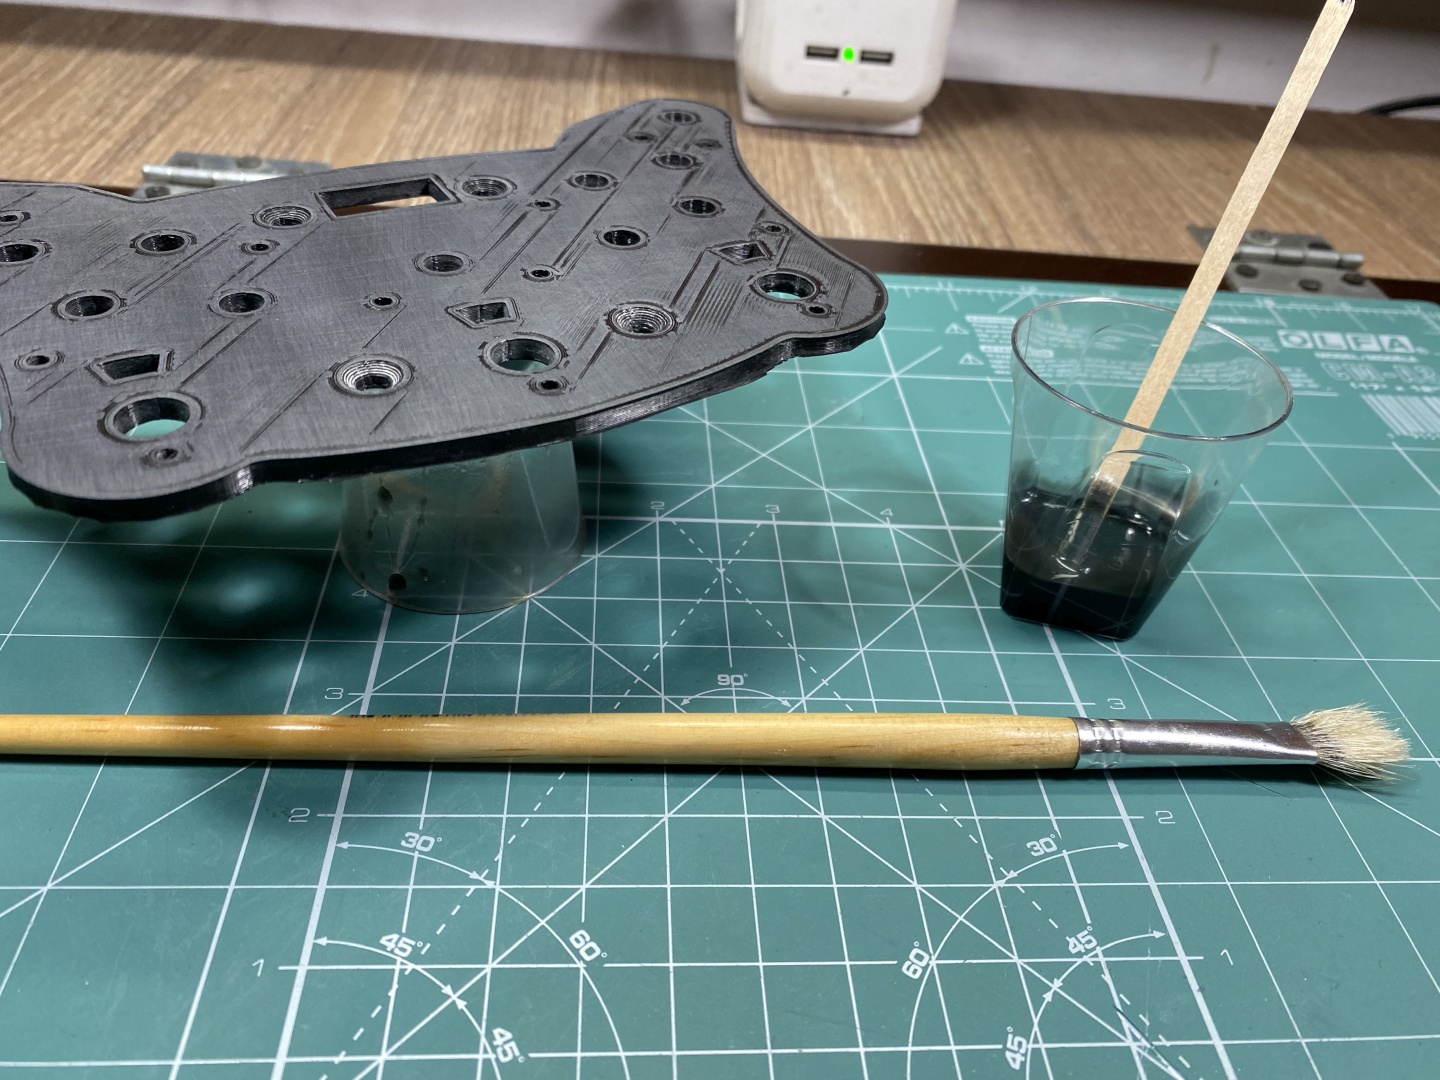
Start by mixing the Base Coat - ratio should be on label. You will need some single use mixing cups, kitchen scales to measure base coat/hardener and nitrite gloves to protect your hands at that step. Mix thoroughly, you have enough time to complete - do not rush it, make it properly. You should have 15 minutes to finish basecoating before the paint starts to thicken. When mixture is prepped properly start applying it with brush:
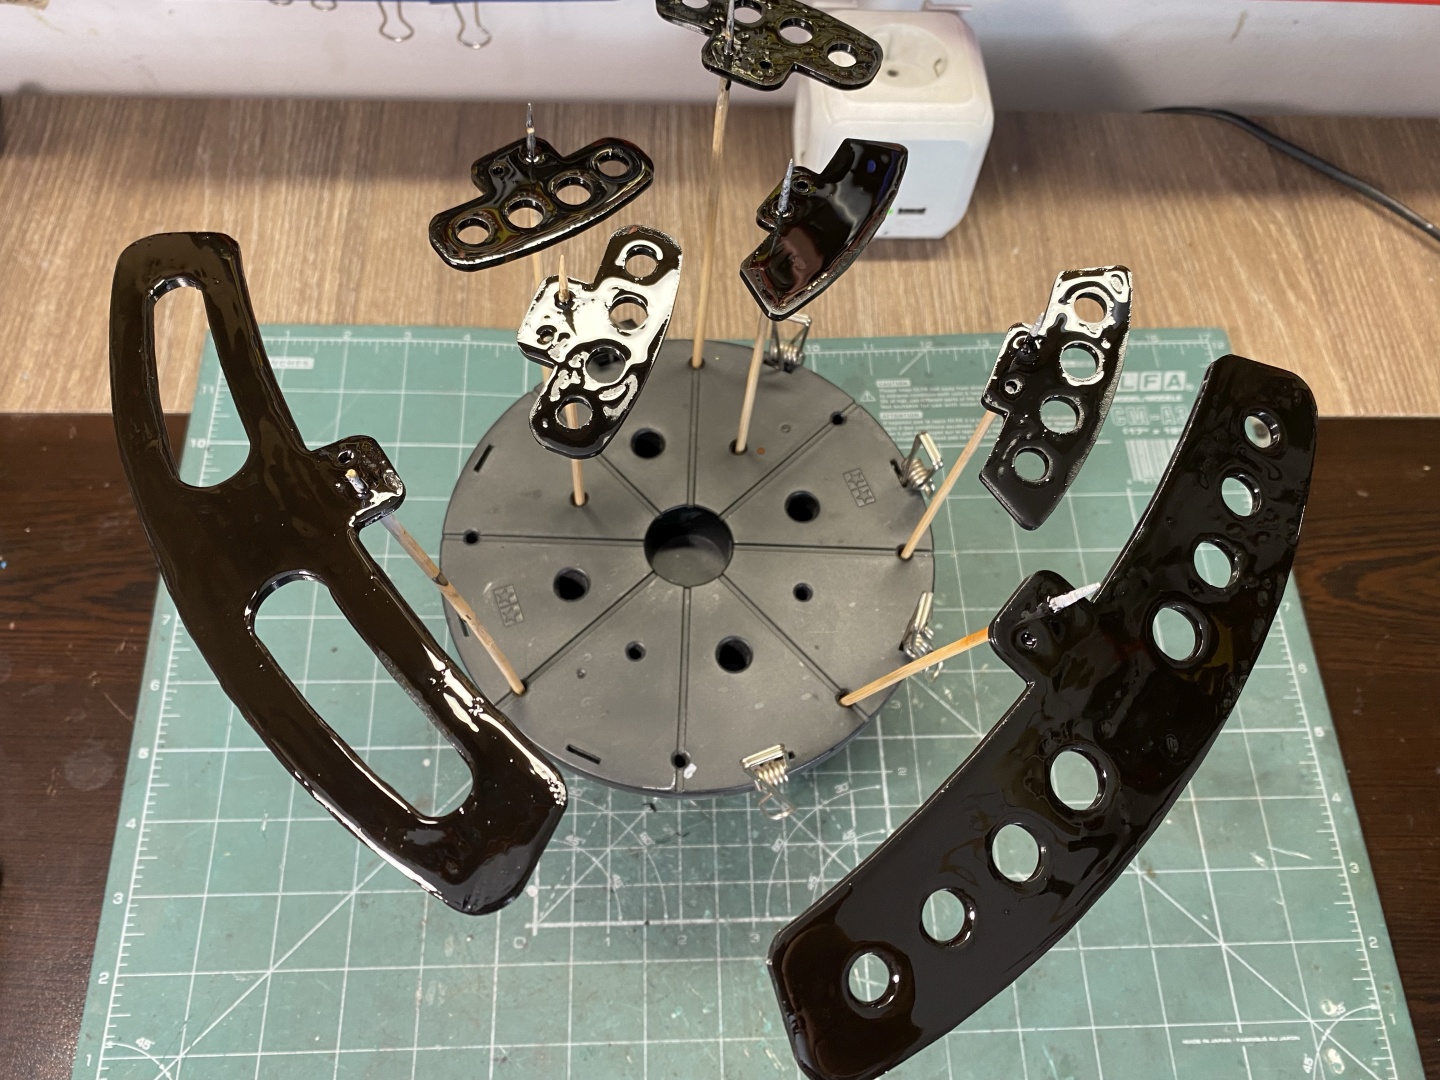
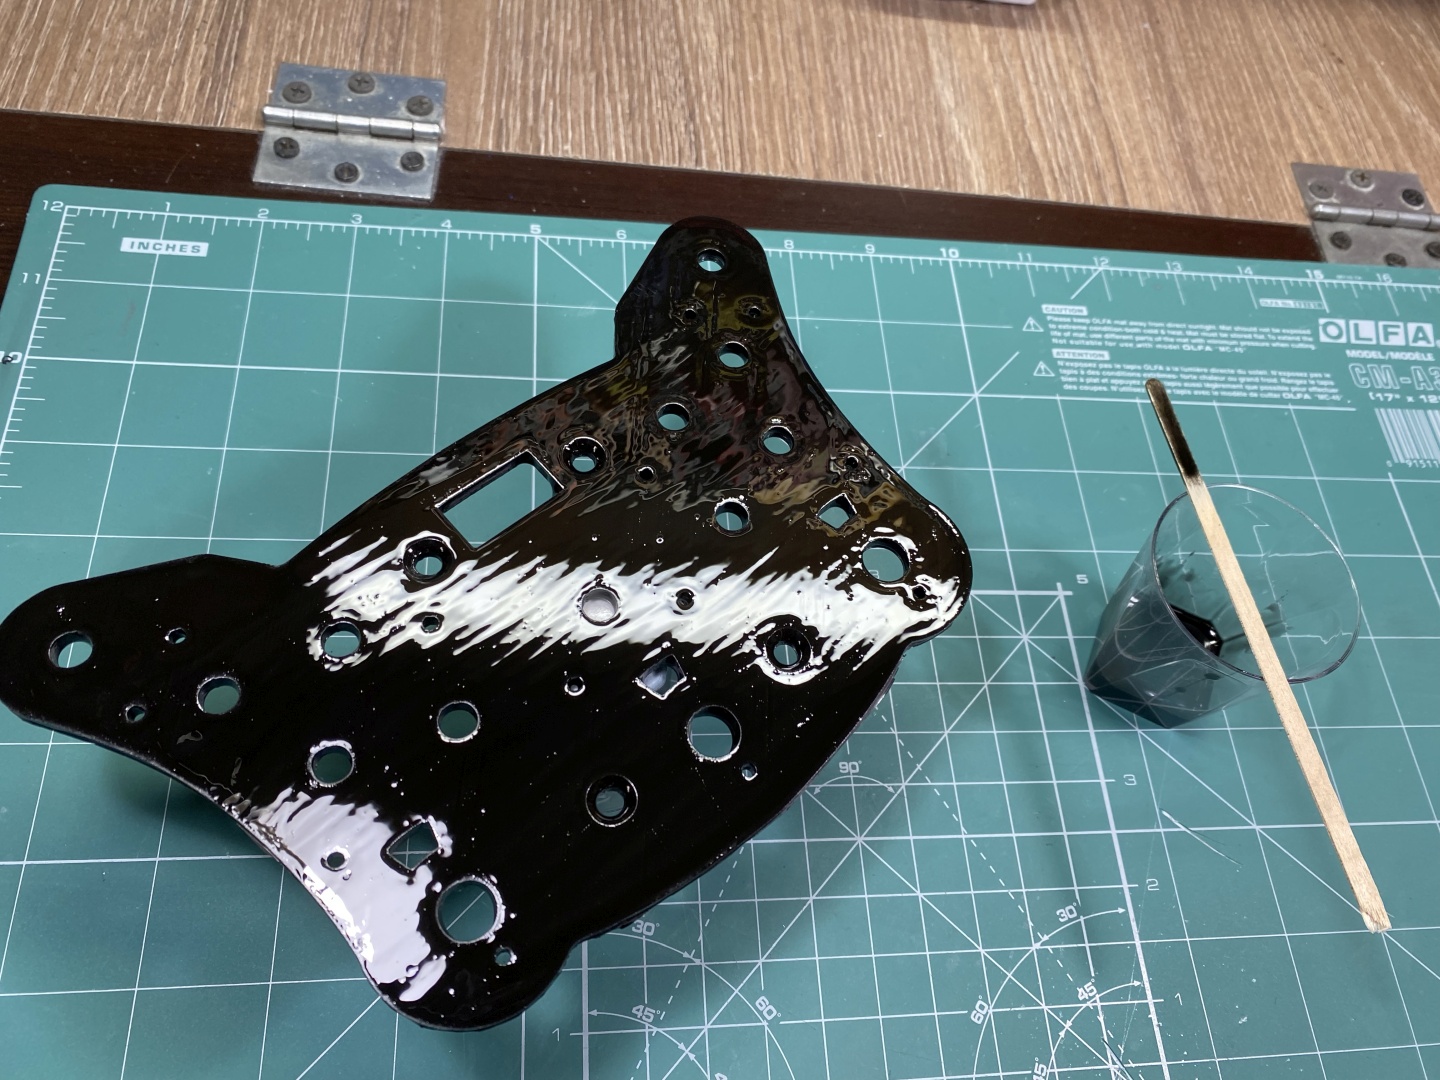
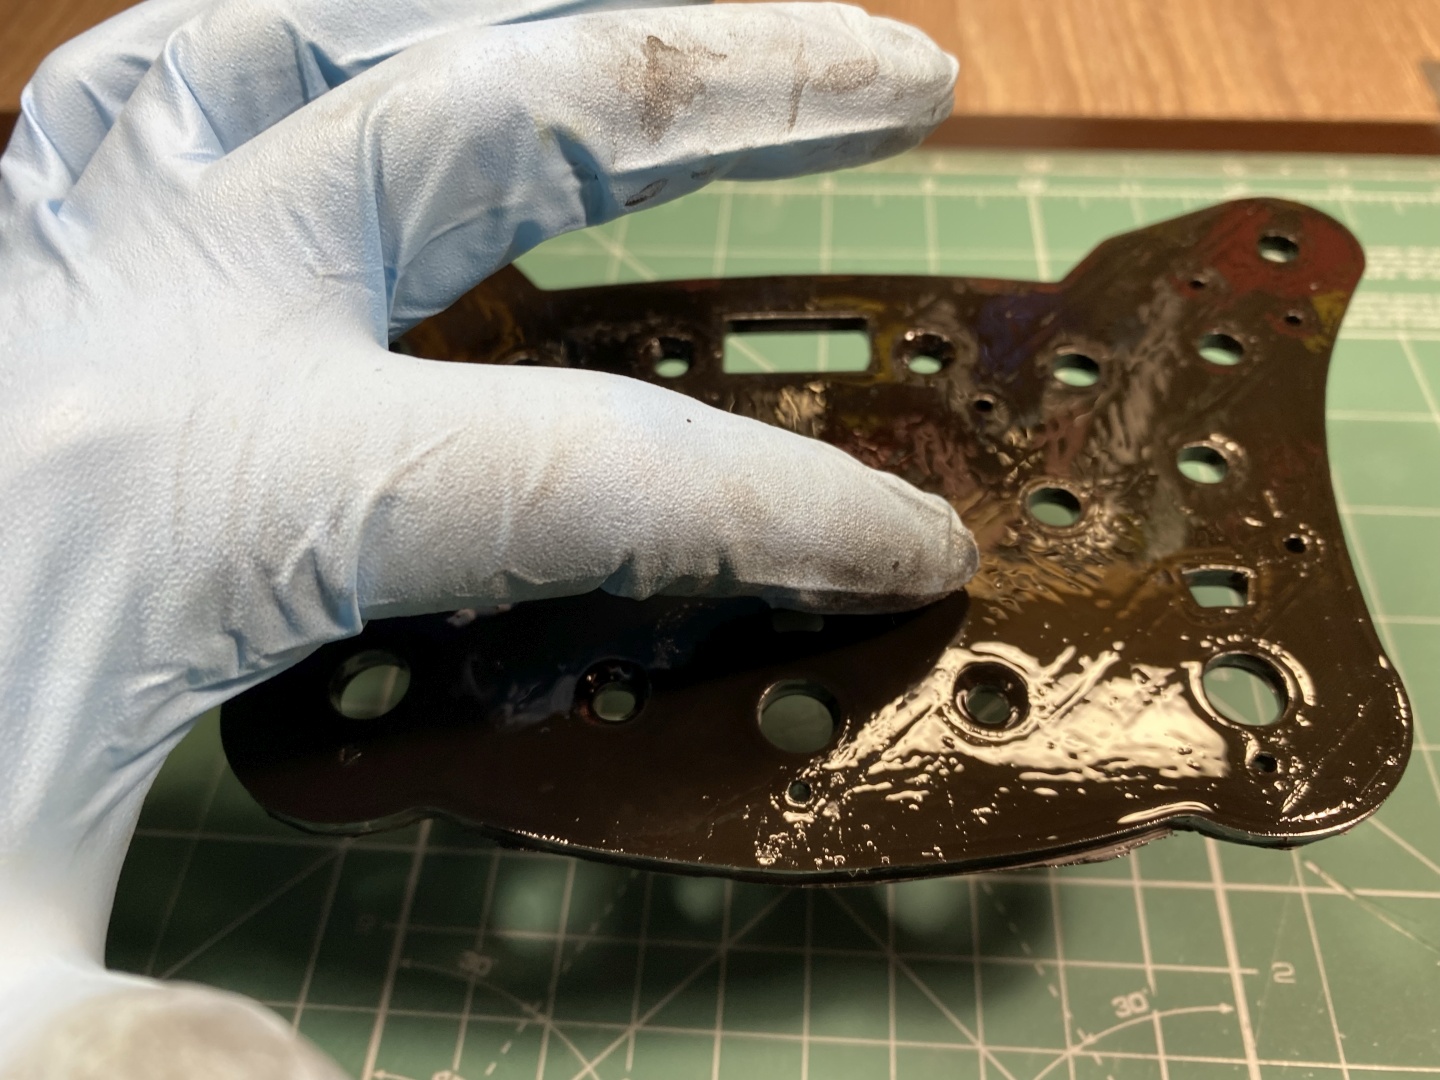
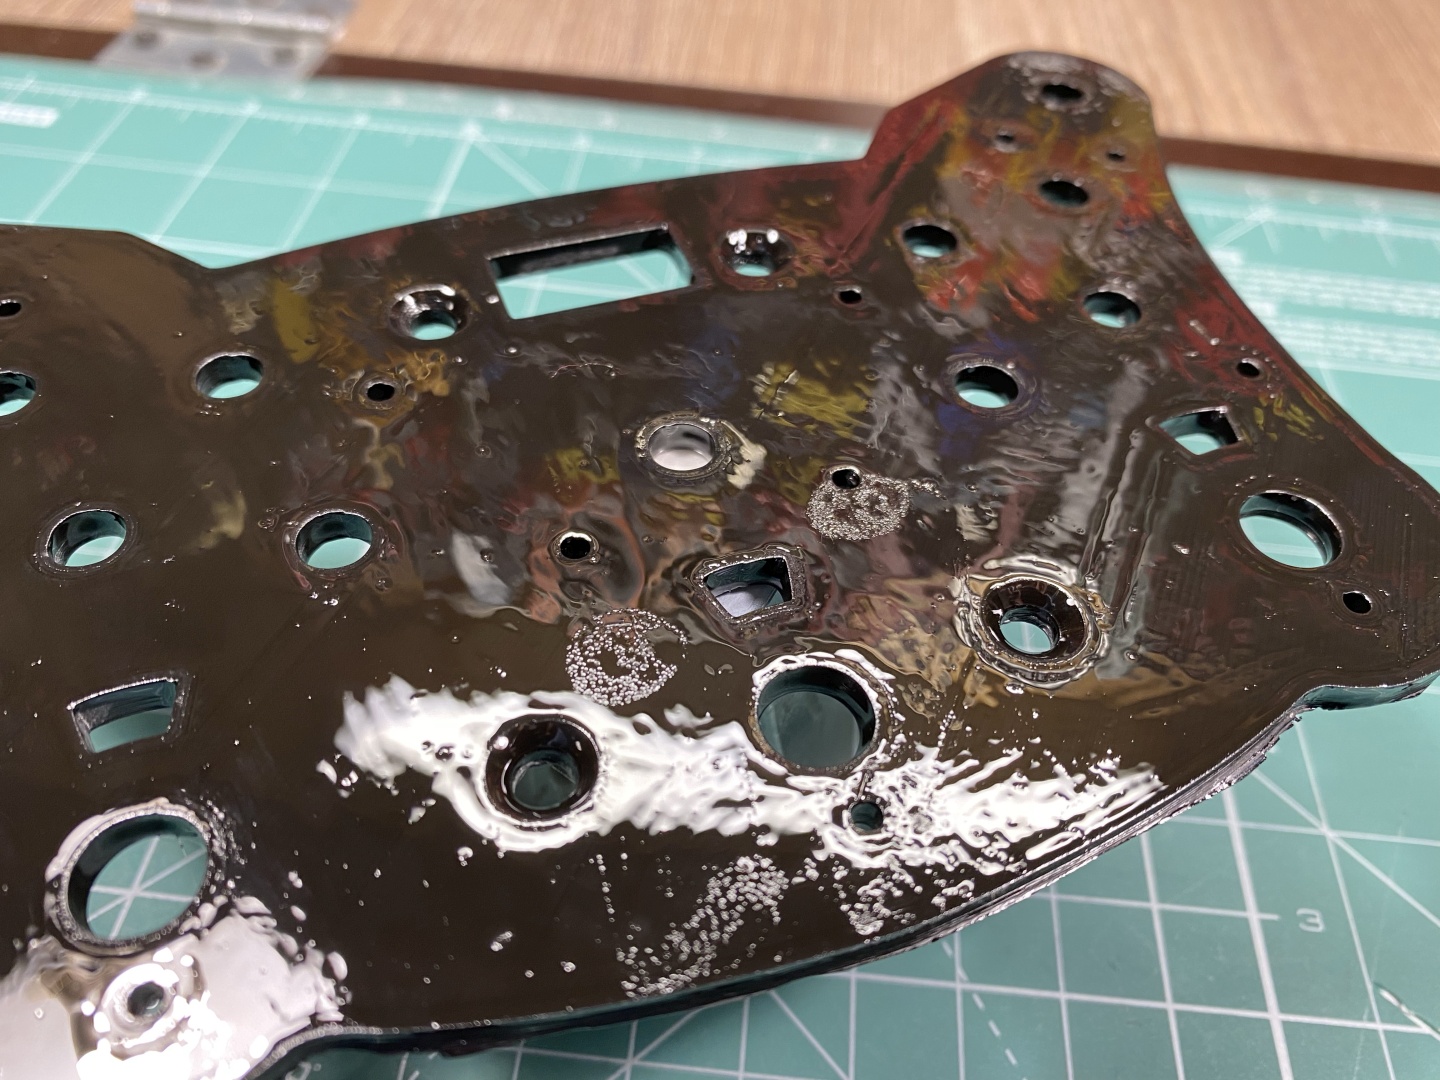
Base coat is quite easy to apply but be careful not to put too much. Make sure all the area is fully covered but overdoing it will start dripping. Furthermore it can produce thick layer that later when vacuum sealed can leak through the carbon fabric and ruin the top finish. Keep an eye for the first 5-15 minutes if you basecoat layer starts pulling away and reveals some of the core surface - you can still go over with the brush and fix this. At the end when properly applied you should have nice black uniform surface - do now worry about the brush strokes, they will disappear in time:
Prepare the Carbon Fabric
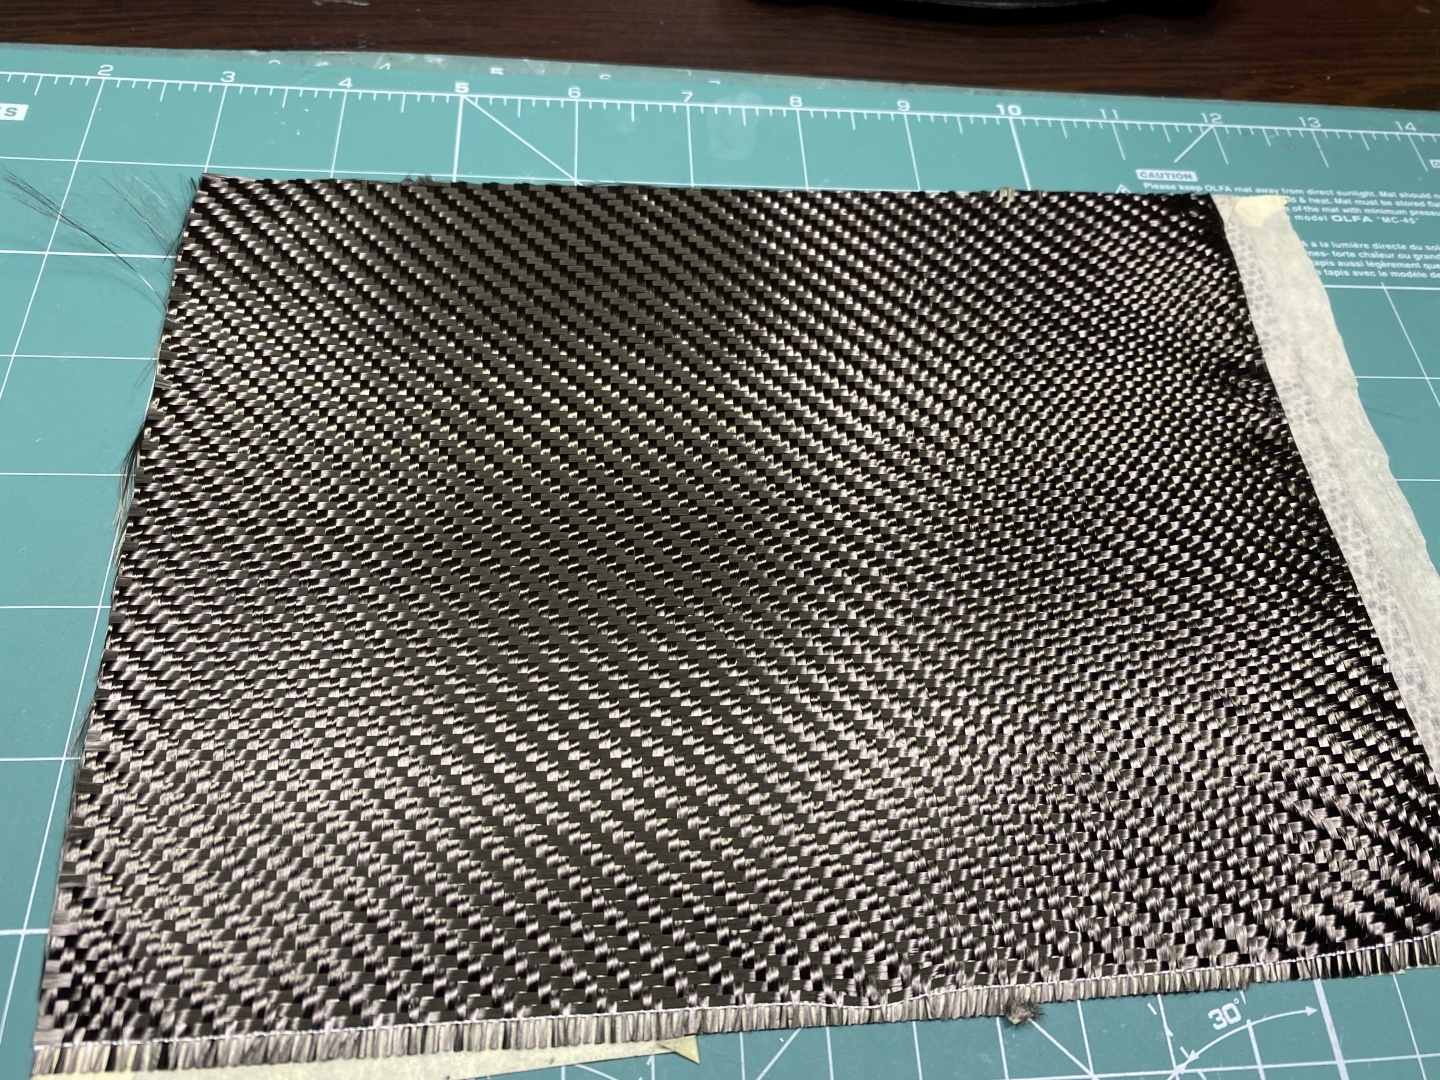
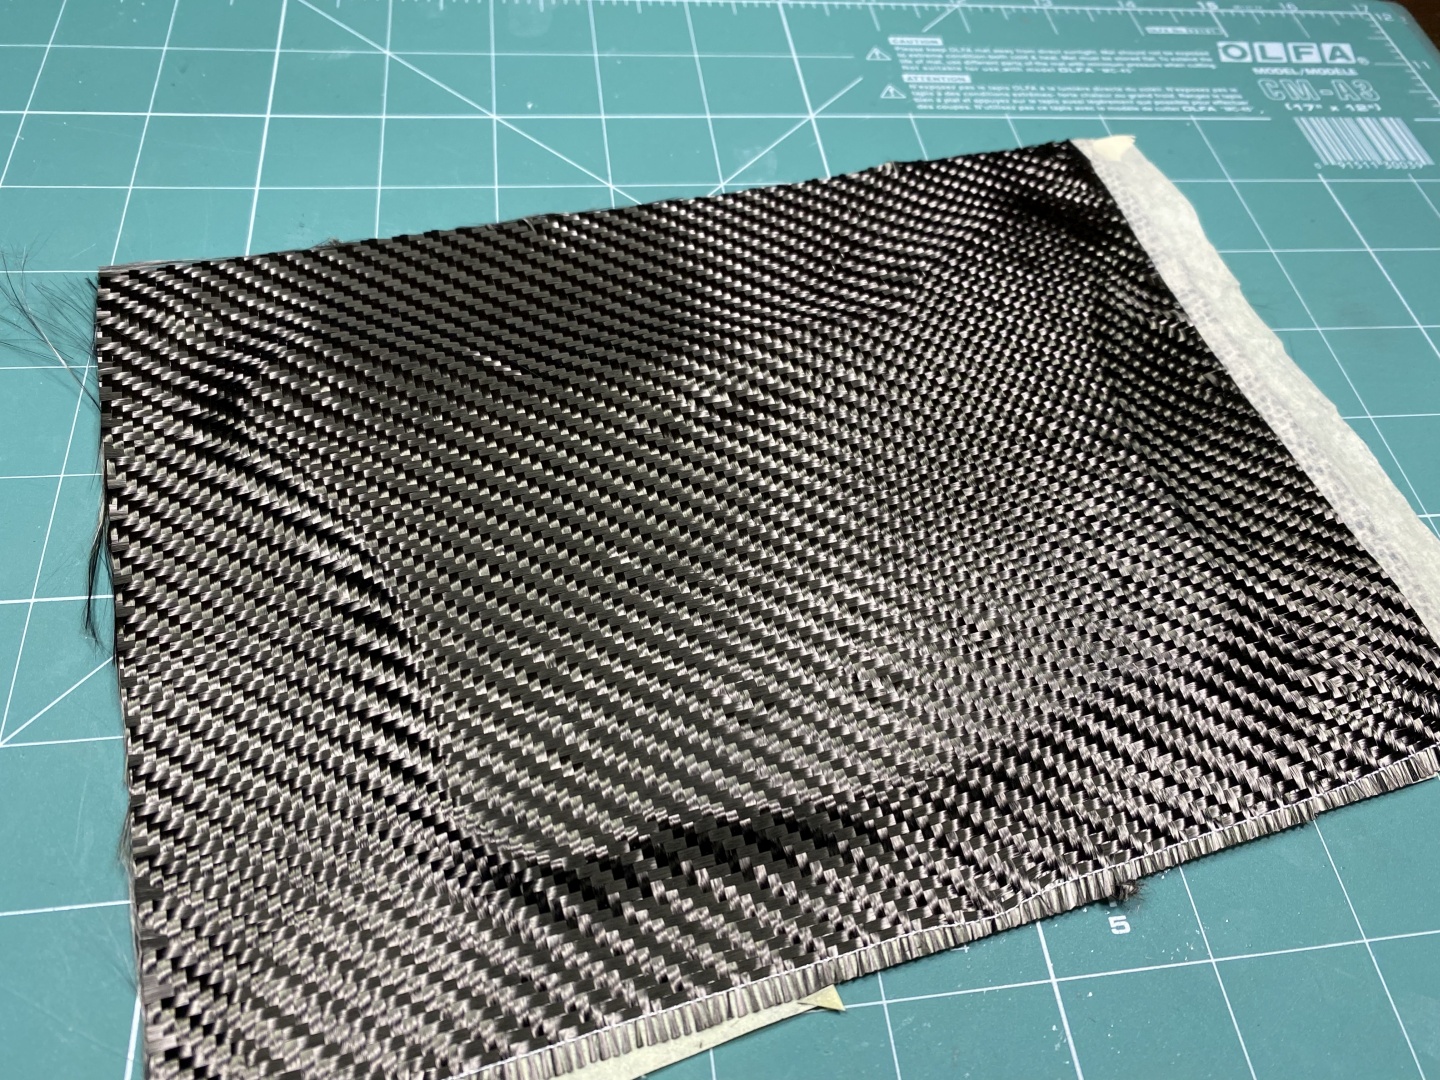
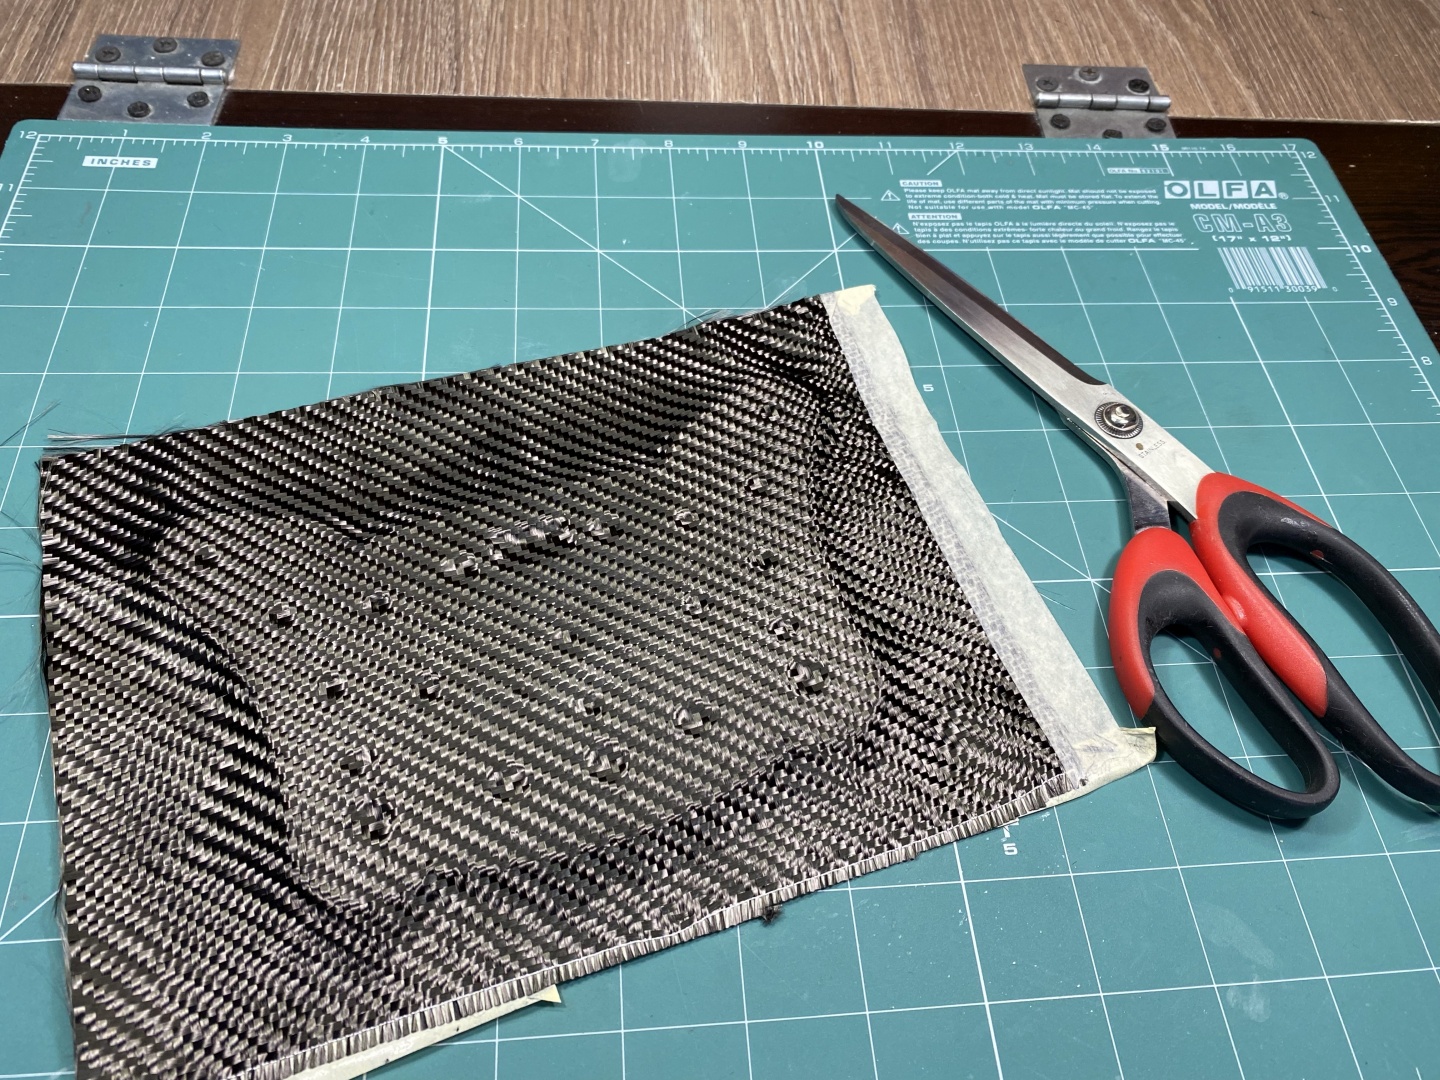
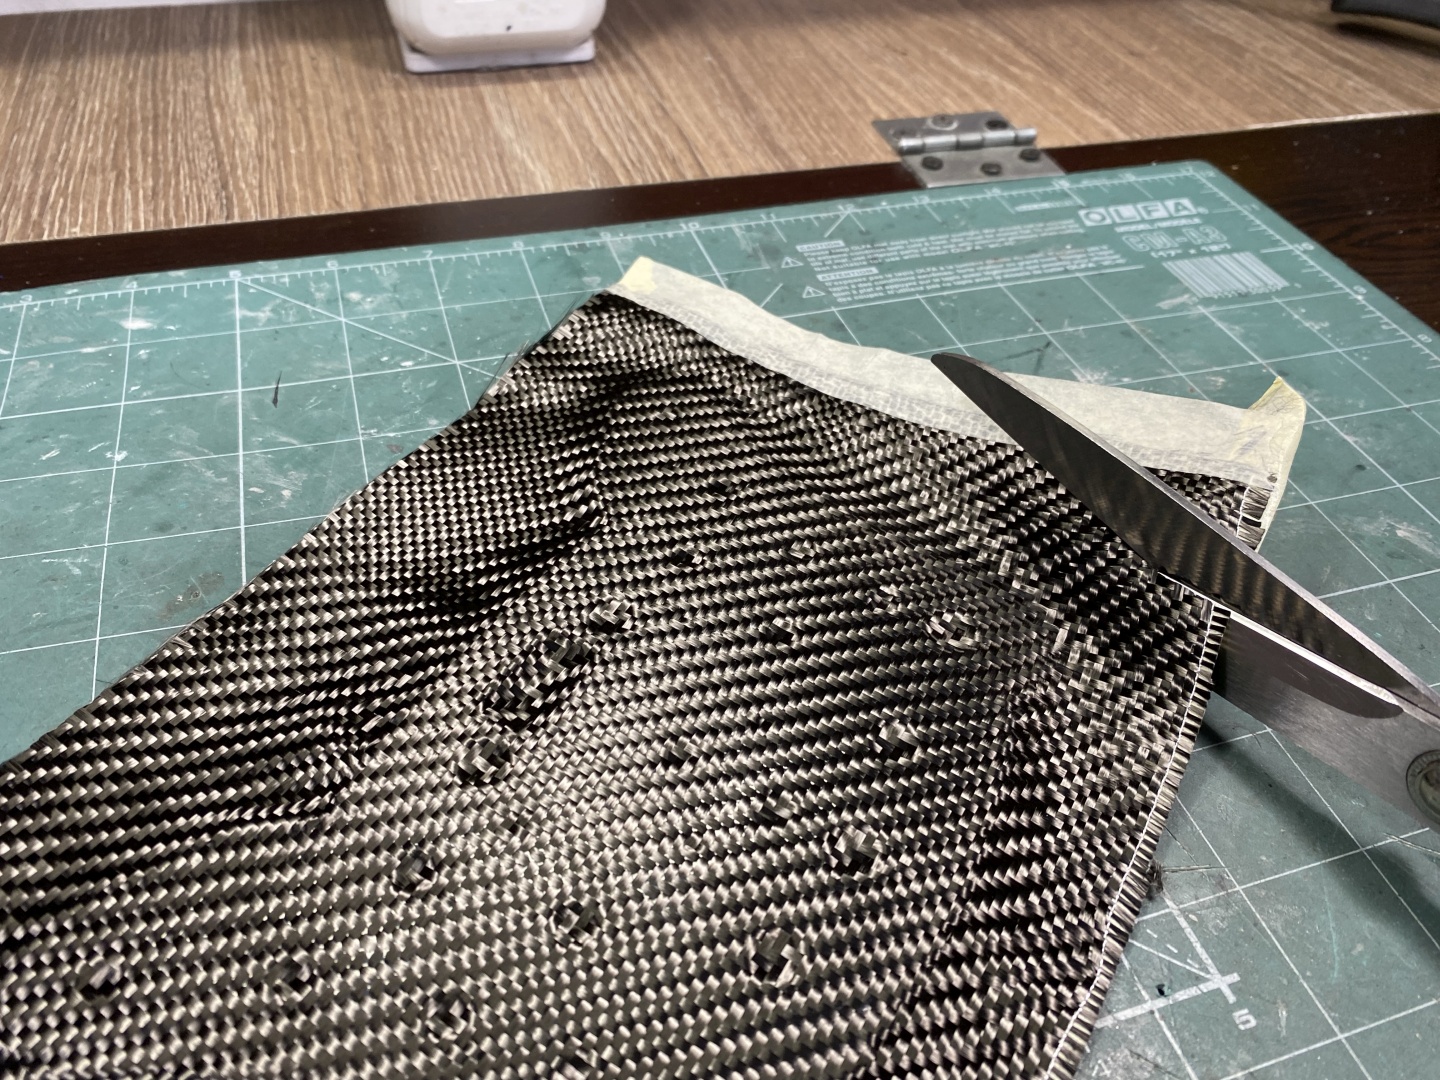
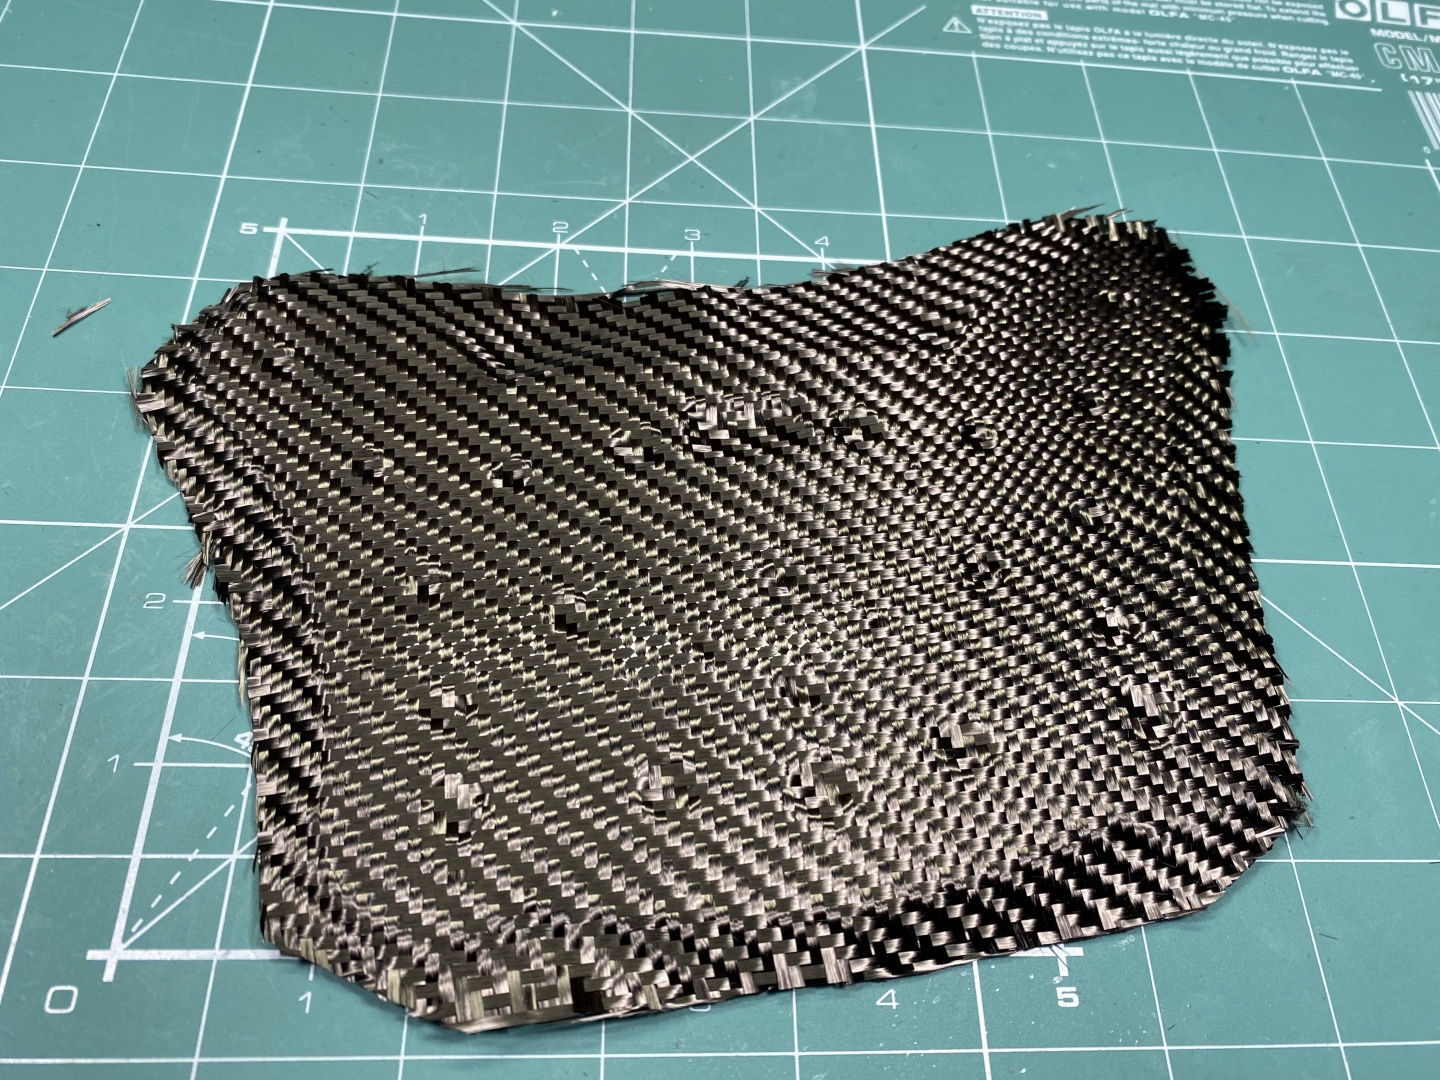
As you have to wait some time before next step now it is good opportunity to cut to size the carbon fabric. Usually I have some templates from failed prints that I can roughly measure how much fabric I need. Unroll carefully some length of material, put the template or eye measure, apply some paper masking tape where the cuts would be. This masking tape will keep the carbon fabric together and also will make cutting and handling much easier. Cut with sharp scissors in the middle of masking tape:
Prepare all pieces of carbon fabric you would need for every item, and of course cut two pieces for double sided items.
Applying the Carbon Fabric
Dry-time 1.5-2 hours
For every base coat dry-time before carbon fabric application is different, but usually is in the range of 1.5 to 2 hours. If it is not written on label it still can be easily verified.
You need to reach level of tackiness when the base coat is not liquid any more but is very tacky - right before it starts to harden. If you miss this level you will have to wait till fully hardened, sand down and start over.
To check if the layer is ready for fabric application press gently your gloved finger on the surface. When you remove it you should feel that it is tacky and small finger print should remain on the surface. If the base coat is ready for application your finger print will stay in place and will not level out. If it levels out and disappears - base coat is not dry enough. If you do not feel tackiness when removing your finger - you missed the opportune window. If you did not work with the base coat youy have currently you can start testing every 15 minutes after the 1 hour mark. When base coat is dry enough you should see your fingerprint as shown in the pictures below:
Now that the Base Coat is at its tackiness level you can proceed with sticking the carbon fabric. Start by laying it on the table. With your gloves gently stretch the fabric until you have the pattern straight. Take the piece of cloth holding carefully by the masking tape and place it on top of your base coated part. Press with palms gently to stick it together. For double sided items repeat on both sides.
When this is done you should get the following result:
Vacuum Bags
Dry-time 8 hours - overnight
Now that you covered your product with carbon fabric it should be vacuum pressed for best result. This is not mandatory step, you can just leave it to dry as is but vacuuming provides much better adherence and flatter surface.
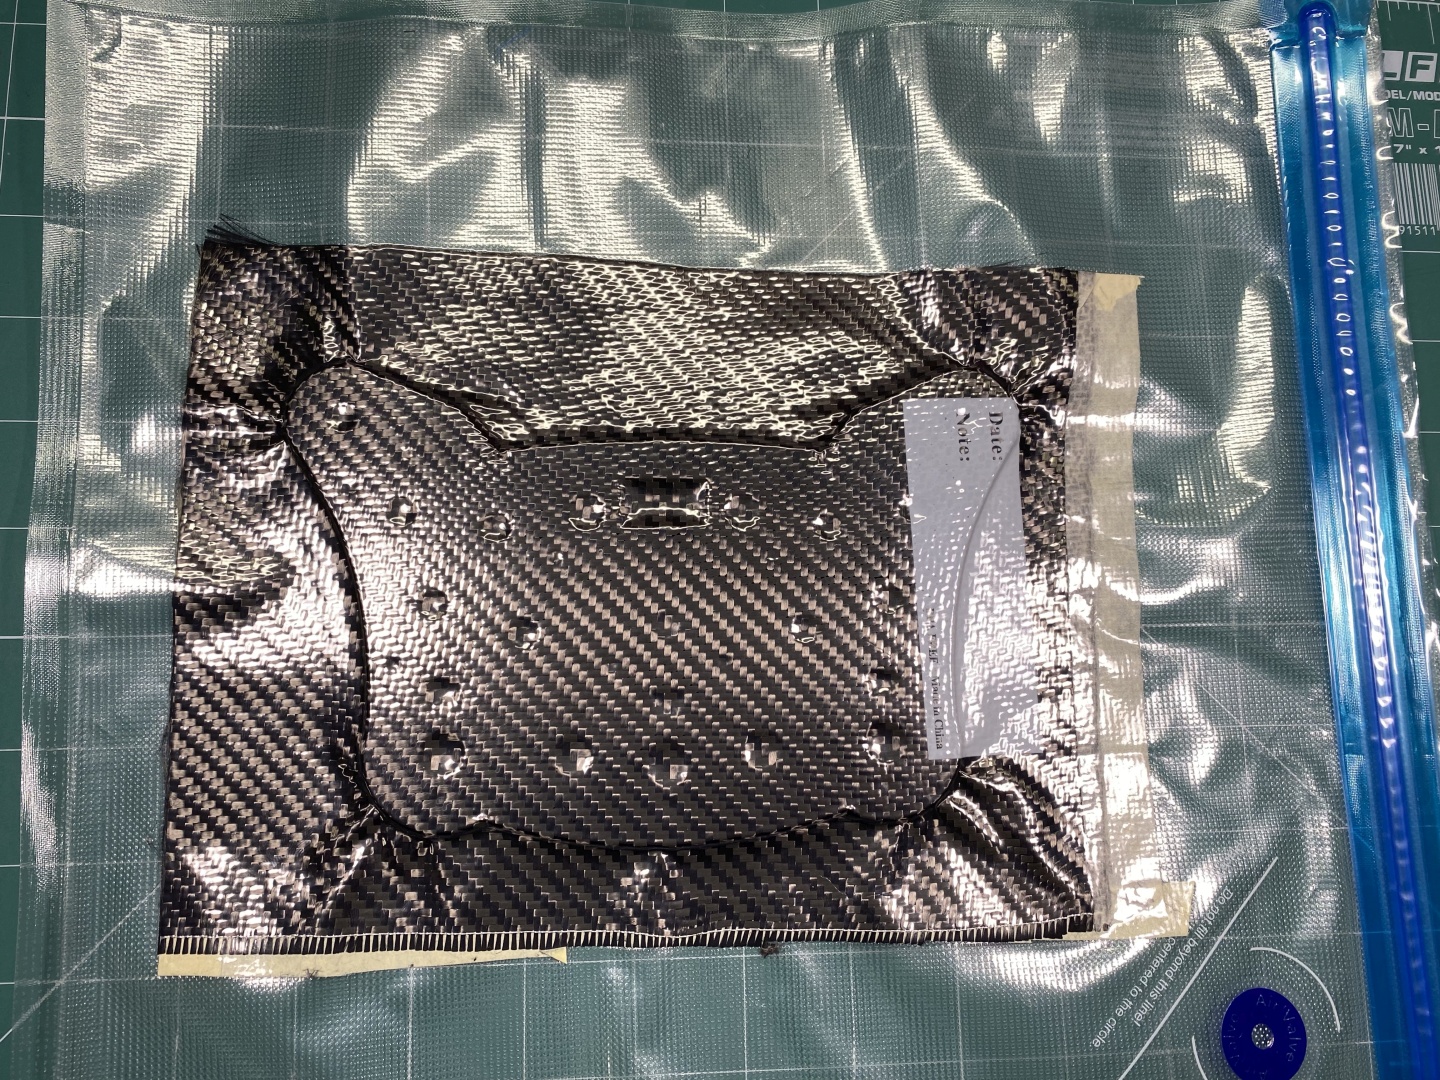
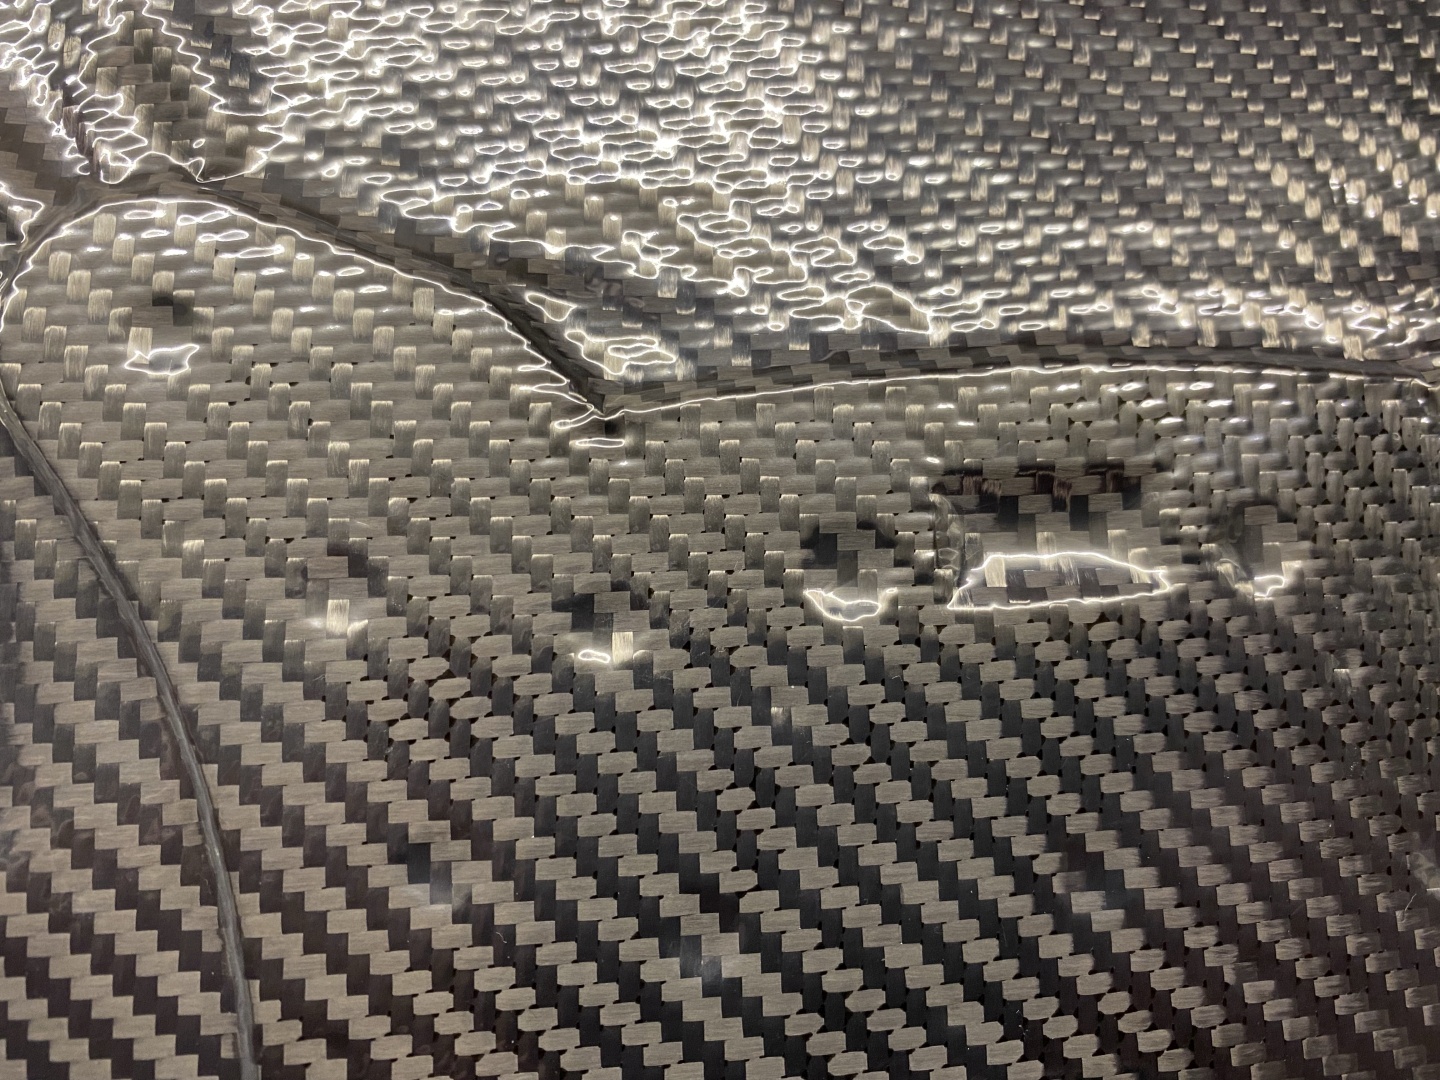
Level of vacuum you need for this step is relatively low - home food vacuum machines are on the strong side for that. I found out the easiest way to vacuum small parts is 3D Printer Filament Vacuum Bags. They are quite cheap, come with vacuum pump and are reusable. Keep in mind one of the sides of these bags is not flat - it has texture. If you put too much base coat or did not wait to dry enough it tends to leak out from the fabric and ruin your nice carbon look. If you have preferred front side of your item always put it on the slick side.
Close the bag, vacuum it and this should be the result:
At this point we can leave it aside and have a rest. Minimum curing time is 8 hours, but leave it preferably overnight for better results.
Initial Trimming
After the base coat has dried completely you can trim some of the excess carbon fabric. Do not cut very close to edge ad you will ruin the twill, it is very easy to untangle it. cut with sharp scissors carefully 1cm away from edge. At this point I also puncture the holes especially laying double sided carbon as at next step the small holes will start disappearing and later it is very hard to find them (they will up with resin). Proper trimming makes it easier at later stages also will save some material:
This done now we can finally start laying the First Resin Layer:

