Preparation
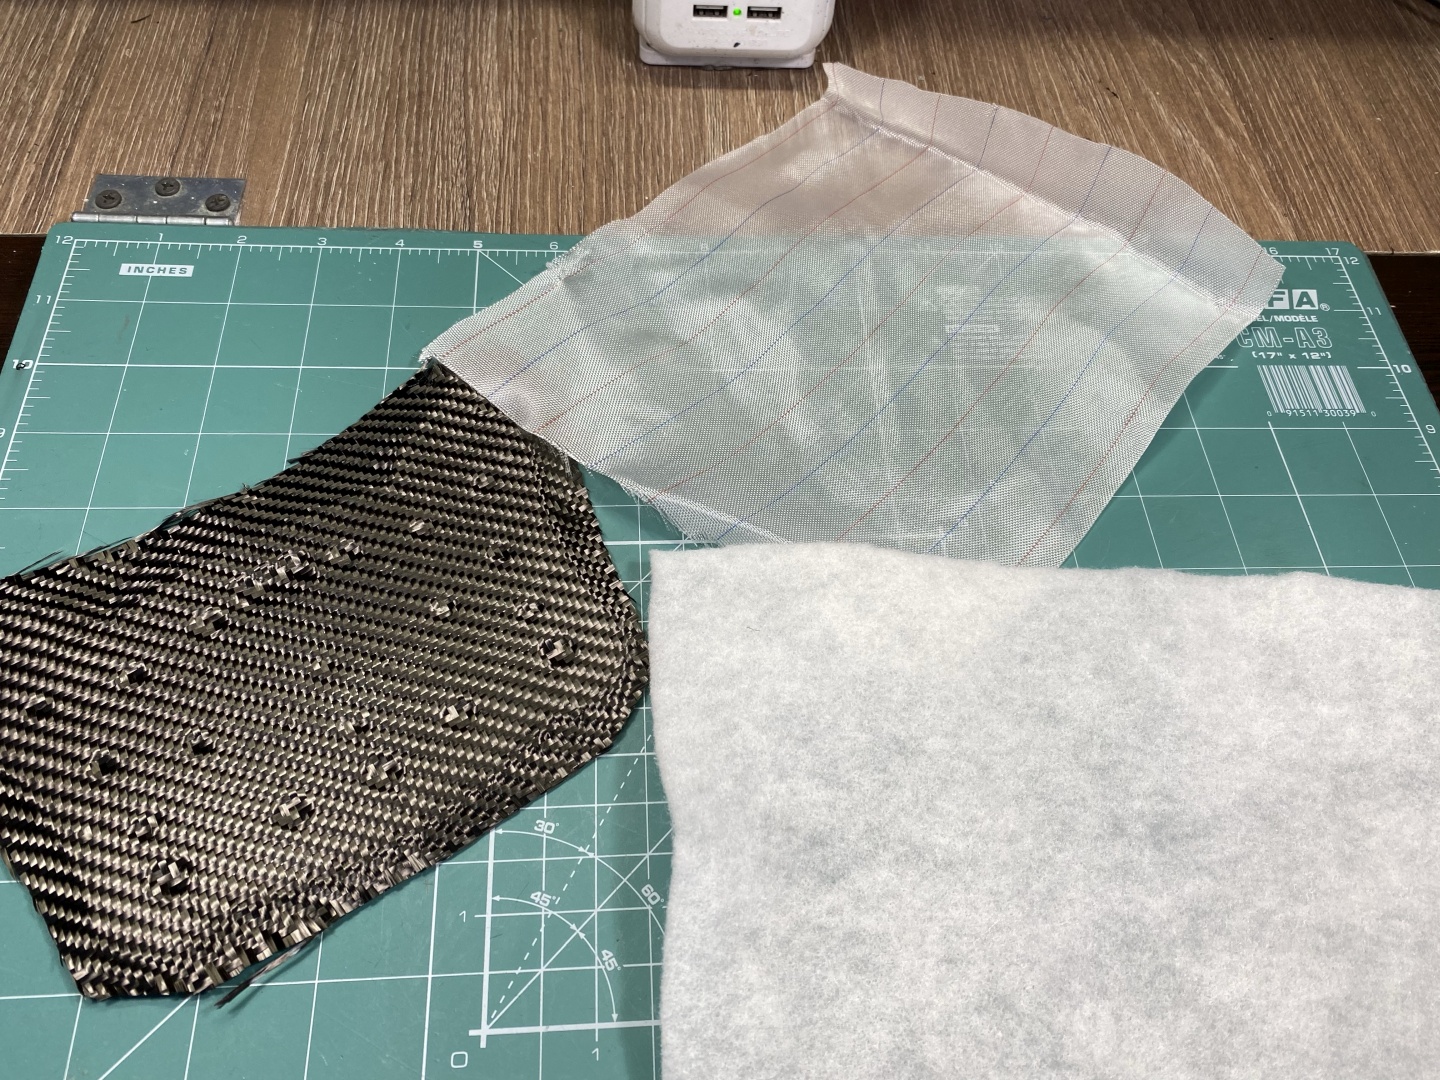
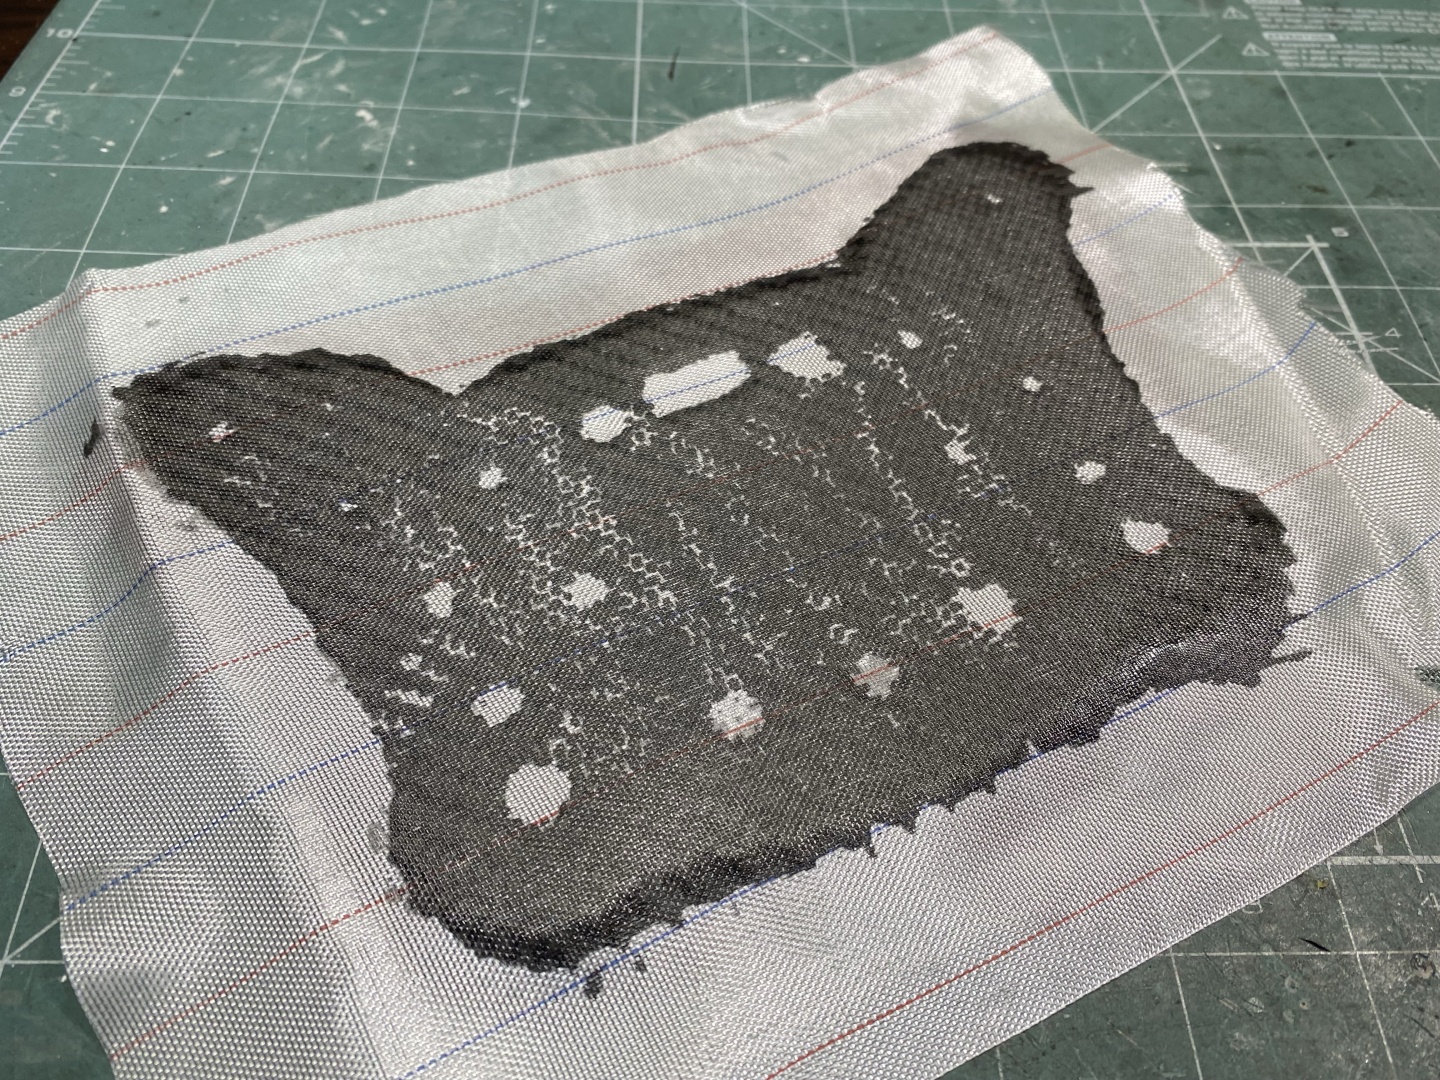
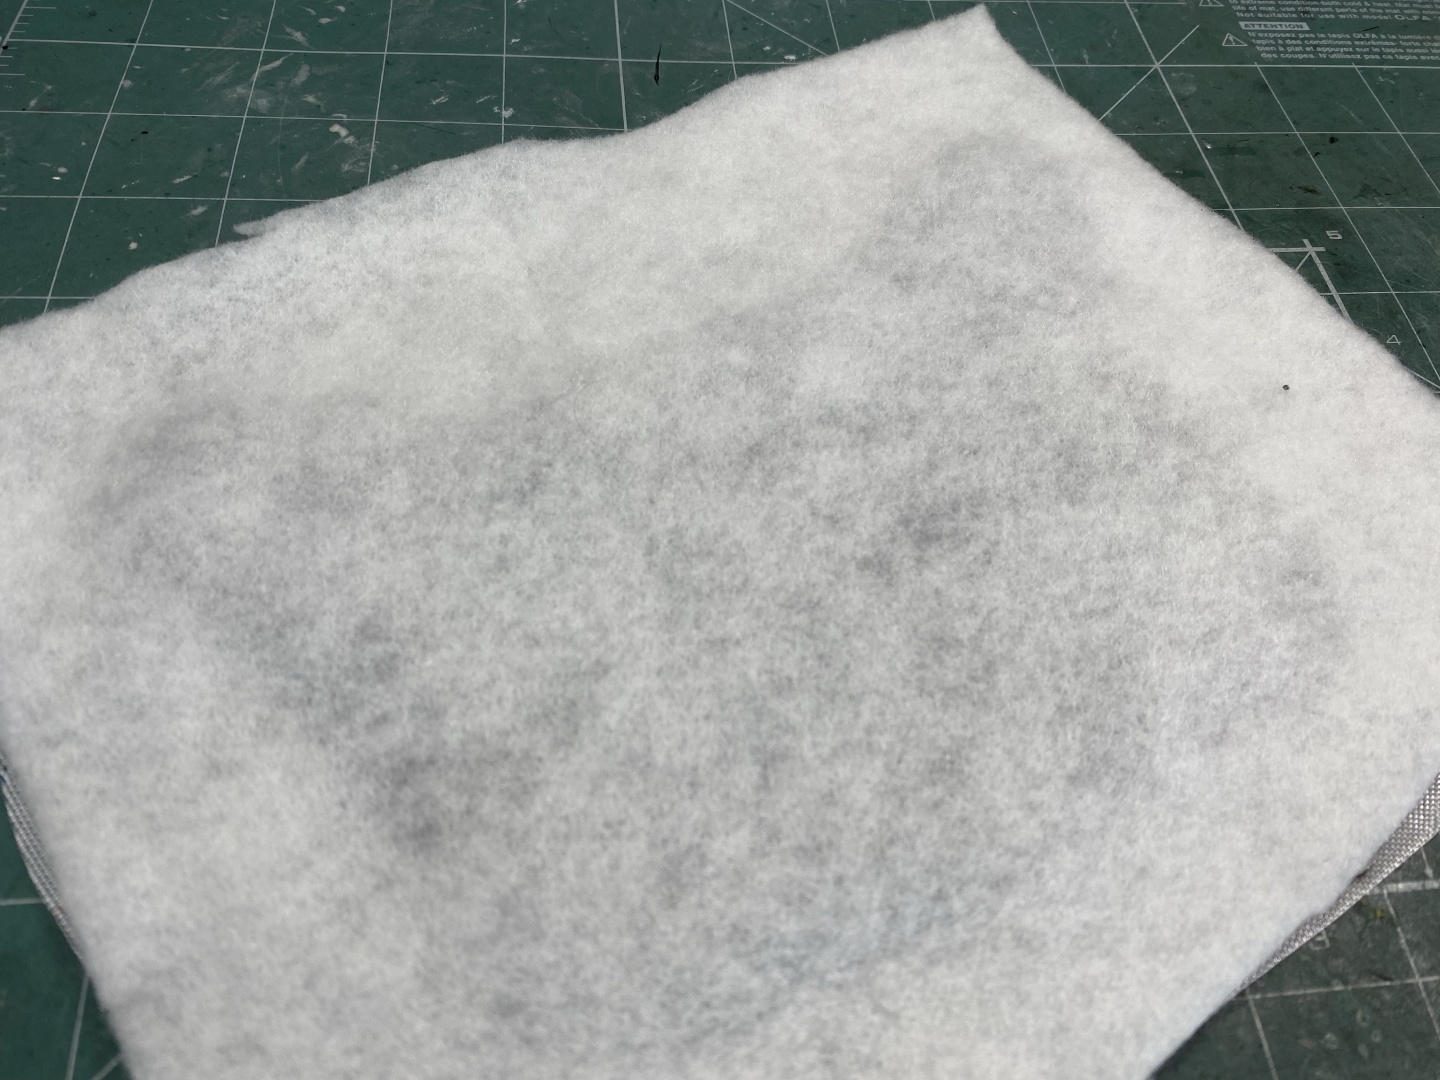
Before you start applying the first resin layer you will need to prepare the transfer materials. Start by cutting enough pieces to cover all your items from the Peel Ply and the Breathable Fabric. You will be covering with them the resin, which will be transferred away ultimately providing nice flat surface for next layers. Peel Ply is the divider which will make sure that you can peel off this cover and the breathable fabric is what actually absorbs the residue resin.
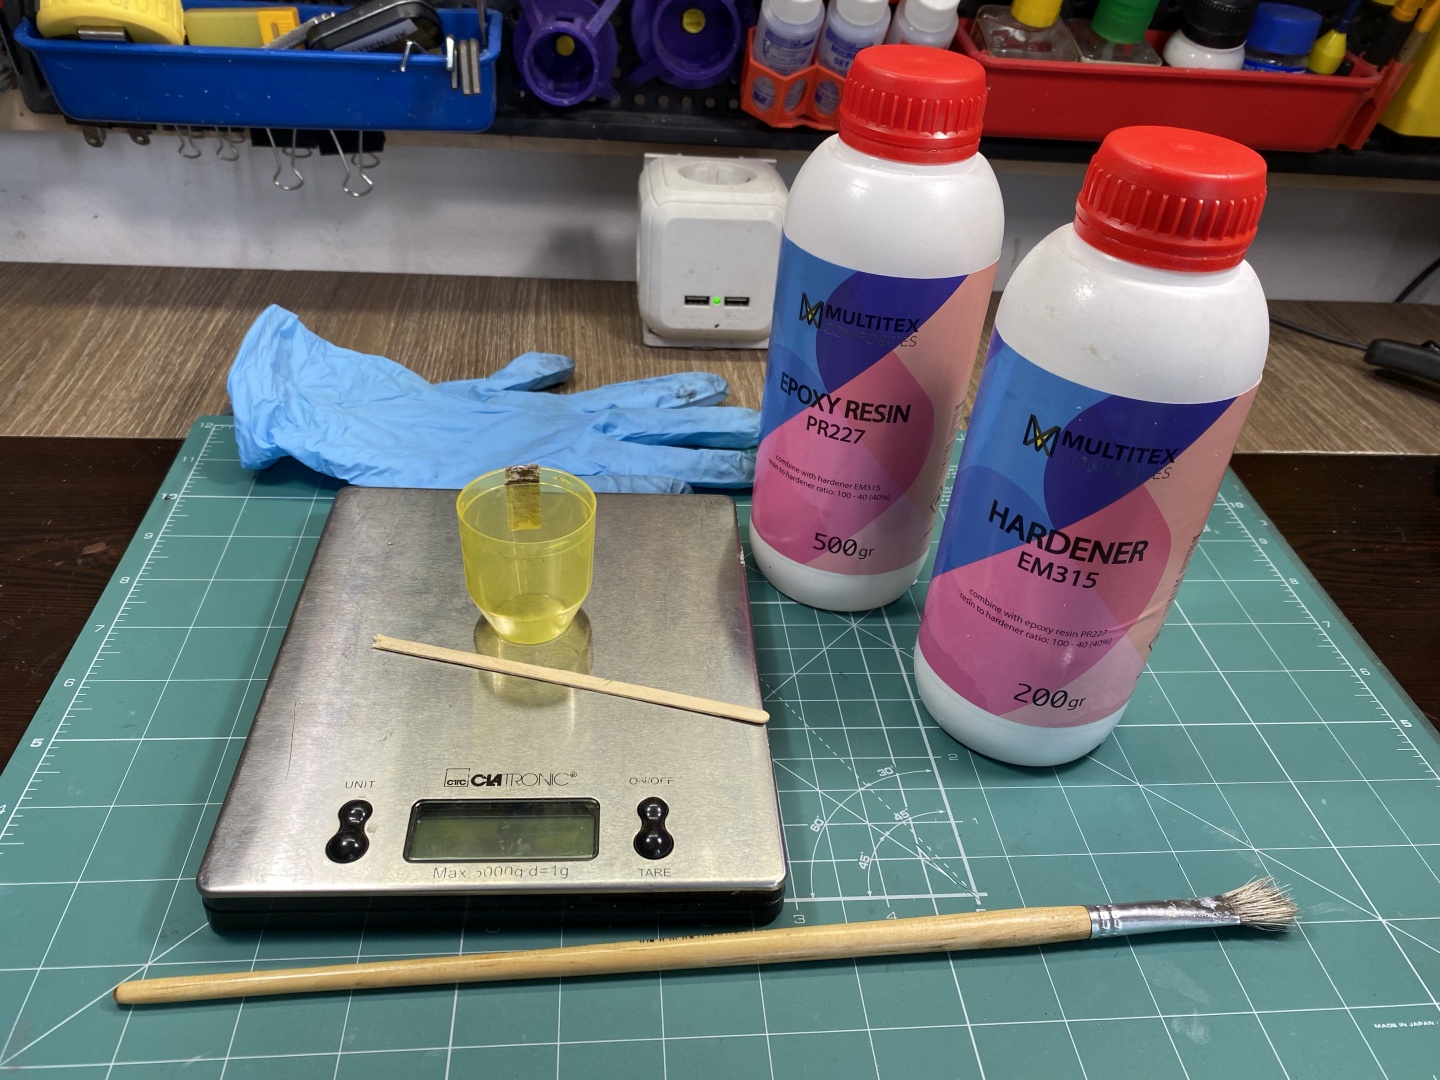
When you have prepared all covering materials proceed with mixing the Crystal Resin (for ratio see label). The first layer absorbs more resin than the consecutive ones as the fabric is still soft. Prepare more resin as you really want to soak it up thoroughly (if you put too much the breather will absorb it, do not worry):
Applying First Resin Layer
Wash again the surface with soap water and rinse. Clean with isopropyl alcohol as well.
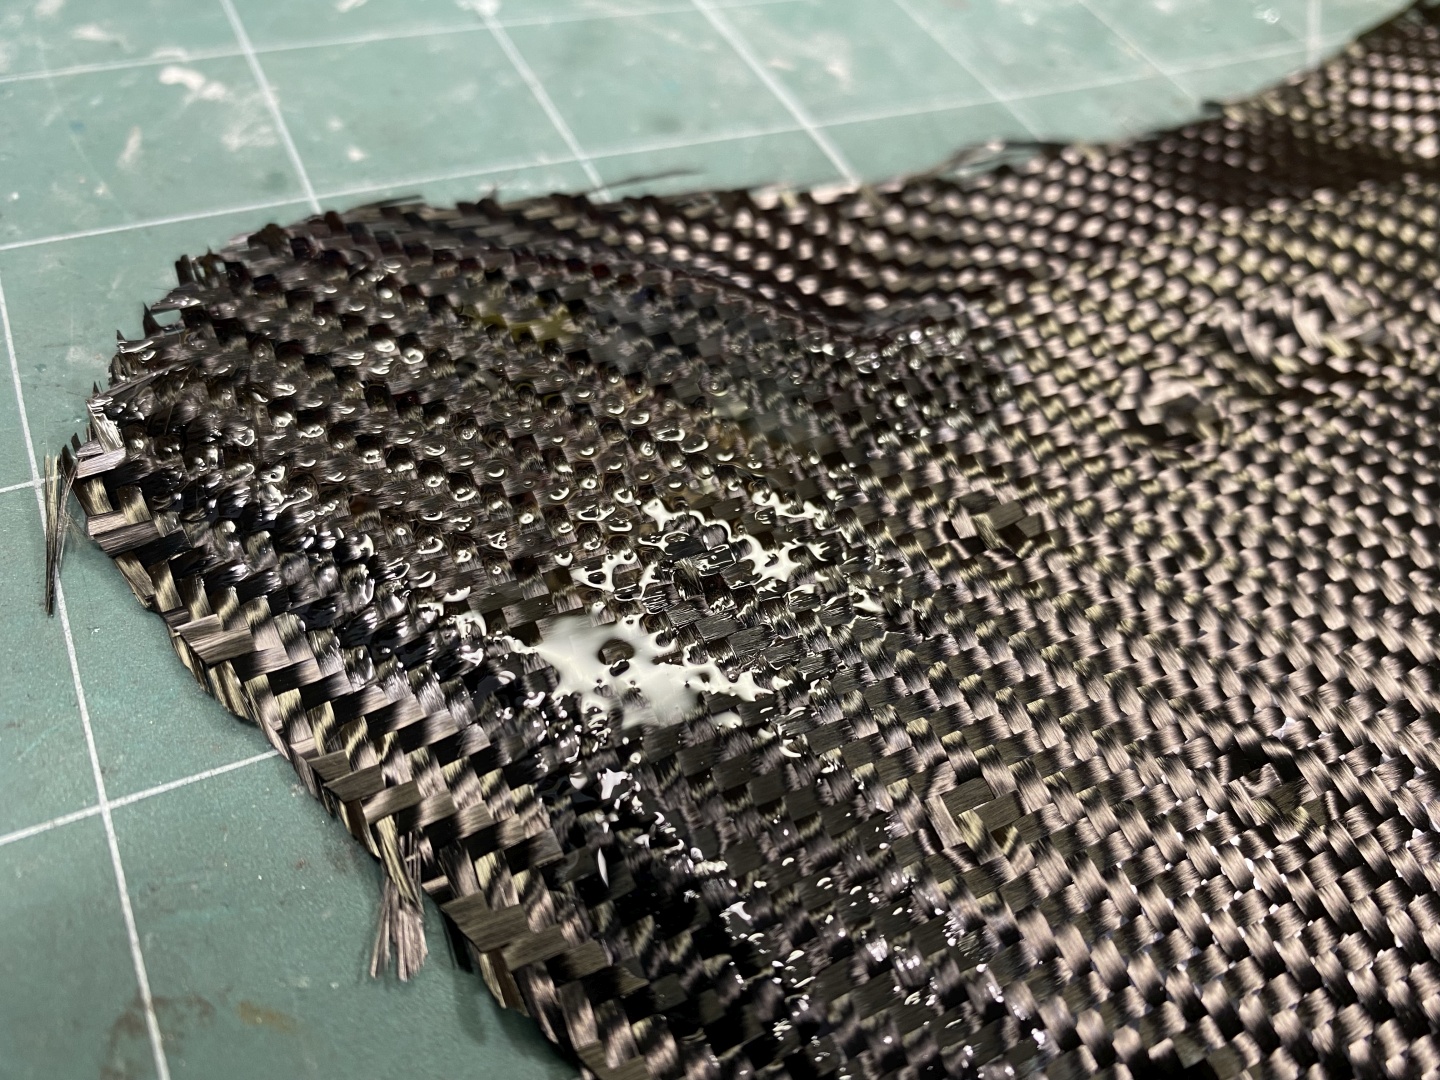
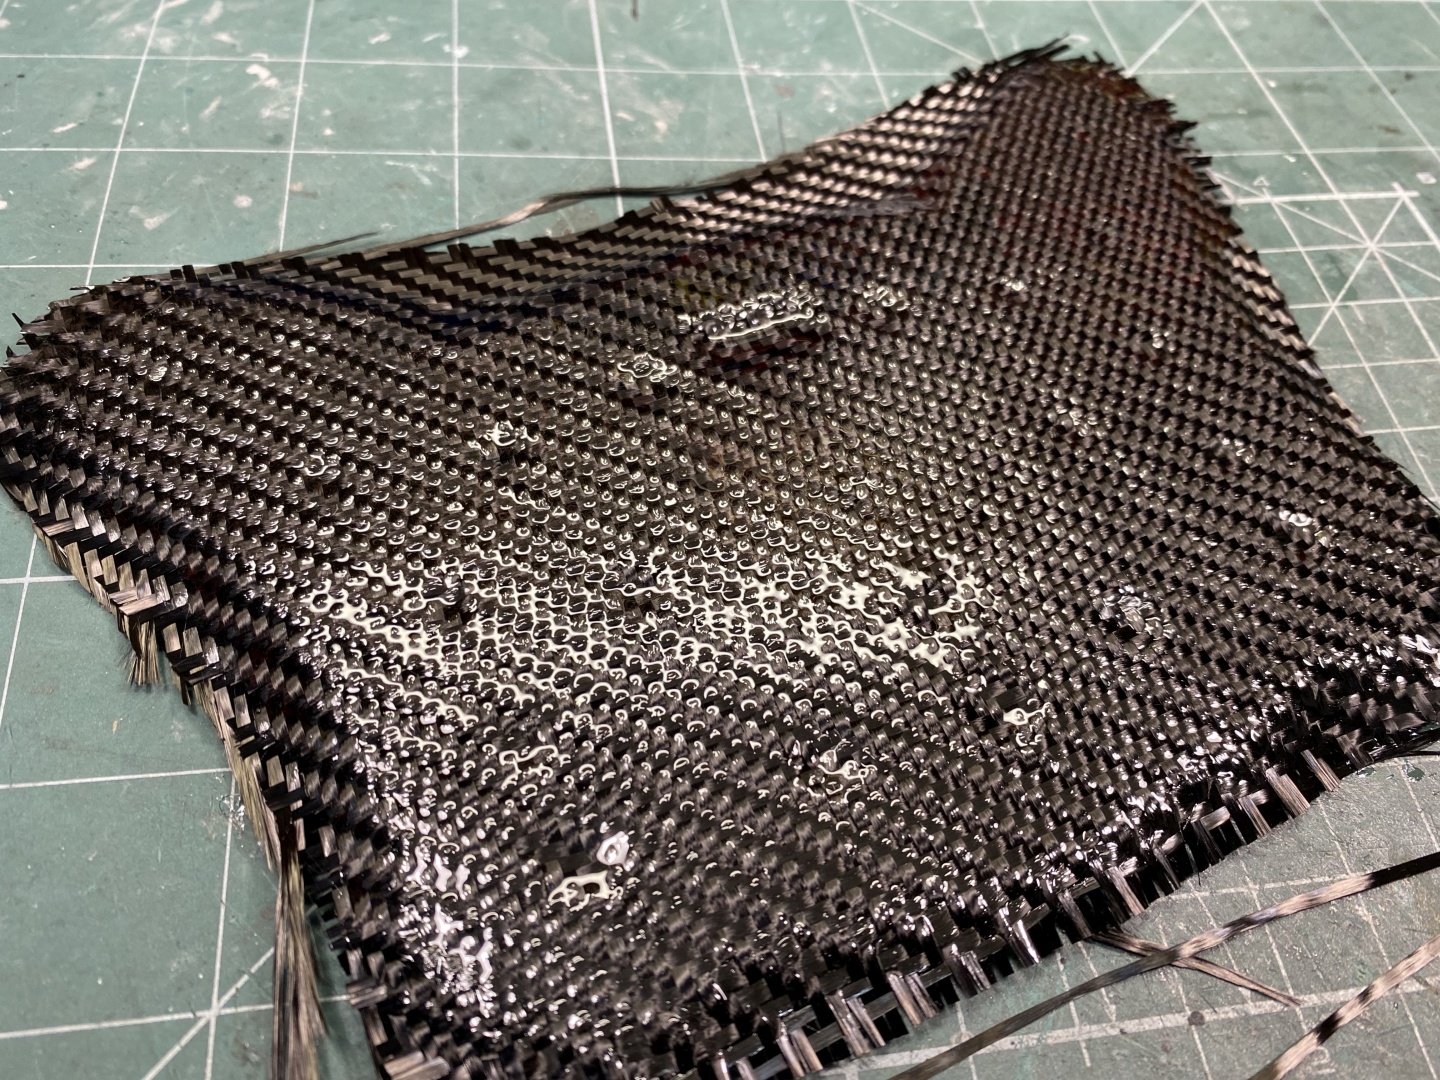
After you prepare the resin you can start applying it. It is recommended to use new brush so it does not leave traces but I always manage to clean them properly with Acetone and they are still soft after multiple use. Apply resin thoroughly, make sure you are soaking well all the fabric and not missing any spots:
If you want to add more carbon fabric layers for strength now is the time to do it. We will not cover the full process here, but basically you will be putting alternating layers of fabric and covering them with resin.
Applying Moisture Wicking Material and Vacuum Seal
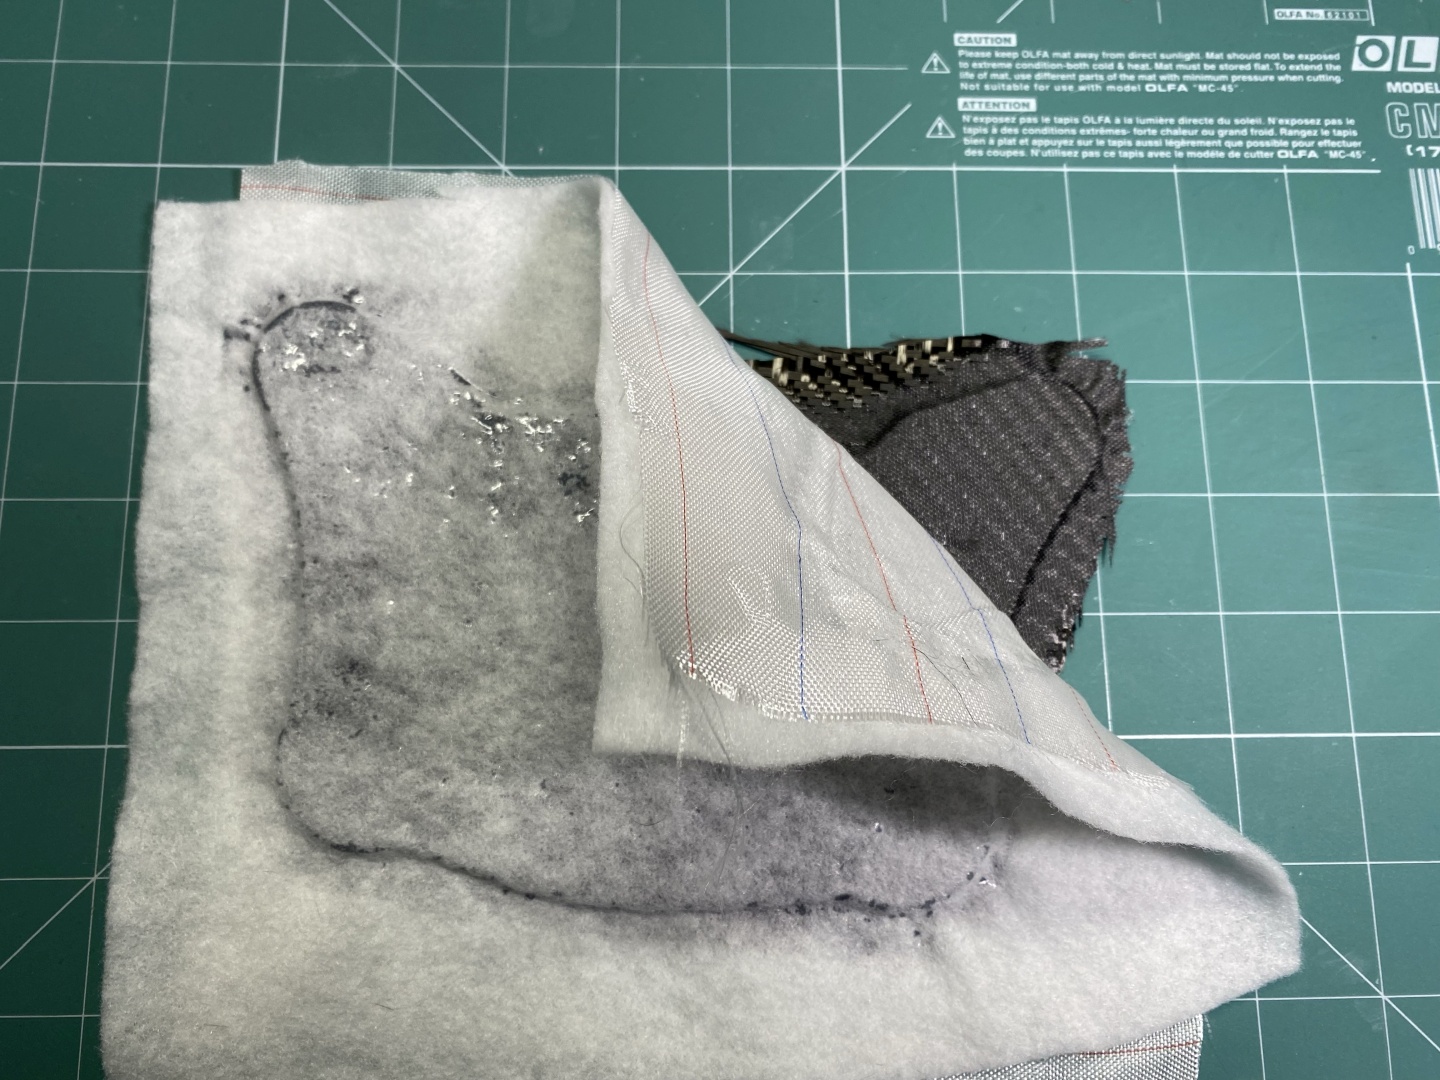
Immediately after you complete the resin layer you can proceed with the cover moisture wicking materials. First apply the Peel Ply - just put it flat on top of your product, it will soak itself. The Peel Ply fabric is highly porous material separating the permanent (carbon fiber) layer from the wicking material. It forms barrier through which resin flows and is absorbed by the breathable layer. On top of it cover with the Breathable Fabric, press it gently to stay in place:
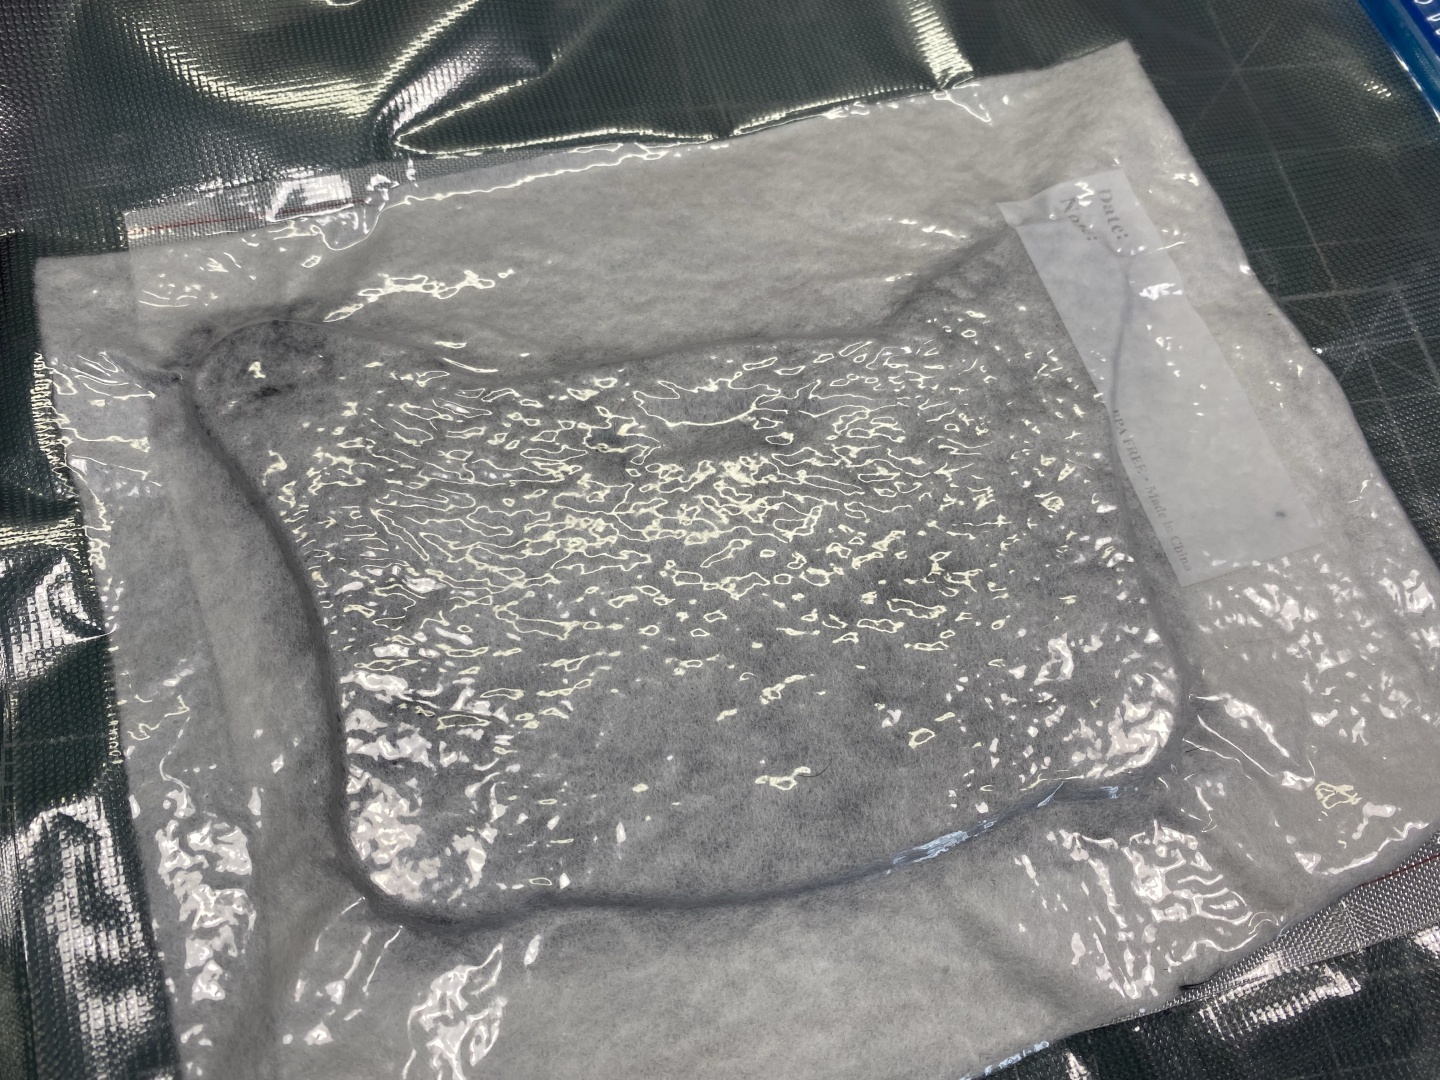
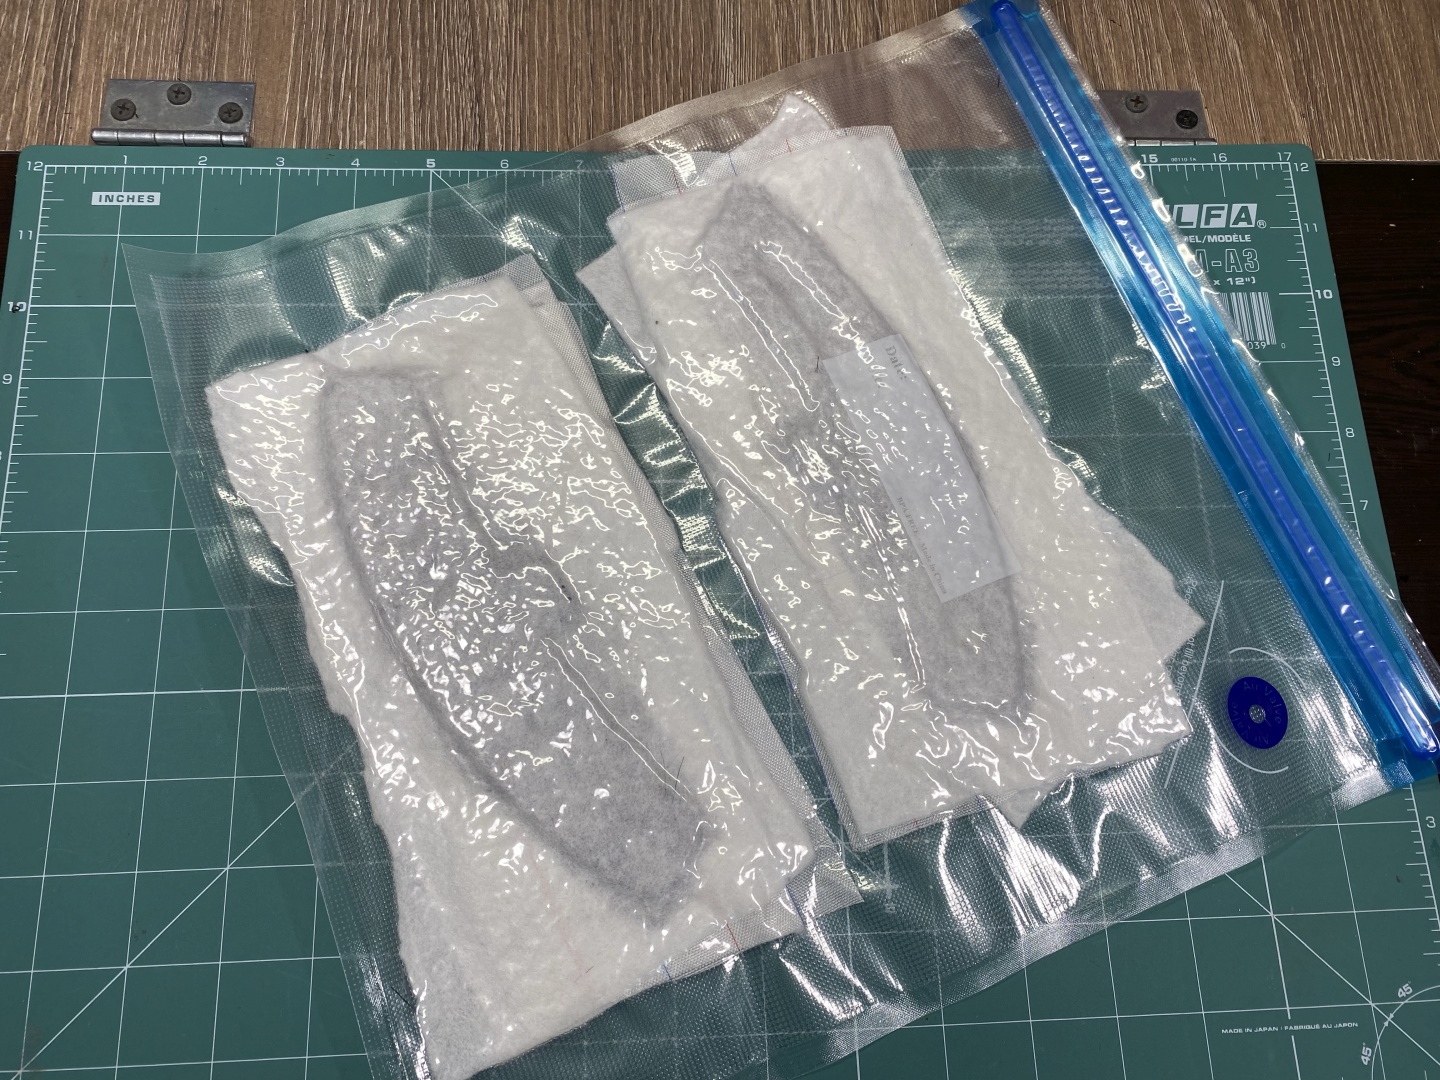
Carefully put the whole assembly in the bag and vacuum it. This will result in nice flattened carbon fiber top player:
Again standard drytime is minimum 8 hours, but the longer they dry the better the result. I usually leave them at least overnight.
Edge Trimming and Preparation for Top Layers
Dry-time 8 hours - overnight
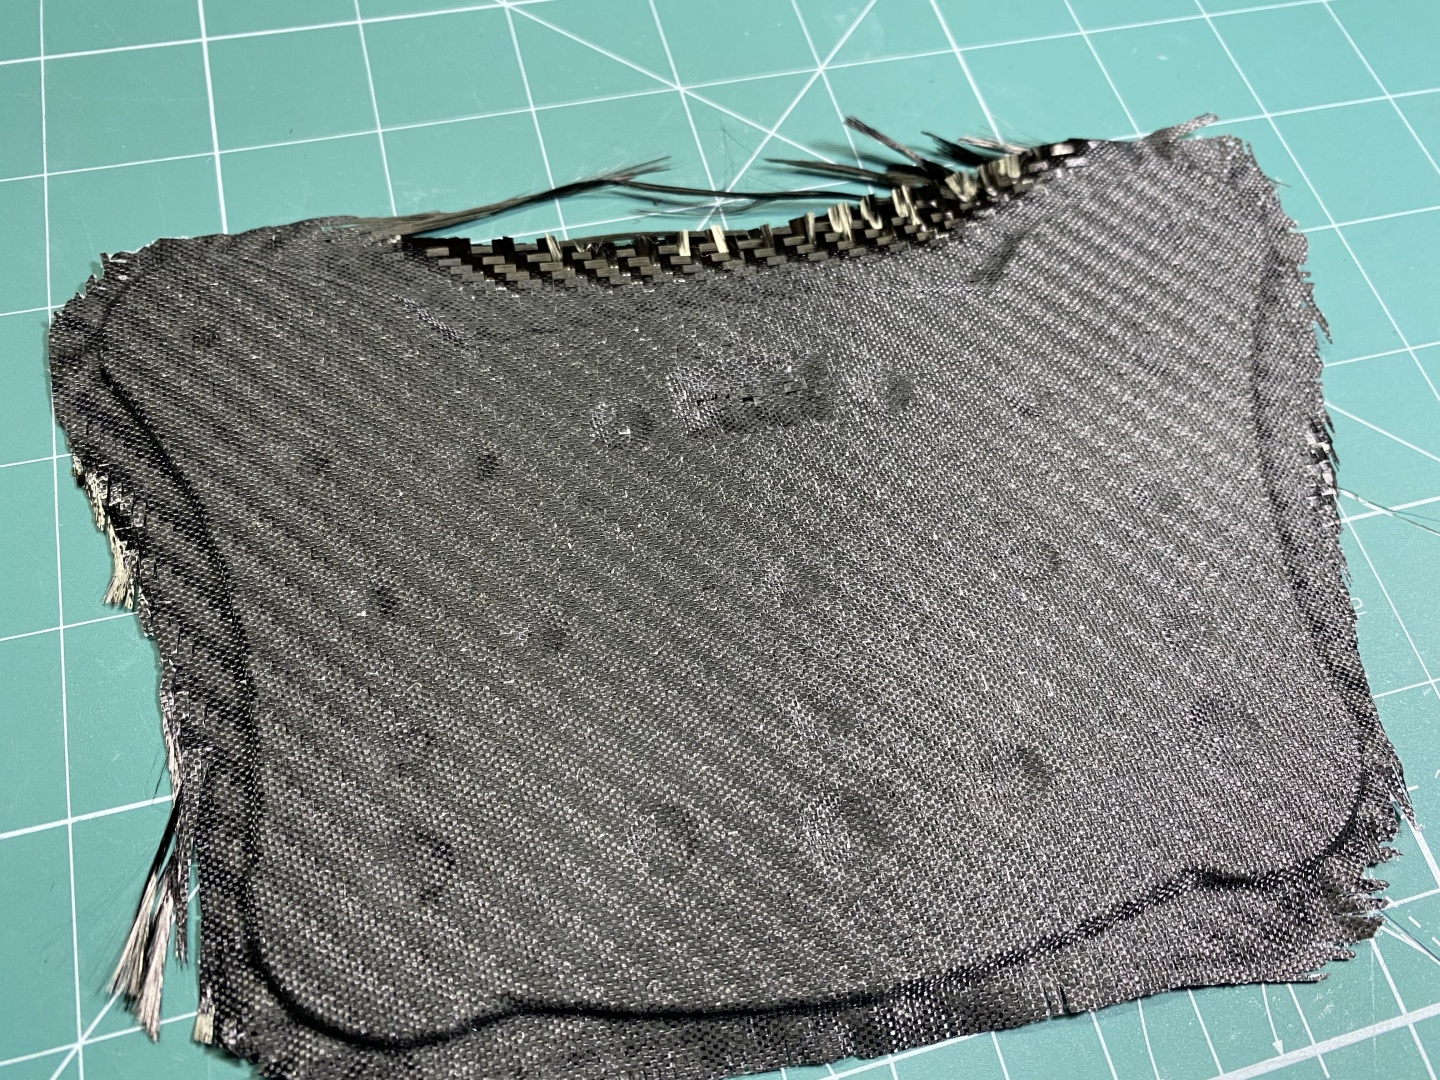
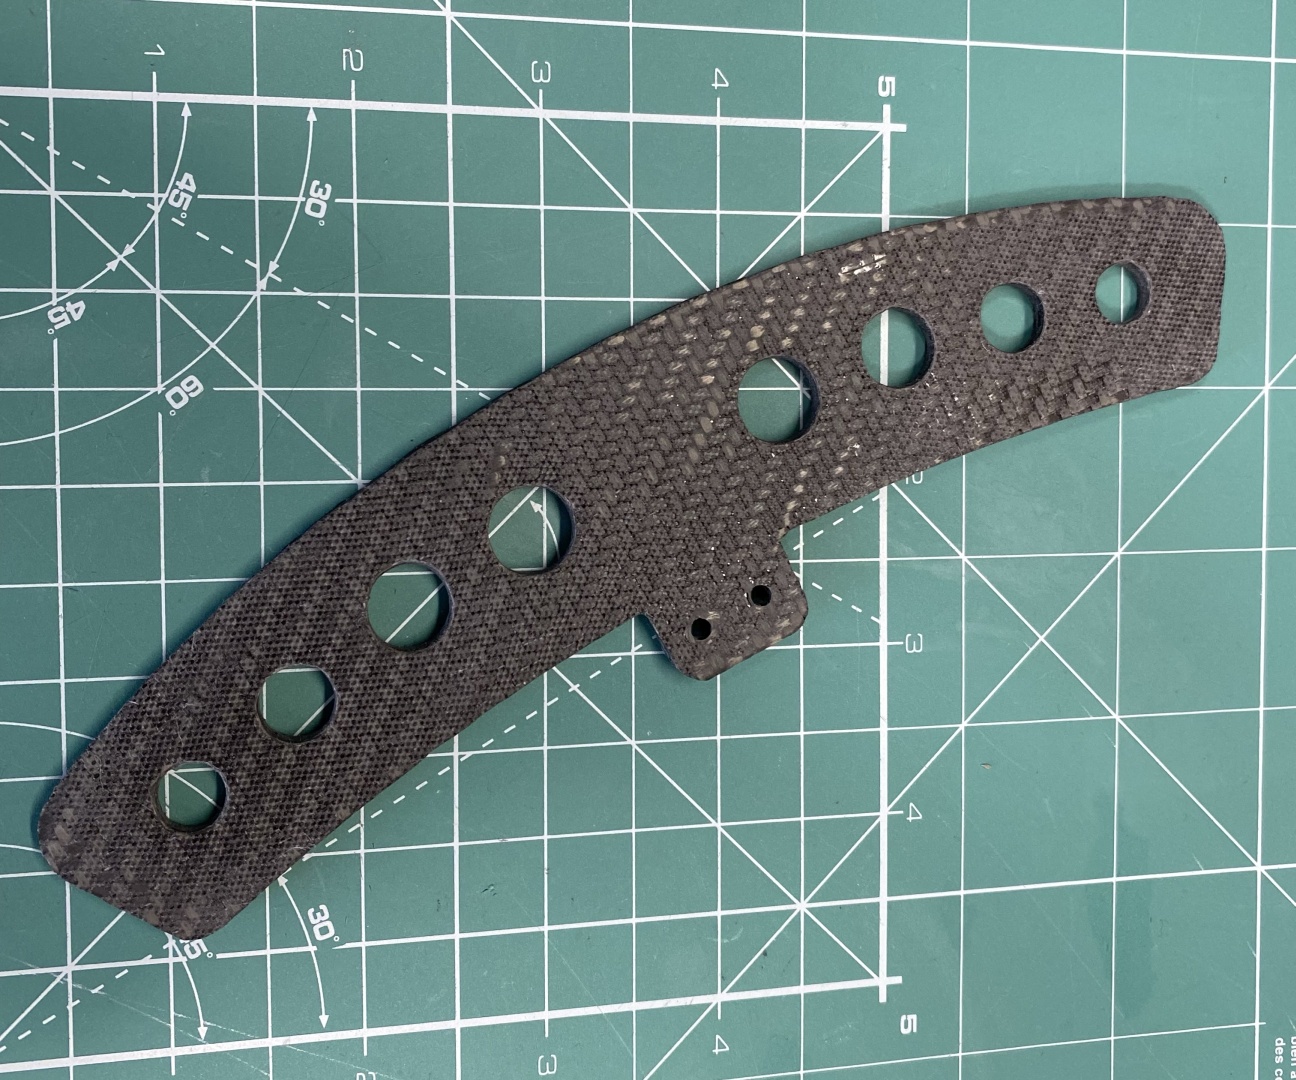
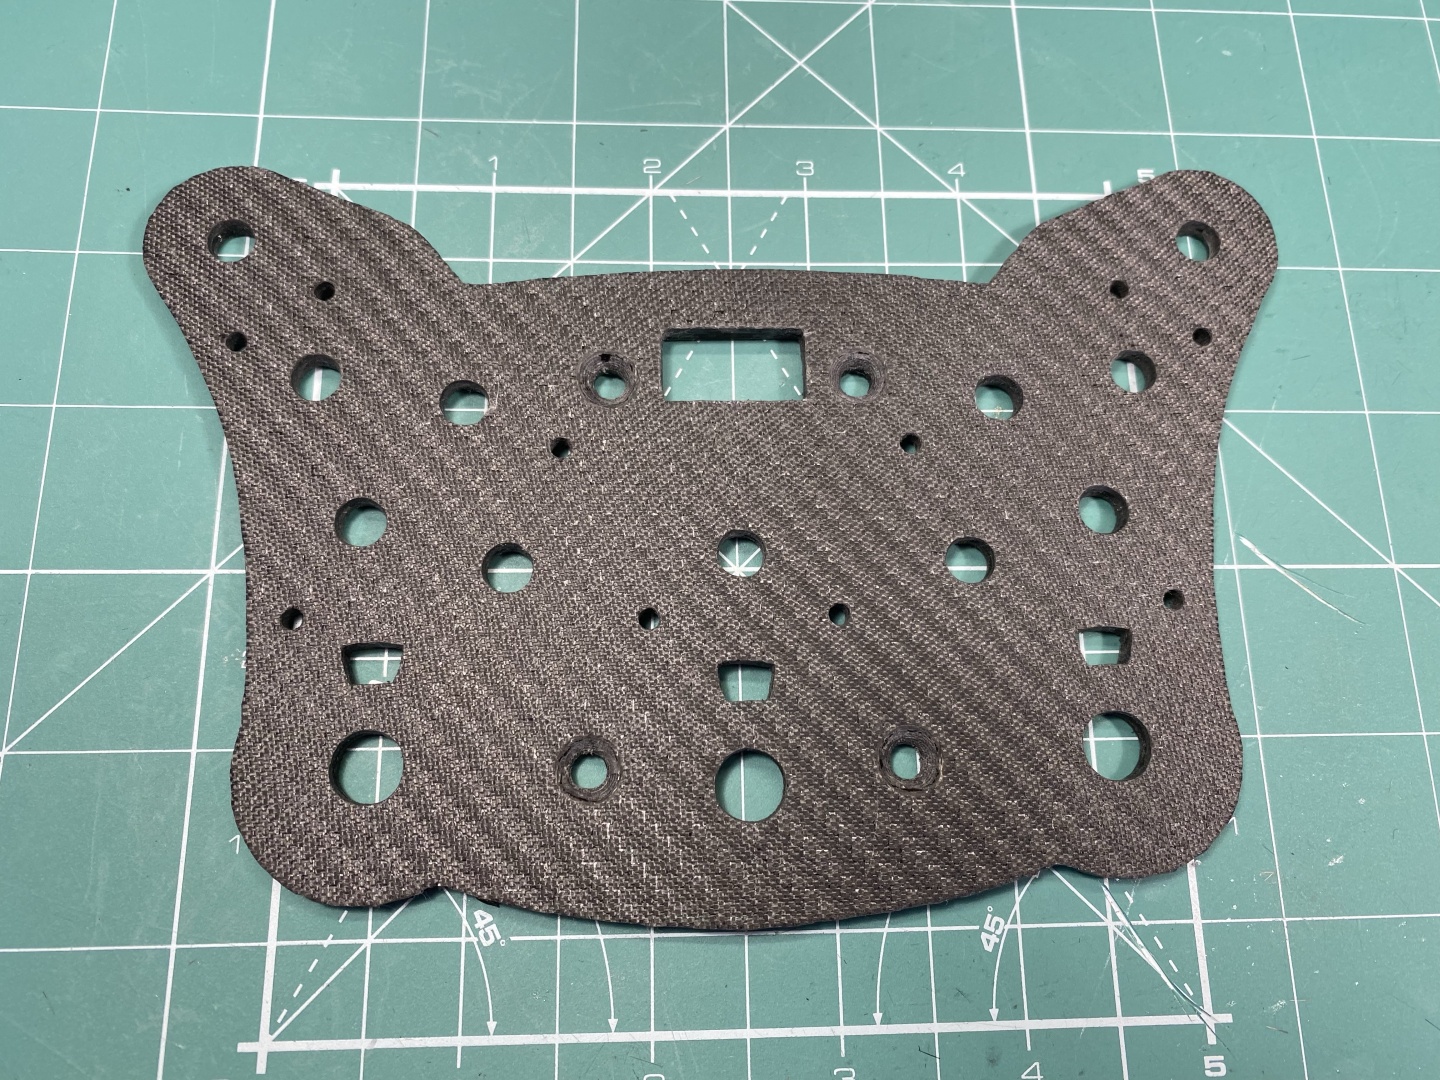
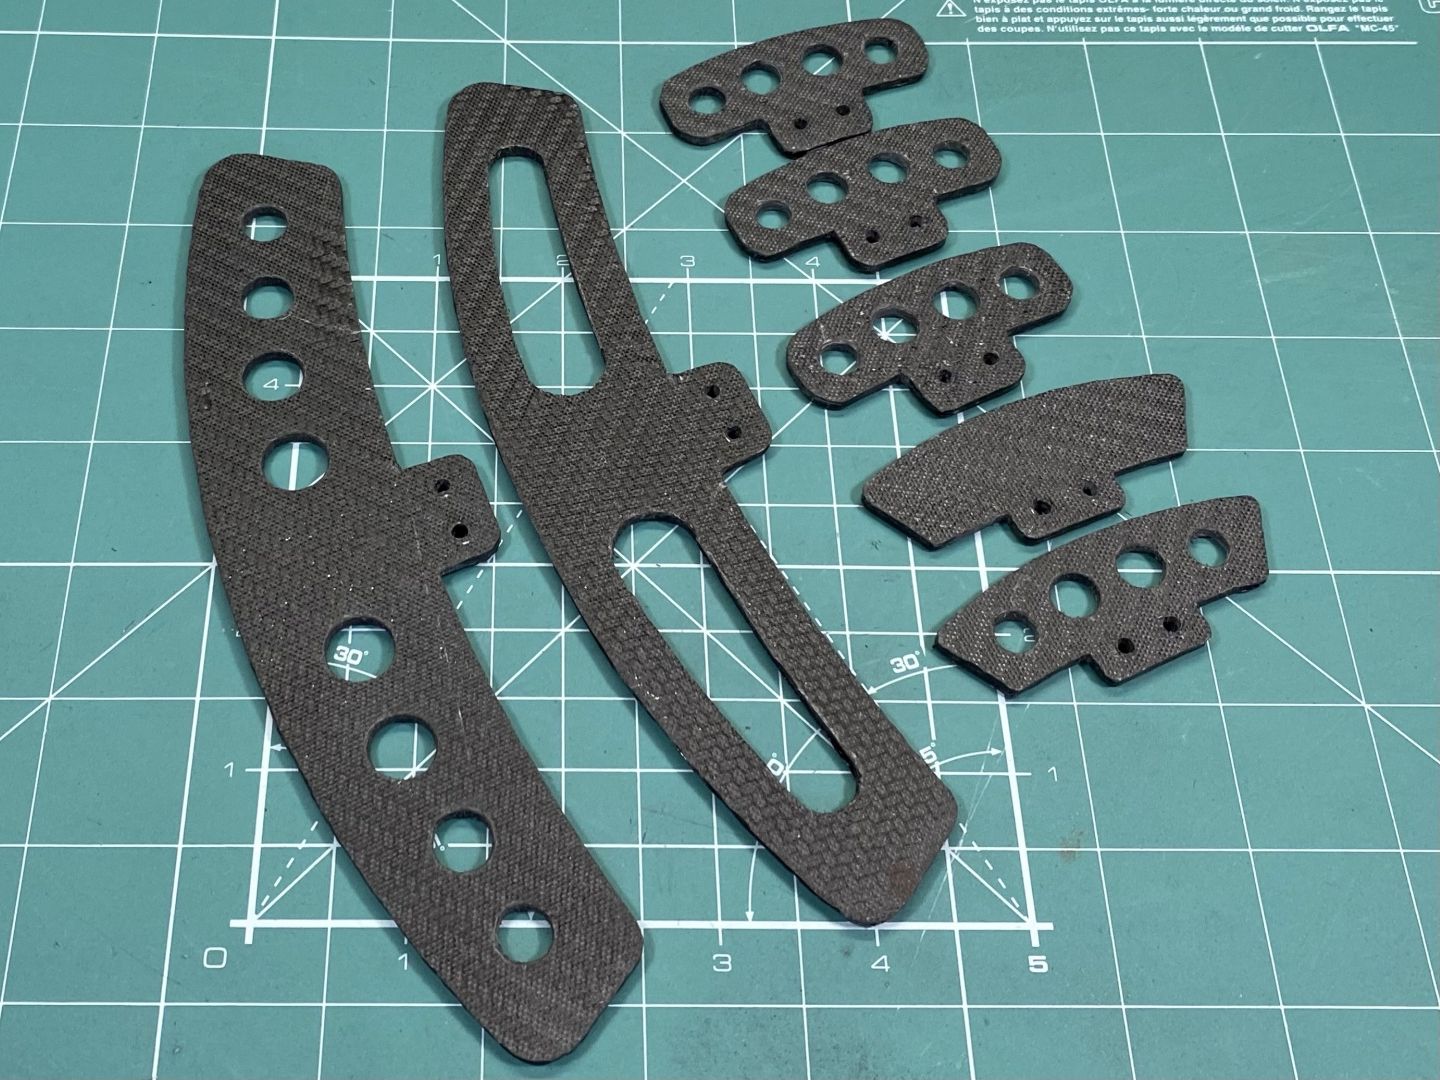
Now is the time to remove the wicking material and catch our first glimpse of how well we managed to make the carbon surface. Open up the bags and pull the Peel Ply layer - it should come down easy. It leaves you with nicely textured surface which after some sanding will provide you very good grip for next layers. It has very rough finish but should be completely flattened and uniform throughout the whole item:
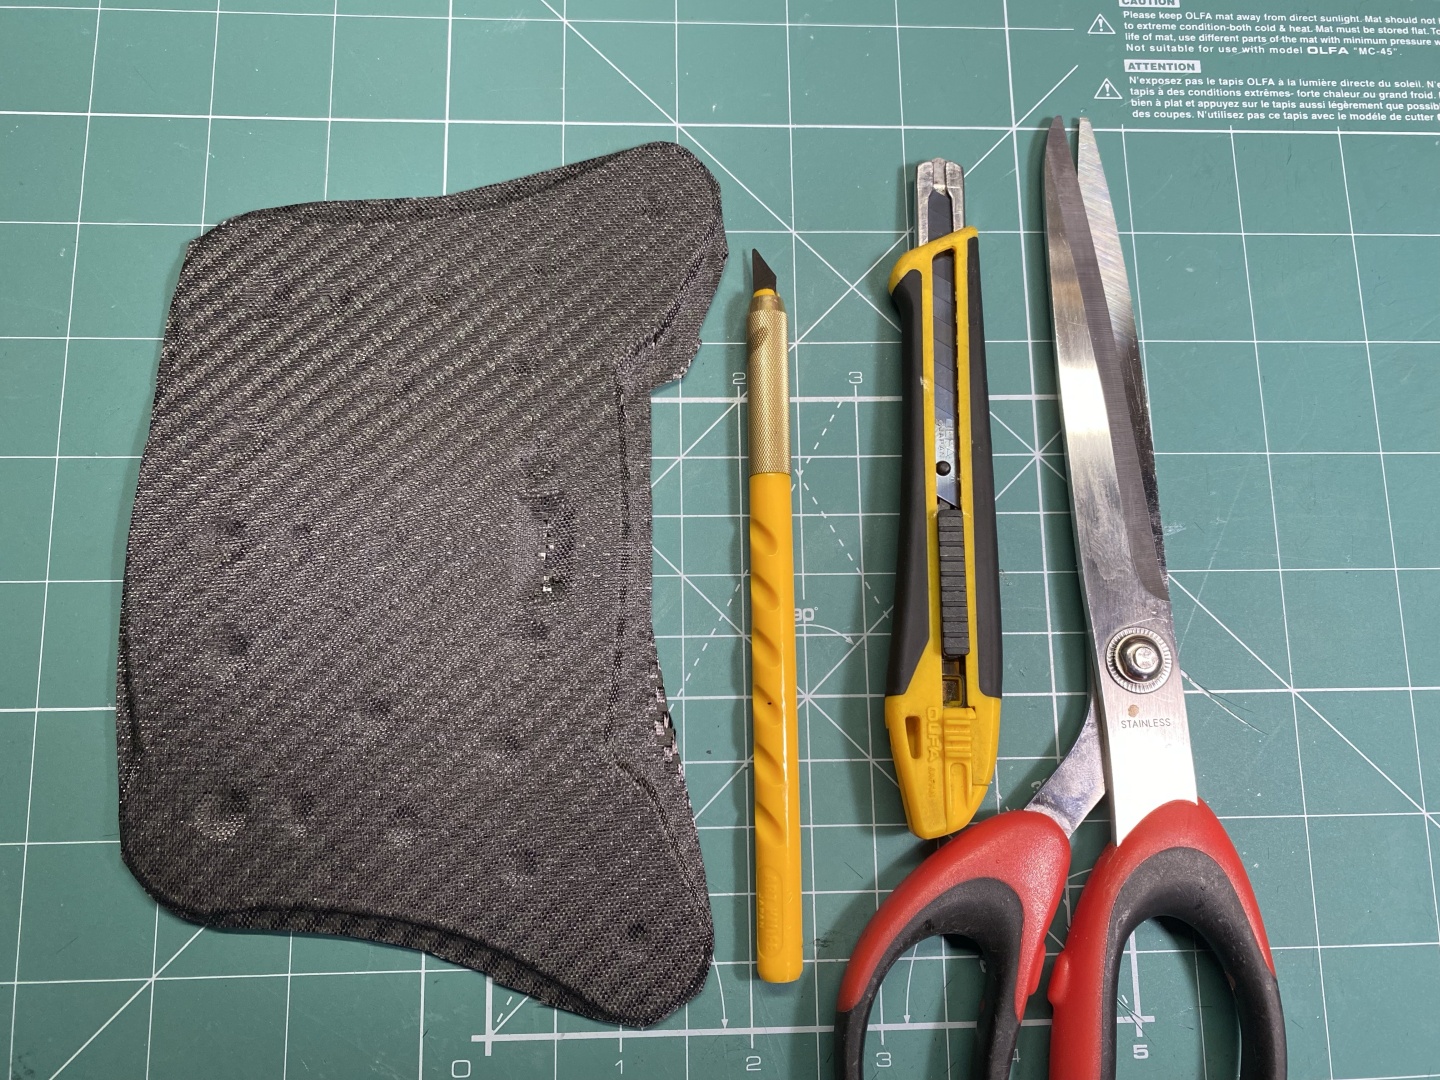
At this stage it is best to remove all unneeded carbon fiber and clean up all openings. For that purpose you generally need scissors, hobby knifes, sanding files. The small round holes are easily cleaned with drill:
Be careful when you cut - the fabric is already very stiff and tends to fall apart on small sharp pieces which then get into your skin and are hard to remove. Wear gloves, respiratory mask for small particles as well - especially when sanding it. Do not forget eye protection as these small pieces are very hard and sharp and you do not want them in your eyes.
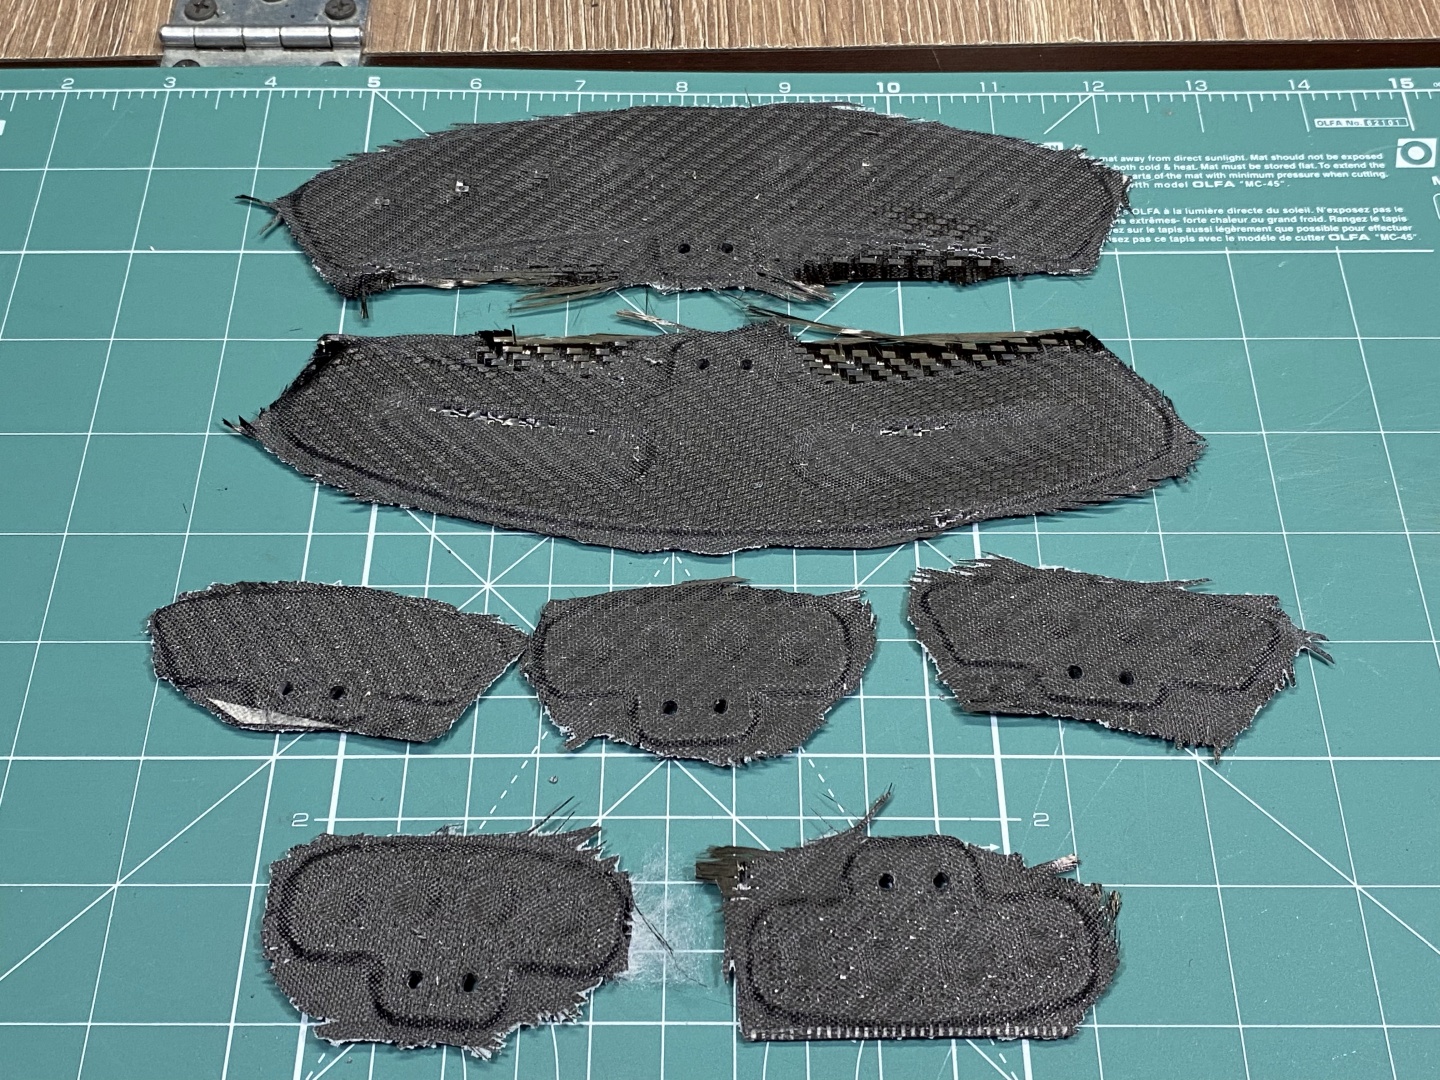
As you put only single layer of resin inside the carbon fabric it is still relatively easy to cut. Trim down all the edges until you reach the 3D printed part (if you used black PLA it is a little complicated to figure out what exactly is from the base coat and what is the PLA. Good thing here as the base coat does not stick well to the untreated edges and is easy to separate from the PLA. At the end you should have something much closer to the finished product:
As always wait time between major steps can be as long as you like provided you waited the resin to dry. Even if you leave the project for some days/months again it will be still fine. When you feel ready you can proceed with the start of the end Applying Resin Top Layers:

