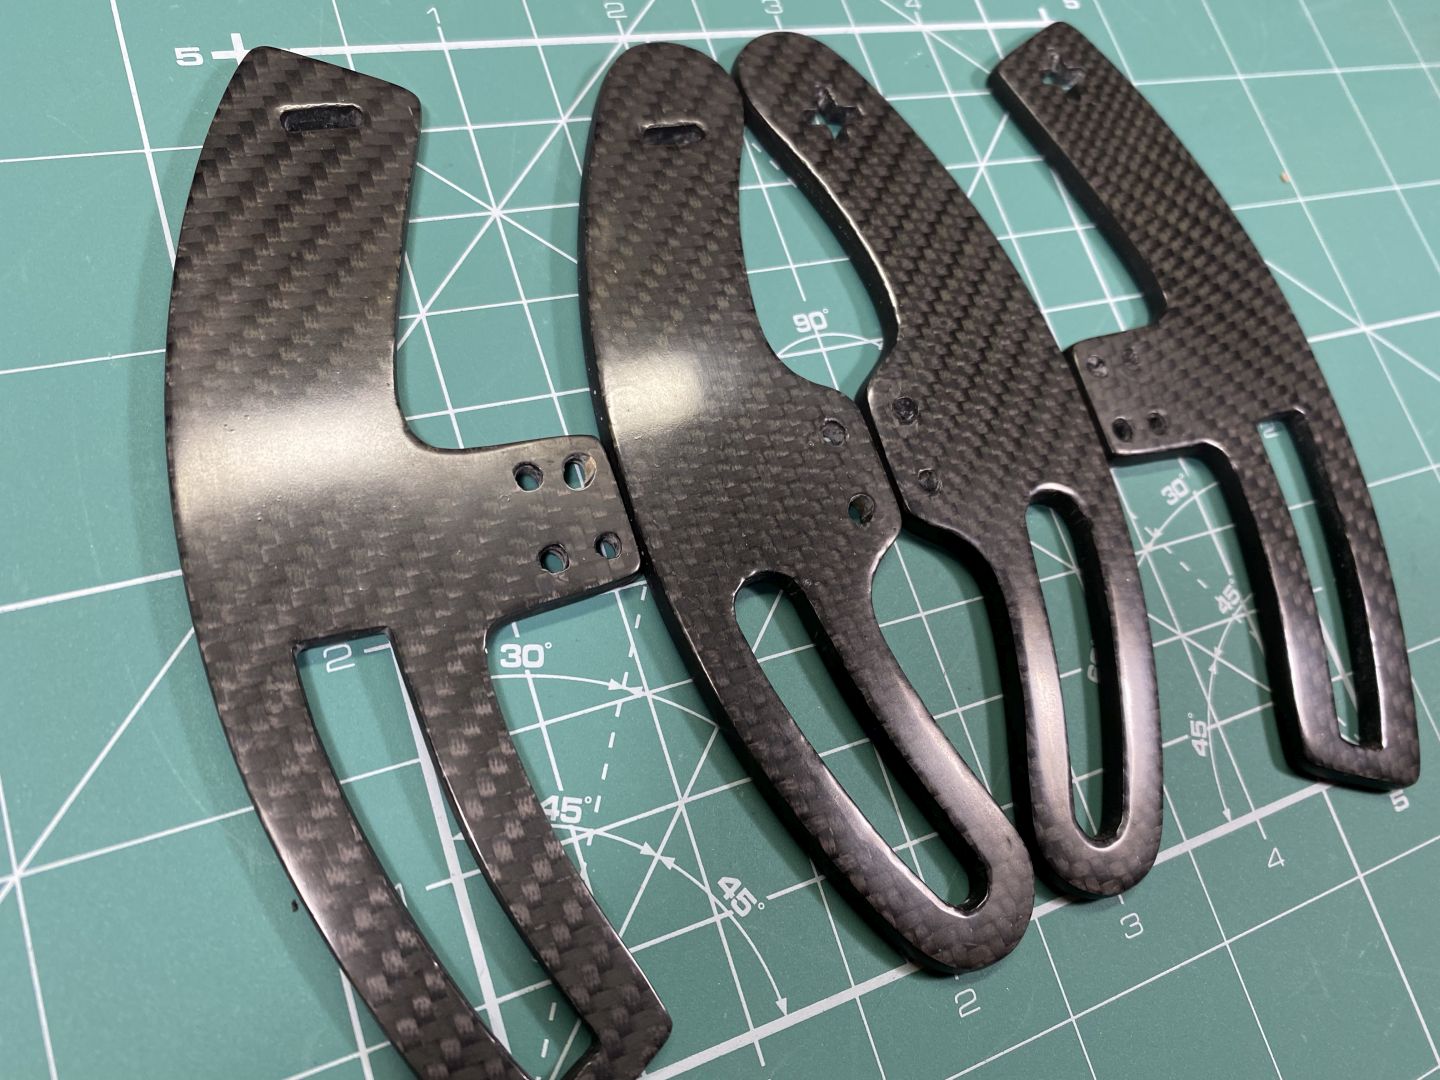
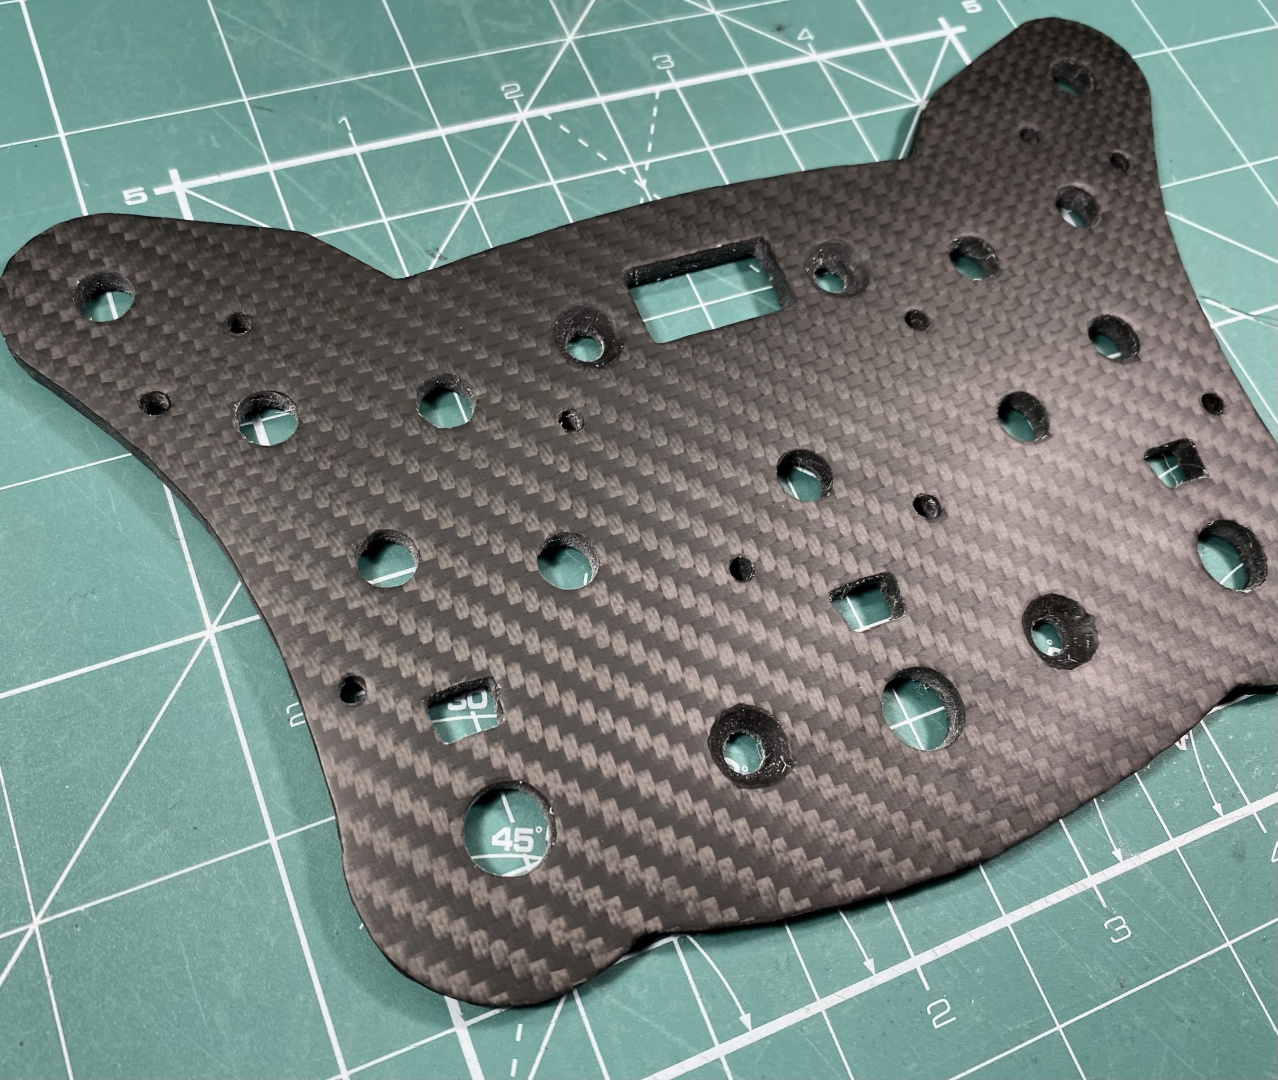
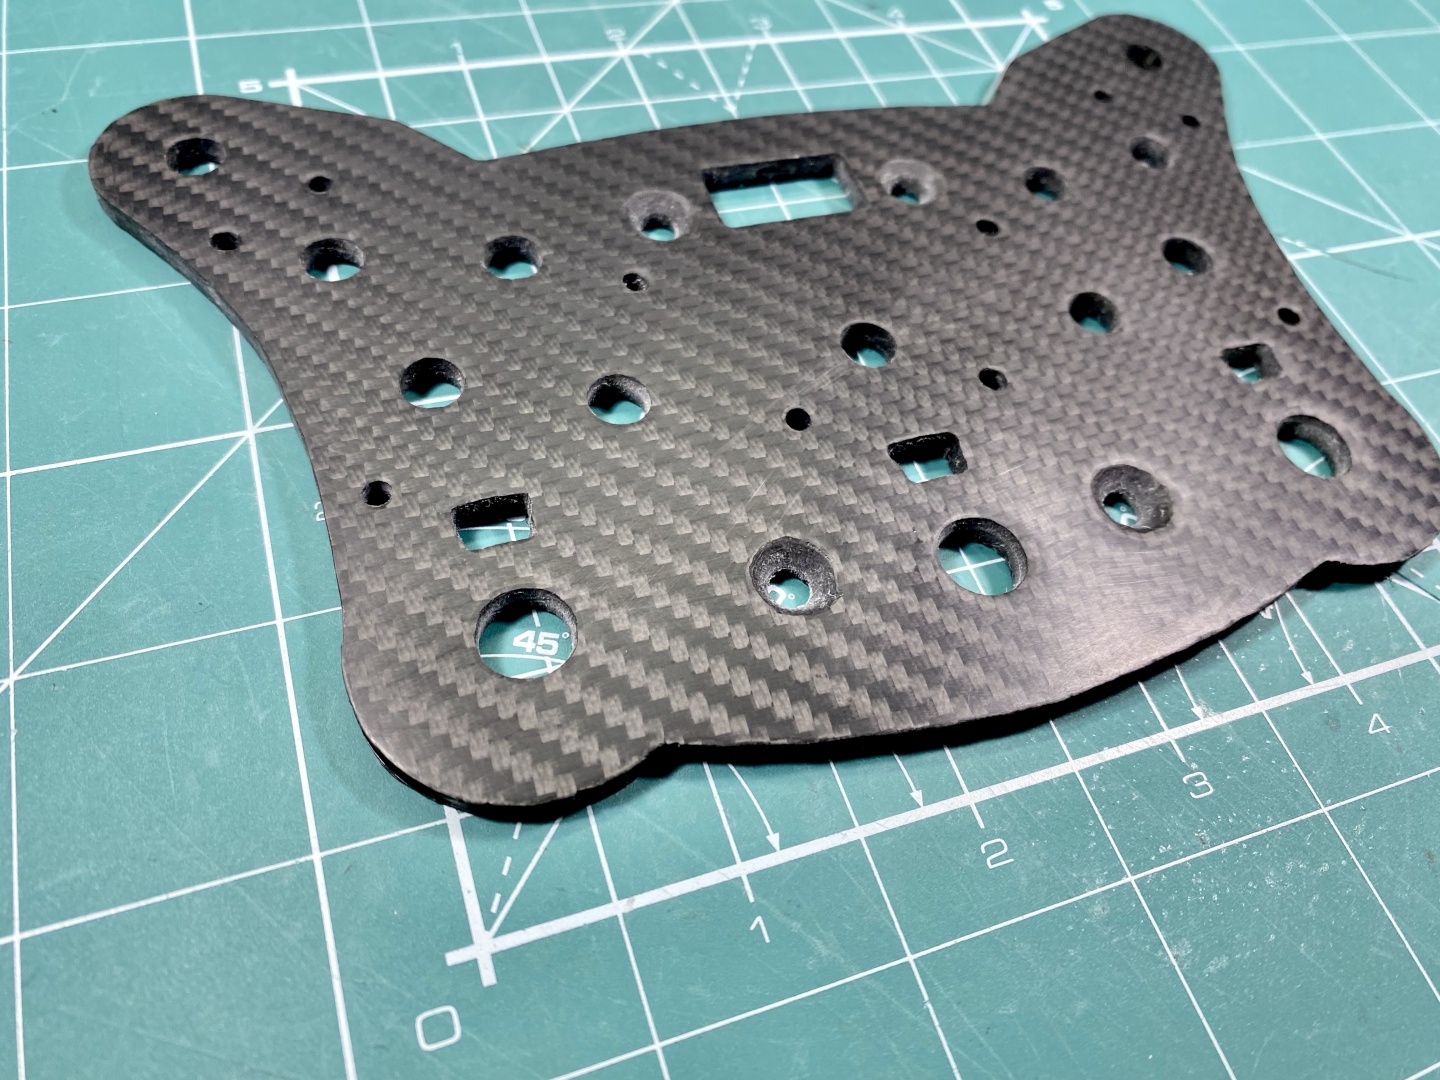
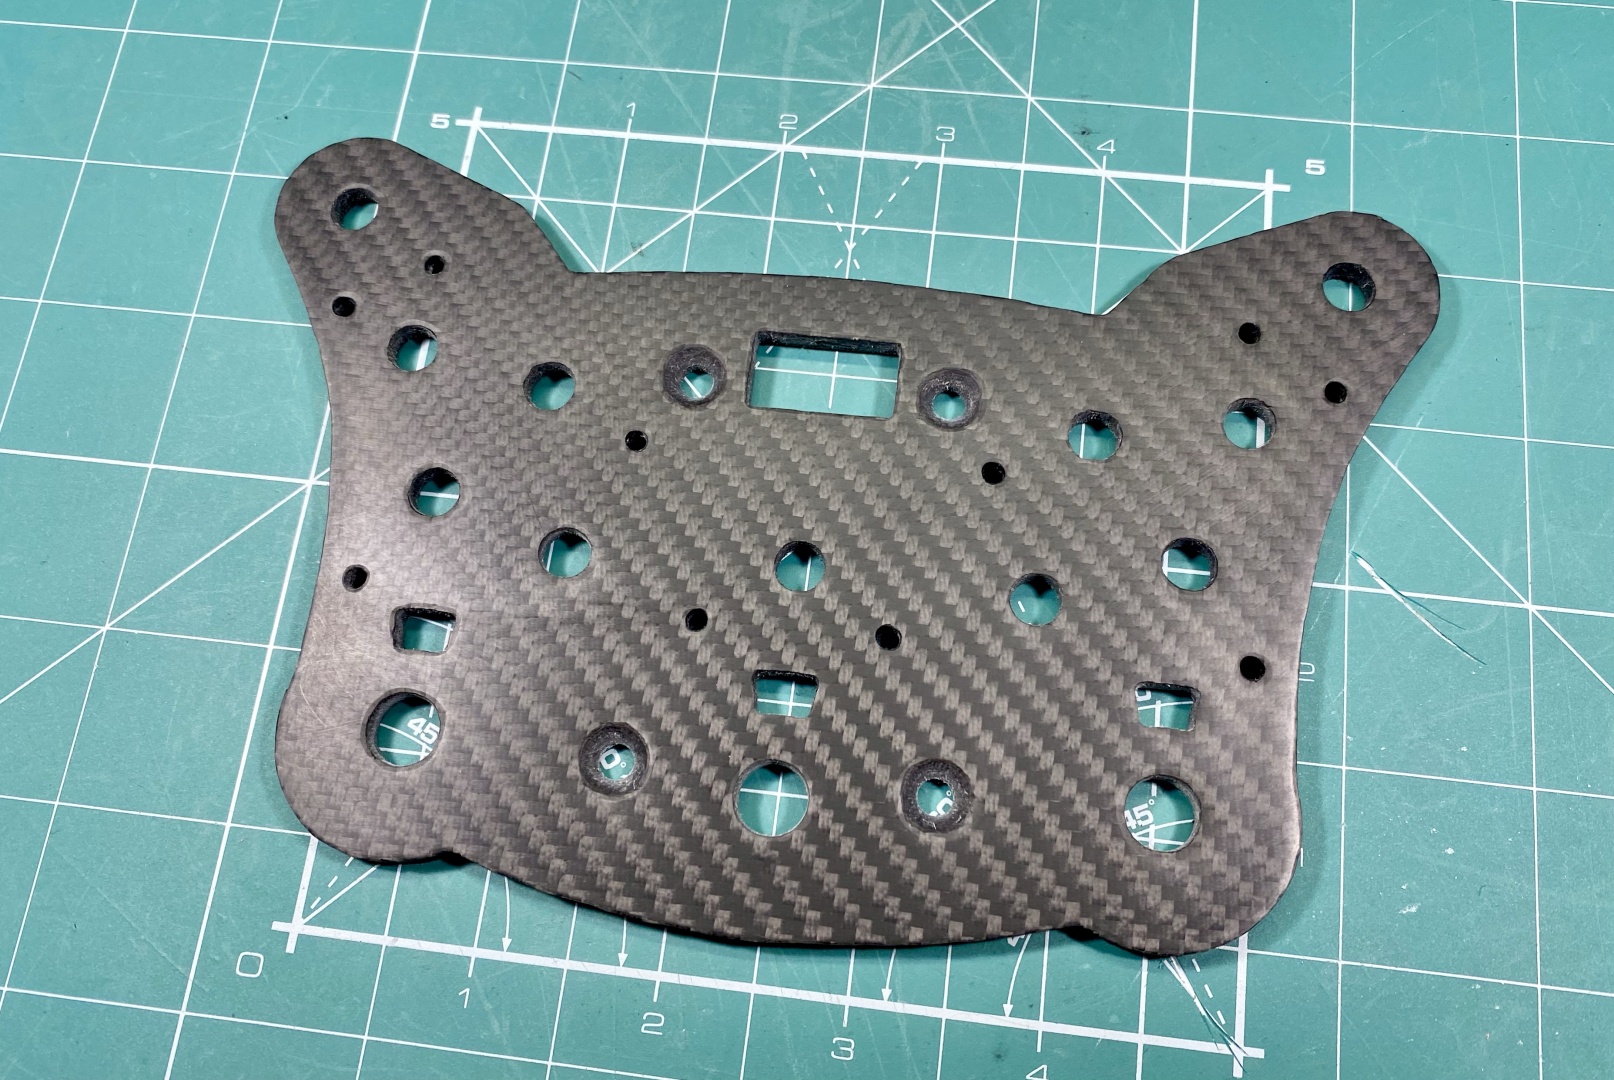
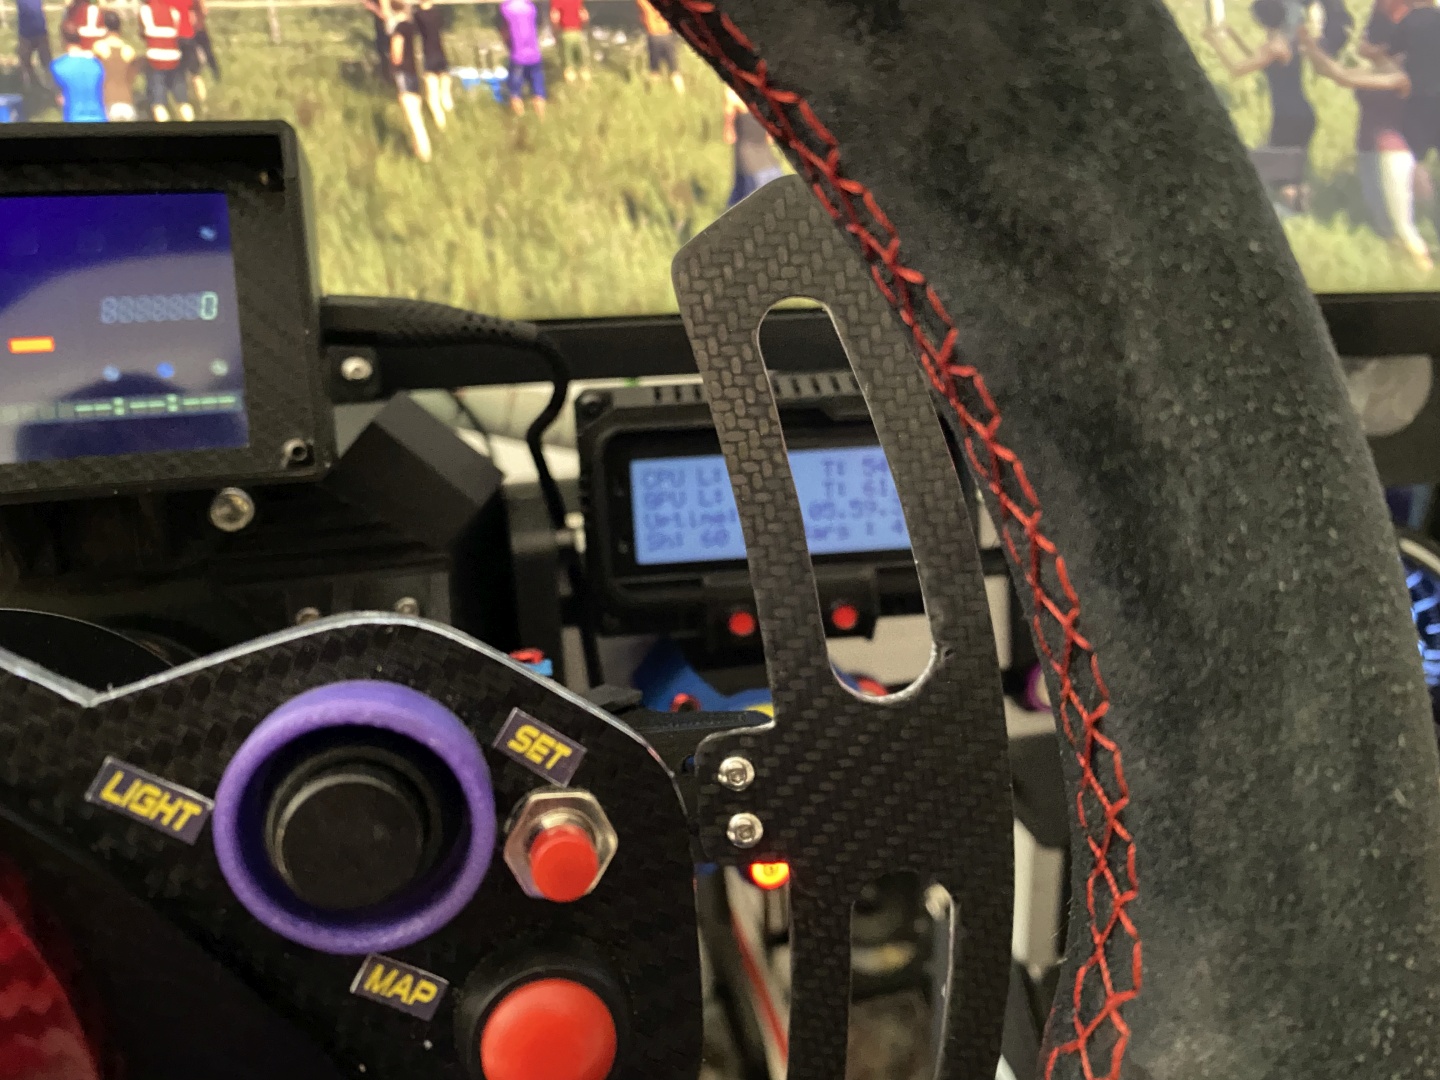
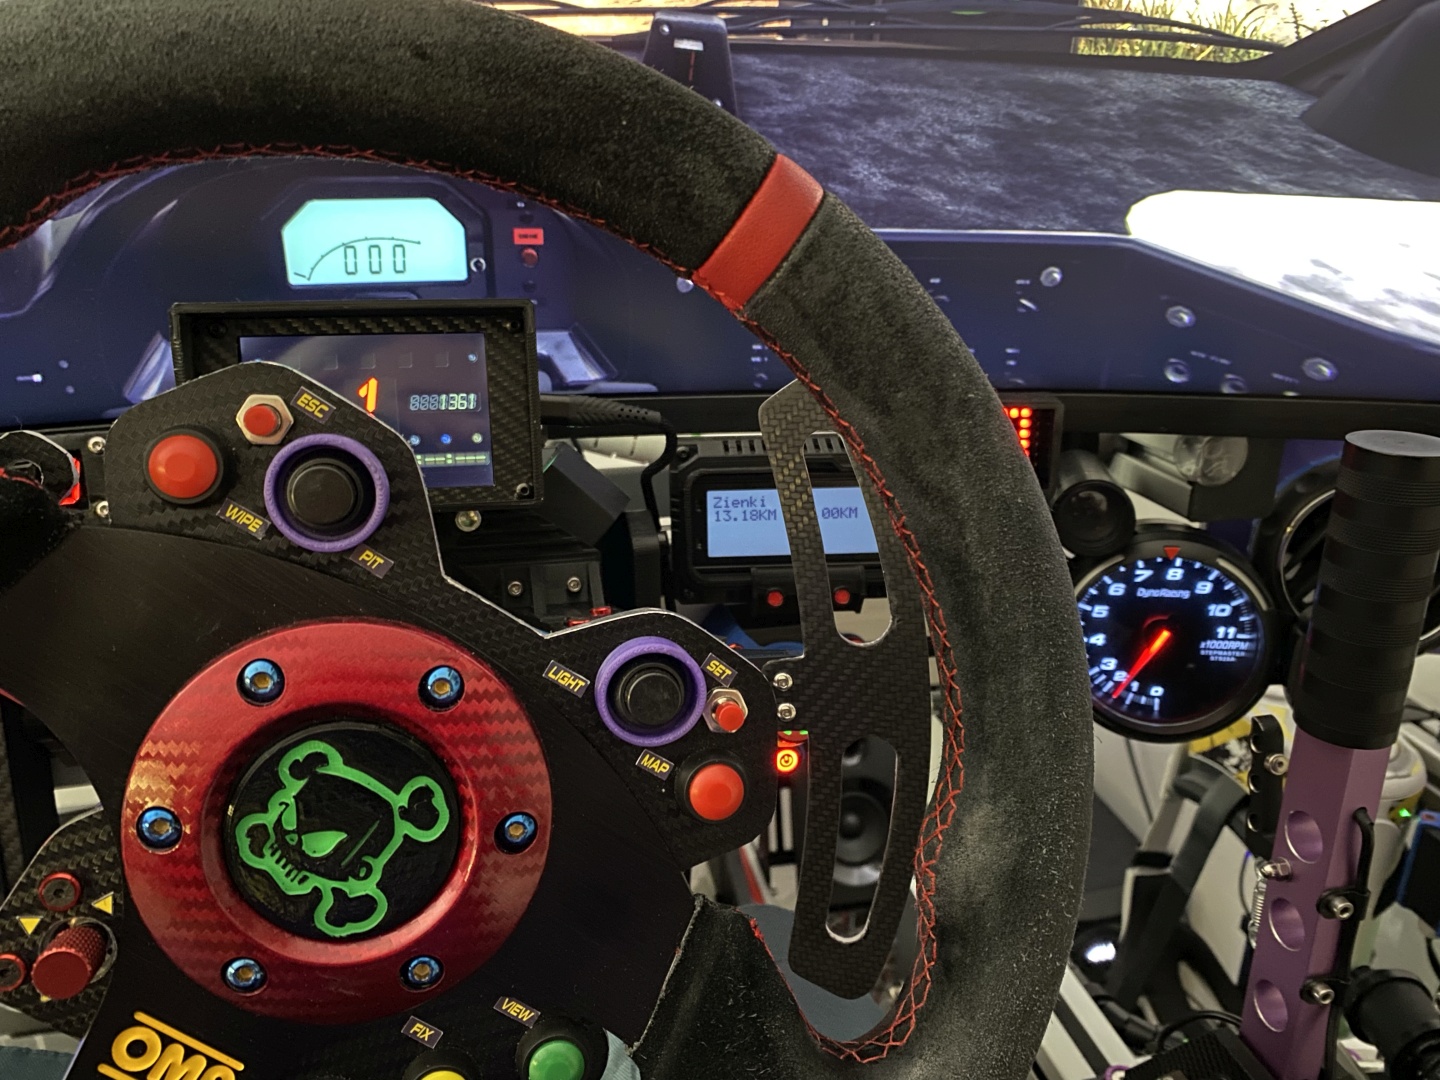
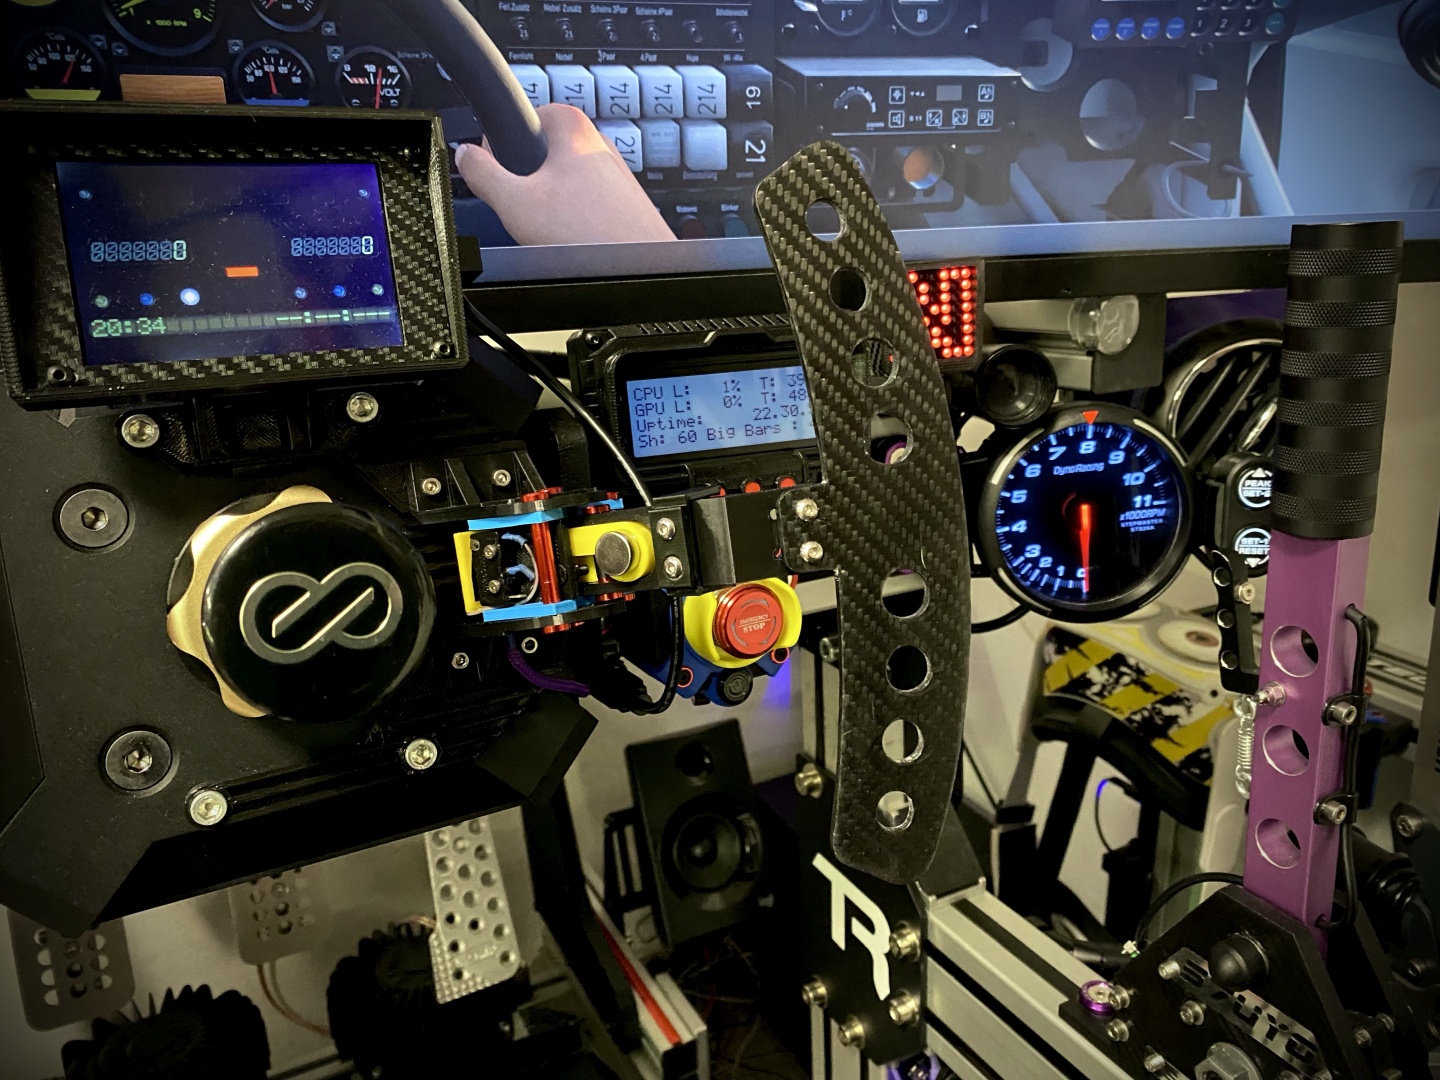
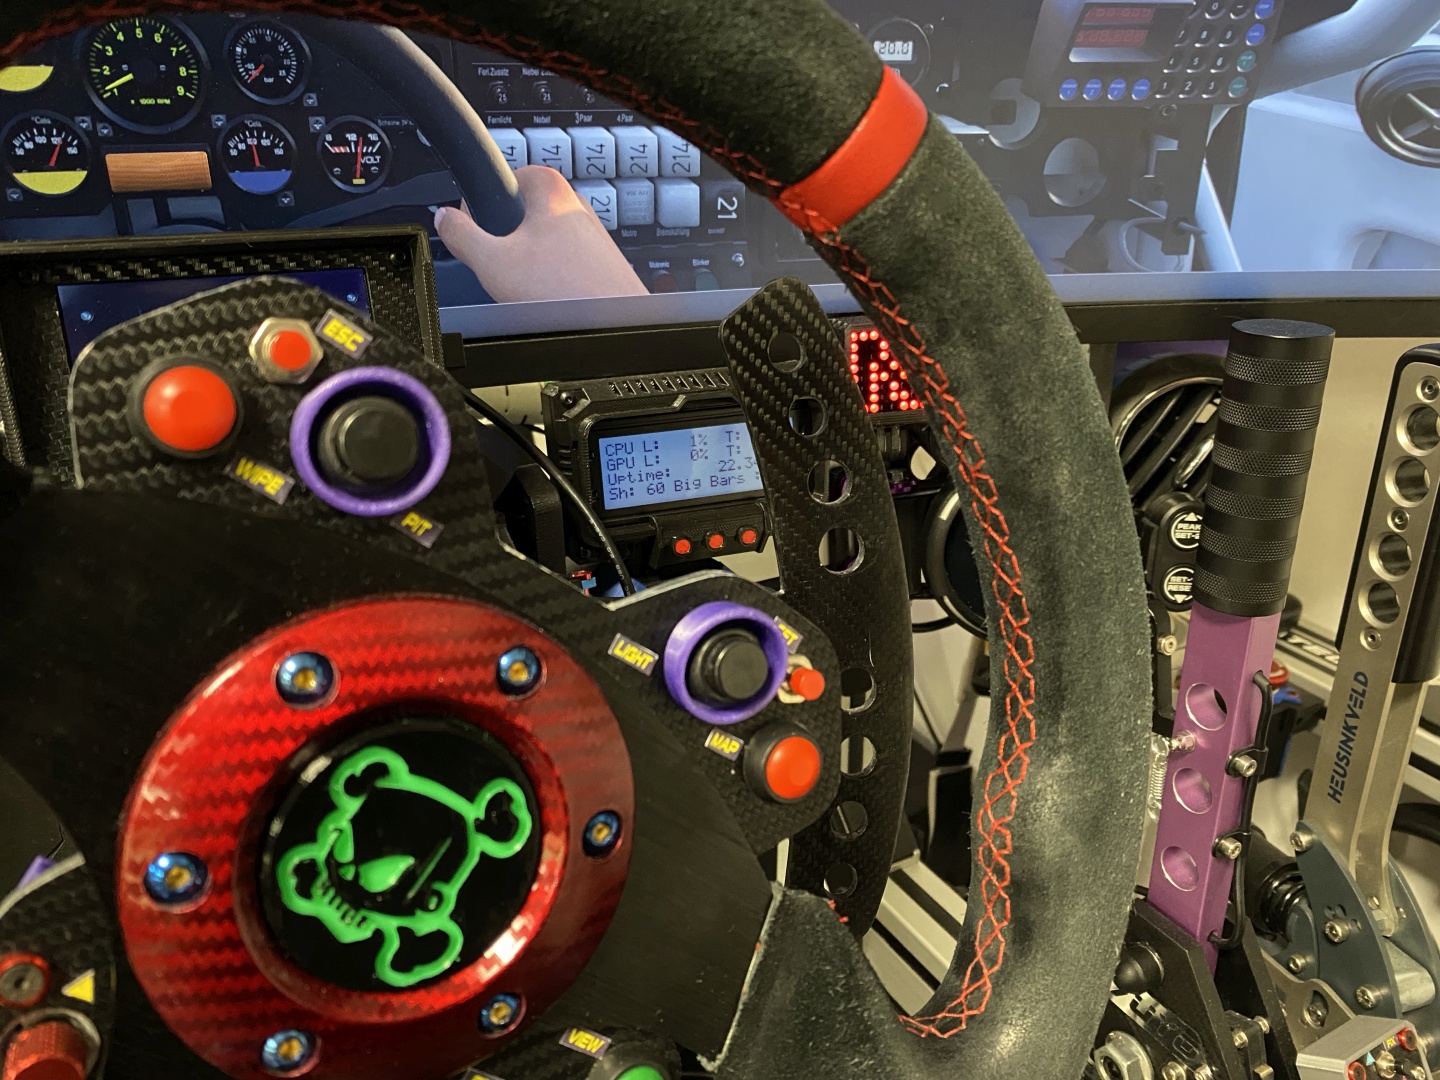
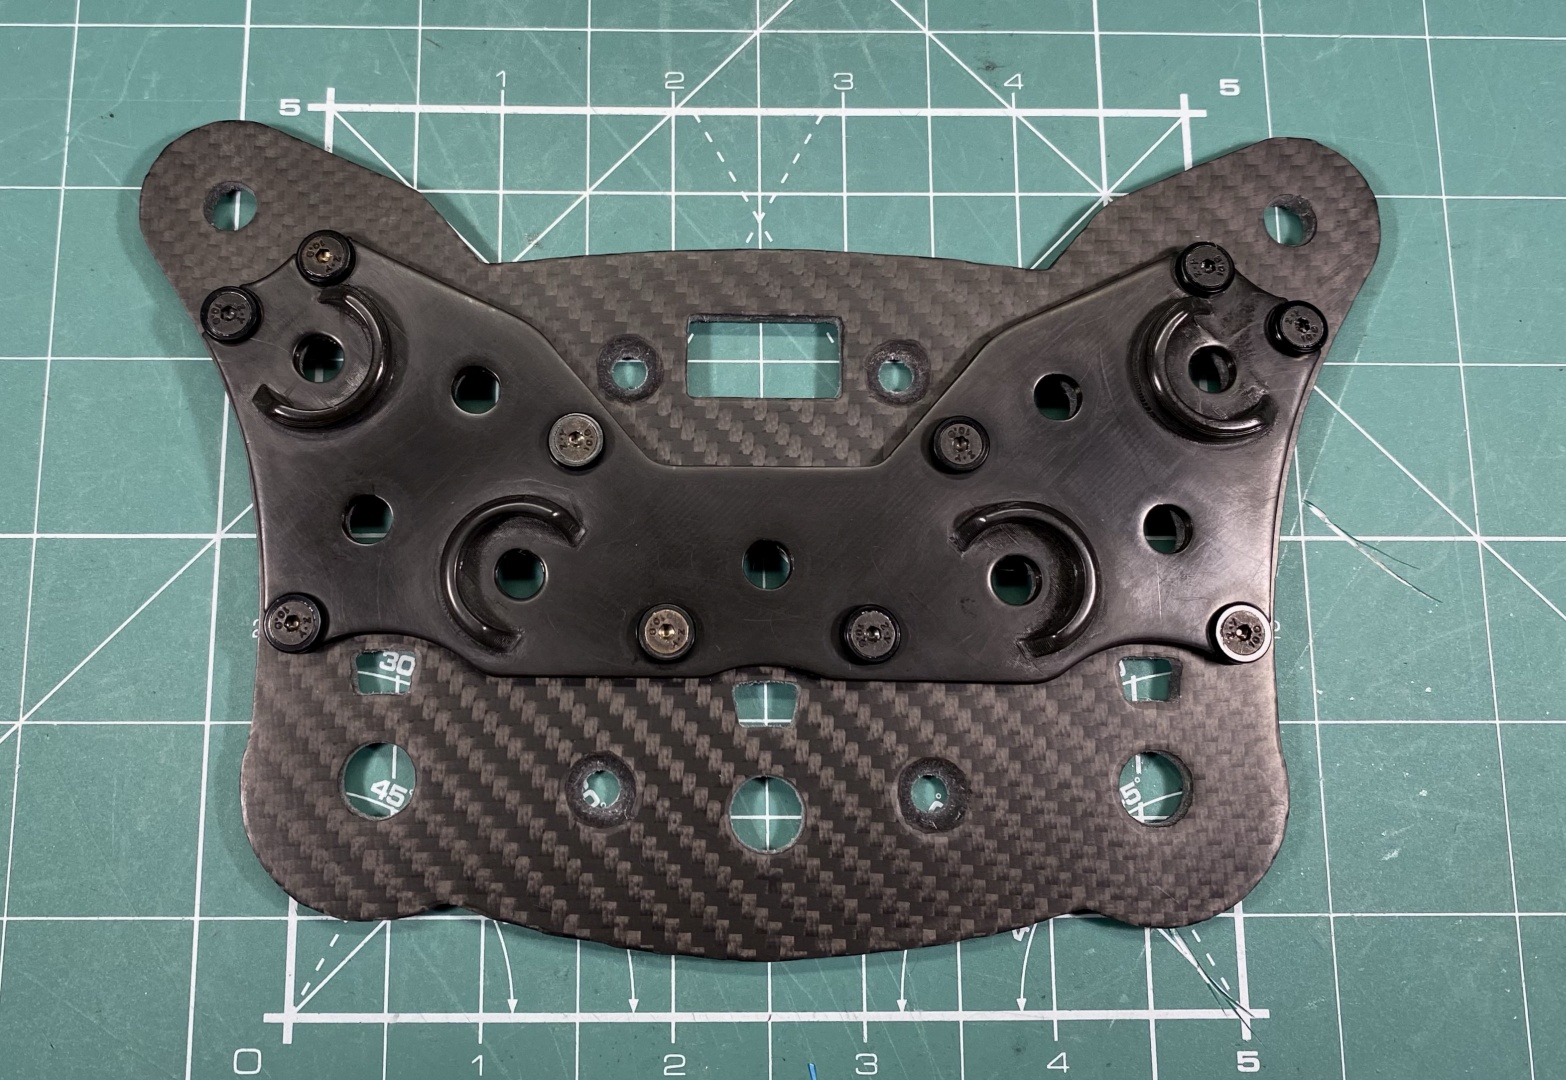
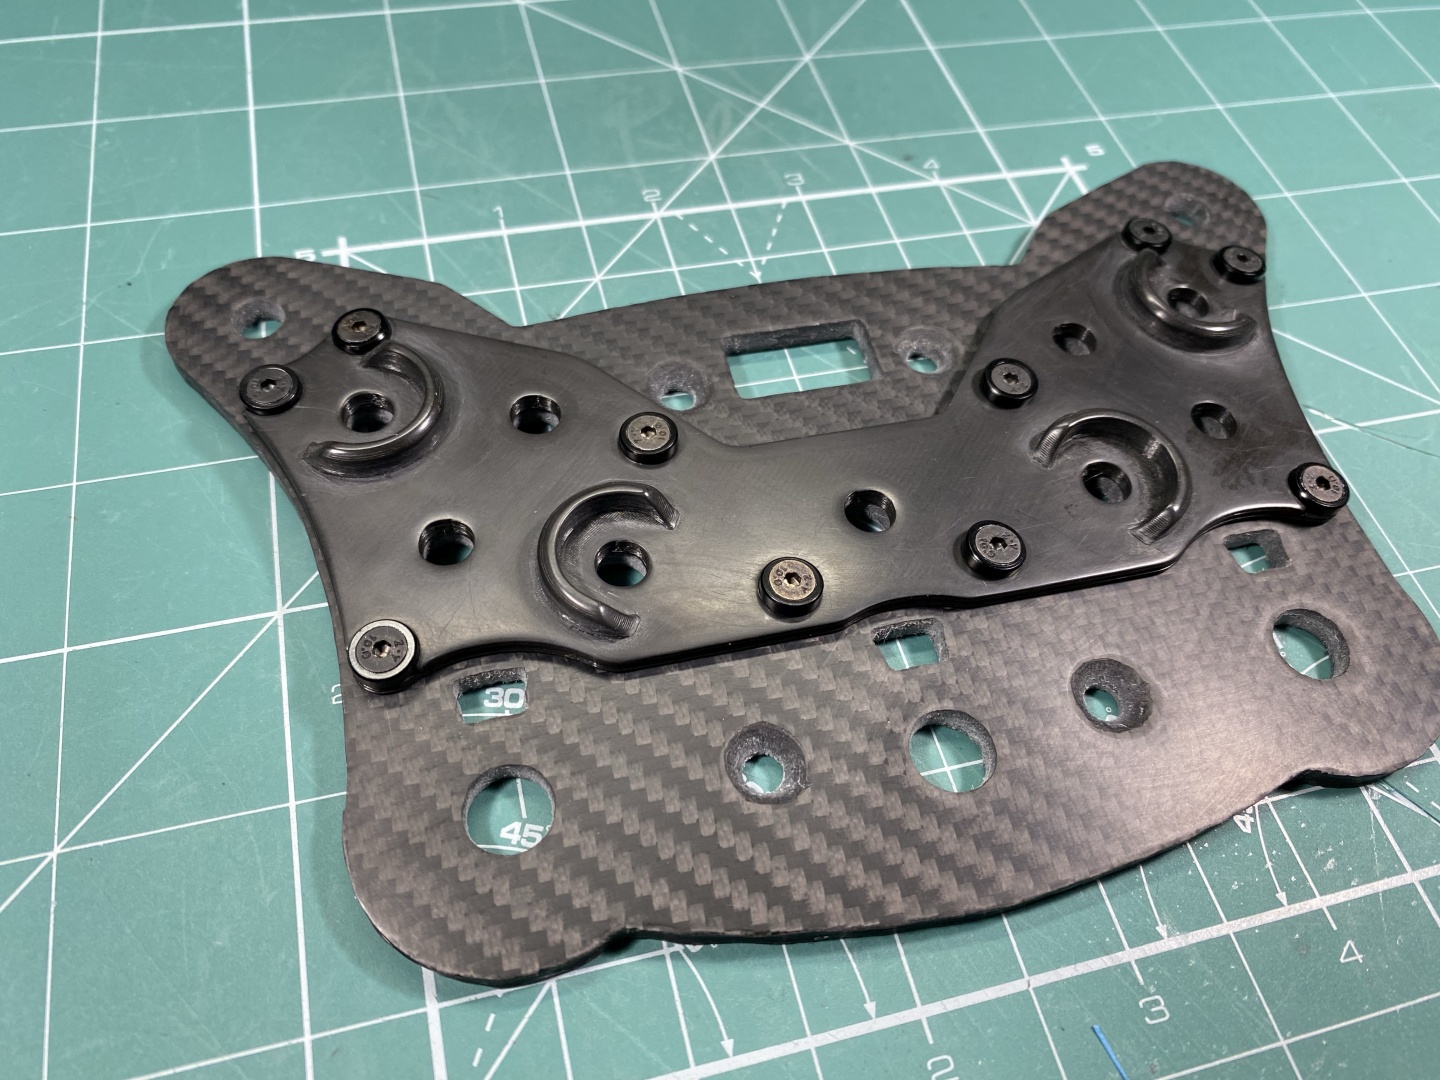
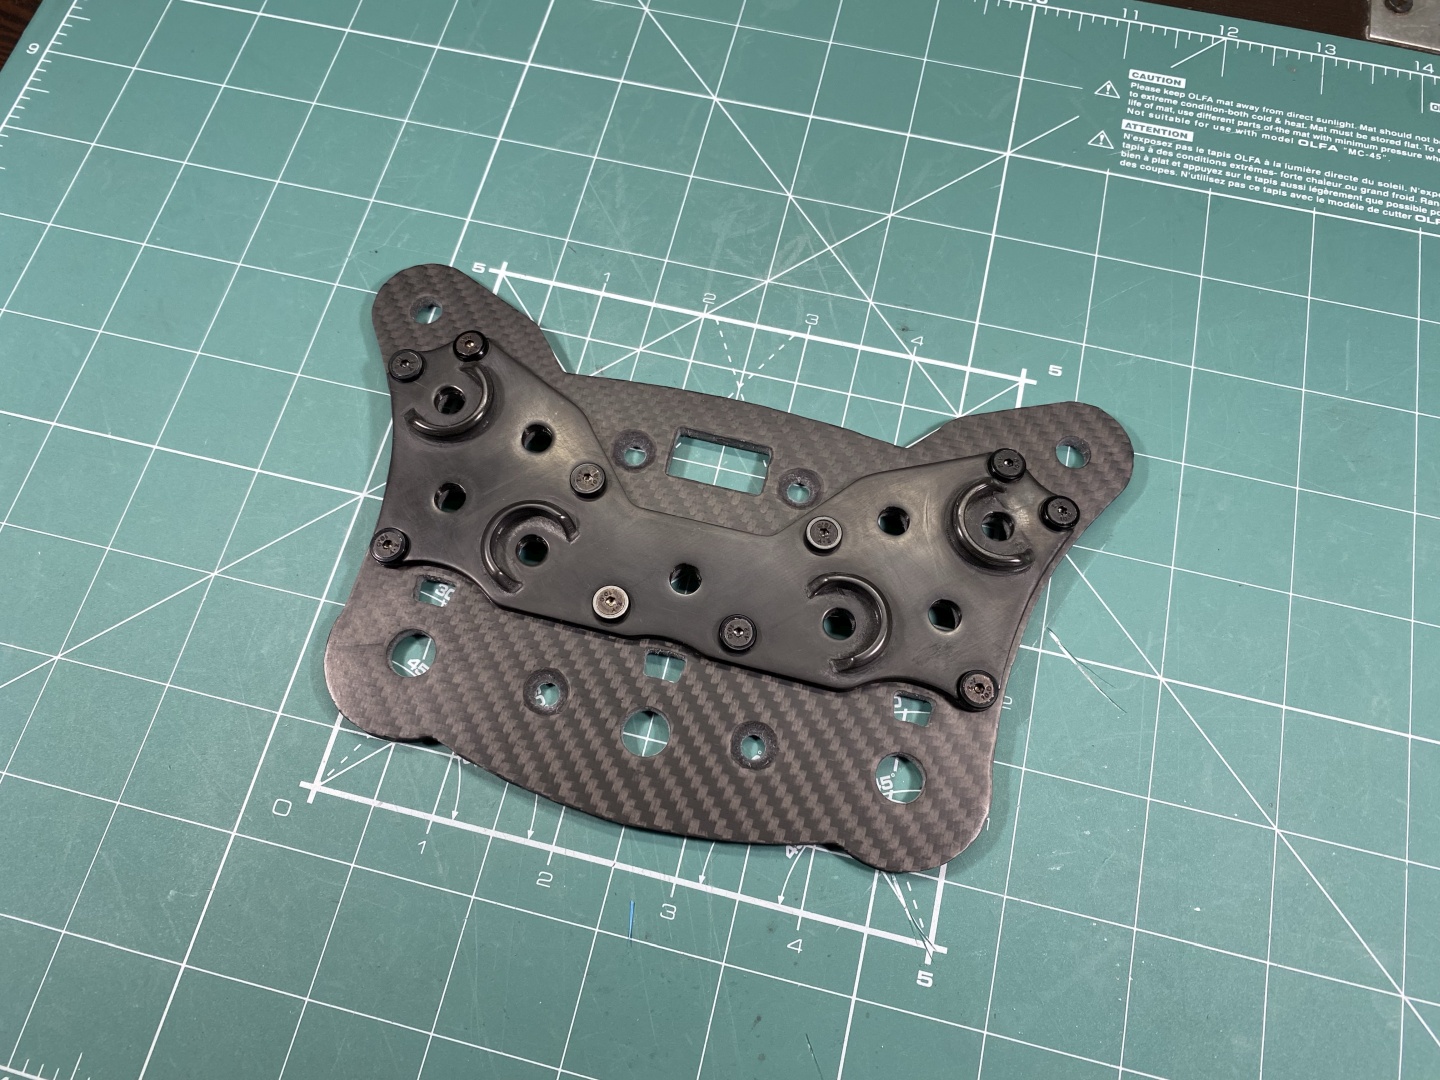
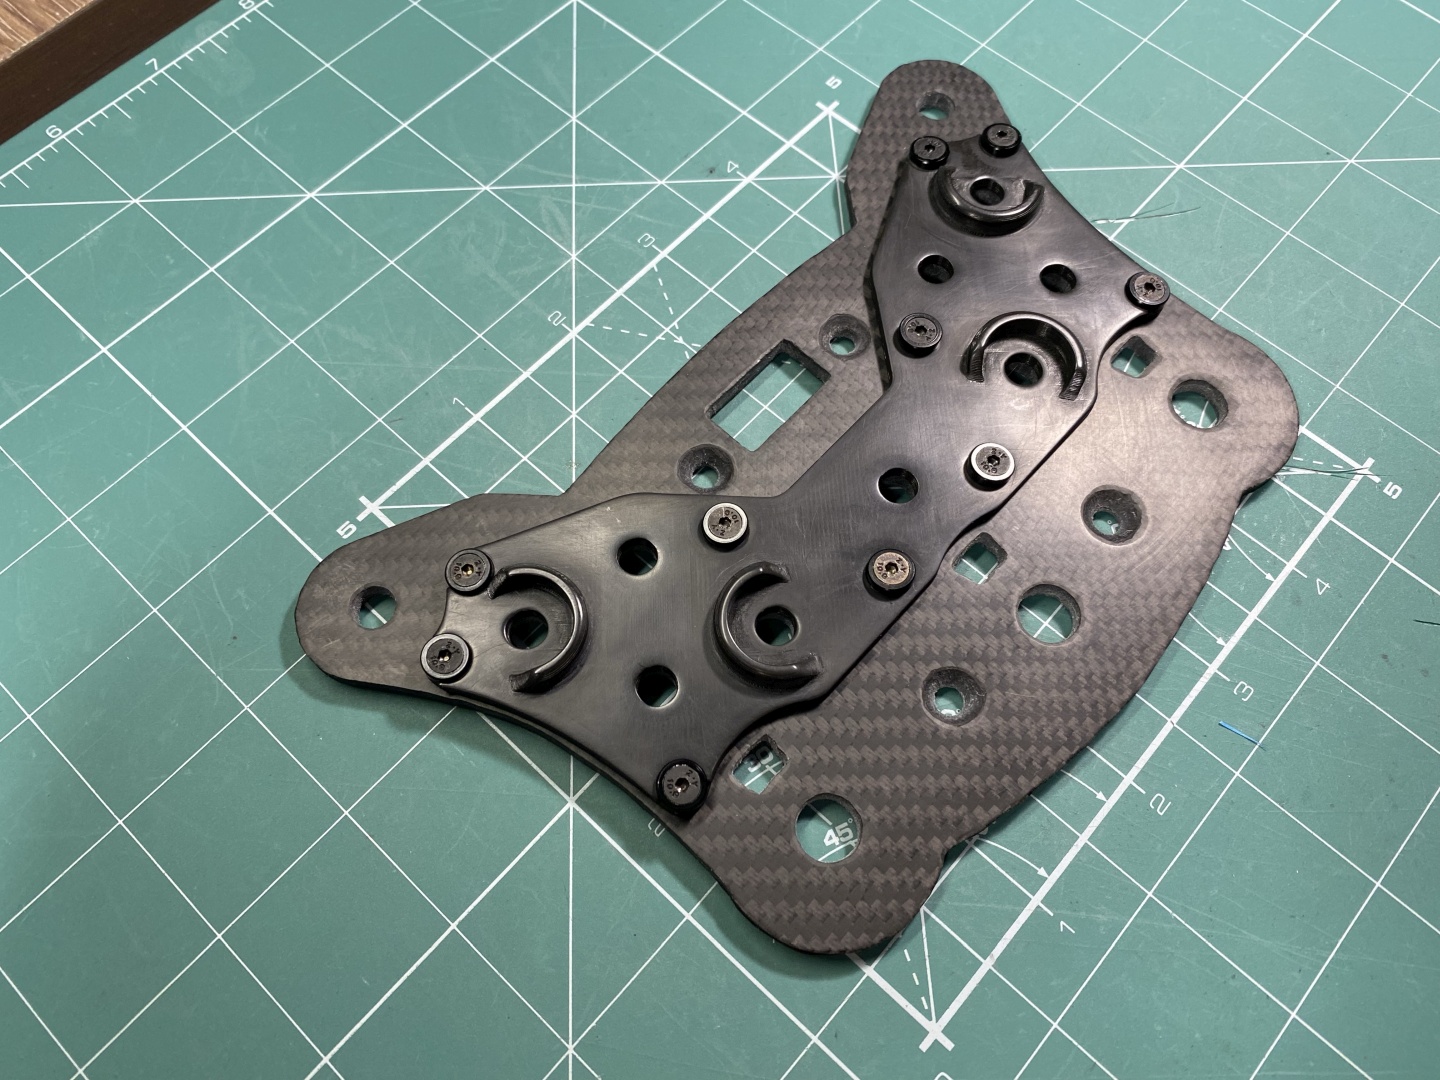
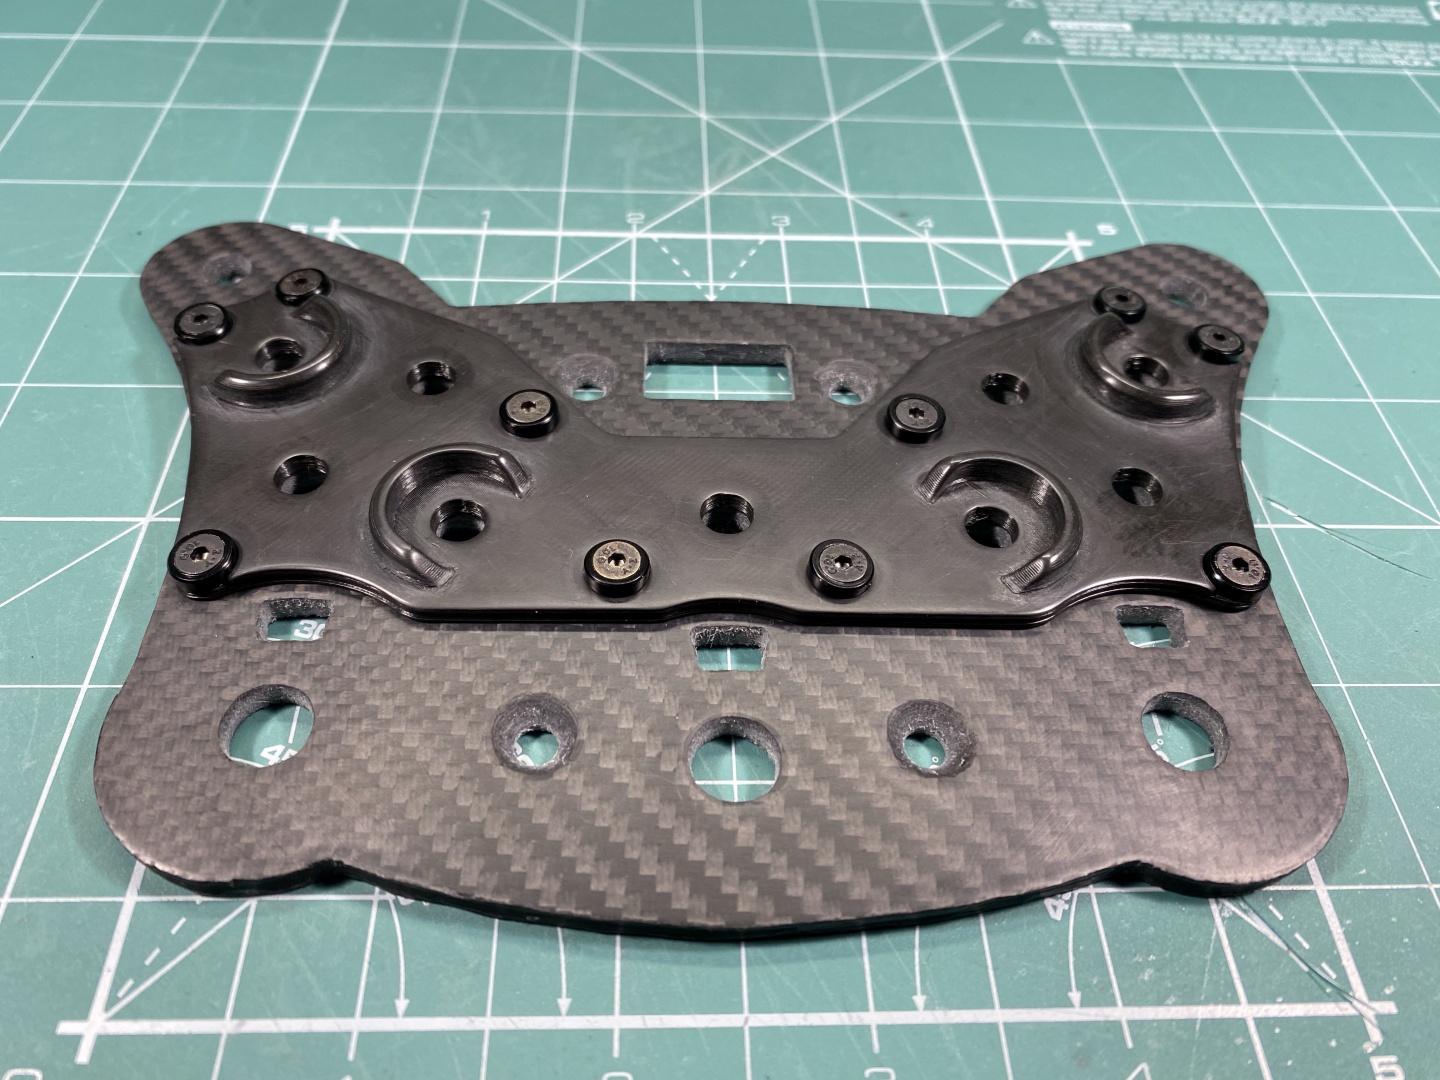
Carbon Fiber Skinning is the process of of laying fiber carbon cloth with resin on different objects using them as core for your product. This is commonly used to keep price down when you do not need the extended properties of full layered carbon fiber item.
Usually you will put single layer of carbon fiber cloth and treat it with resins the same way that you would do the top layer of a full carbon item. This is time consuming but relatively easy process to complete in your home workshop. It does not require special tools and is much cheaper than ordering pre-cut fiber carbon sheet designs.
This technique is quite suitable for use of 3D printed items as core. The resulting product especially if skinned on both sides is very close to something you would cut from full carbon plate. As it uses real carbon fiber material and resin it looks like the real thing, feels exactly like it, is quite strong at a fraction of the cost.
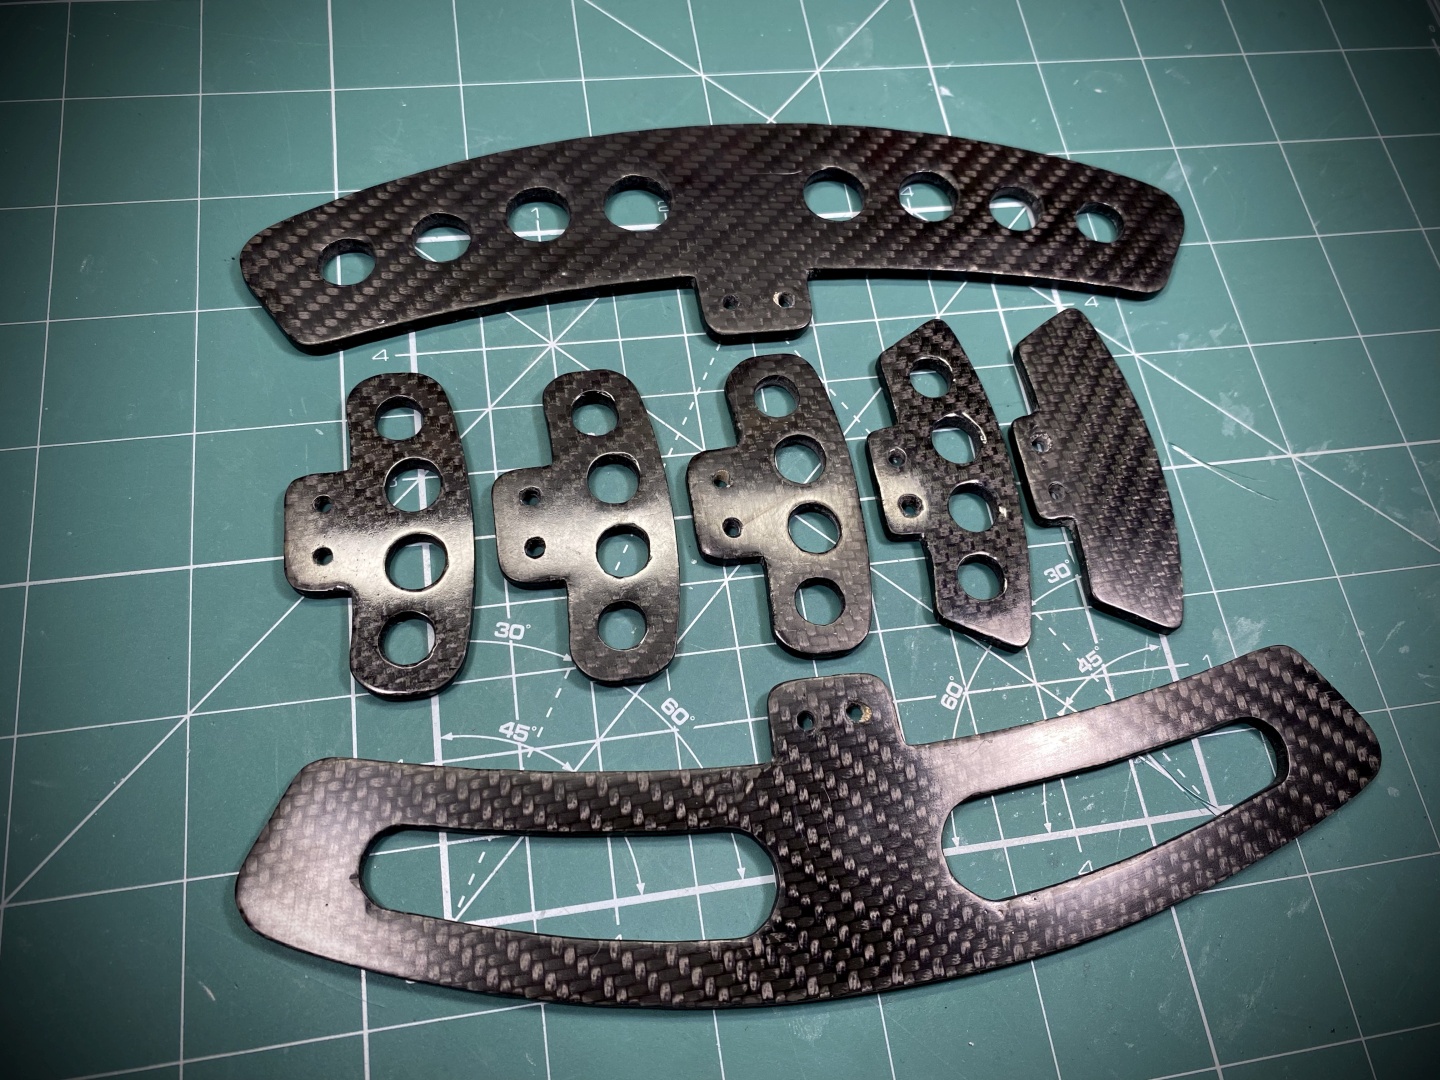
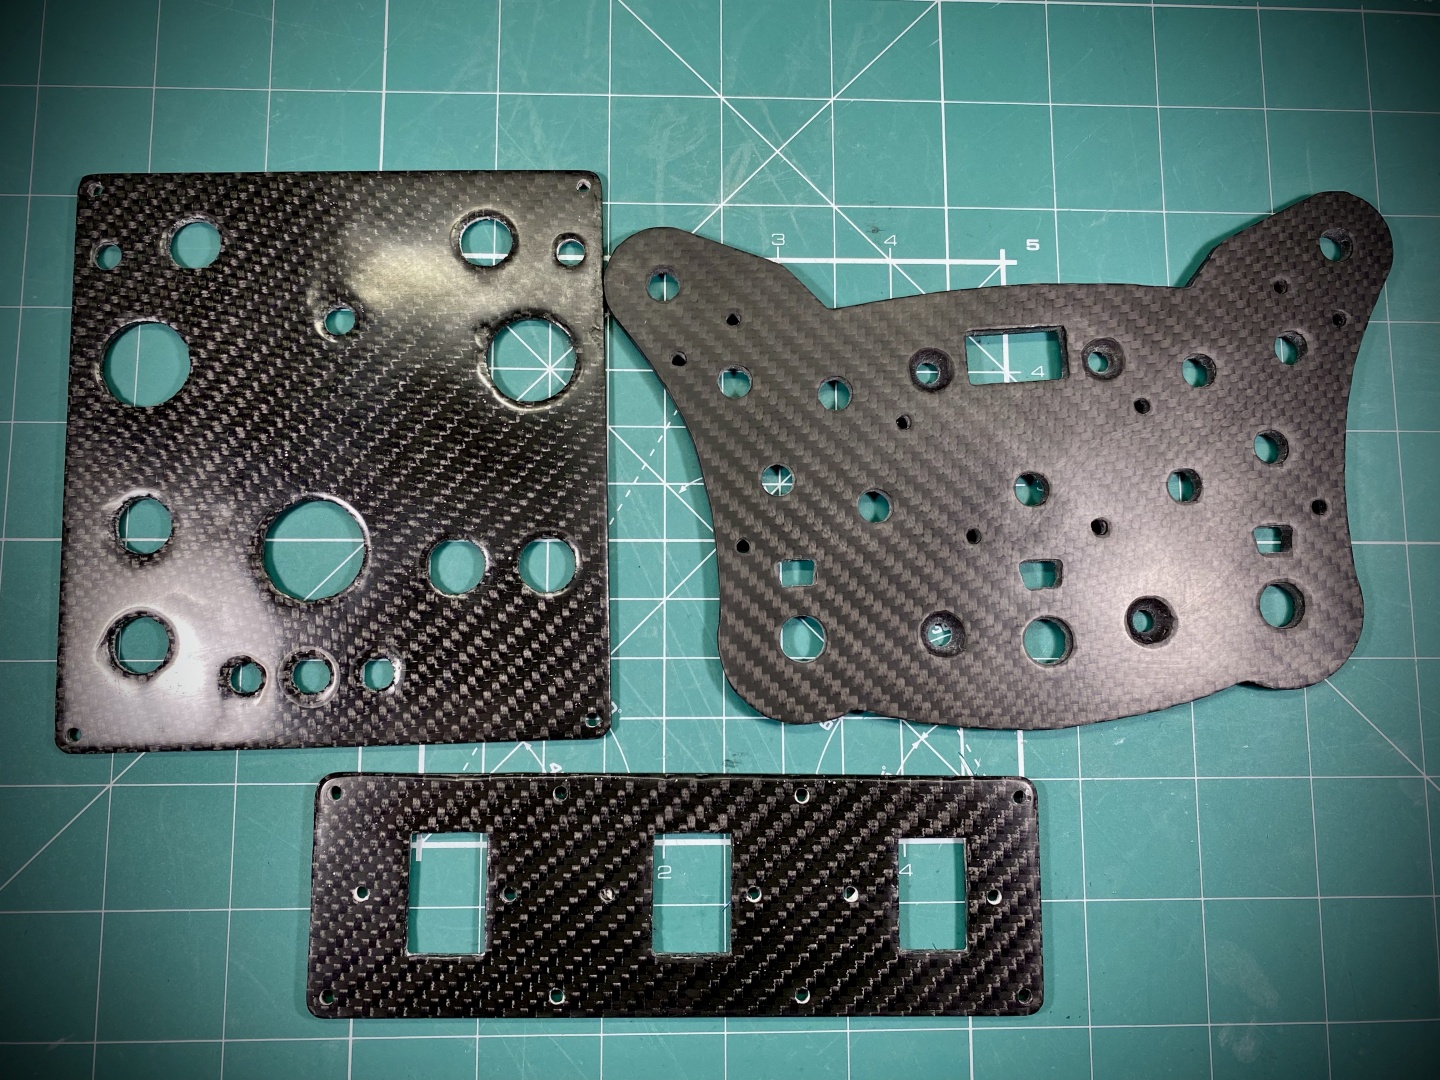
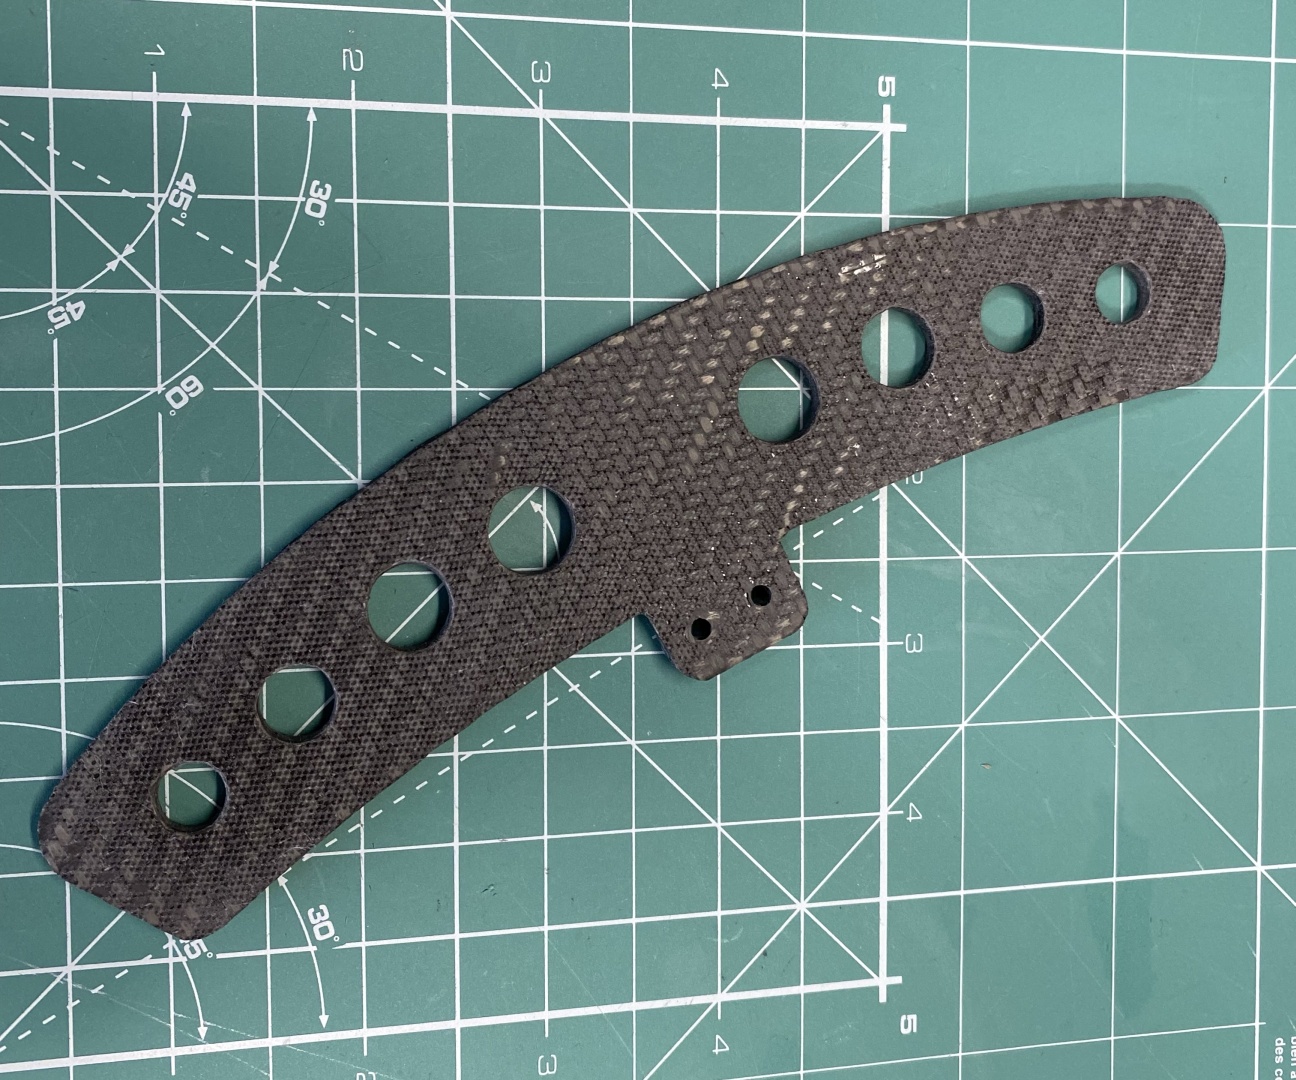
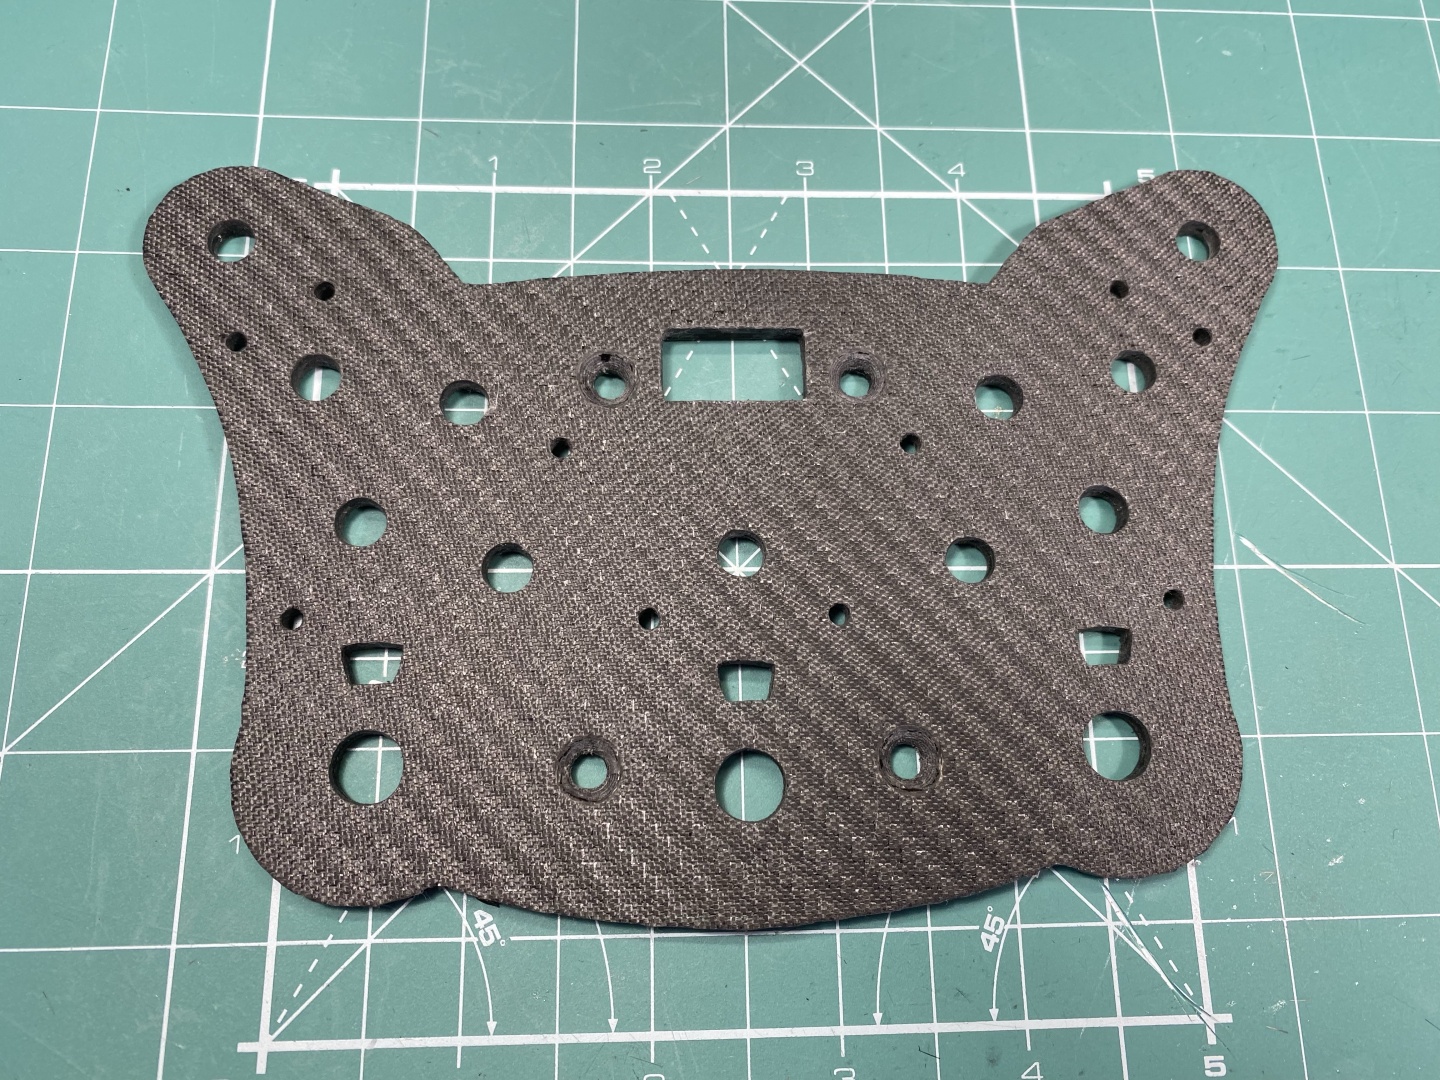
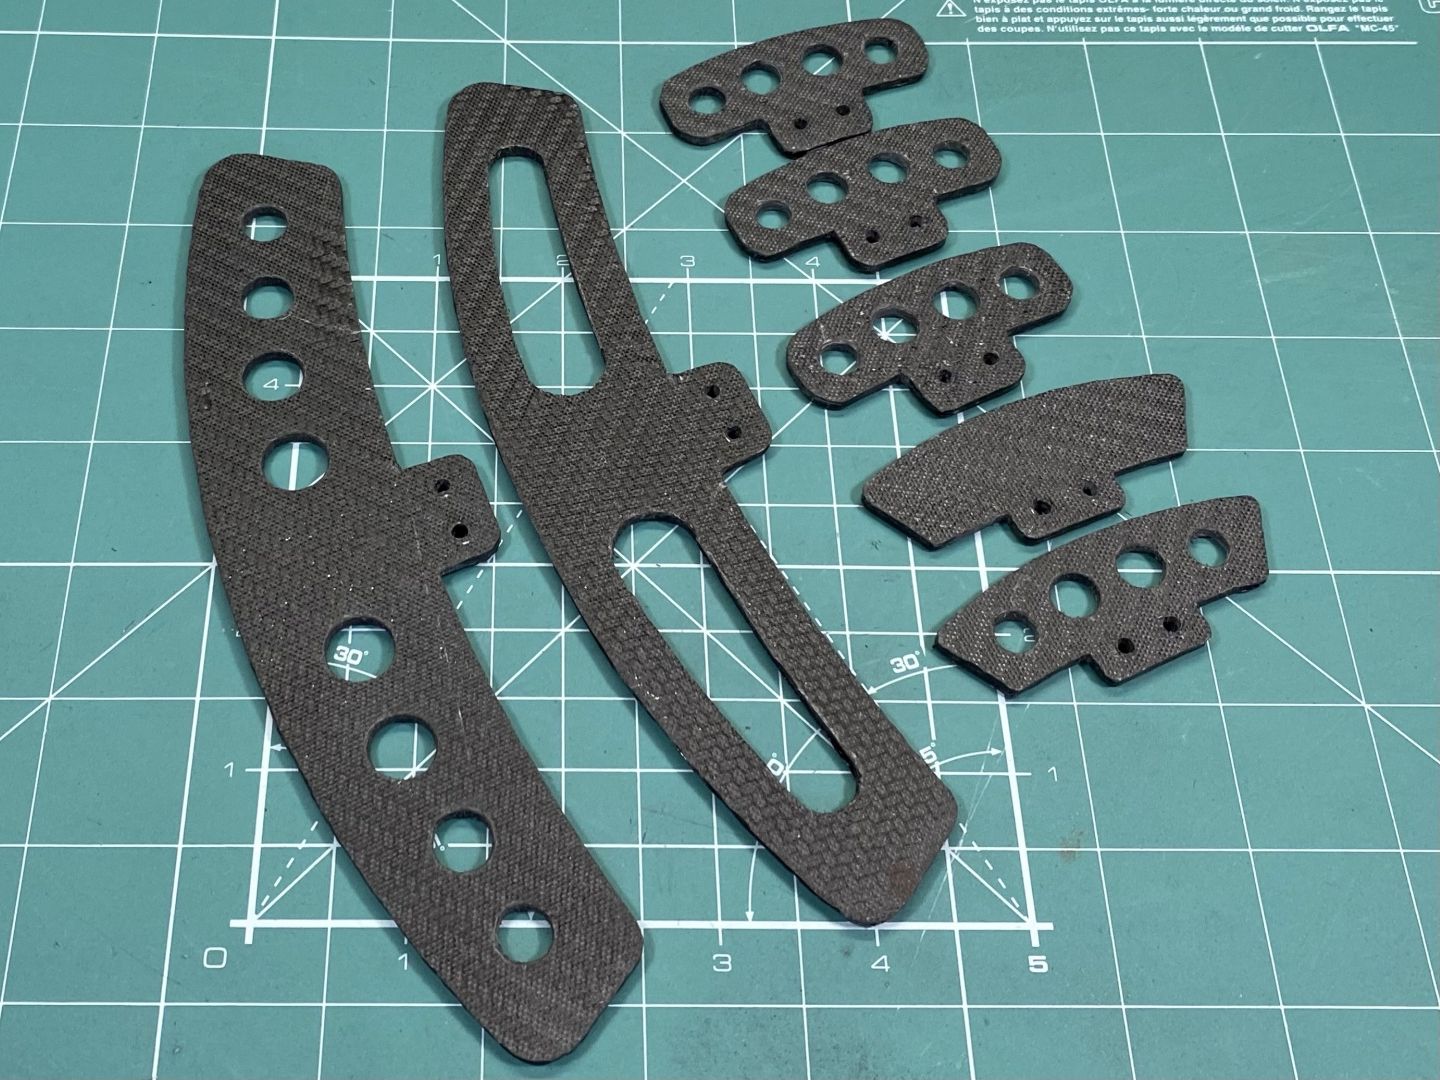
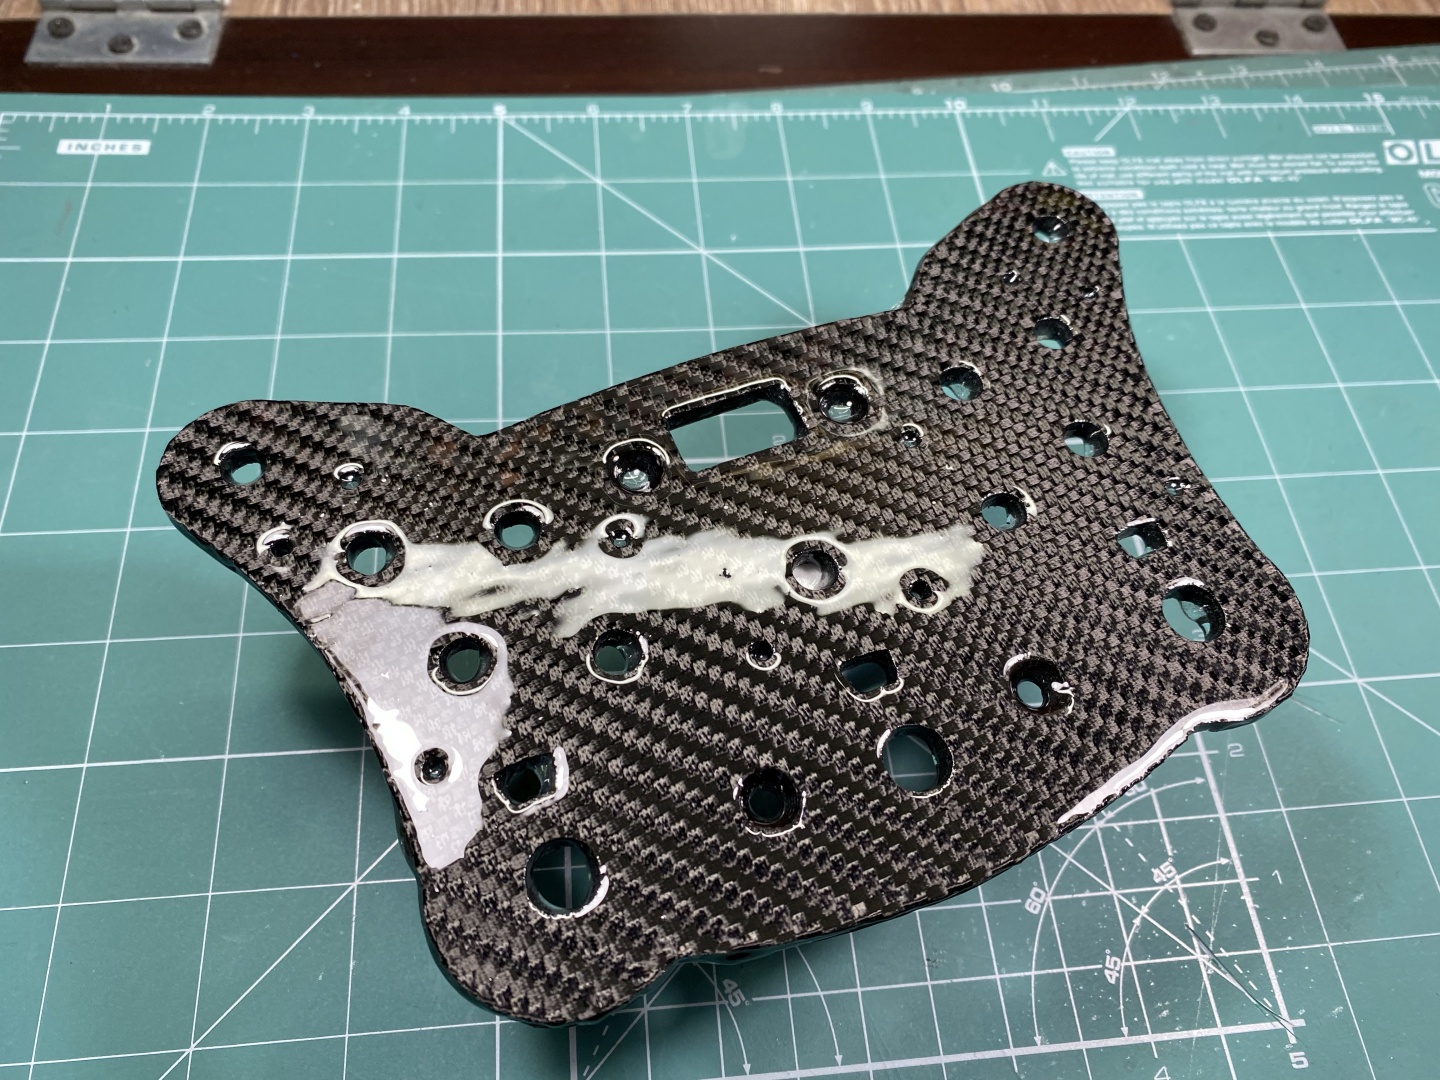
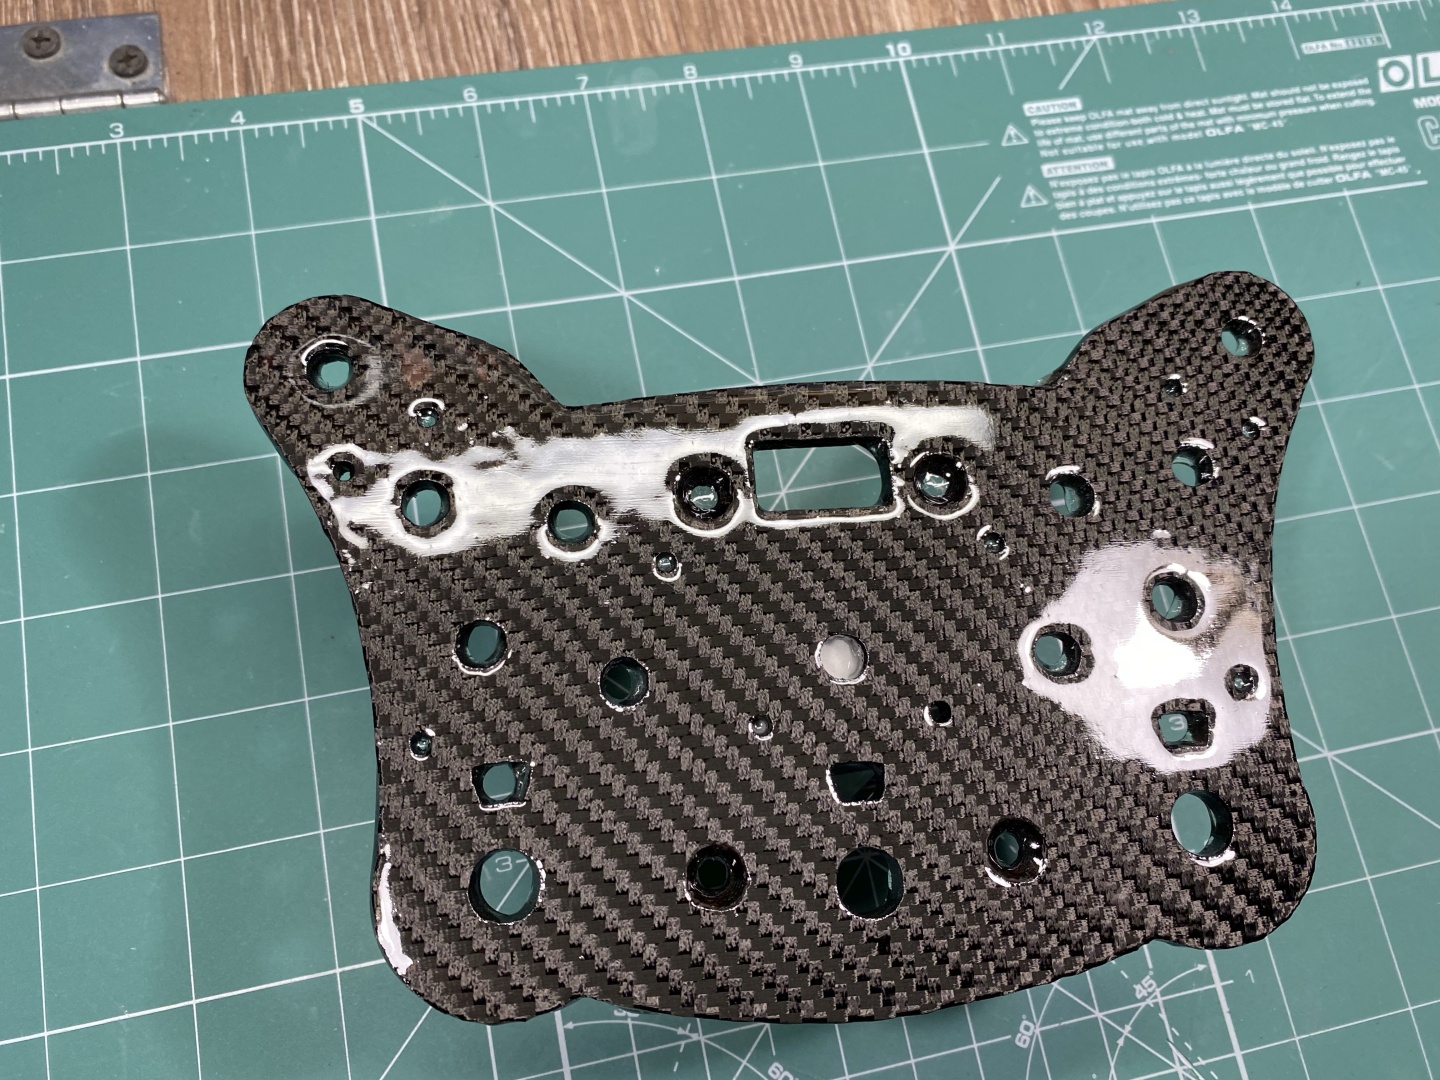
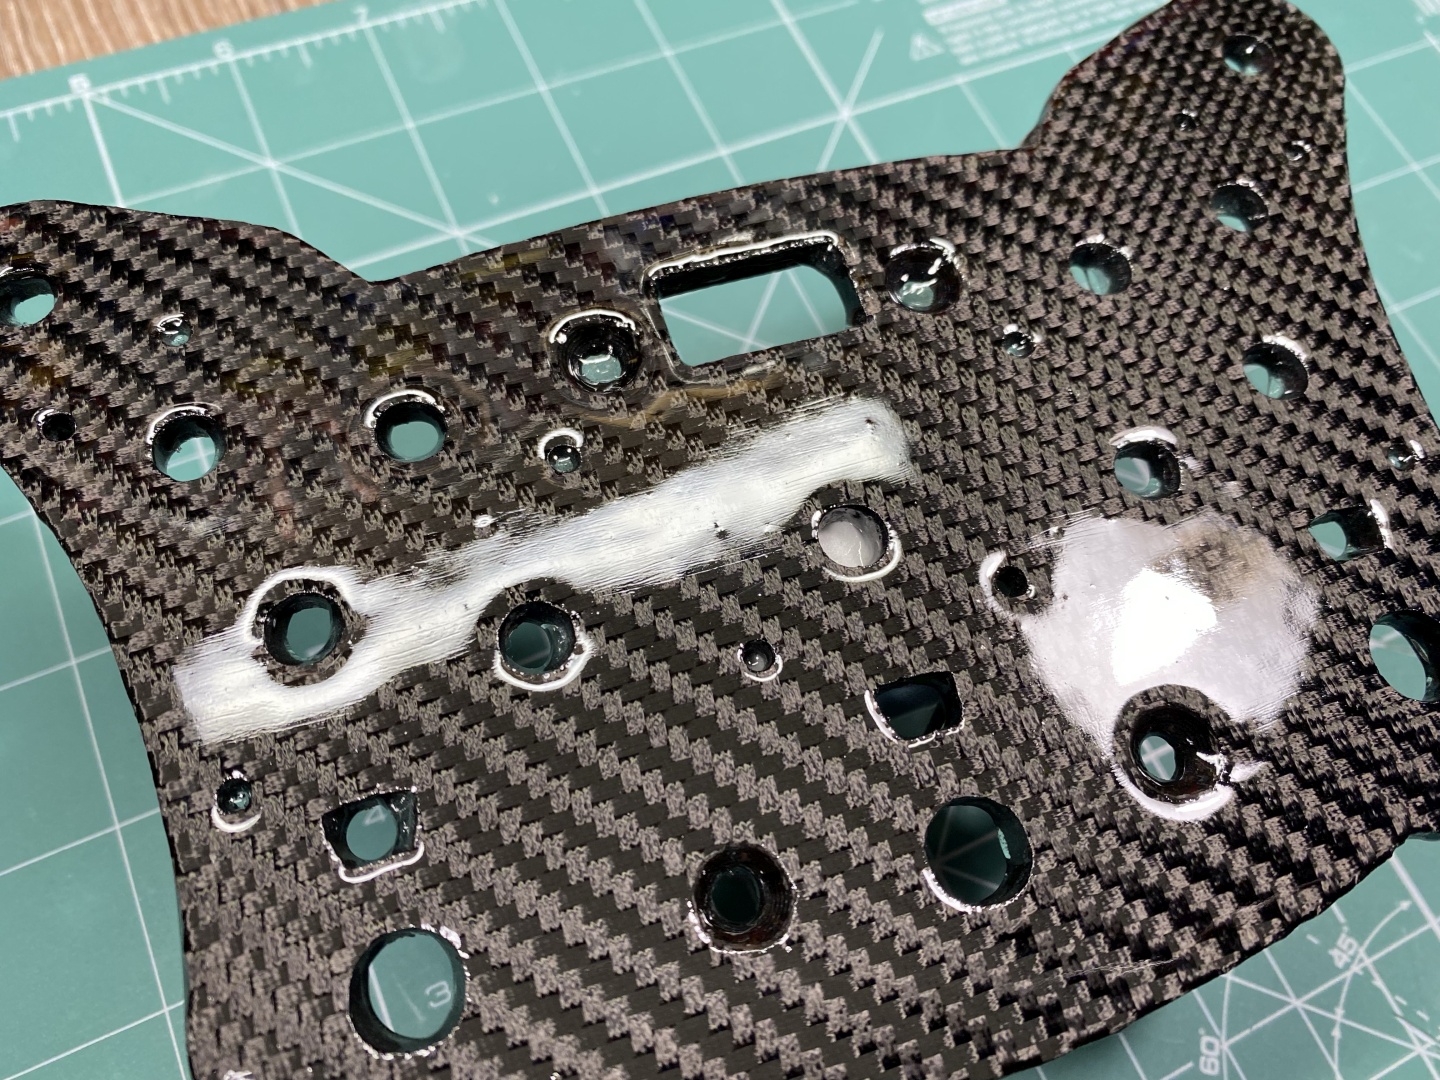
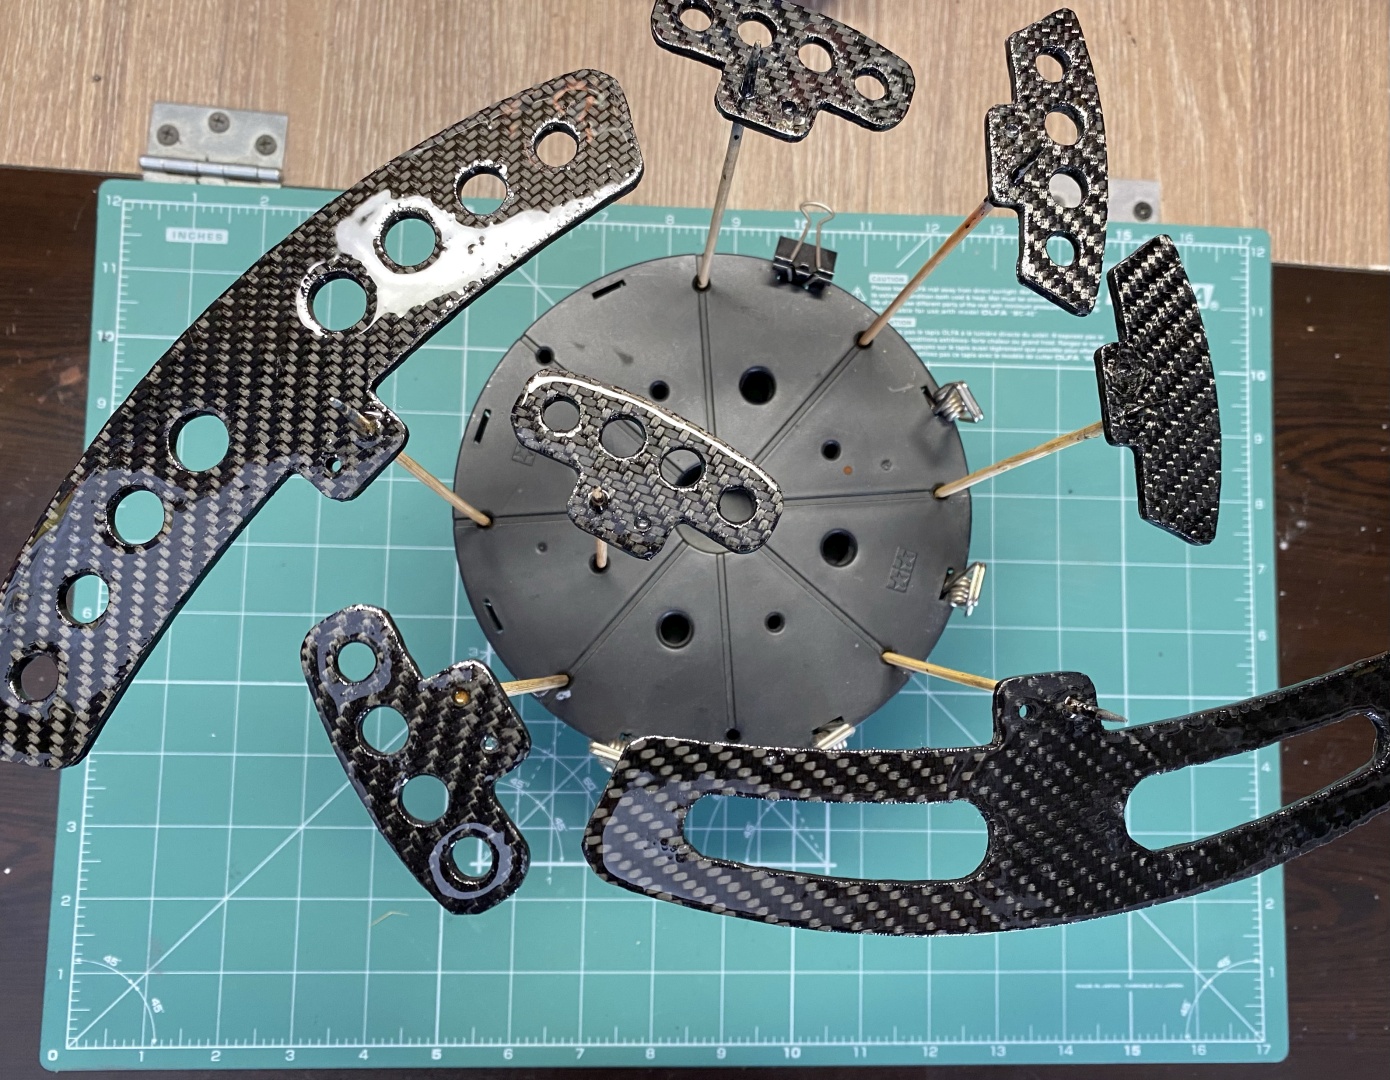
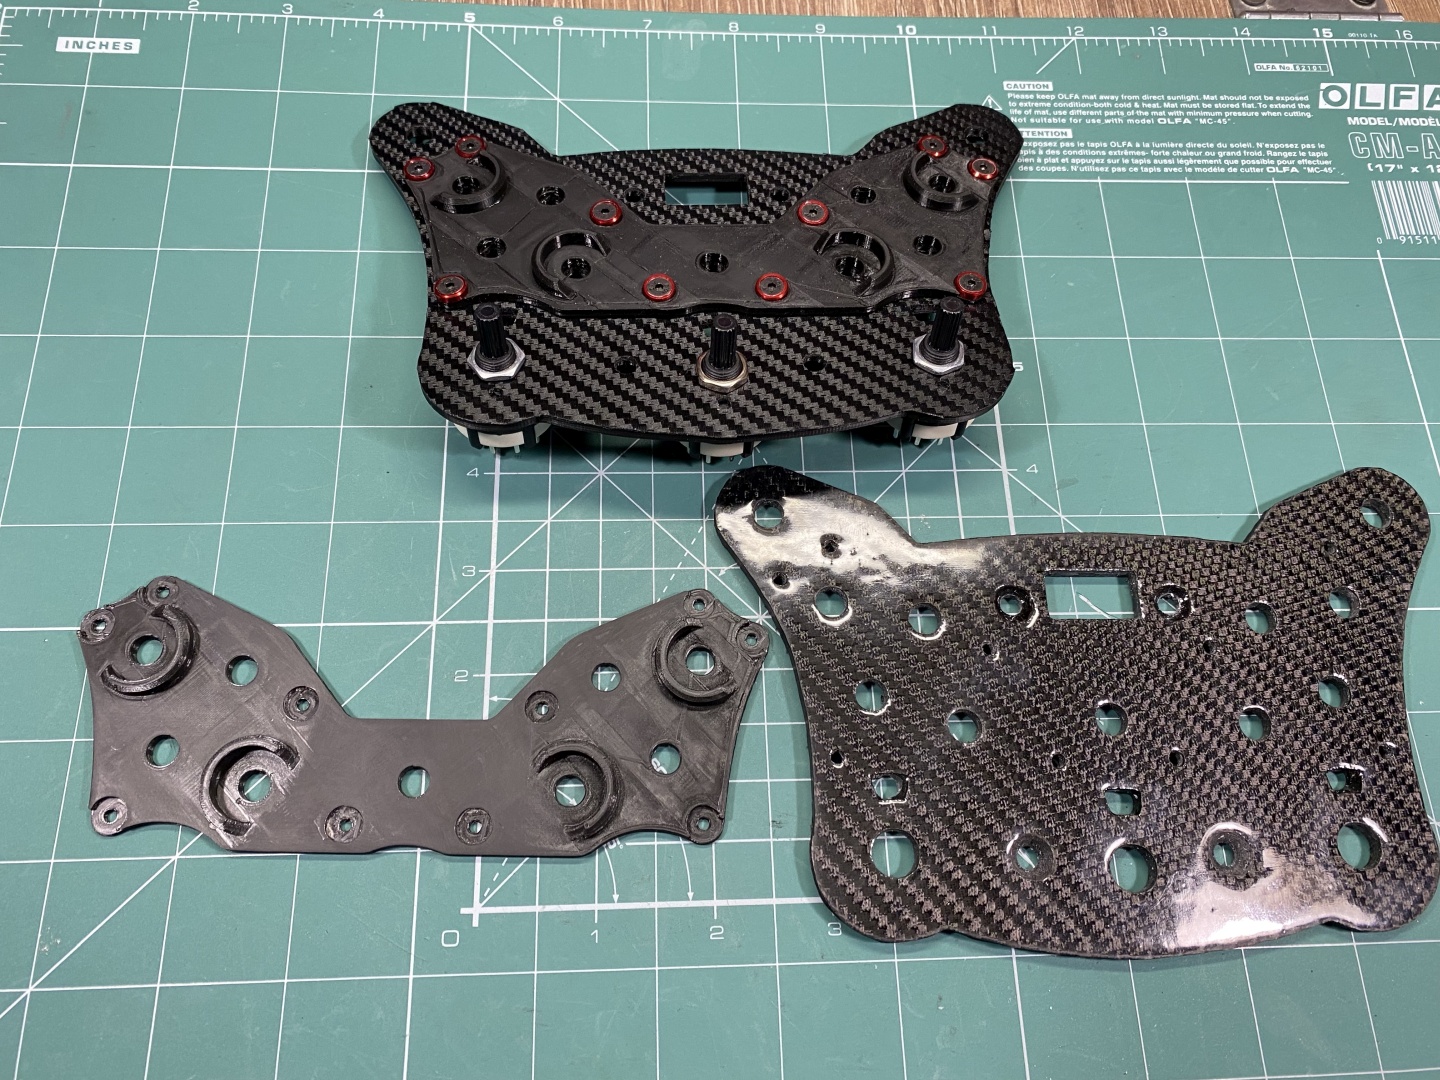
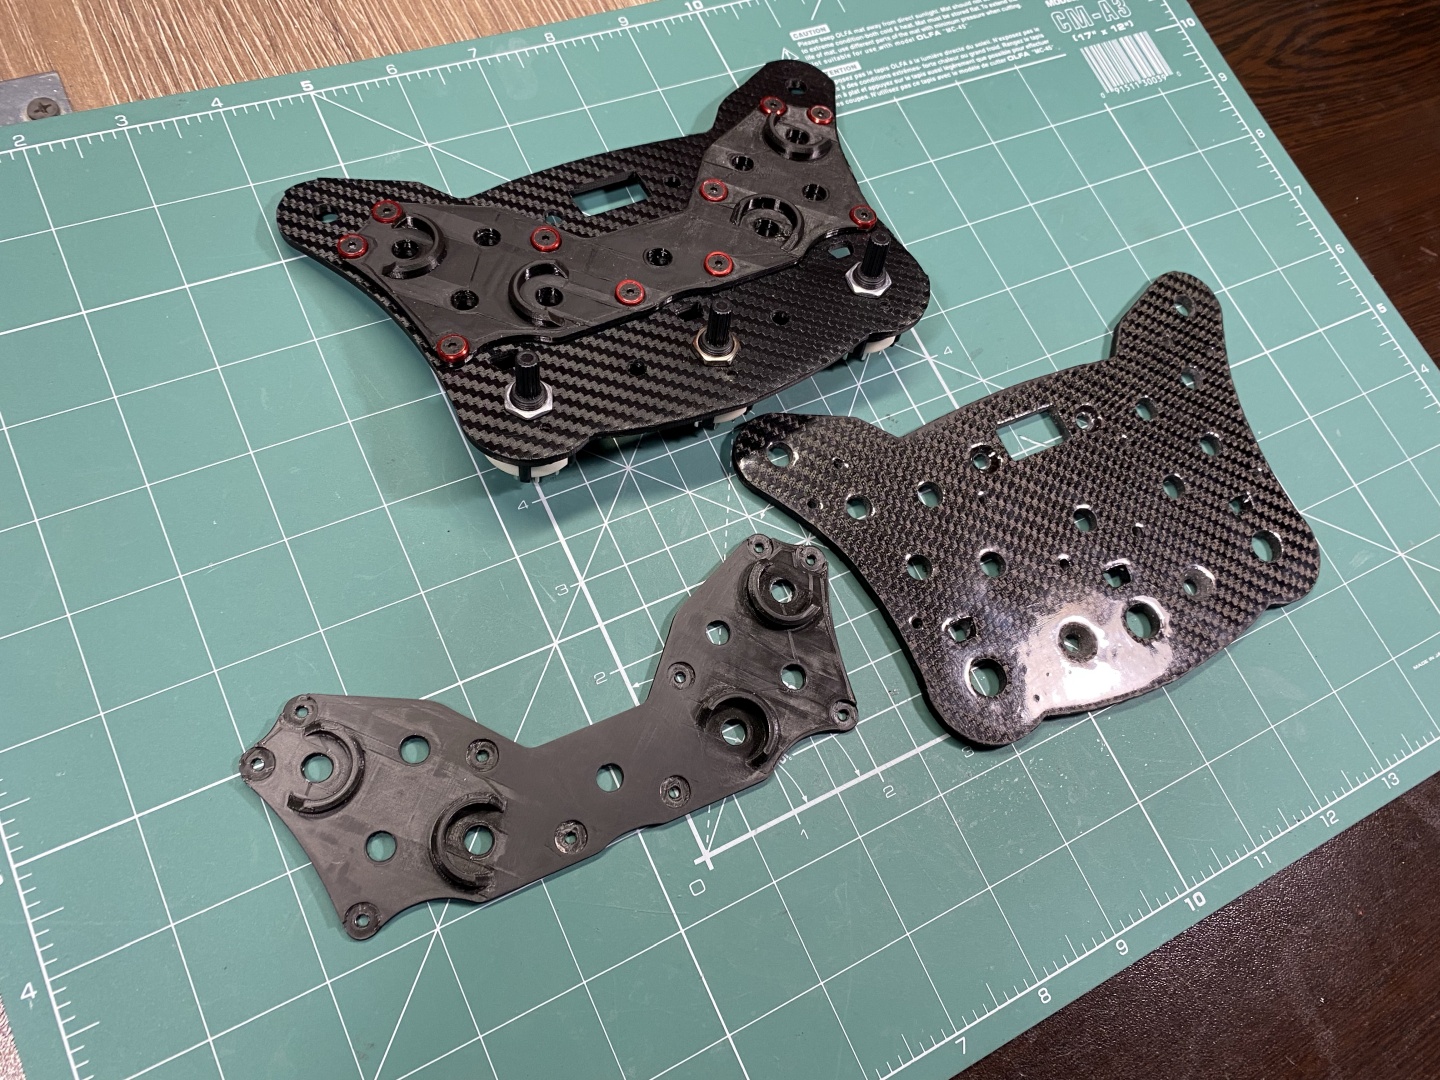
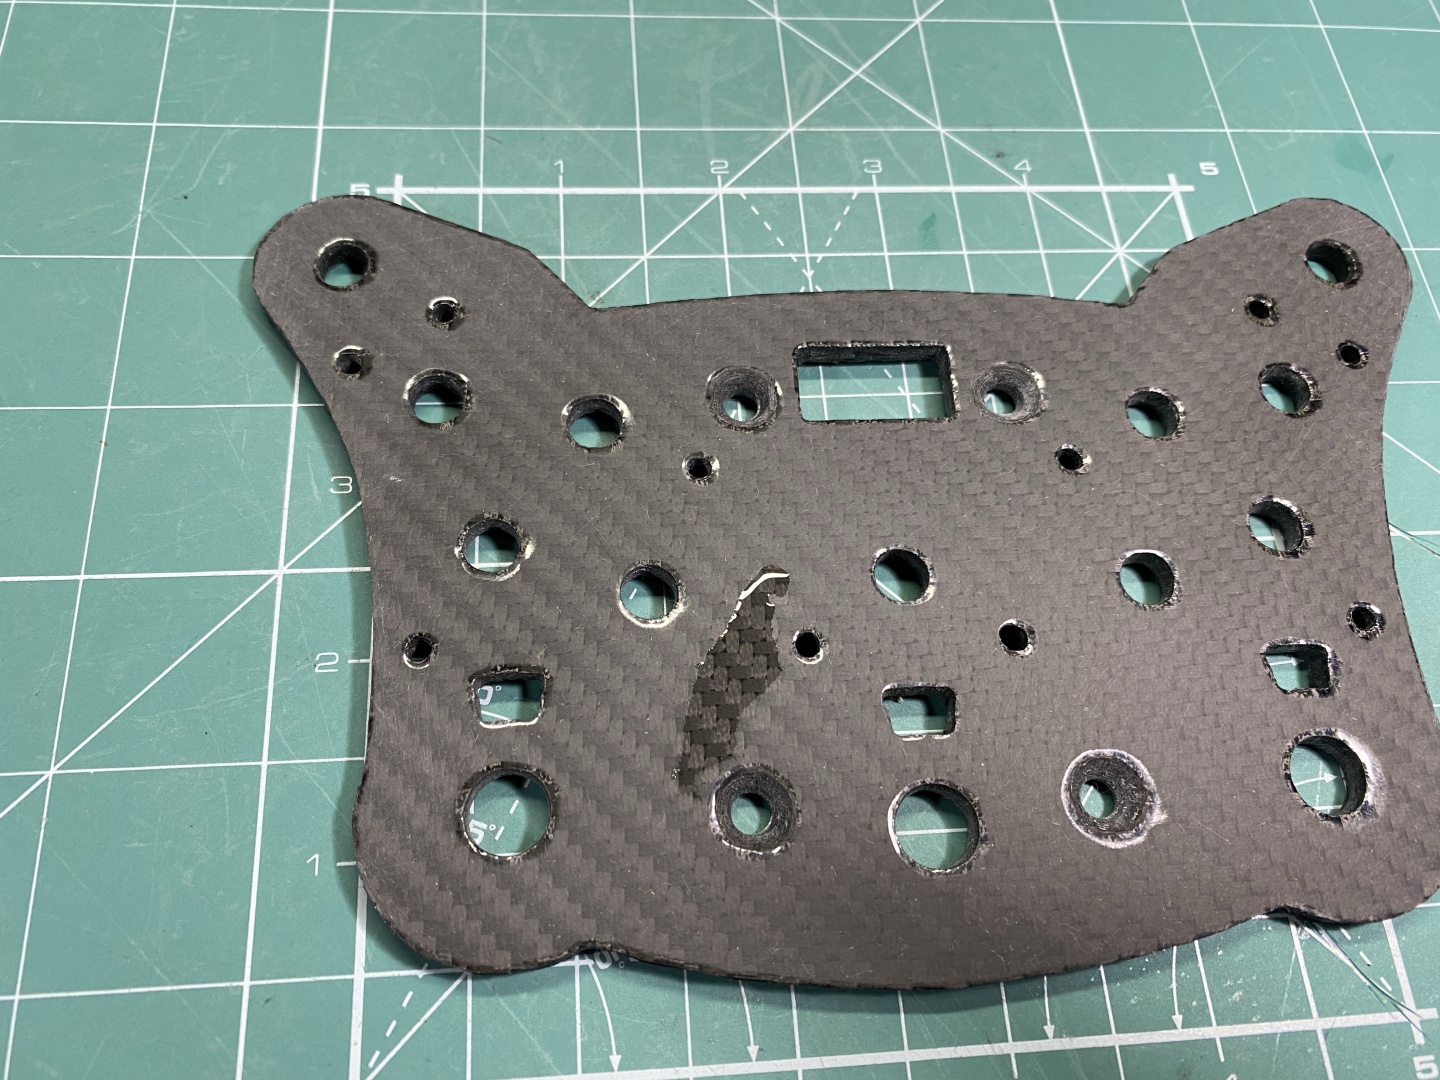
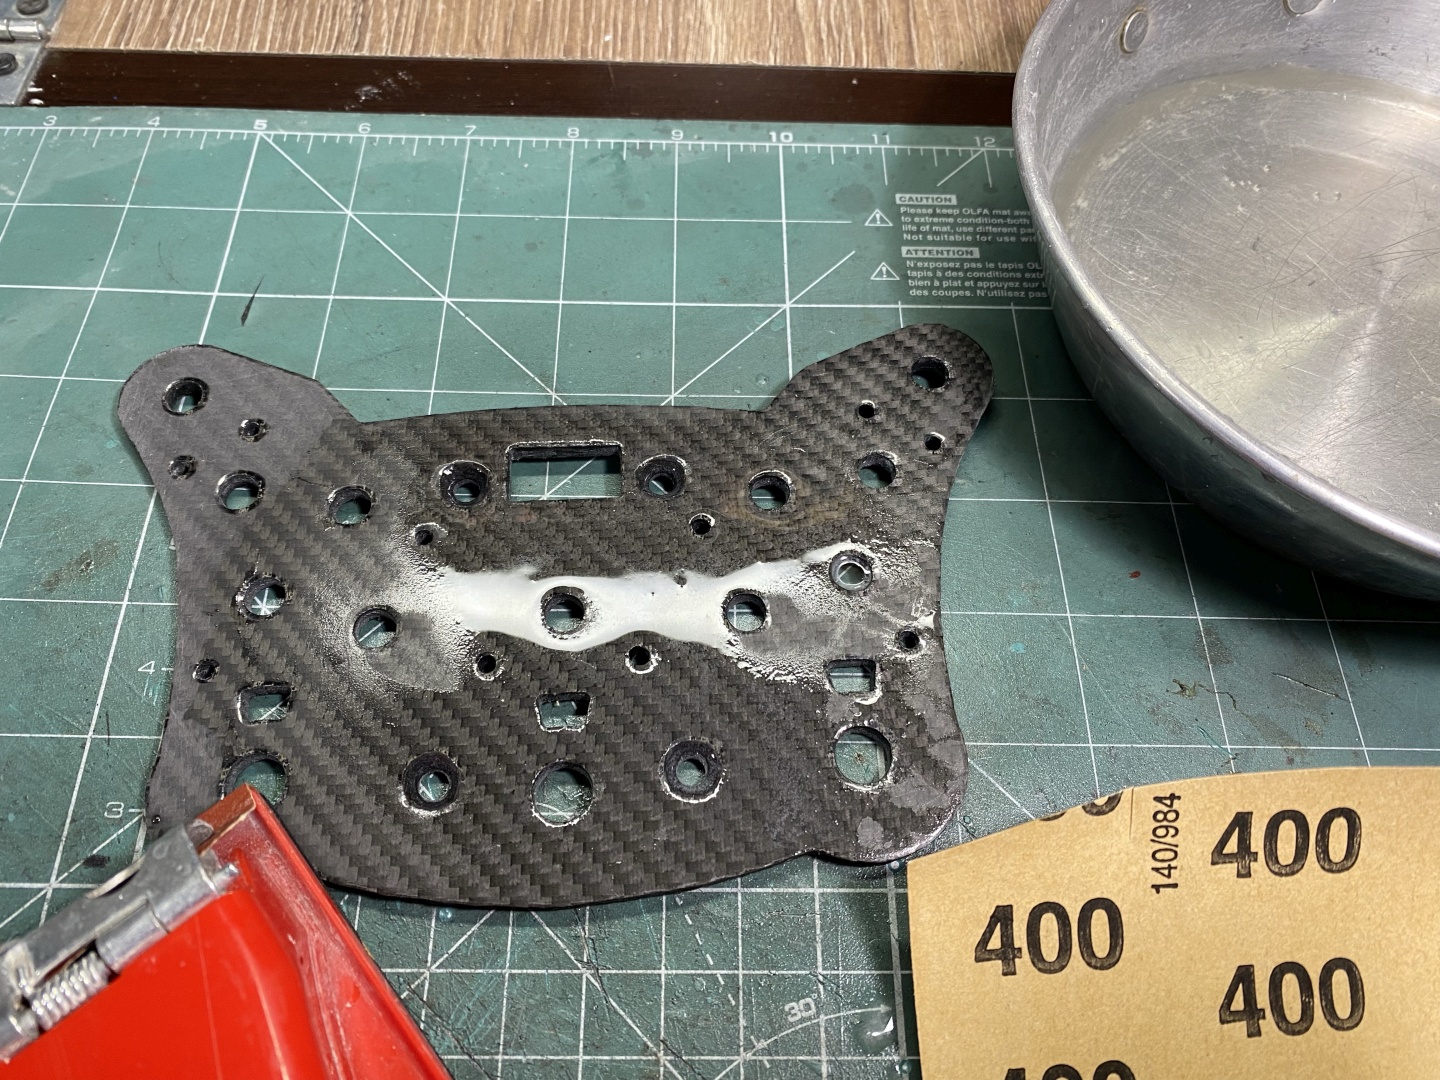
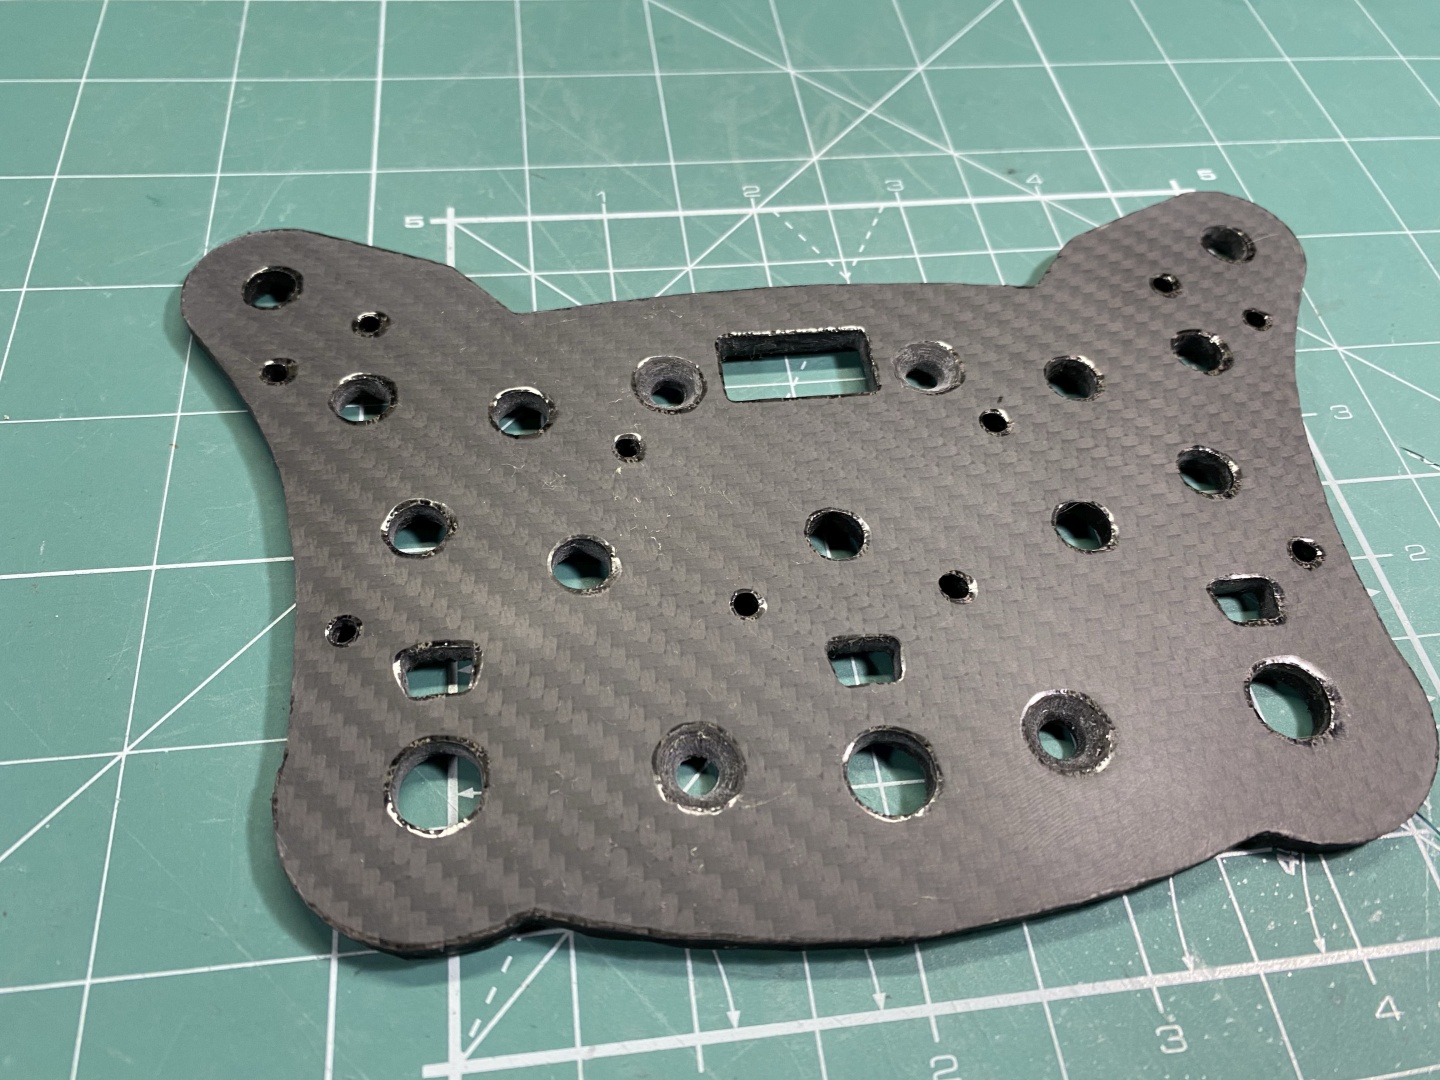
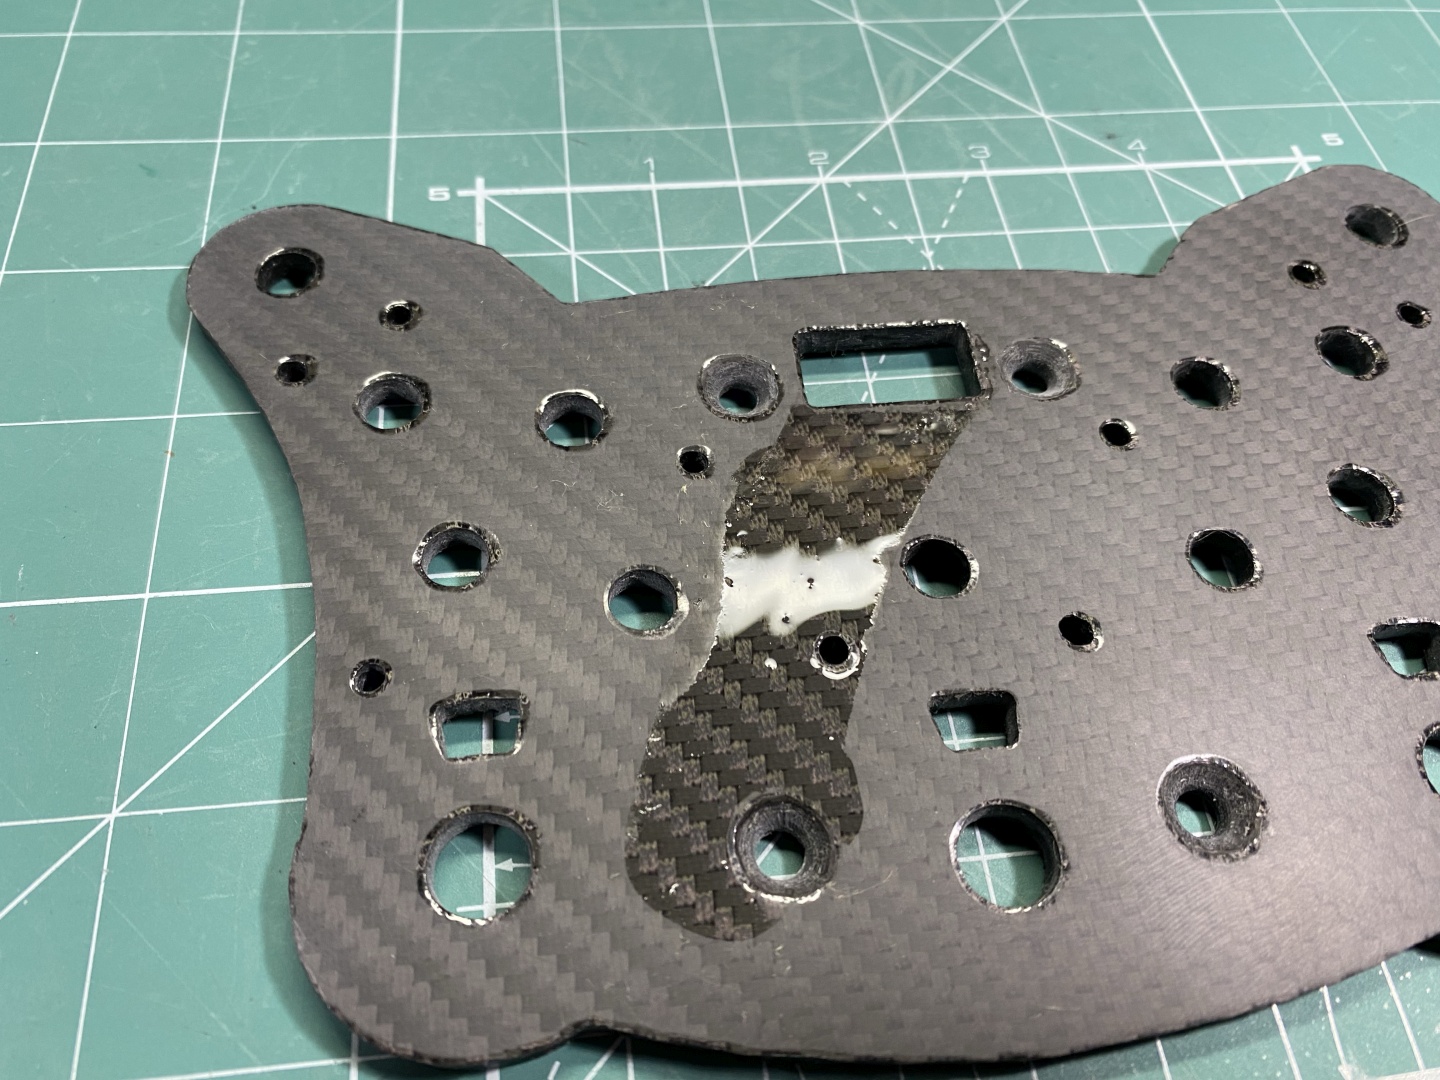
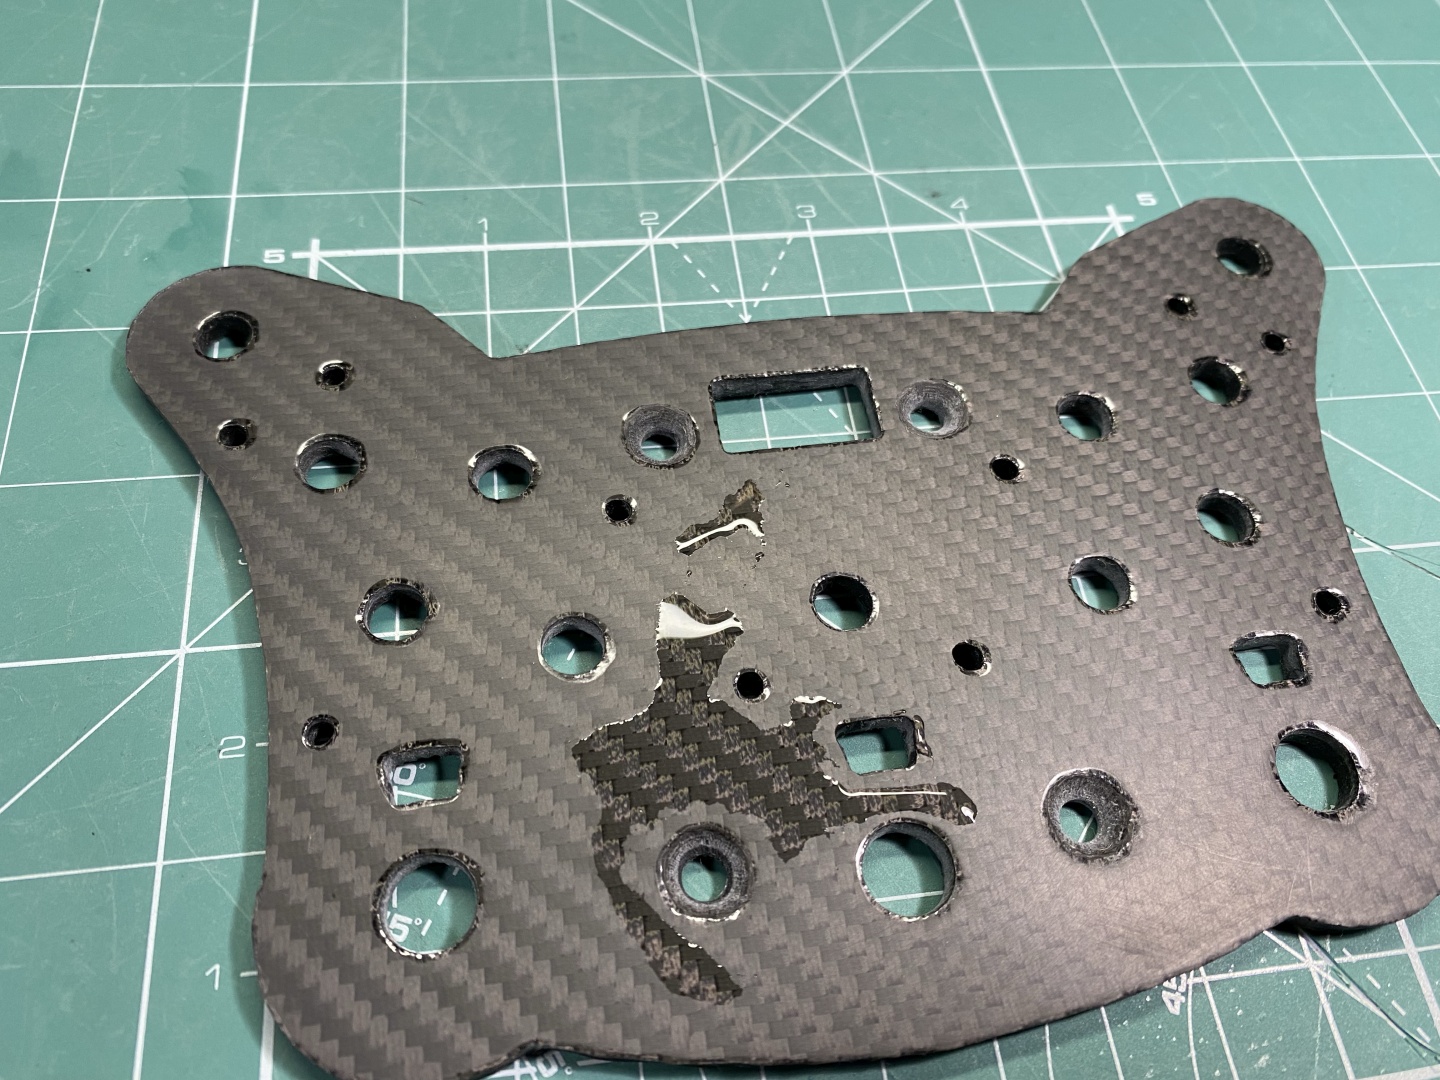
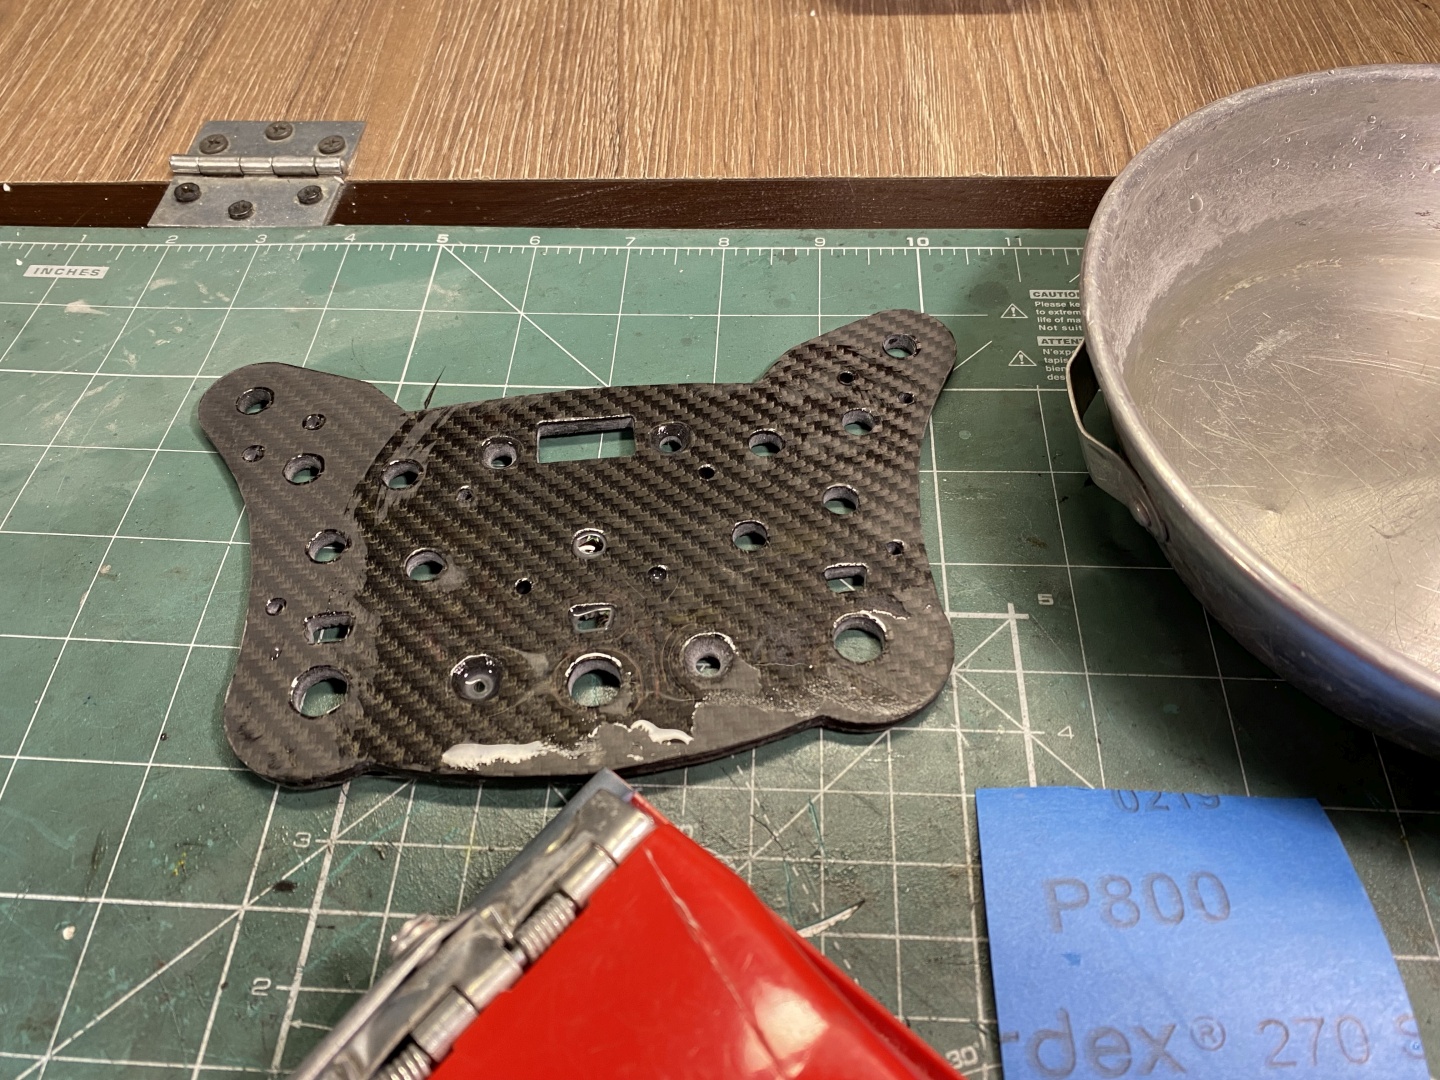
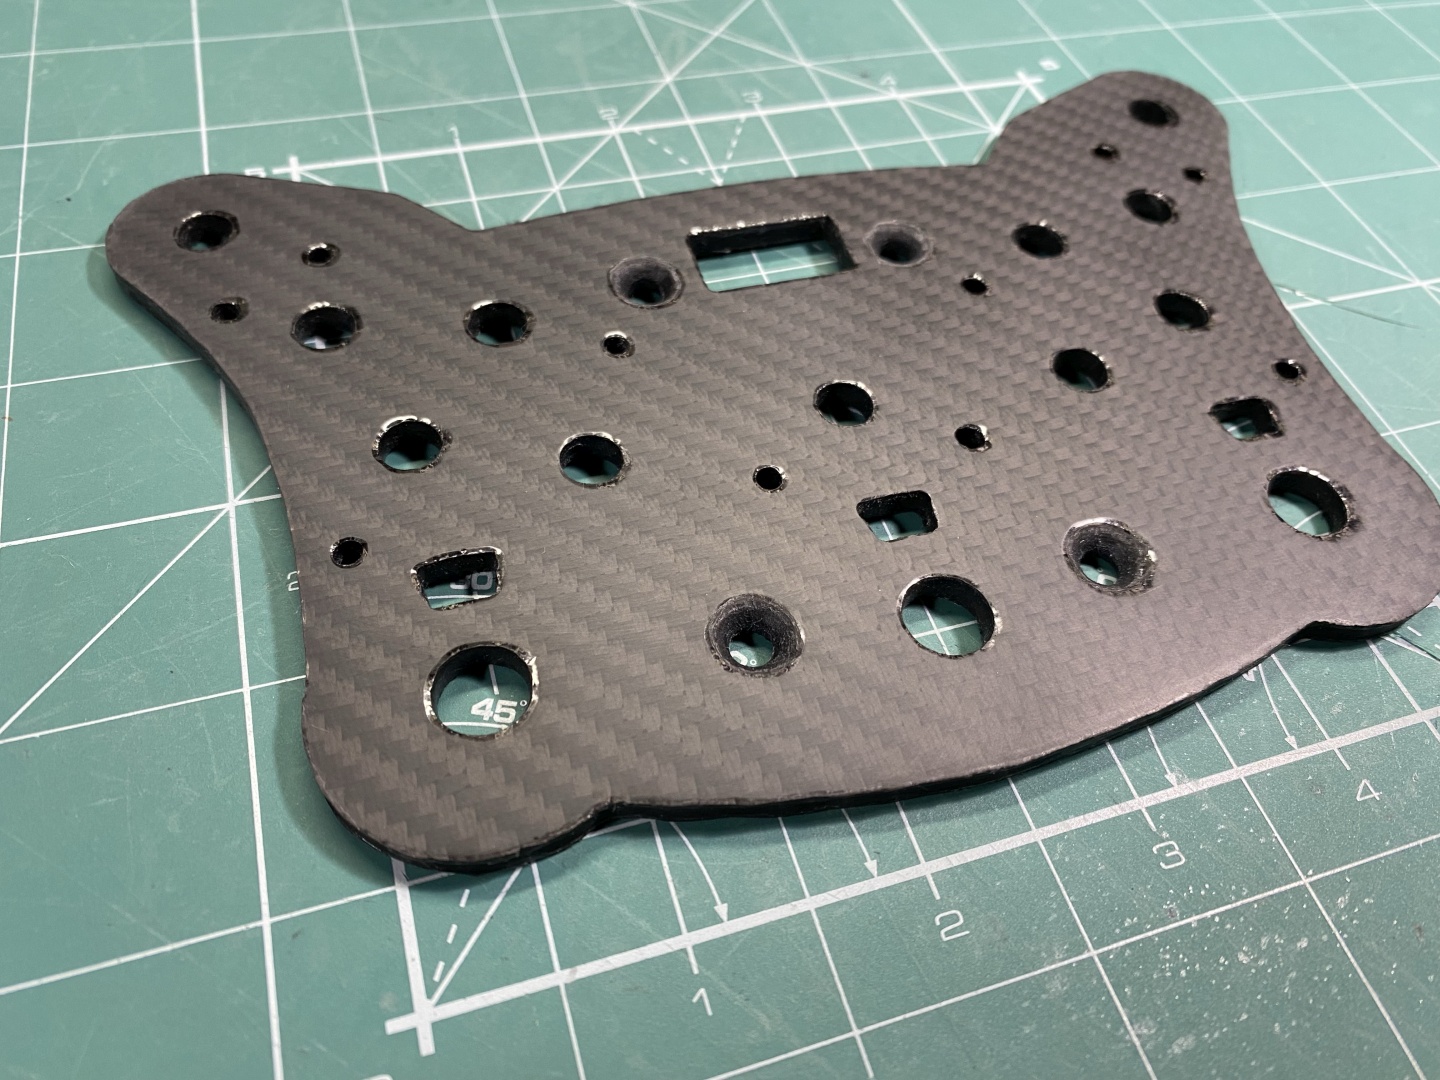
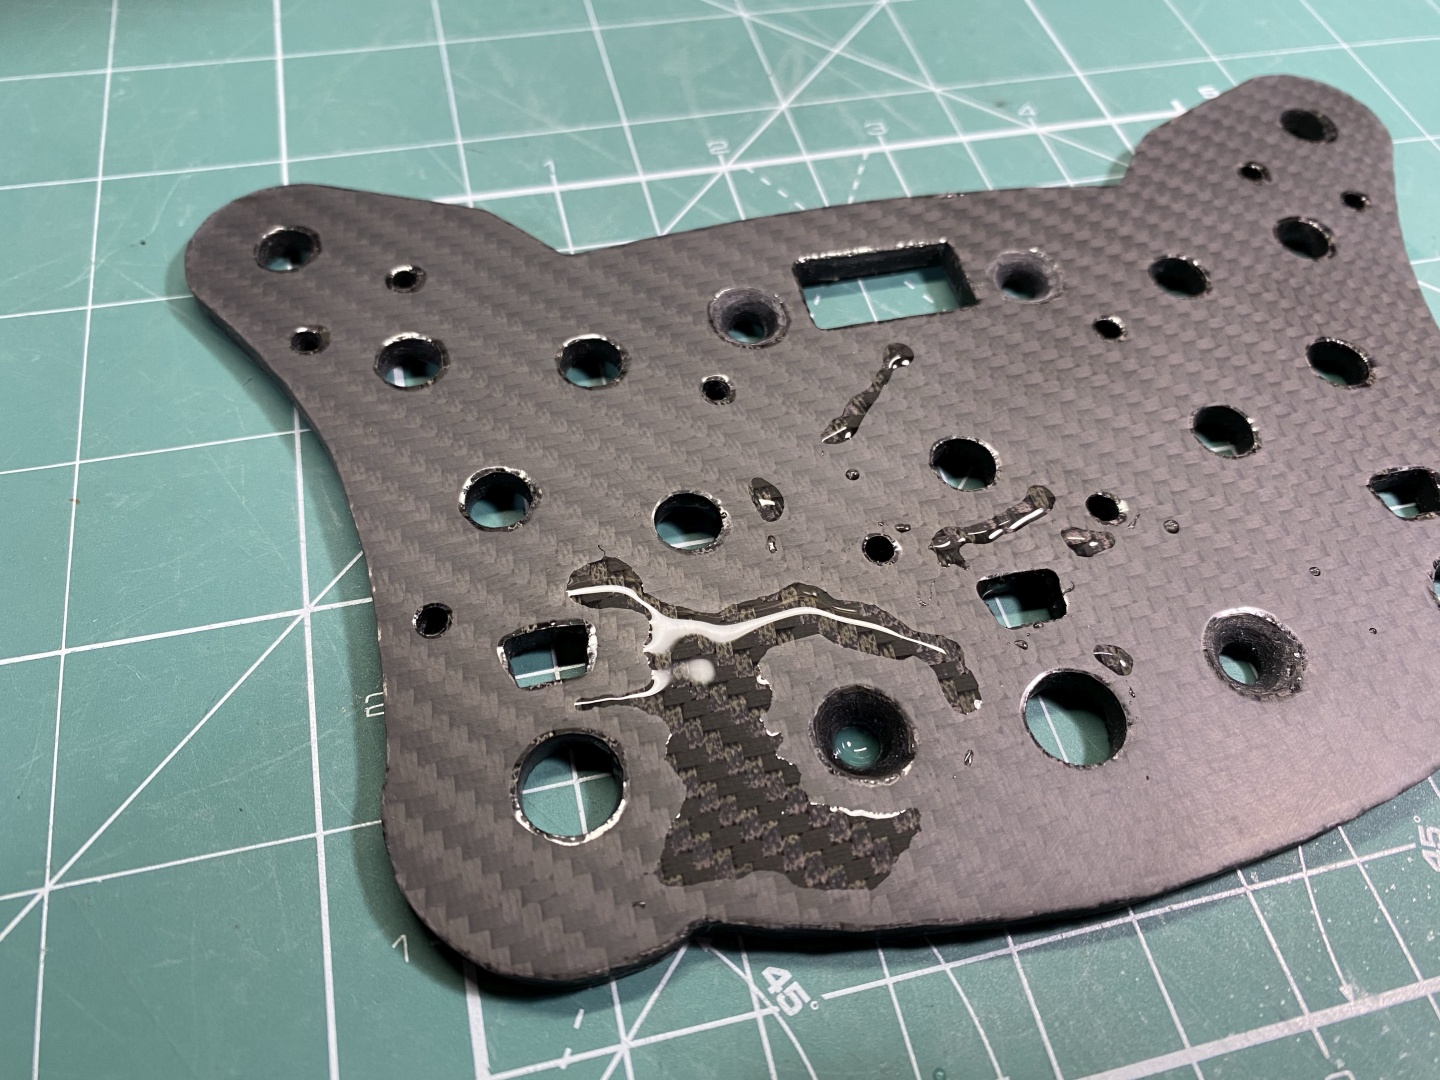
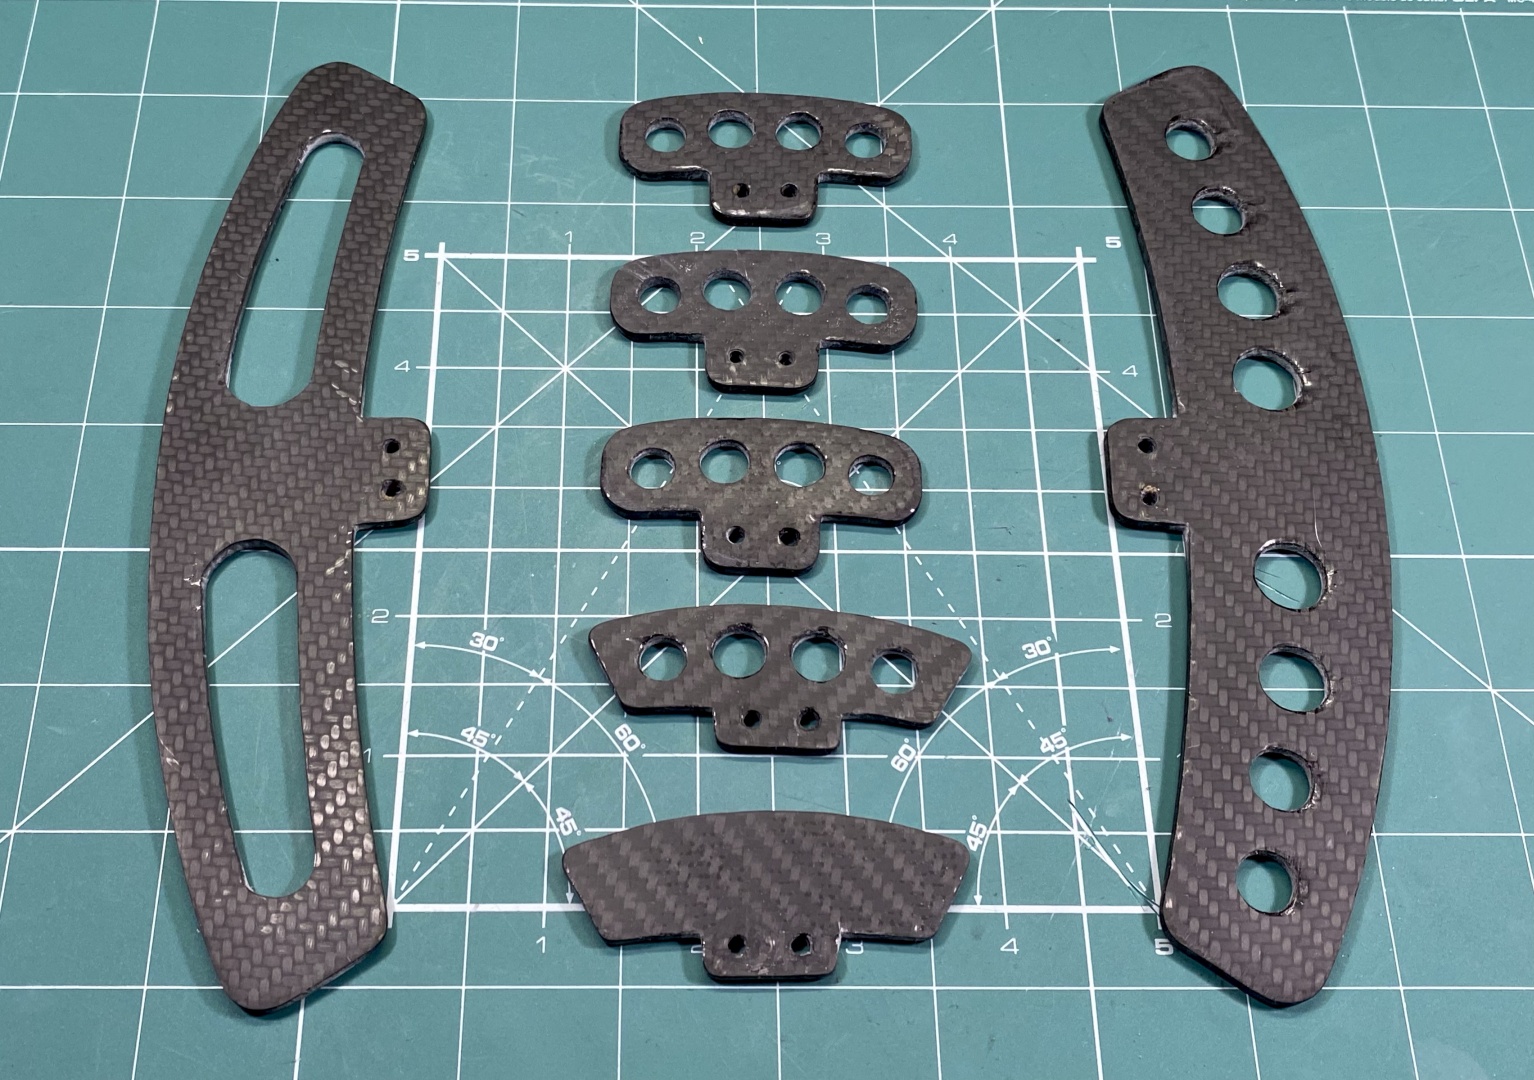
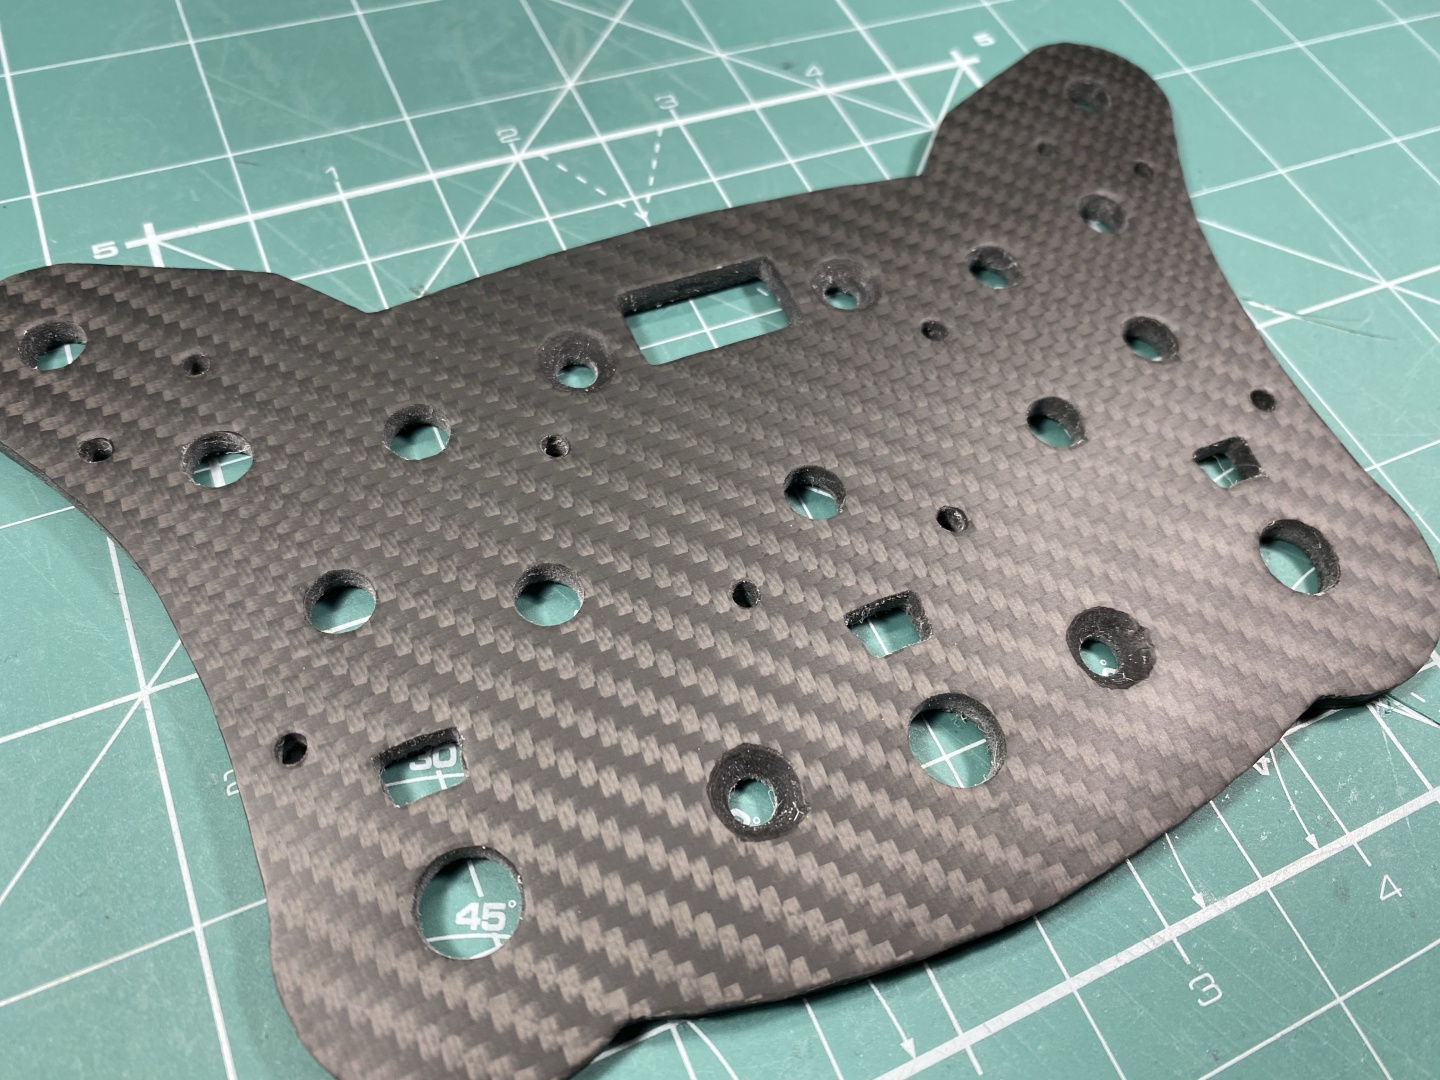
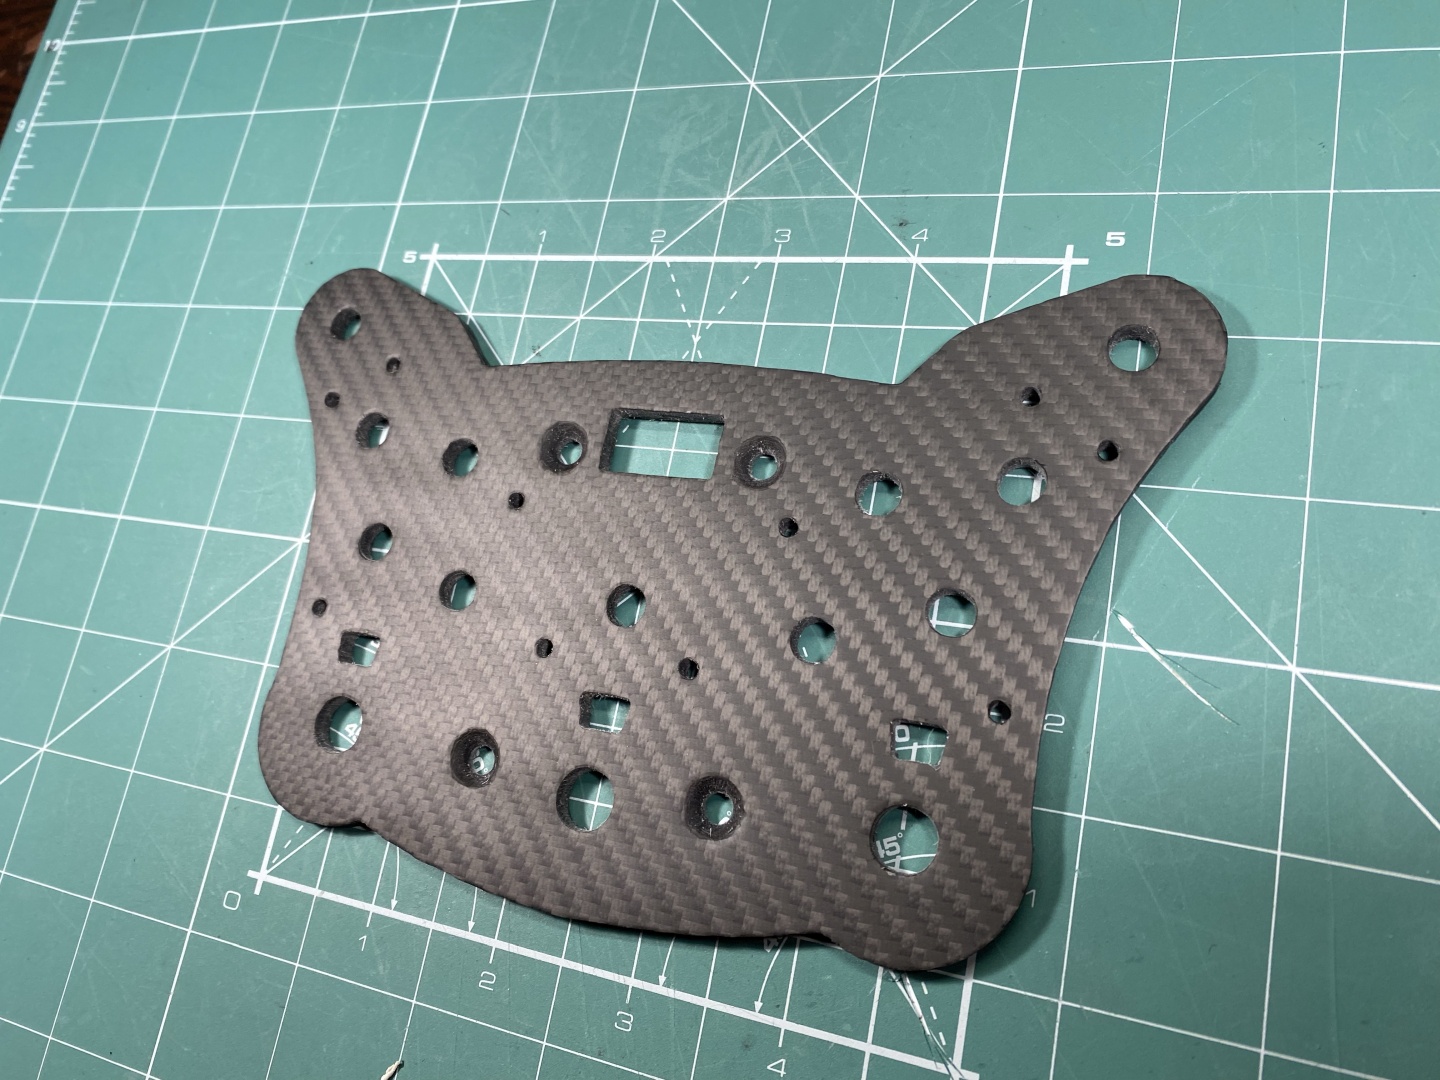
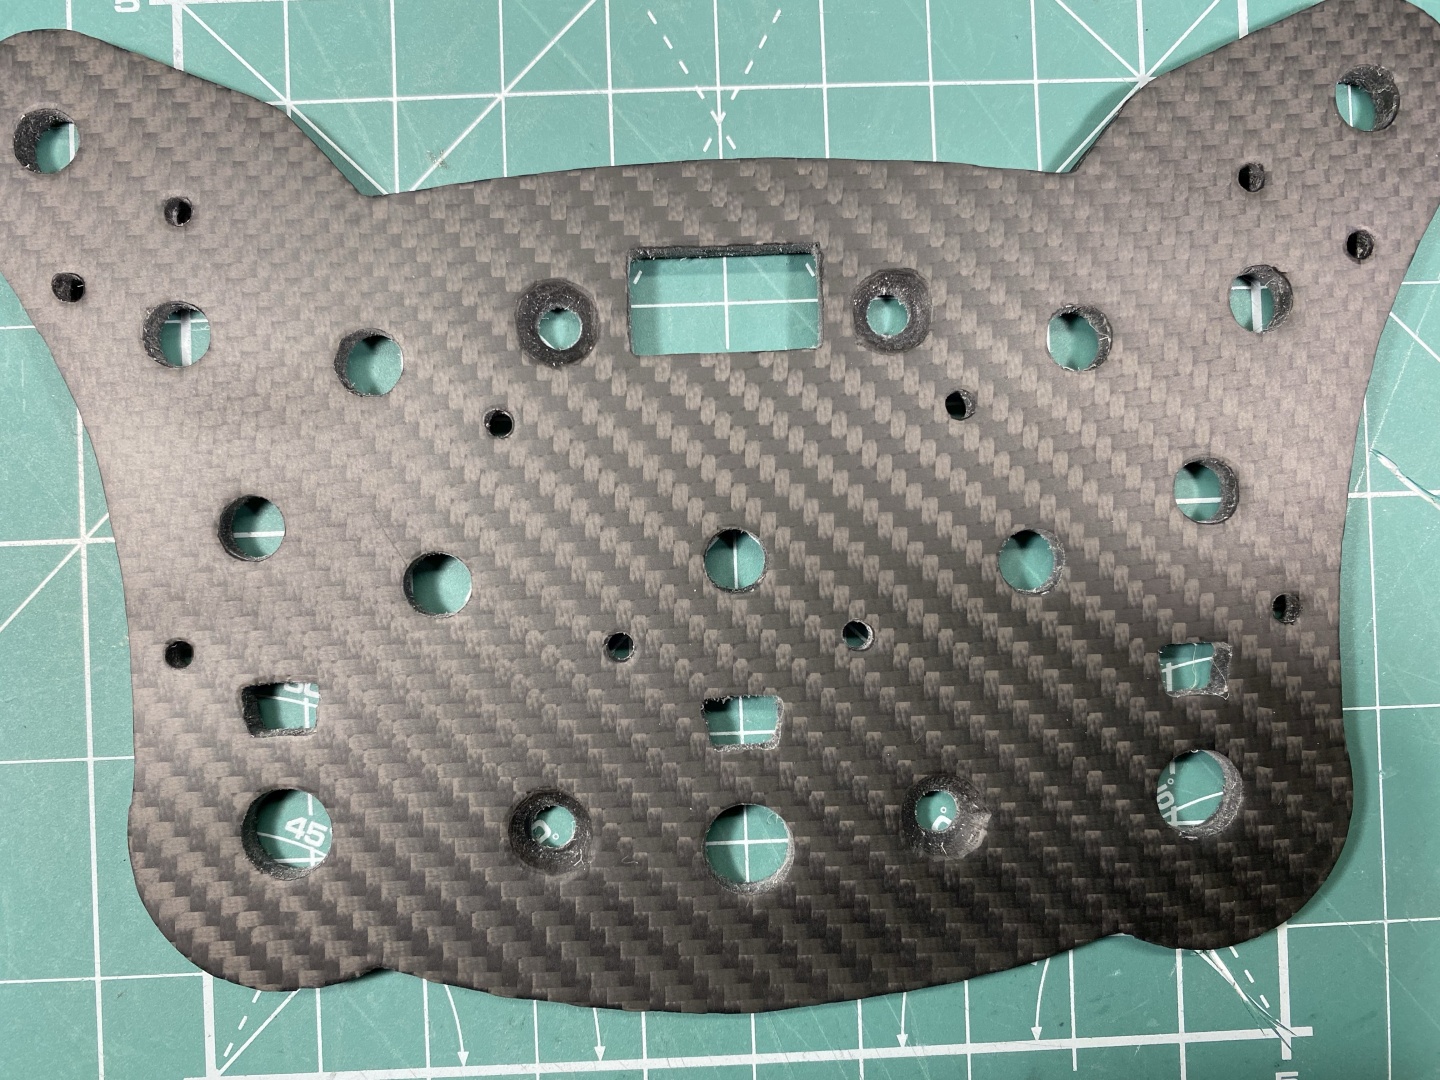
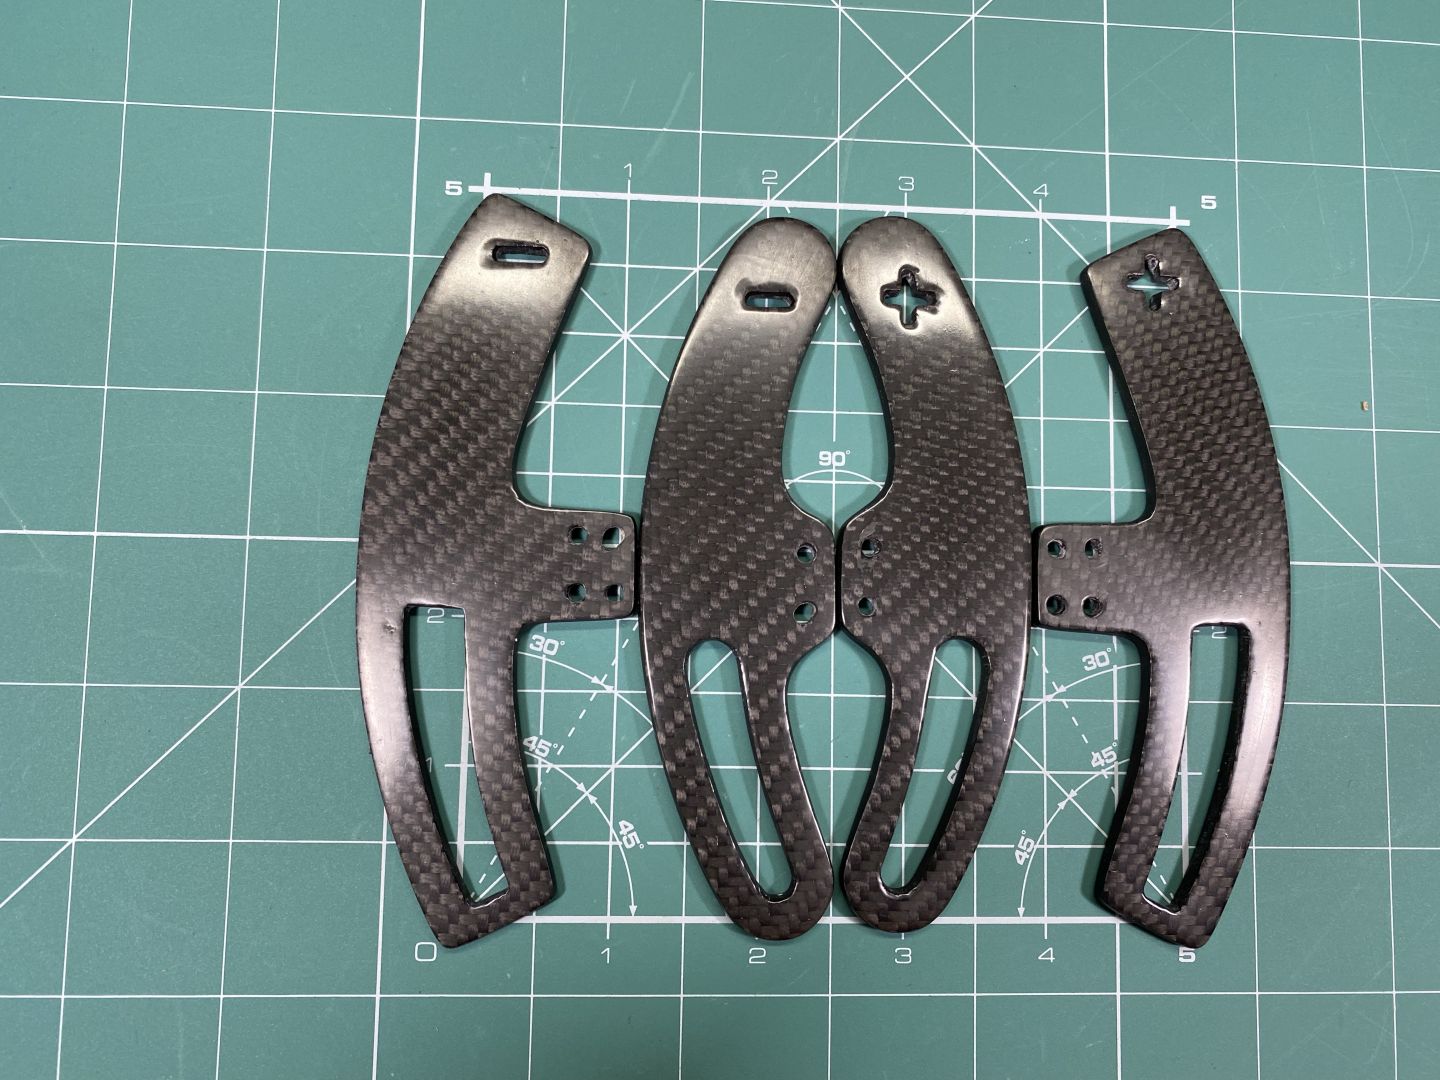
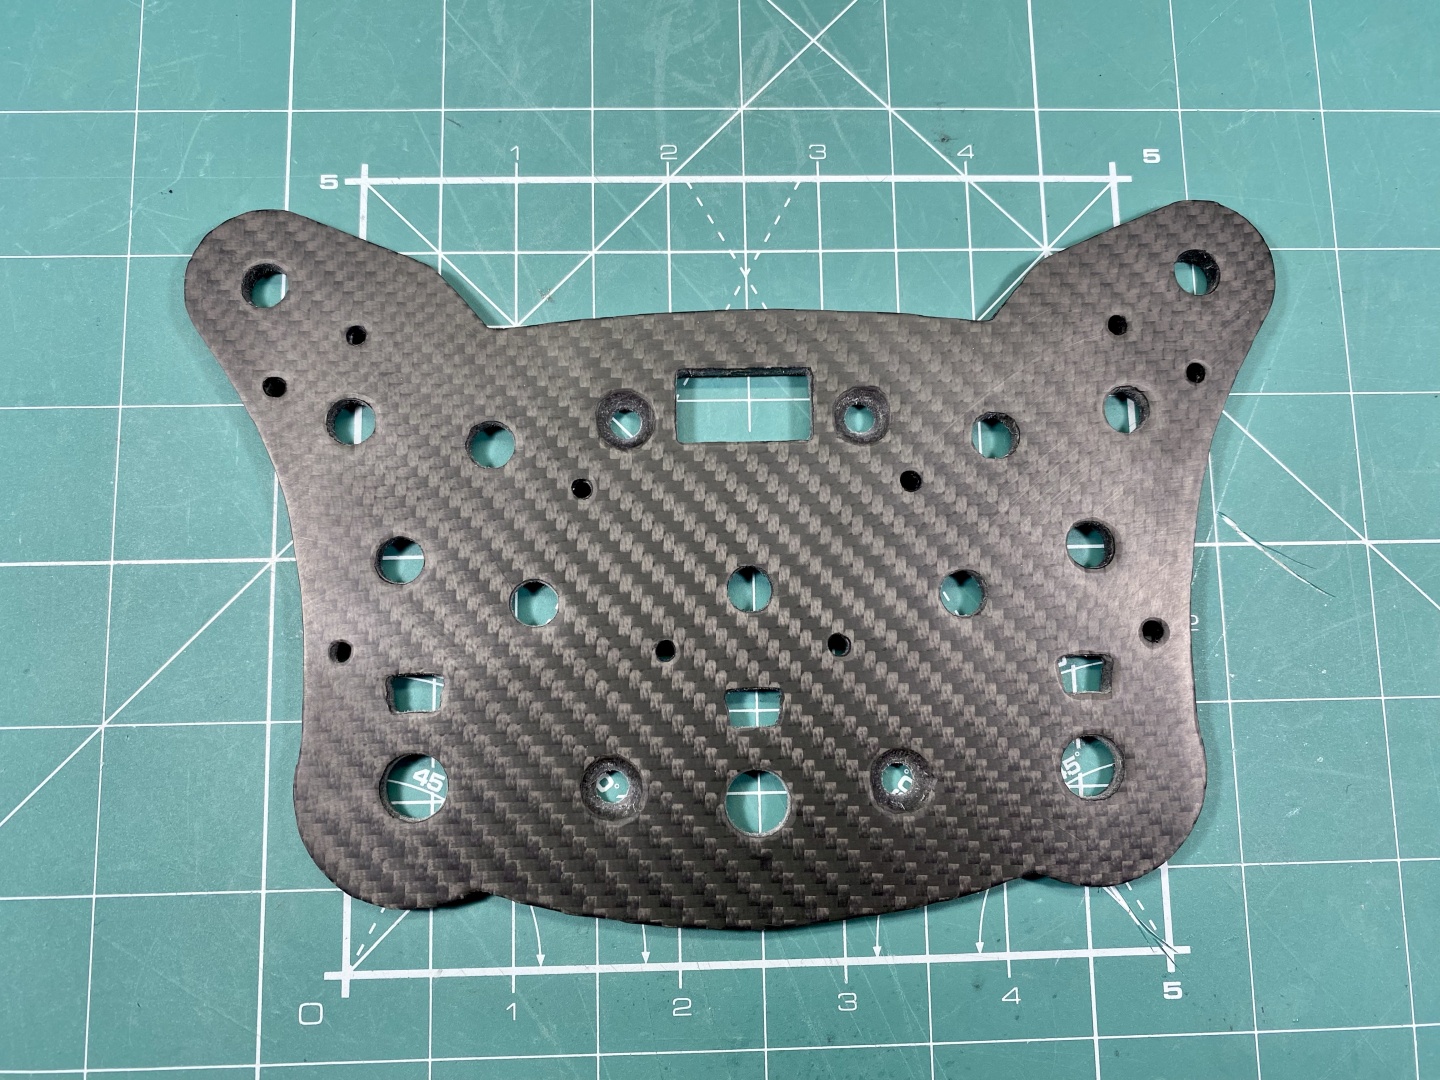
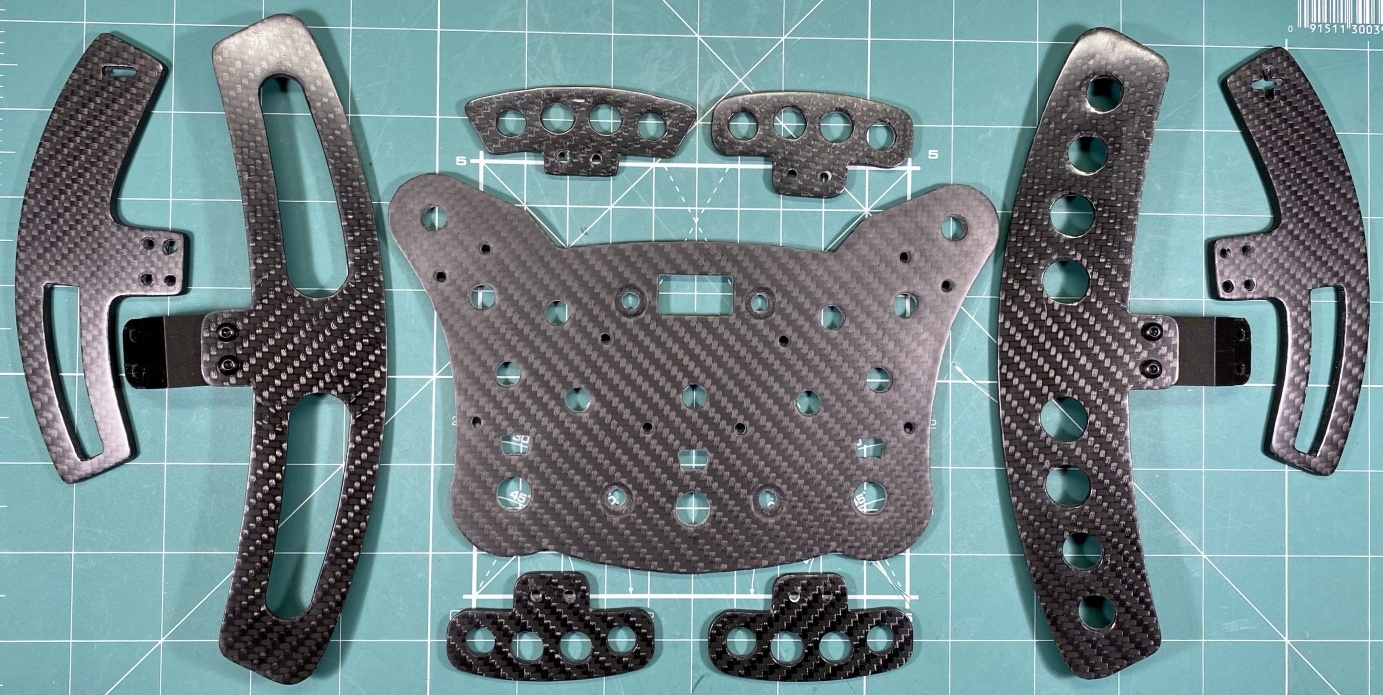
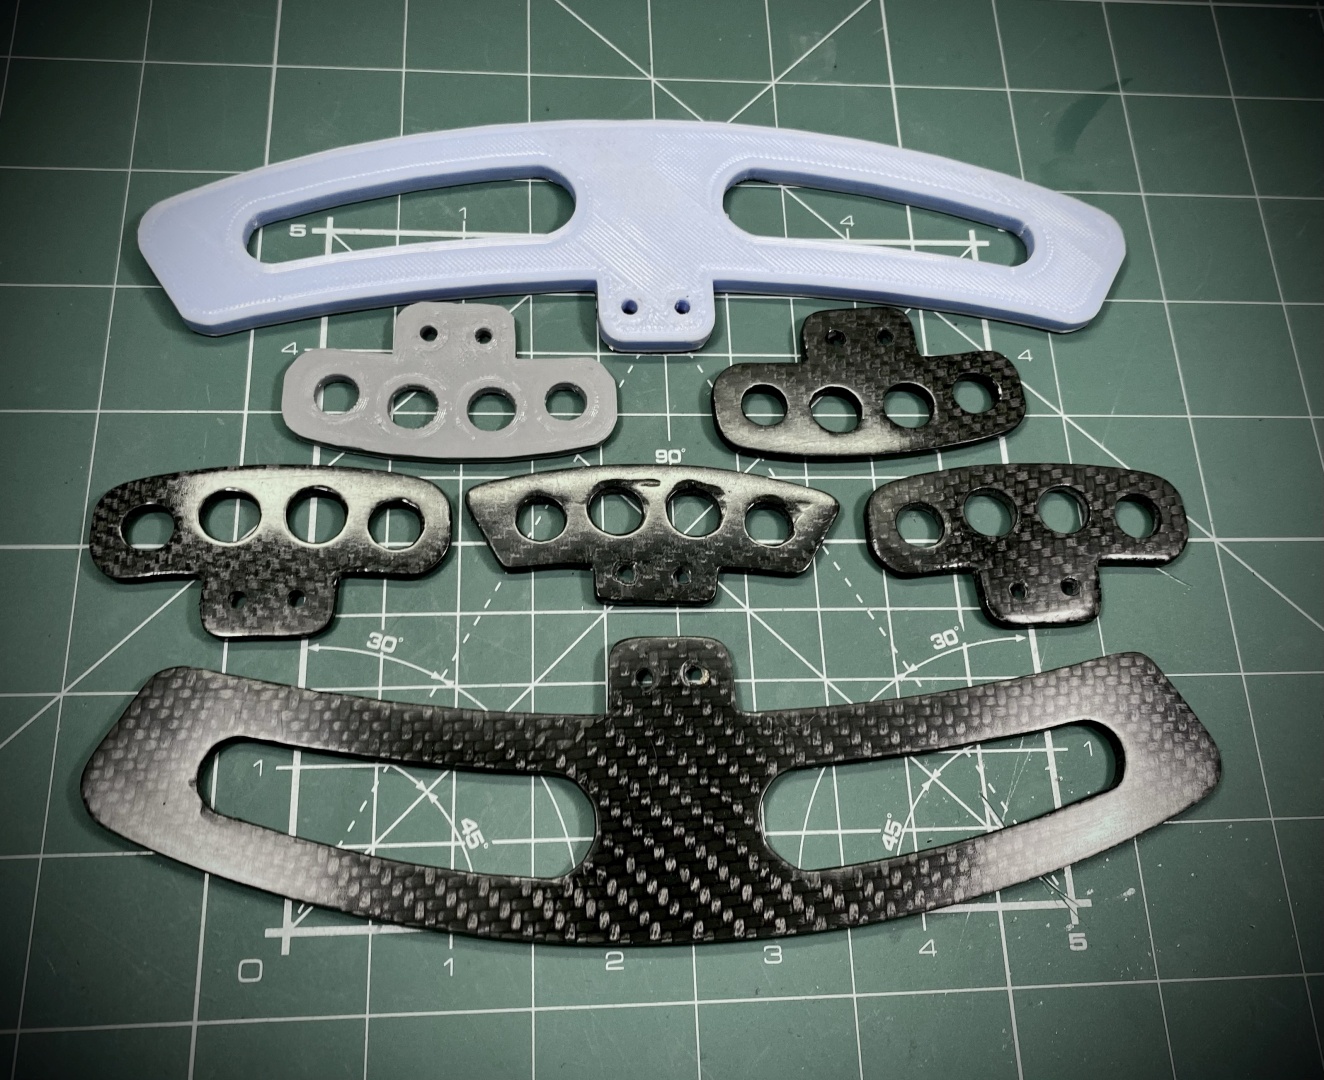
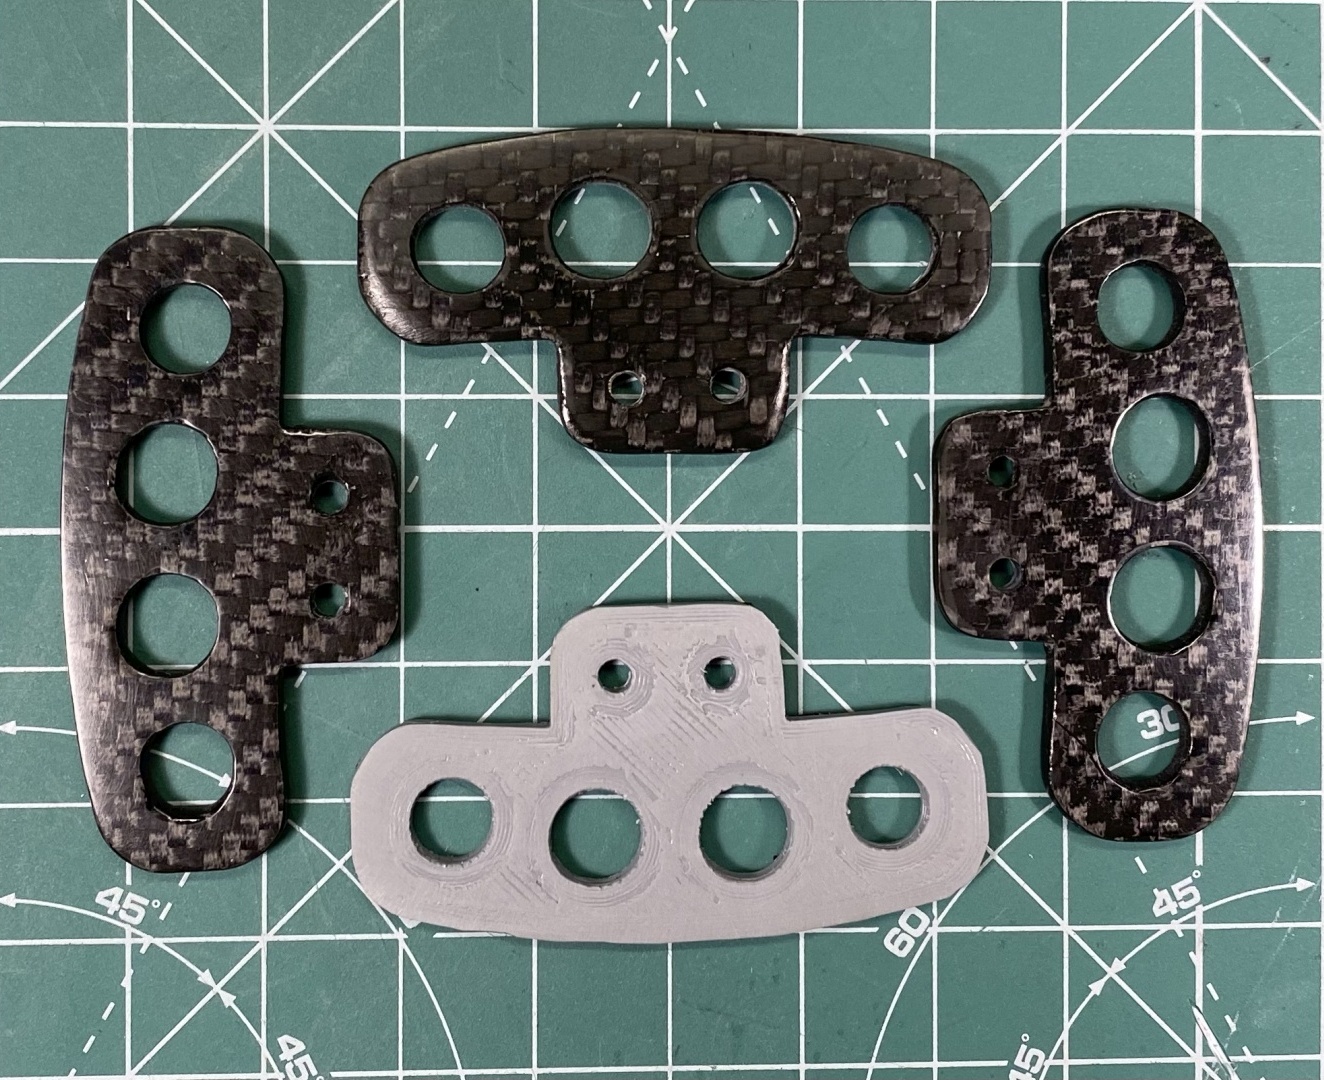
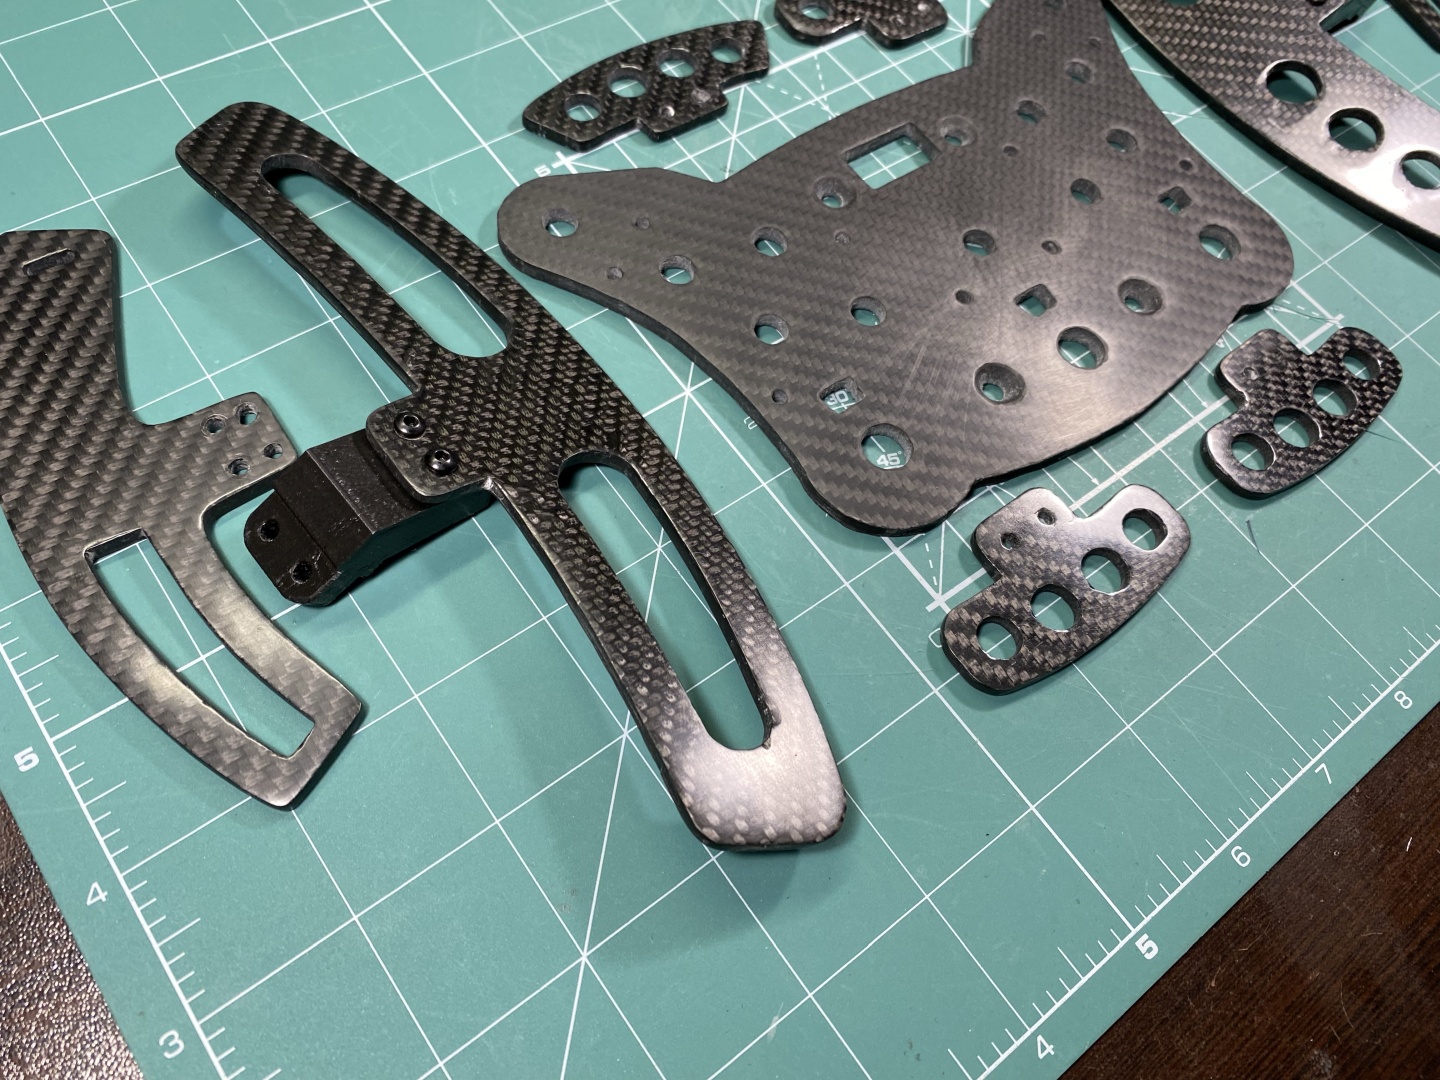
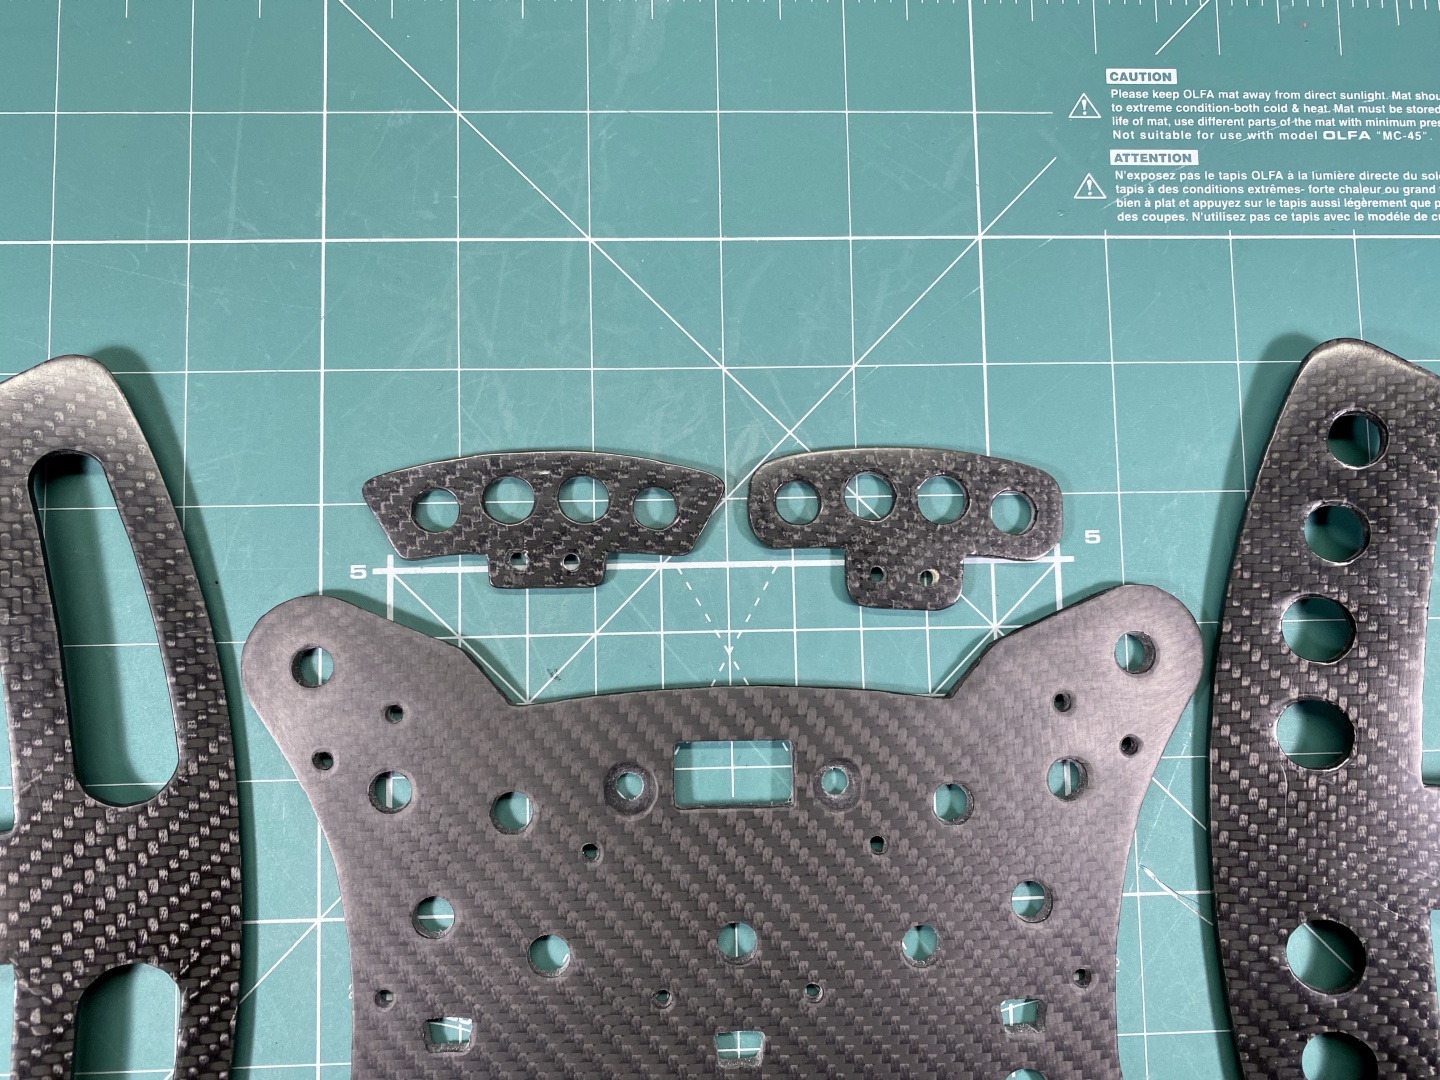
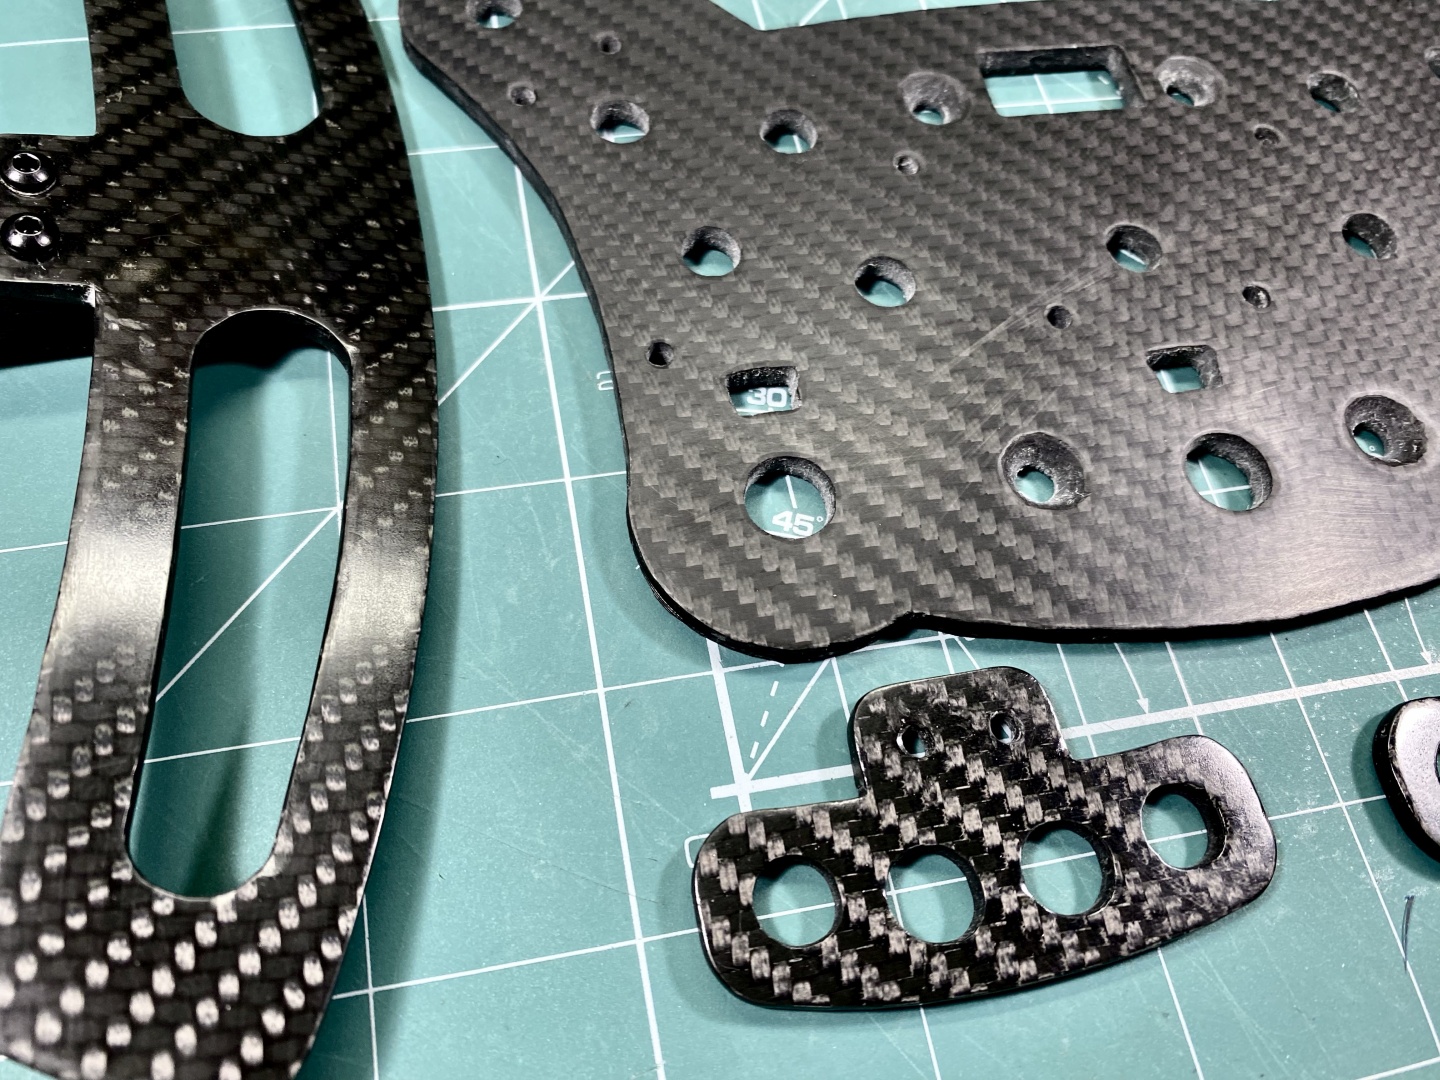
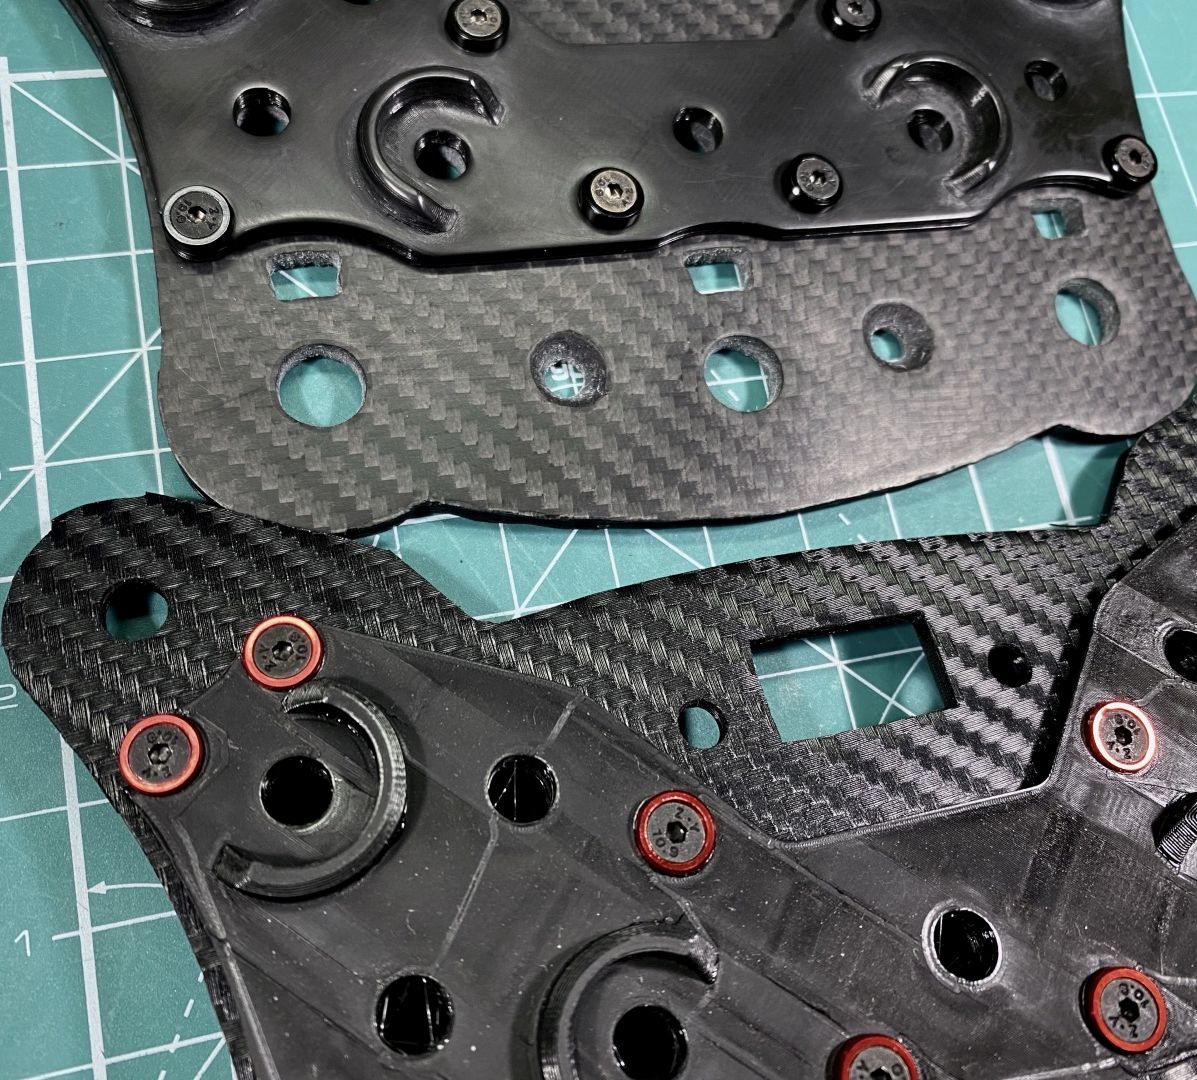
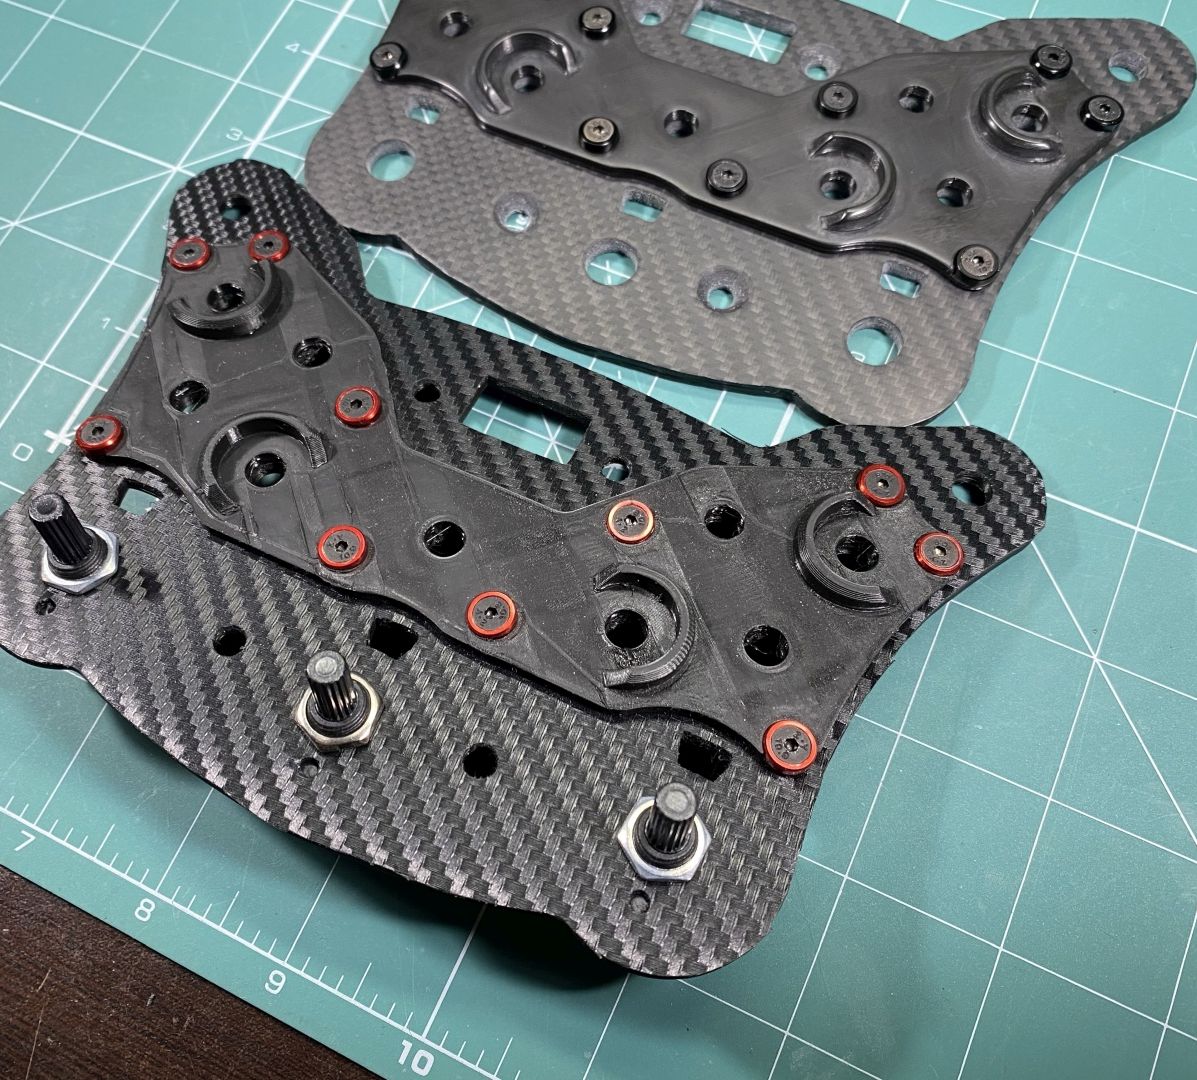
After a lot of attempts and long time perfecting the carbon skinning technique here are some results:
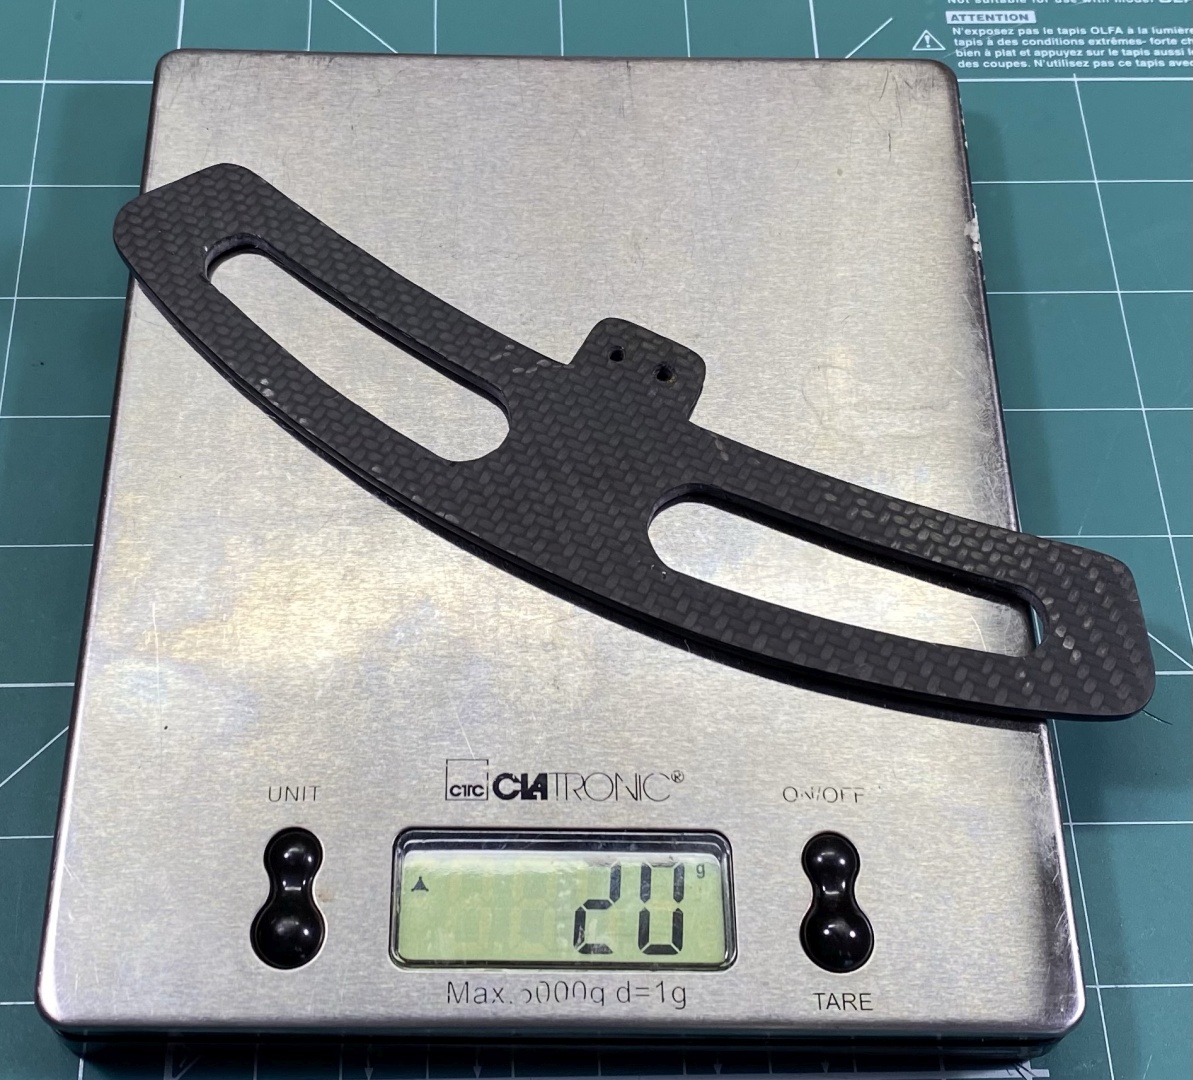
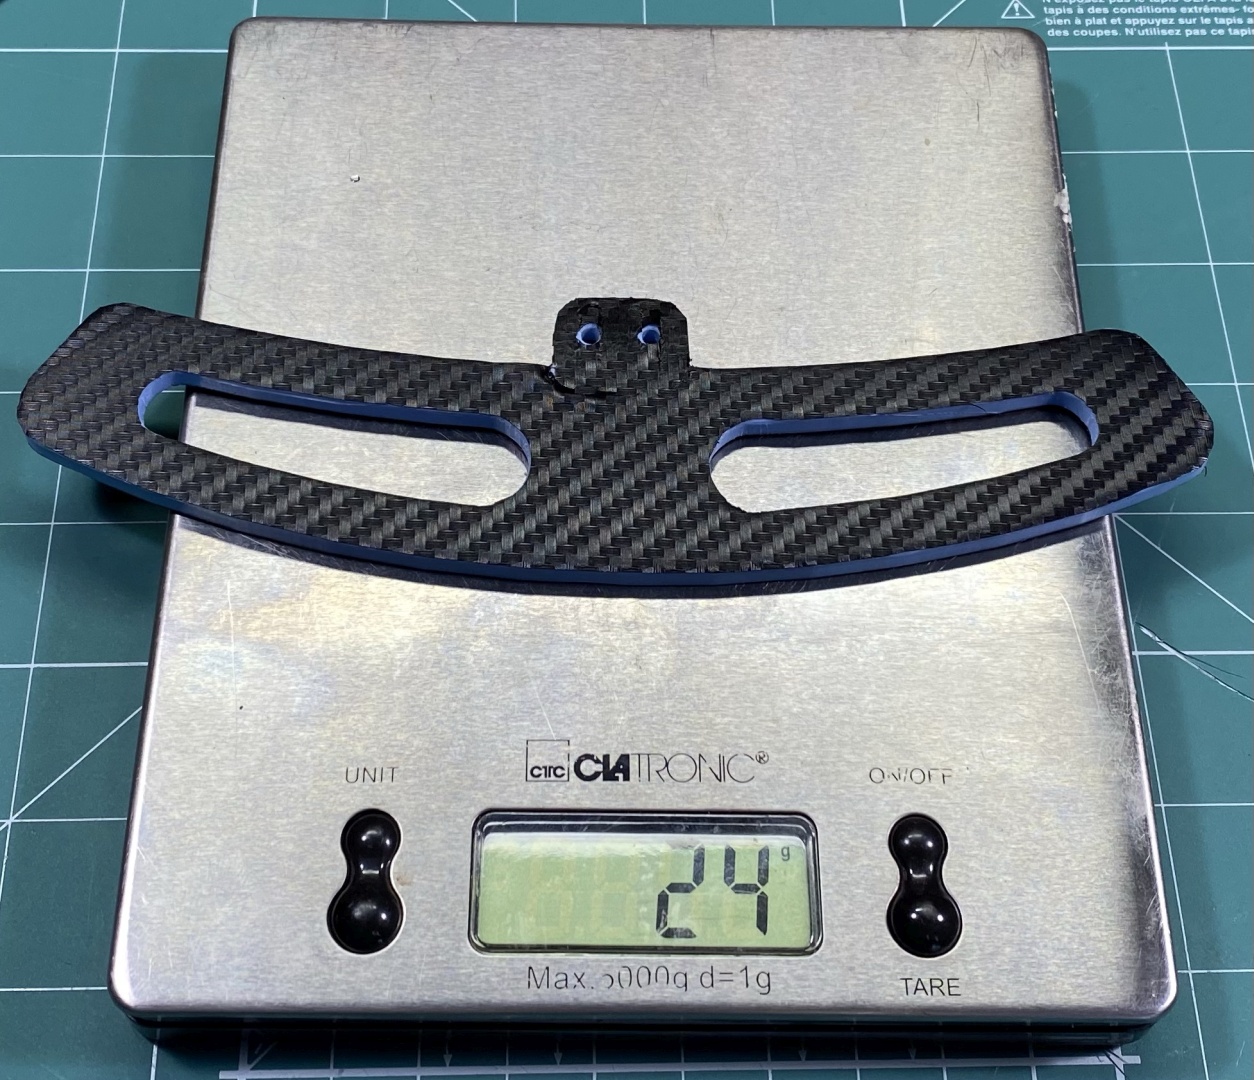
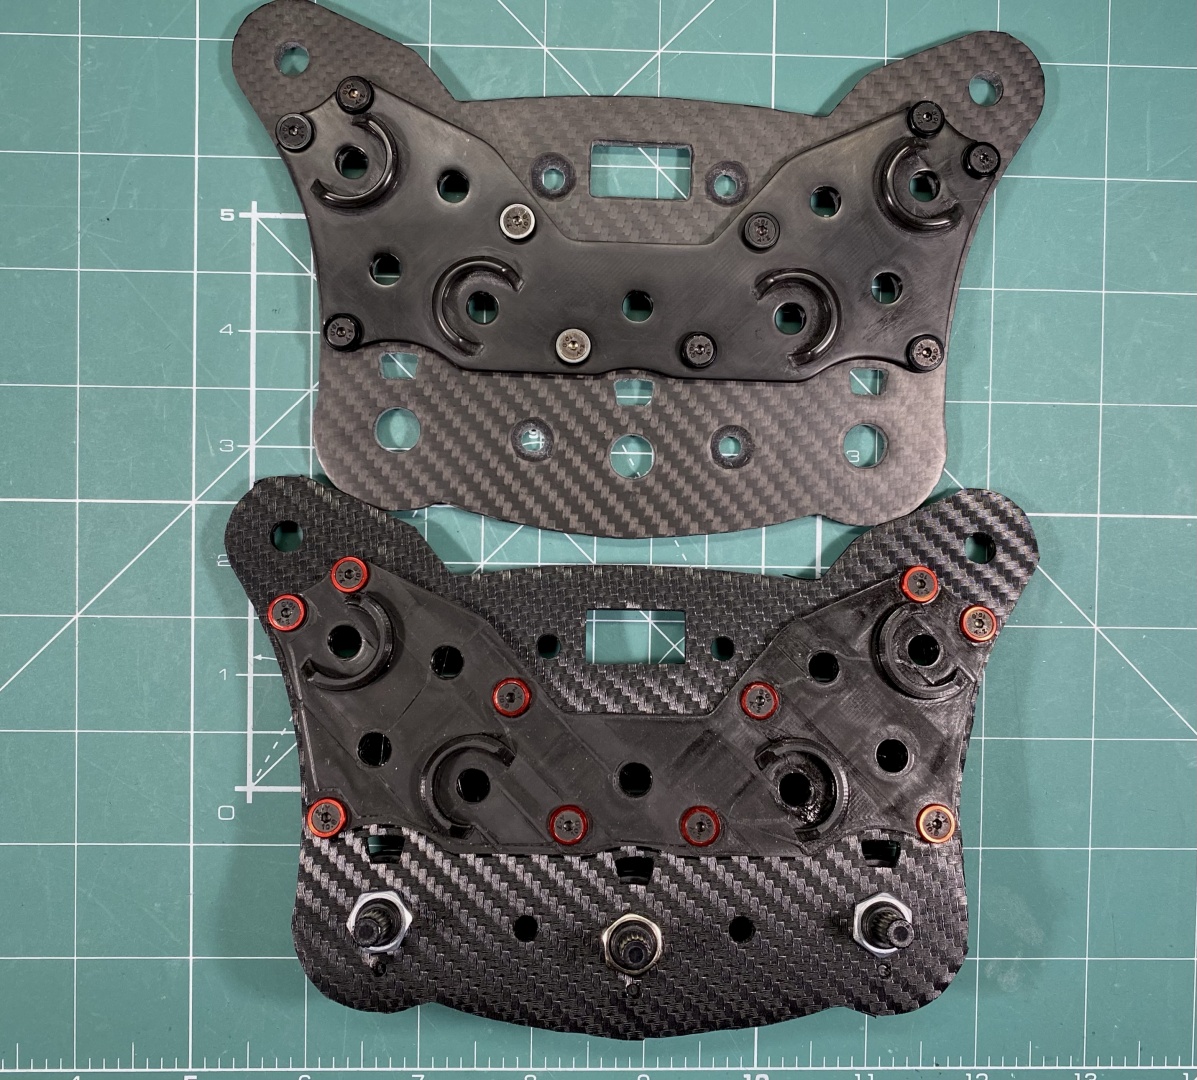
Below is weight comparison between 5mm printed item and 3mm 3D printed core carbon skinned with single layer on both sides. As one carbon fiber layer has heigh between 3.5-4mm I find the 3mm 3D core to be optimal:
As you can see from the above pictures some of the results are far from perfect, but some of them came out quite good. A lot of attempts were made on the processes and here I will present the most successful sequence.
As always you can also check the video guide below:
Carbon fiber is conductive and its dust if inhaled will stay in your lungs. Furthermore it is composed from lots of sharp fibres which tend to go in your skin and are hard to remove. Resin is also toxic. Always wear protective gloves and dust mask, eye protection, work in well aired spaces. Be extra careful when cleaning as well.
Let's start by an overview of the Tools, Materials, Preparation you will need:
Tools Needed
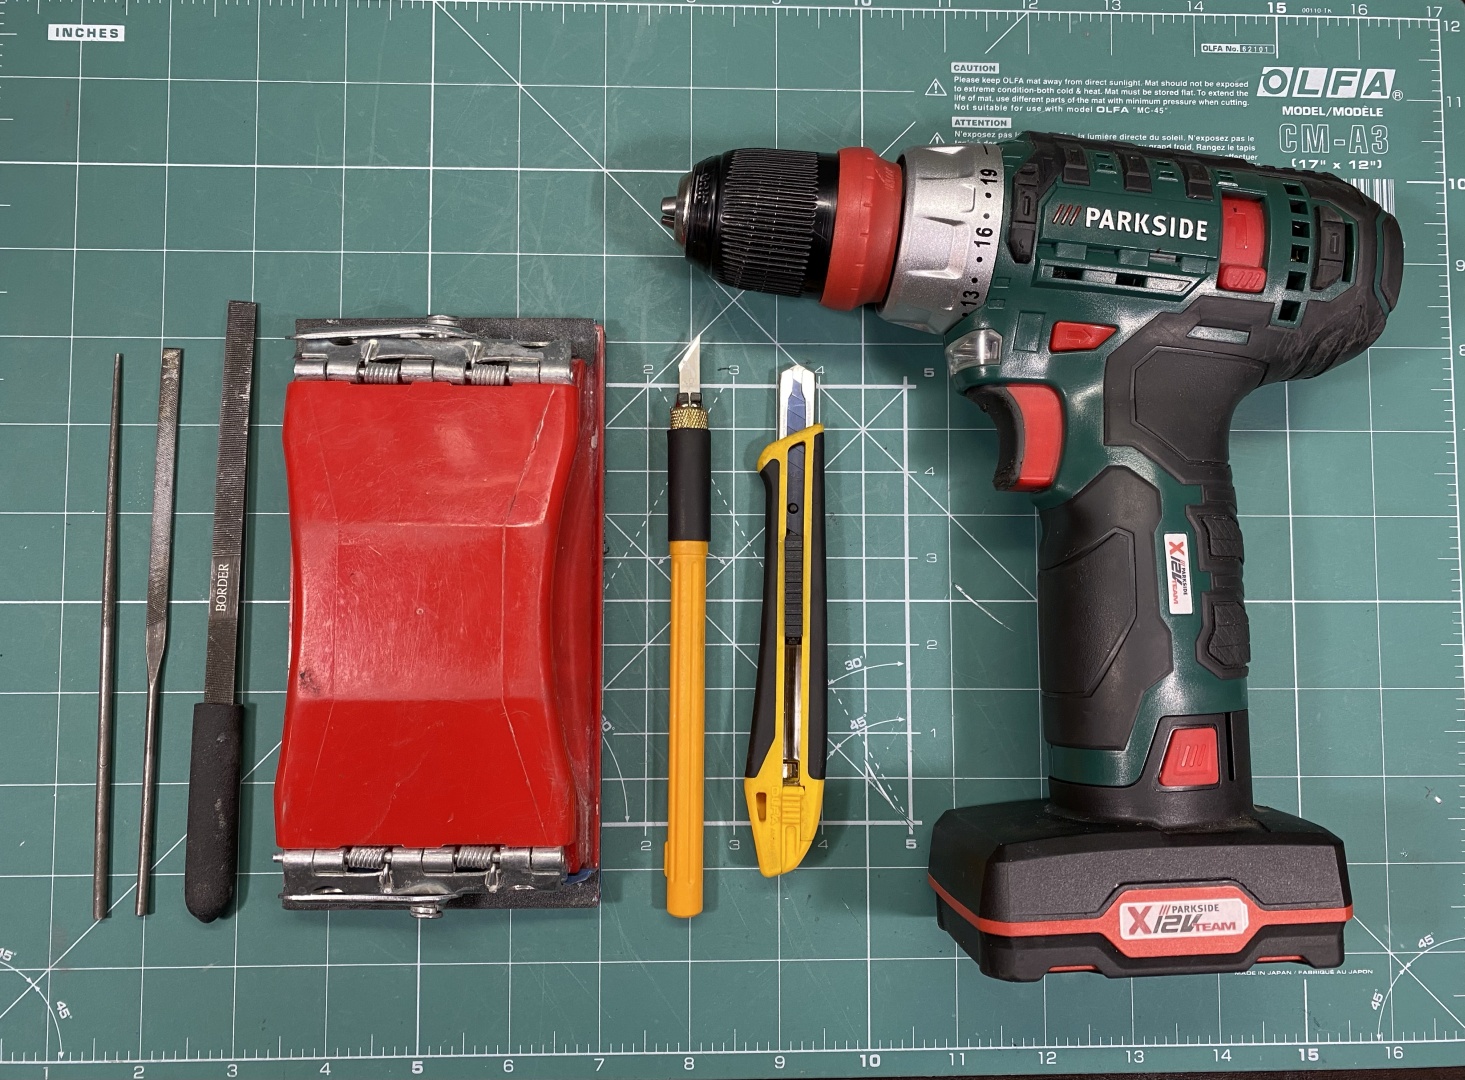
Mostly you will need simple household tools that most probably you already have. This is what I used as follows:
- Sanding block and paper - 180p, 240p, 400p, 600p, 800p, 1200p, 2000p
- Hobby sanding files for the small openings
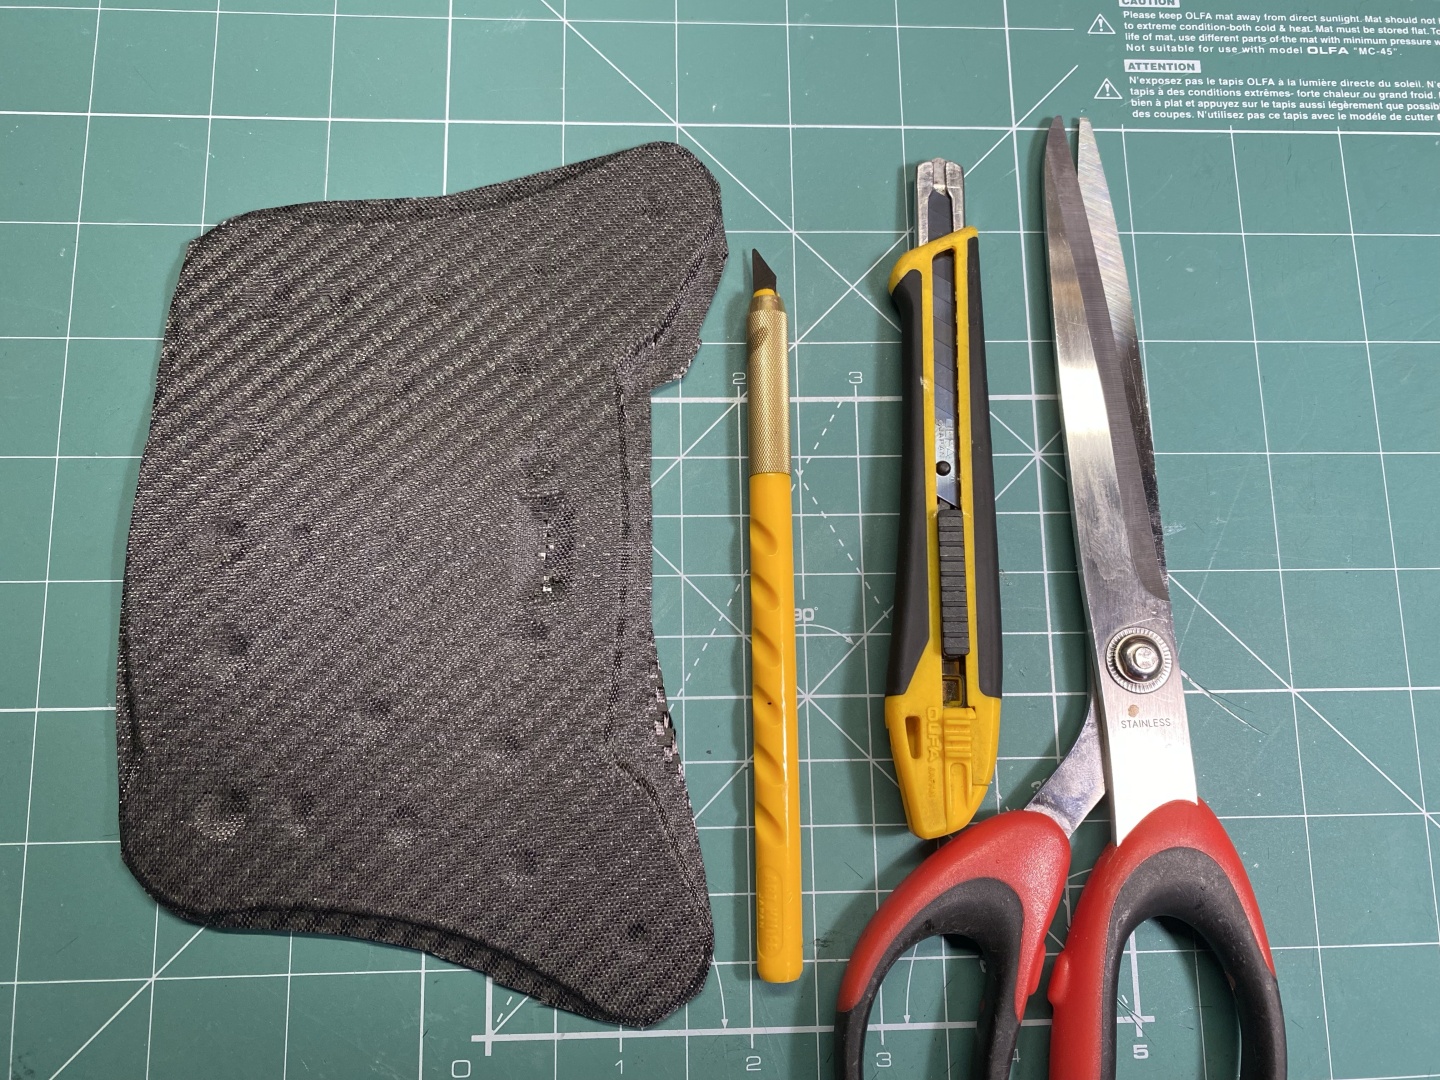
- Hobby knives for fast resin removal on edges
- Drill with corresponding drill bits to clean holes from resin
- Scissors to cut excess fabric
- Paper masking tape to help you cut the fabric
- 3D Printer Filament Vacuum Bags - help a lot with fabric adhesion
- Eye protection, gloves, respiratory mask
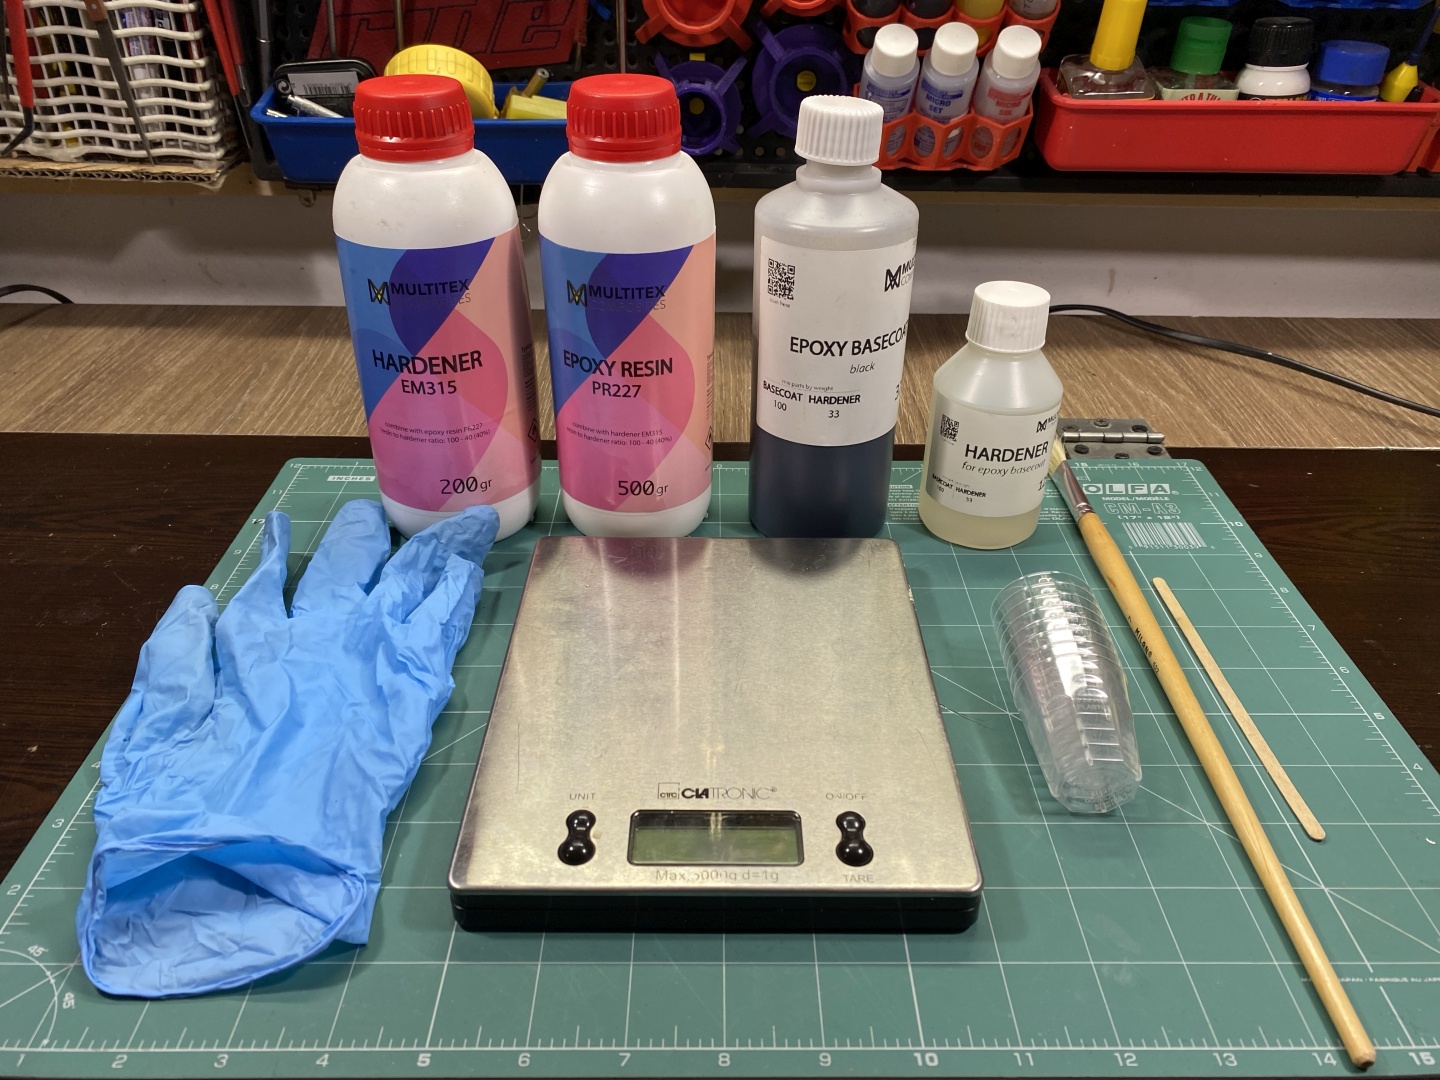
- Kitchen scale to measure resin mix
- Disposable cups and stirrers for resin
Carbon Fiber and Resin
Carbon Fiber Fabric is usually sold by linear meter but you also can buy smaller pieces if you do not need a lot. Base coat is not always needed (it is expensive), you can use resin to stick fabric to item surface but I could not do this successfully with 3D printed PLA. Using base coat is highly advisable.
All prices below are current at the date of writing this material:
- Carbon Fiber Fabric 240gr/m2 - 20x127cm - 8EUR
- Carbon Fiber Fabric 245gr/m2 Twill - price per meter - 36EUR
- Base coat, black 0.5kg - 44EUR
- Crystal Resin 0.7kg - 32.5EUR
- Breather Fabric PES 150 1x1.5m - 2,09EUR/m2
- Peel Ply PA80 1x1.25m - 2,02/m2
Other Tools and Materials
- Clear Coat - depending on preferences you can go with Flat, Gloss, Matt
- Hobby Polishing Paste - again based on preference you have coarse-fine-finish
- The above clear coat also comes in spray, you do not need airbrush
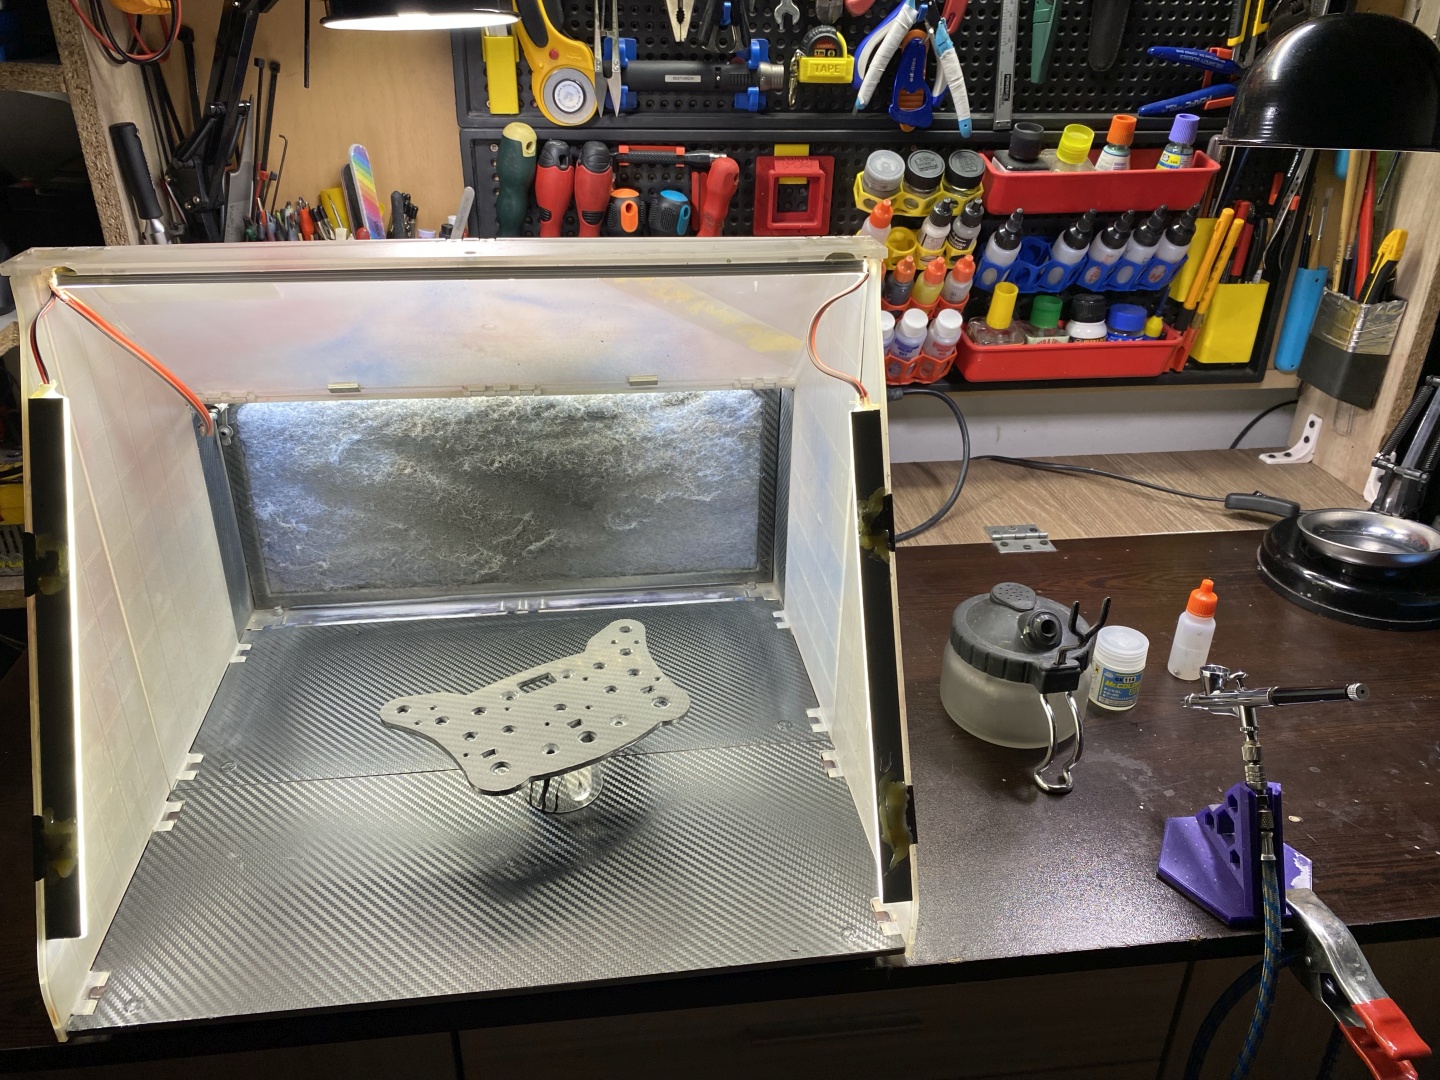
- Hobby Paint Booth is quite helpful for home use, always spray in well ventilated area
3D printing the Core
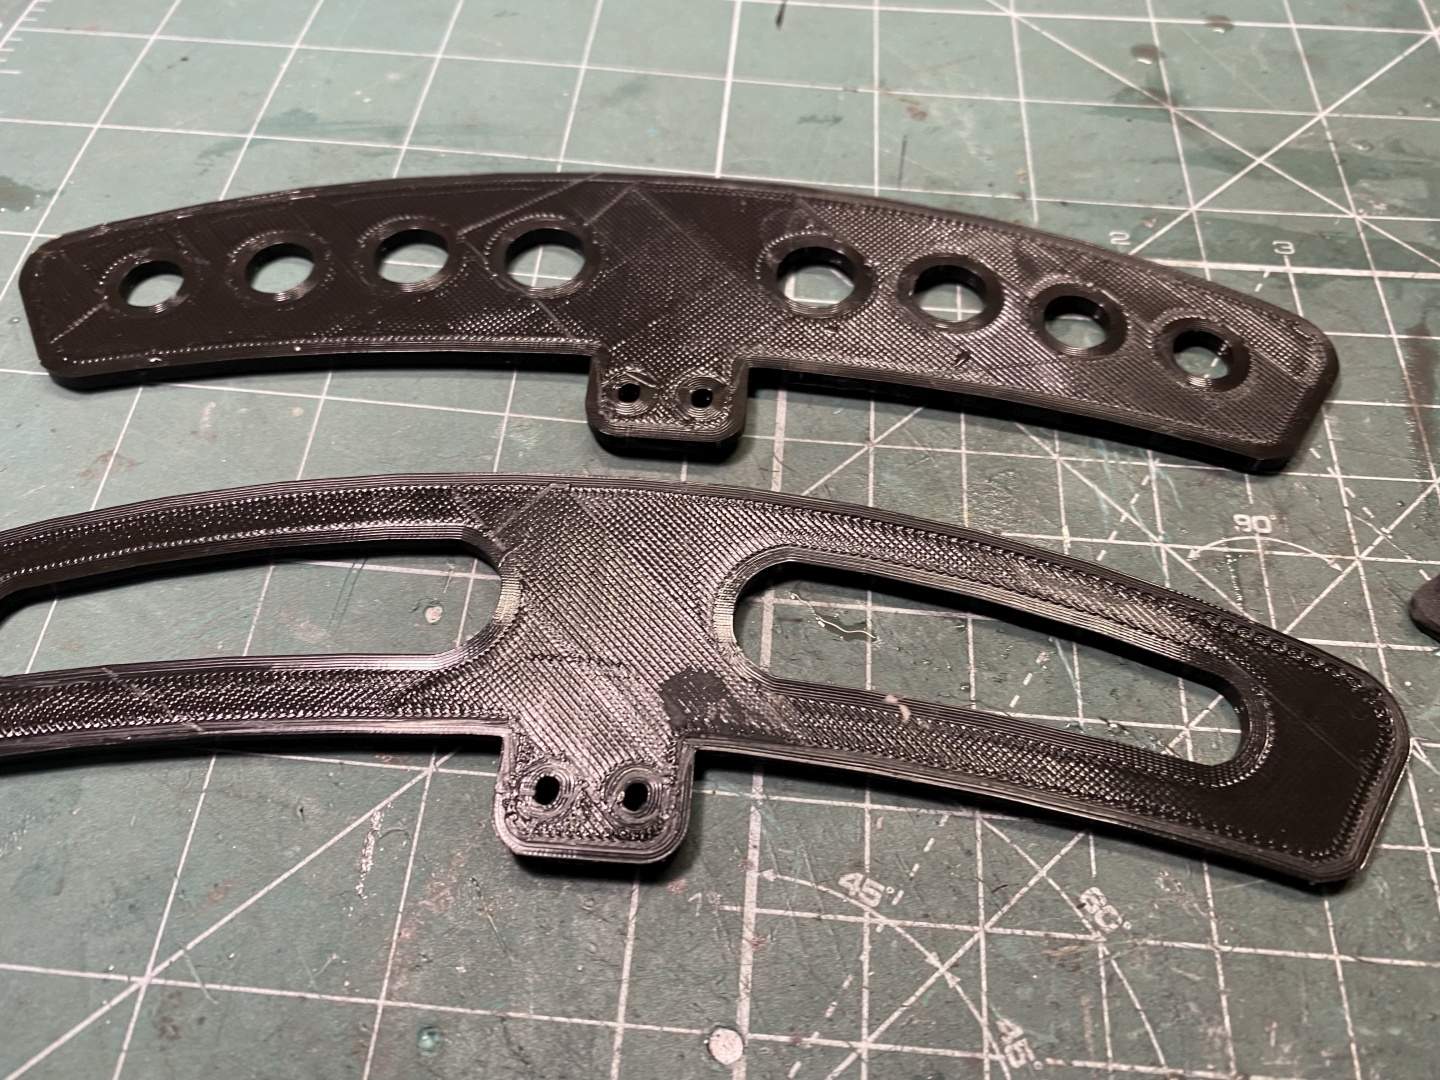
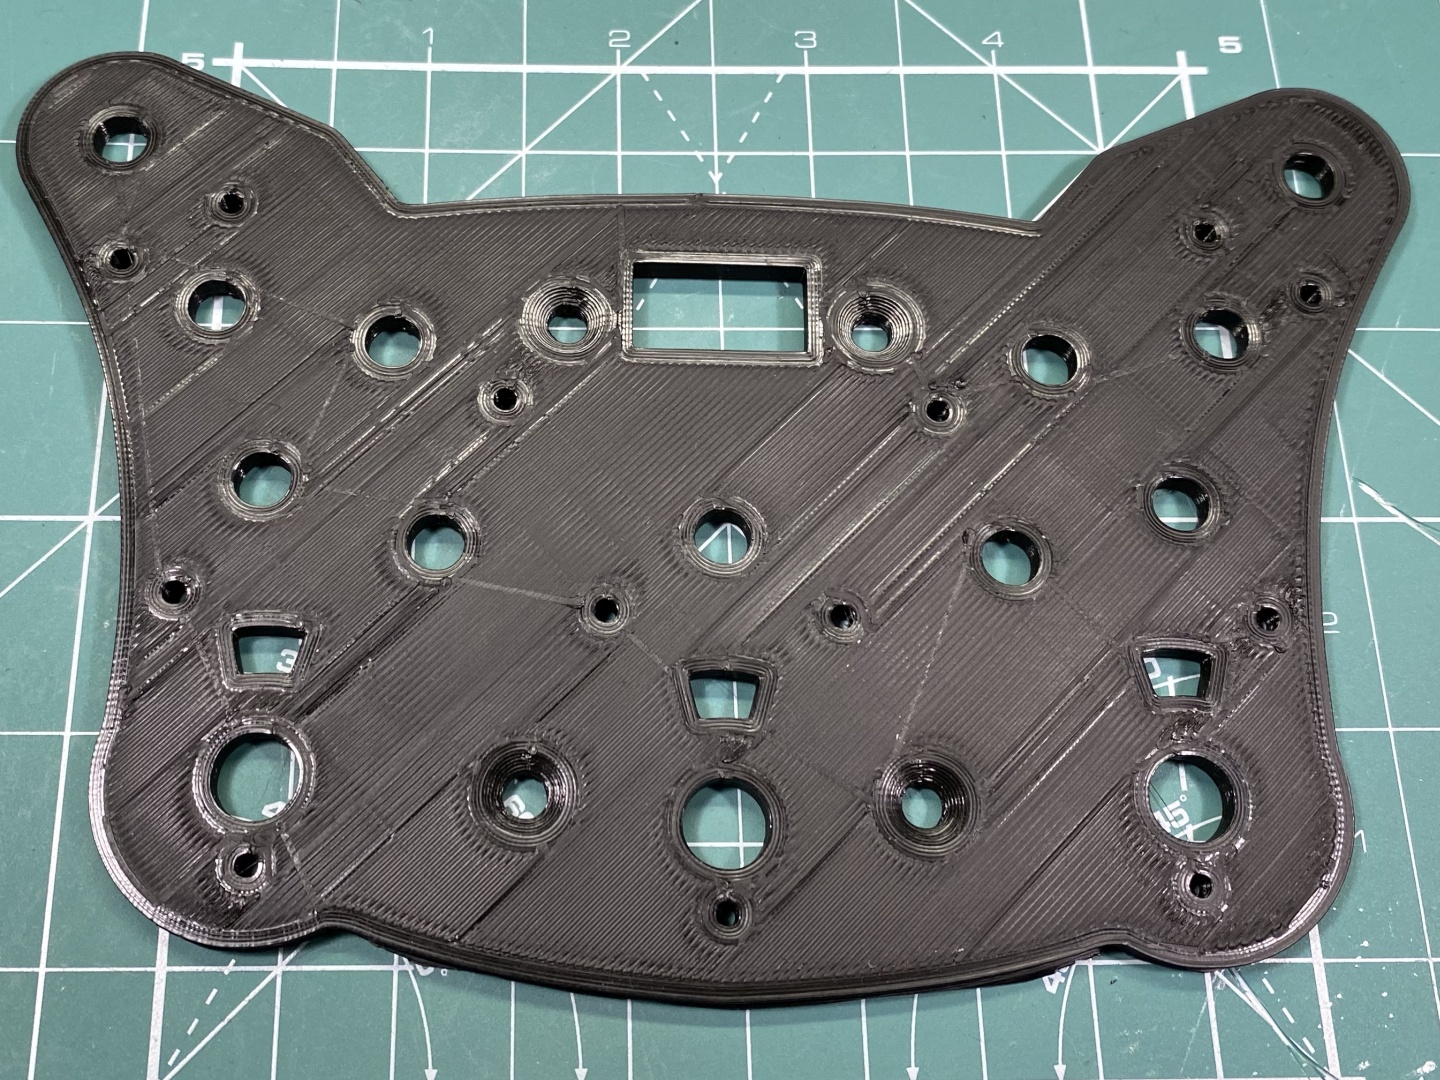
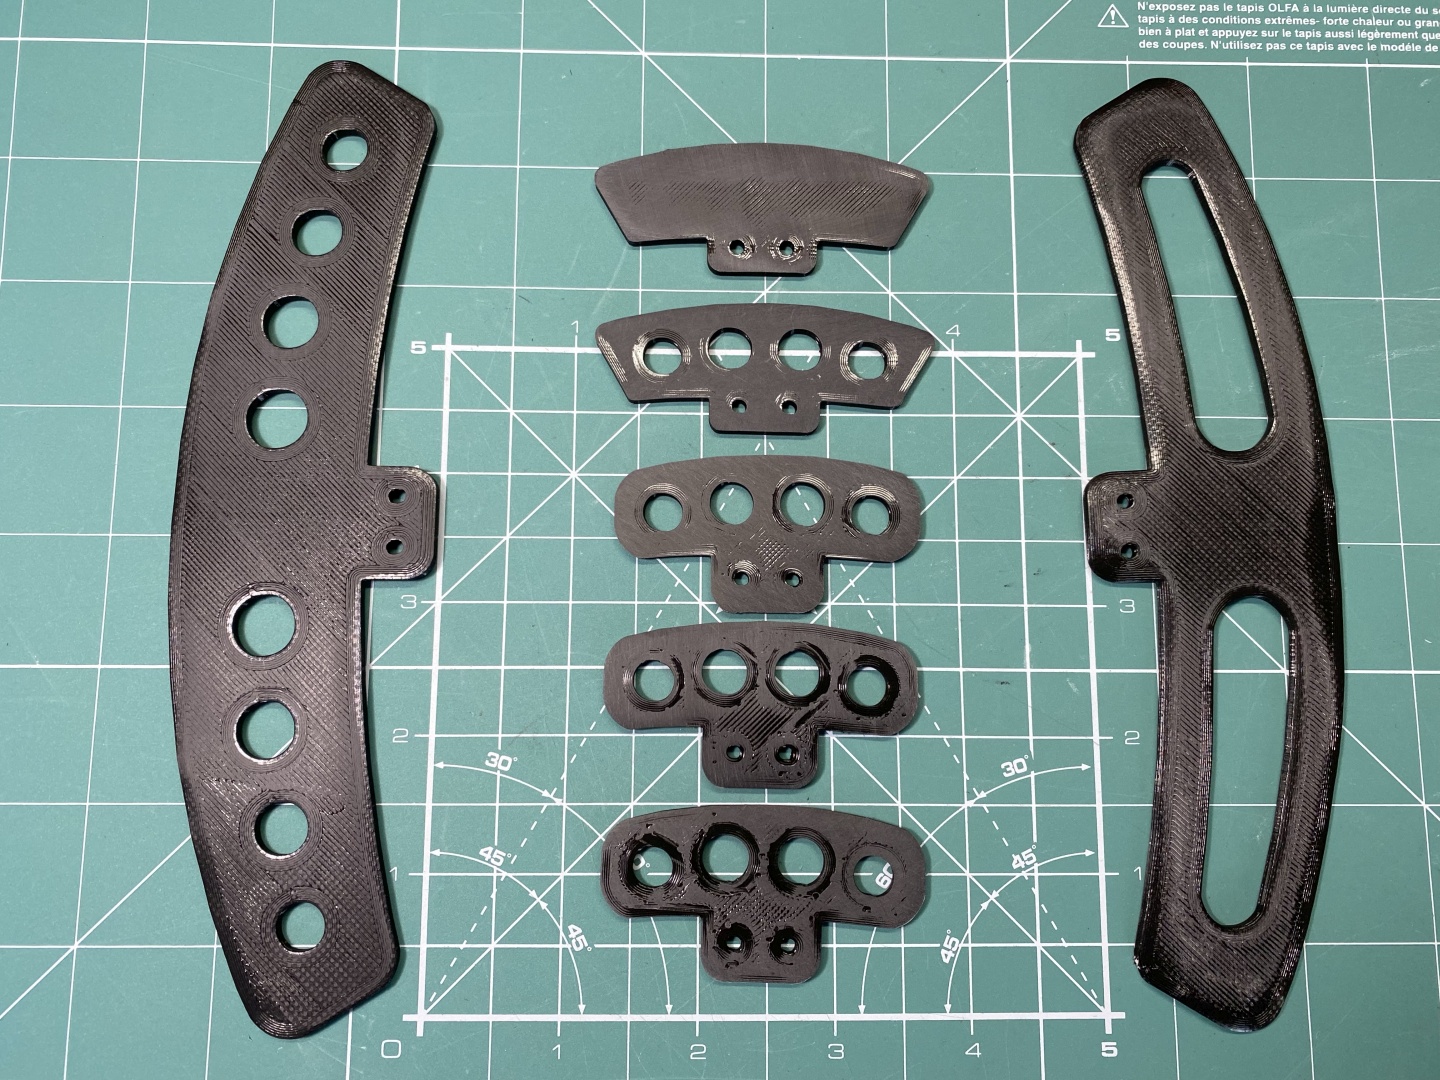
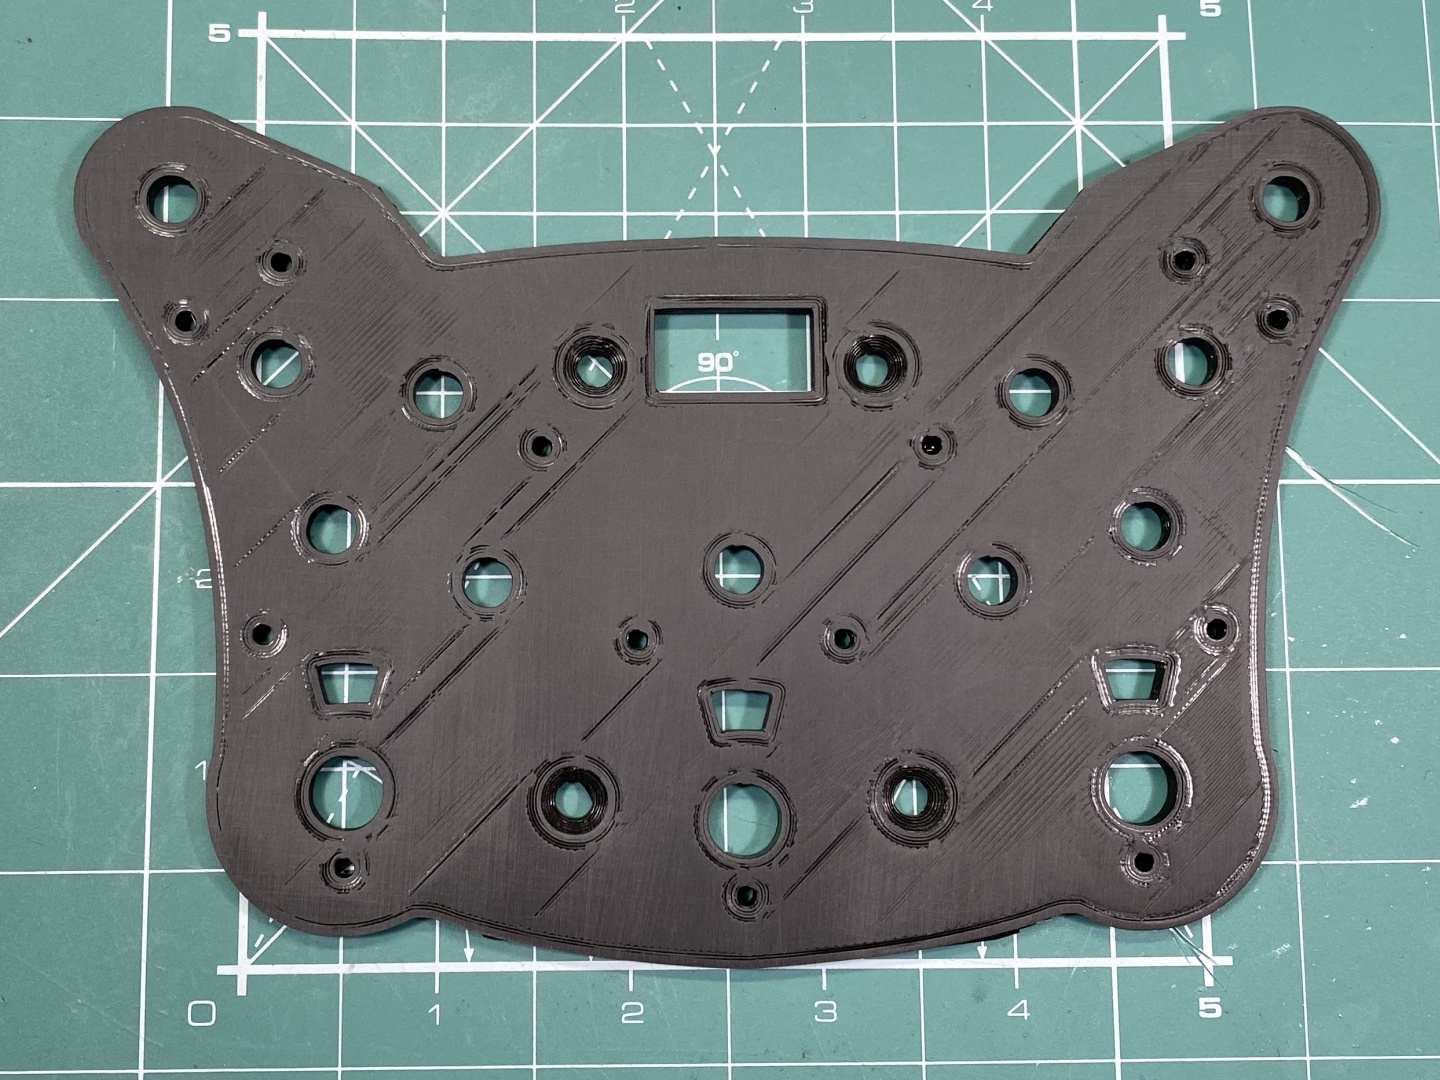
First step is just as the title says - print your designs which will be the base core of your product. For double sided skinned items I found 3mm thickness to work well (paddles)and for single sided I opt for 4mm thickness (button boxes, etc.):
Prepare the Surface
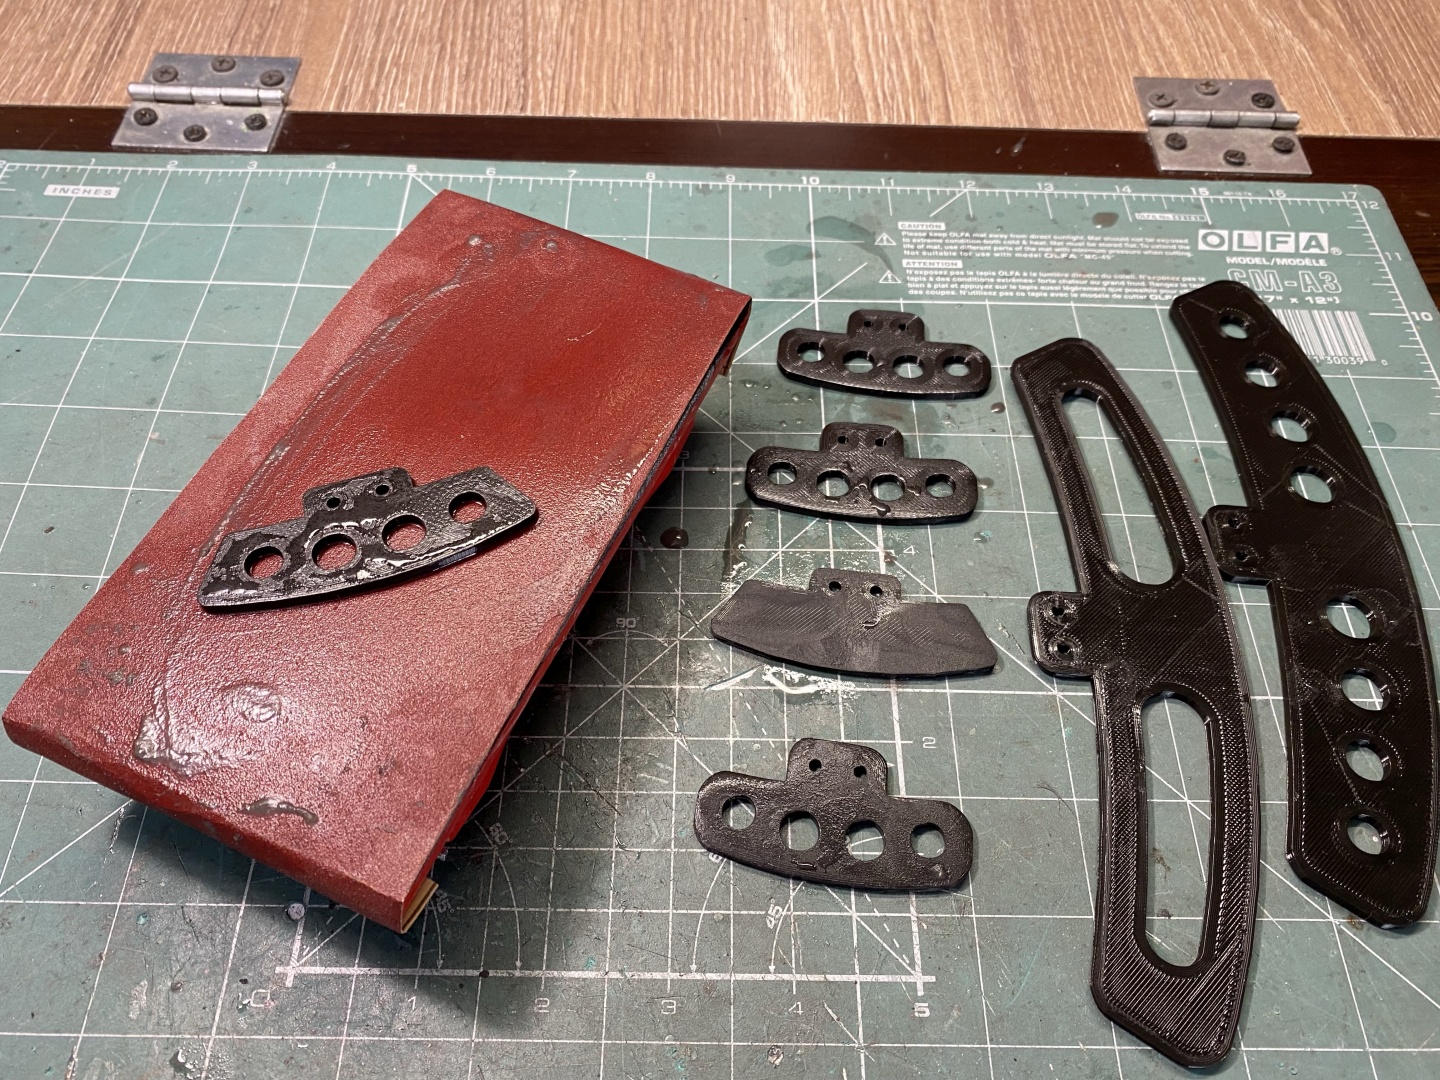
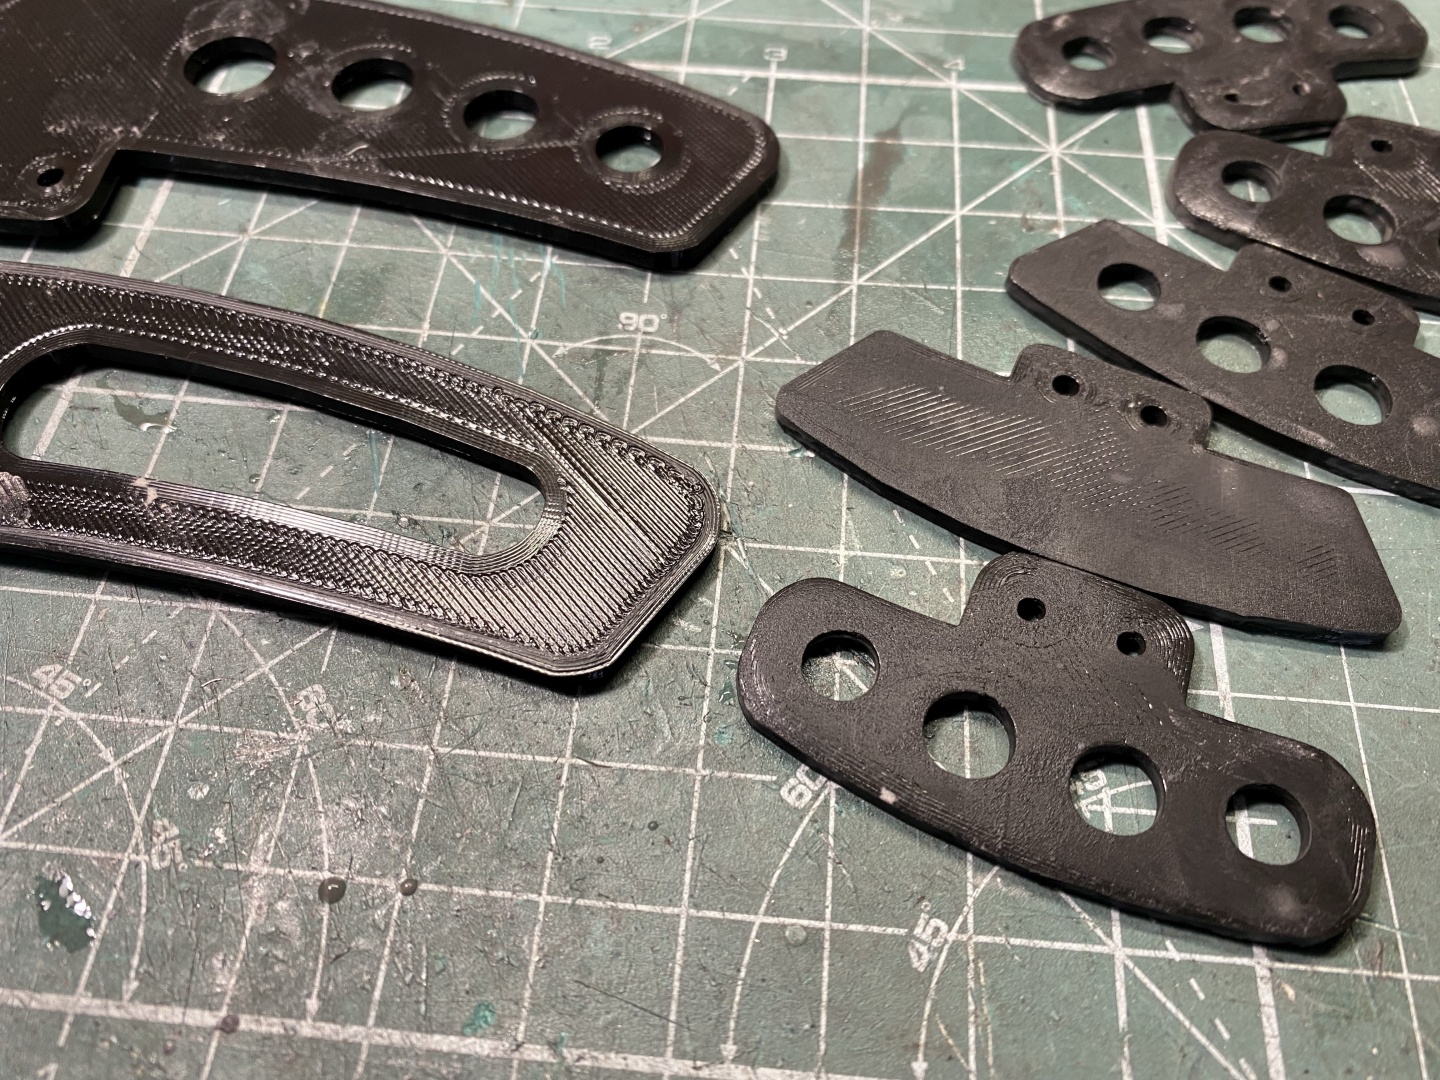
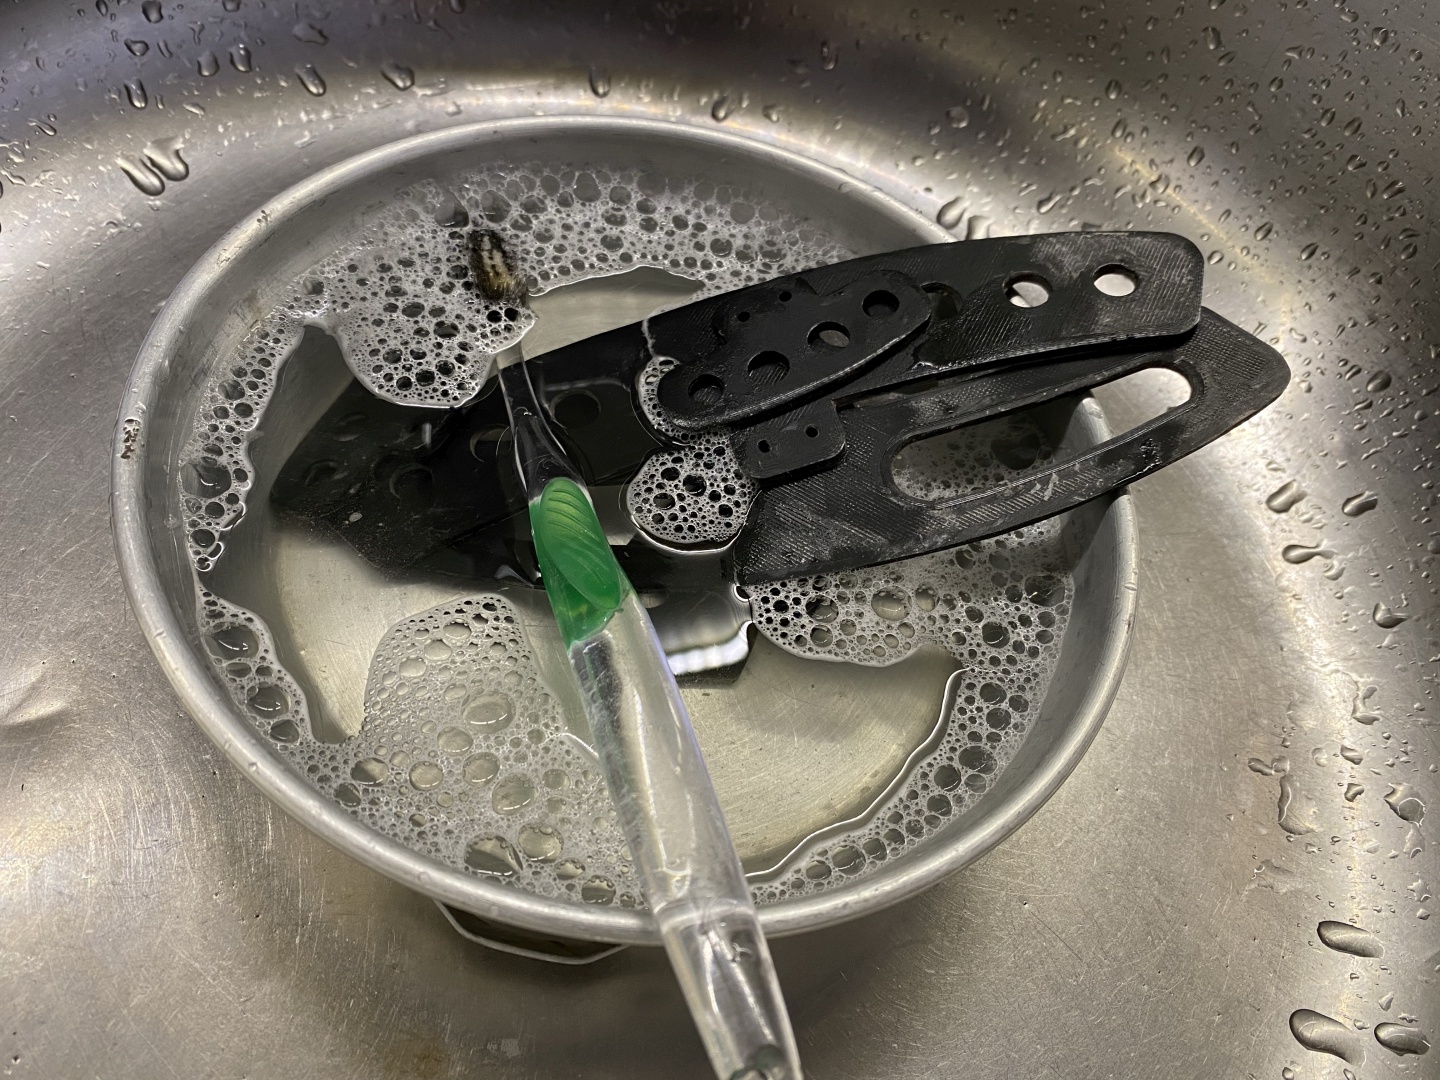
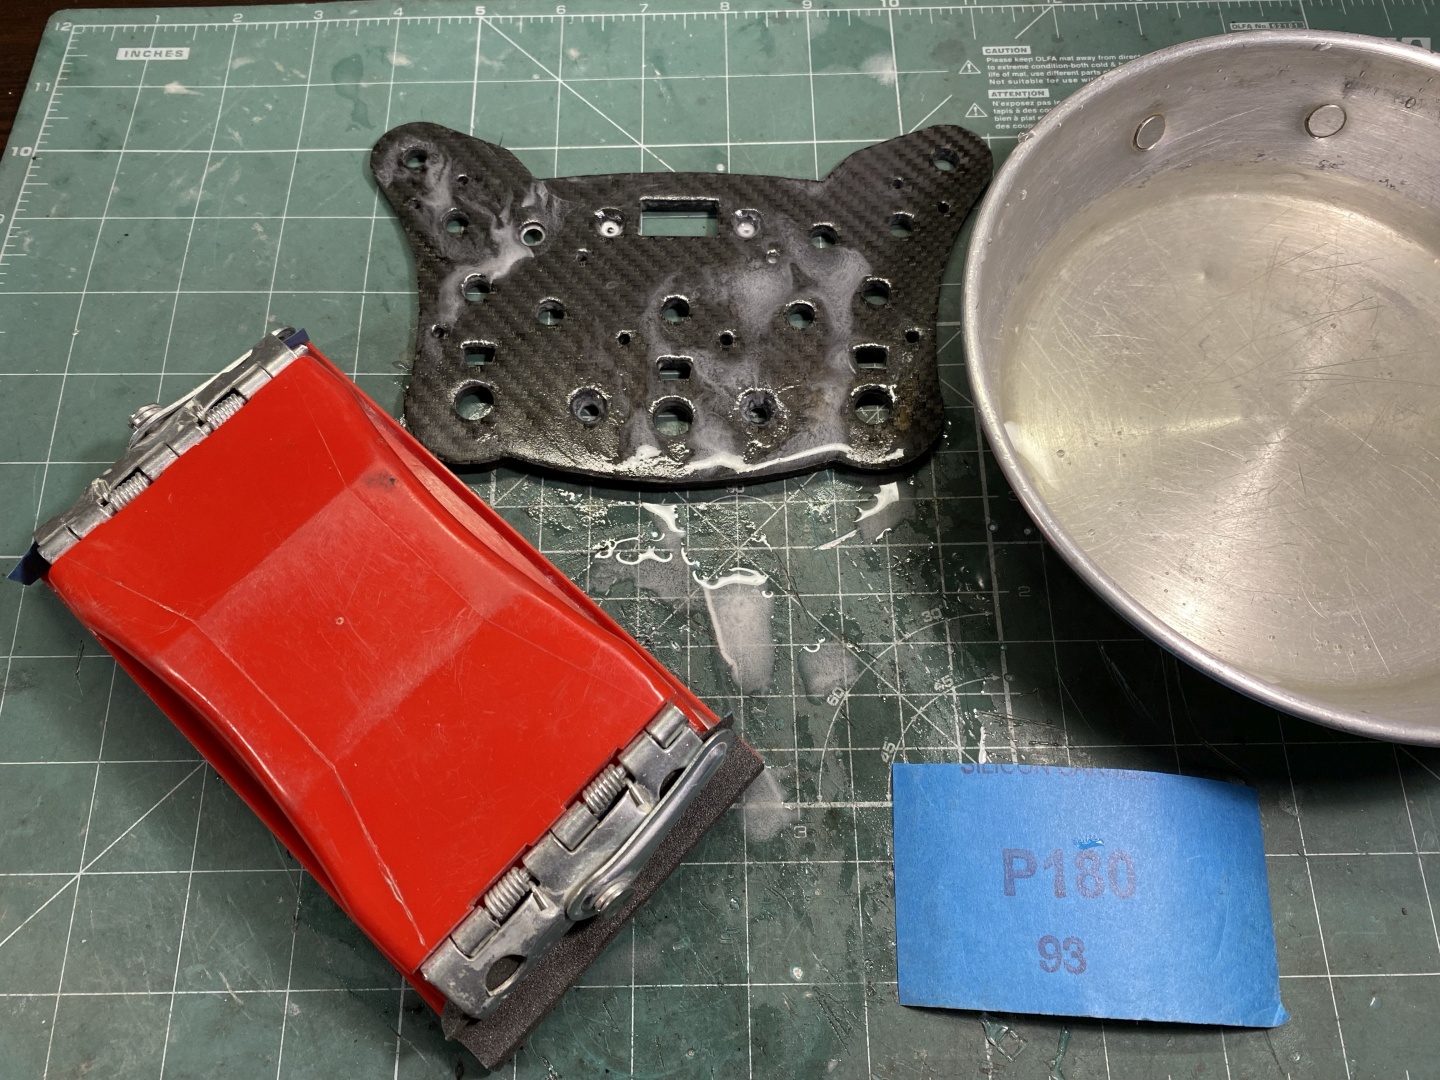
To ensure good adhesion surface has to be sanded. Using 180 grit sandpaper dry and wet sand it as much as you can. The surface does not have to be perfectly finished, base coat will fill it in and make it smooth, only needs to be fully roughed up for better contact. After you finish sanding wash with soap water and then rinse thoroughly to remove all dust and oil from the work surface:
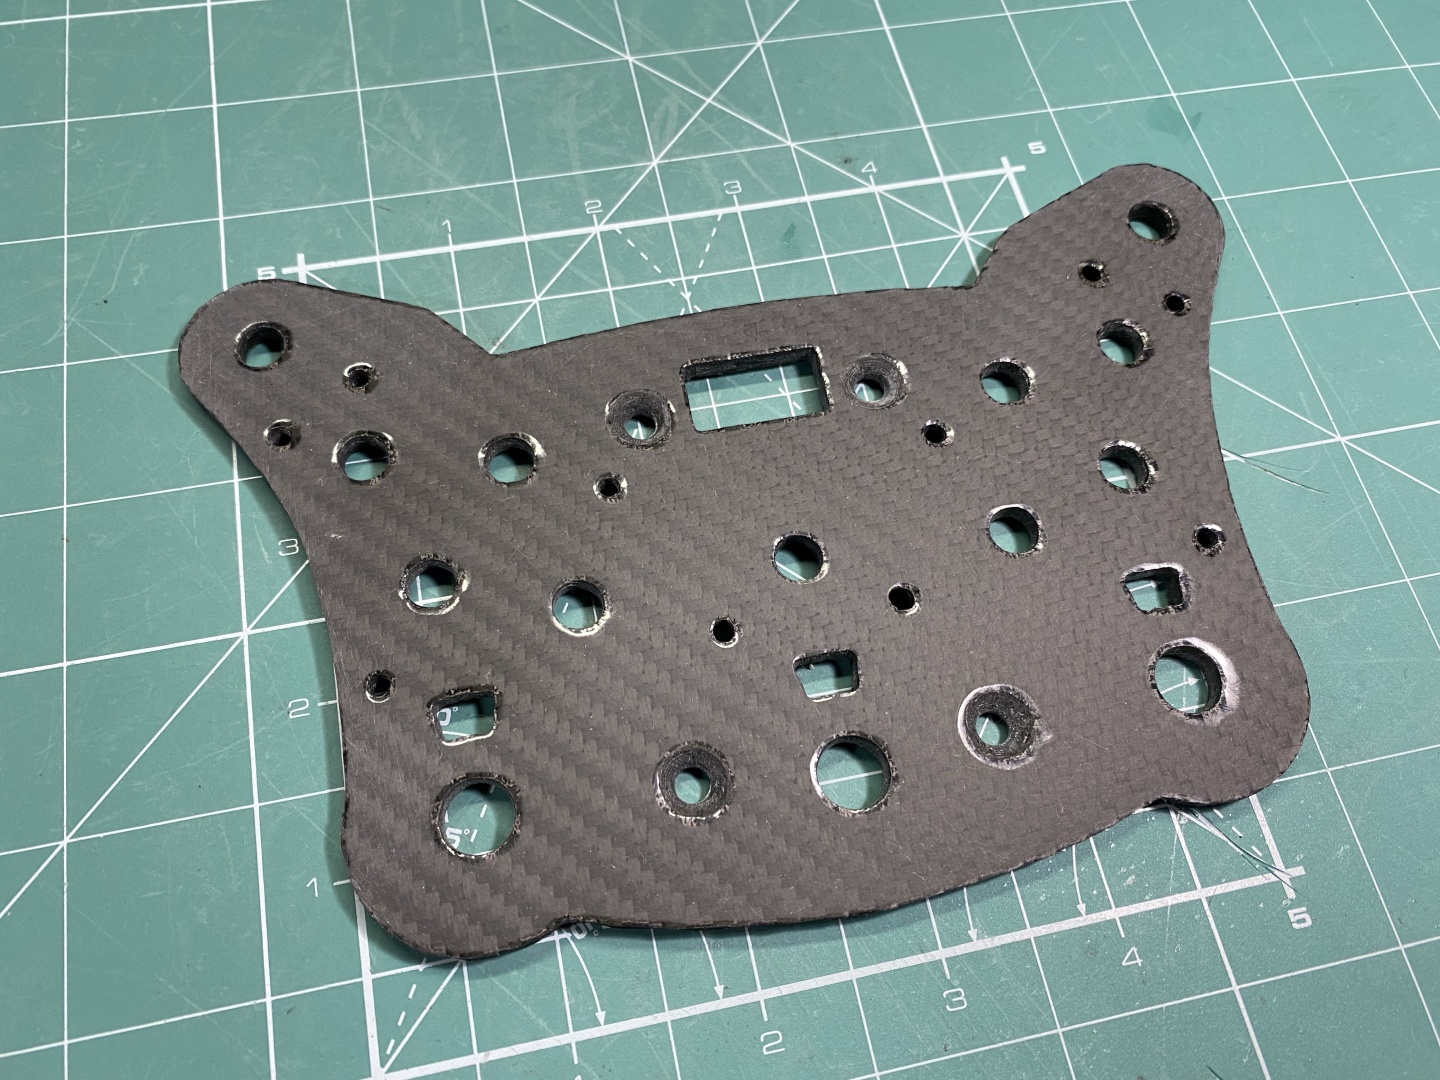
At the end the result should be something like below - not perfectly sanded but all surface is fully roughed for better grip:
Next time to start off with the Base Coat:
Base Coat
Now comes the fun part - applying the Base Coat layer. As stated earlier you can presumably save some money and substitute this layer with resin but in order to do so you need surface which has good adherence to it. I tested - PLA did not stick well at all using the clear resin and it was total failure. Either way it is highly advisable to apply regular base coat - it sticks to wide array of surfaces, fills in the small grooves and dents and is black - it will hide all possible imperfections you might have in the carbon fabric itself.
Wash again the surface with soap water, rinse it and clean with isopropyl alcohol to remove any oil and dust residue.
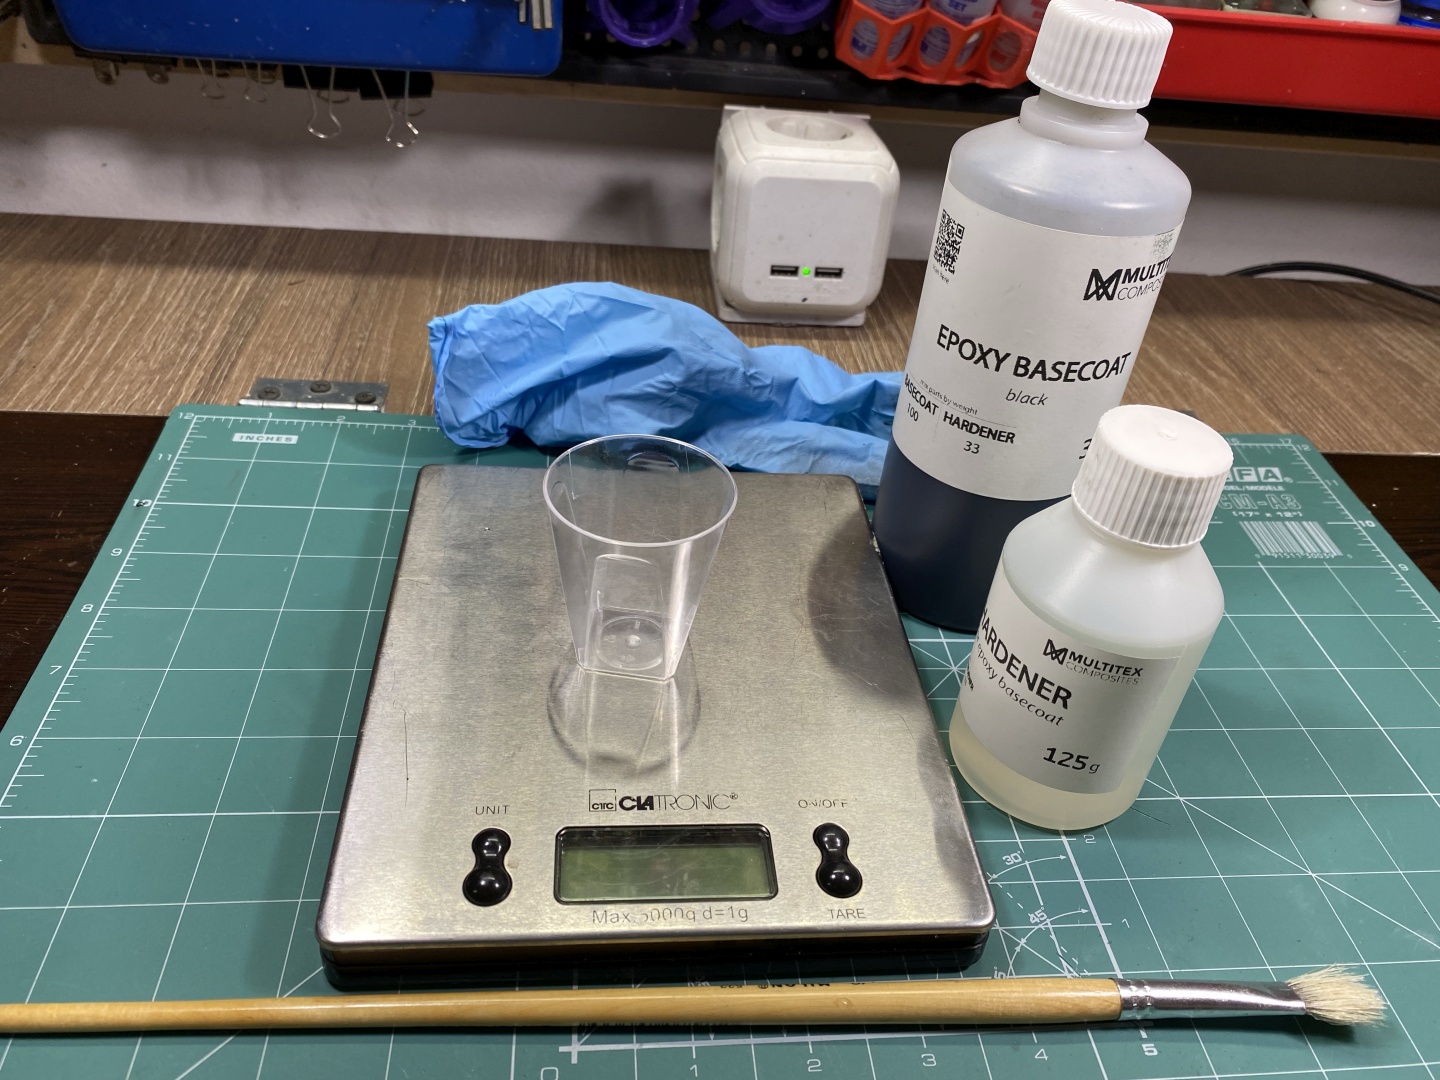
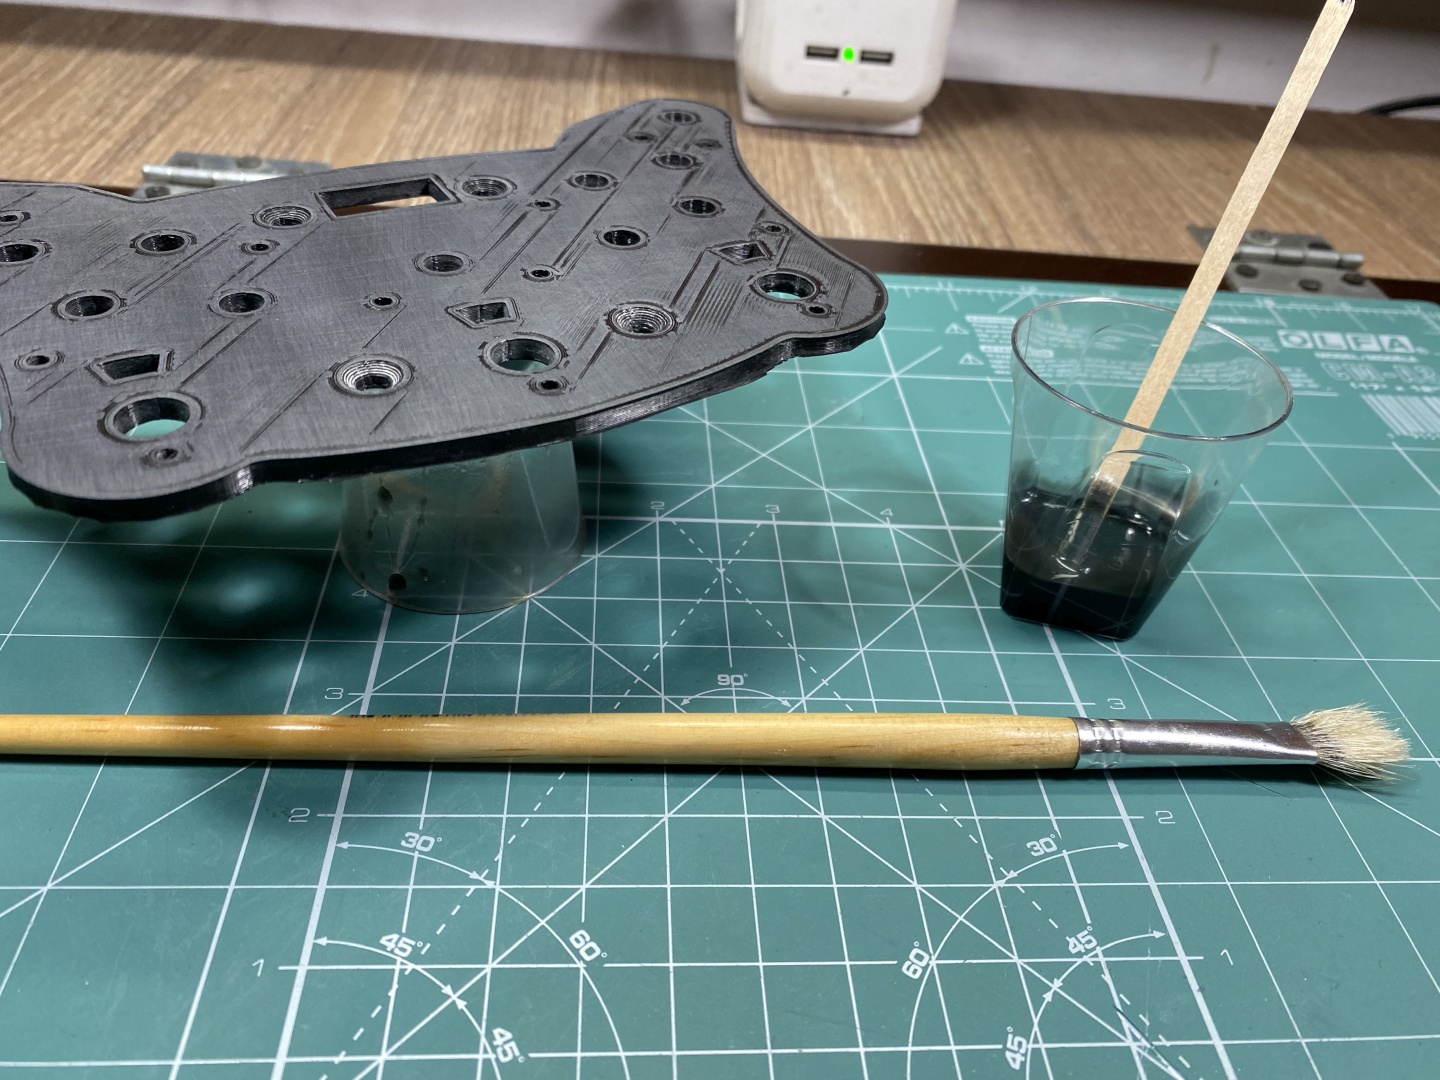
Start by mixing the Base Coat - ratio should be on label. You will need some single use mixing cups, kitchen scales to measure base coat/hardener and nitrite gloves to protect your hands at that step. Mix thoroughly, you have enough time to complete - do not rush it, make it properly. You should have 15 minutes to finish basecoating before the paint starts to thicken. When mixture is prepped properly start applying it with brush:
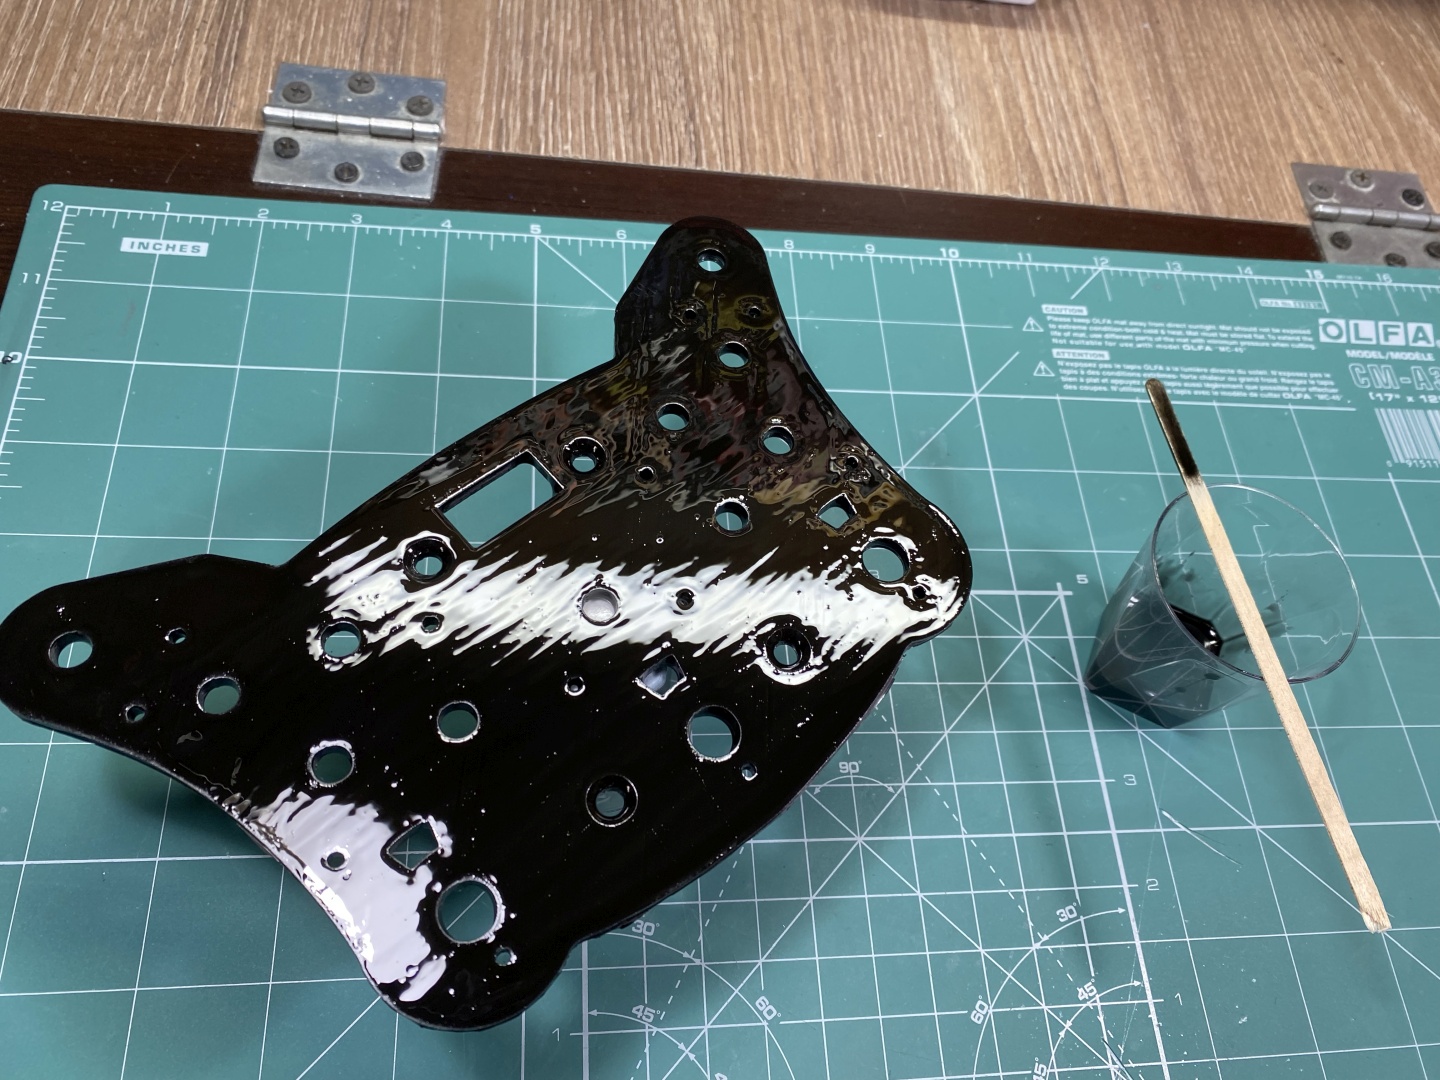
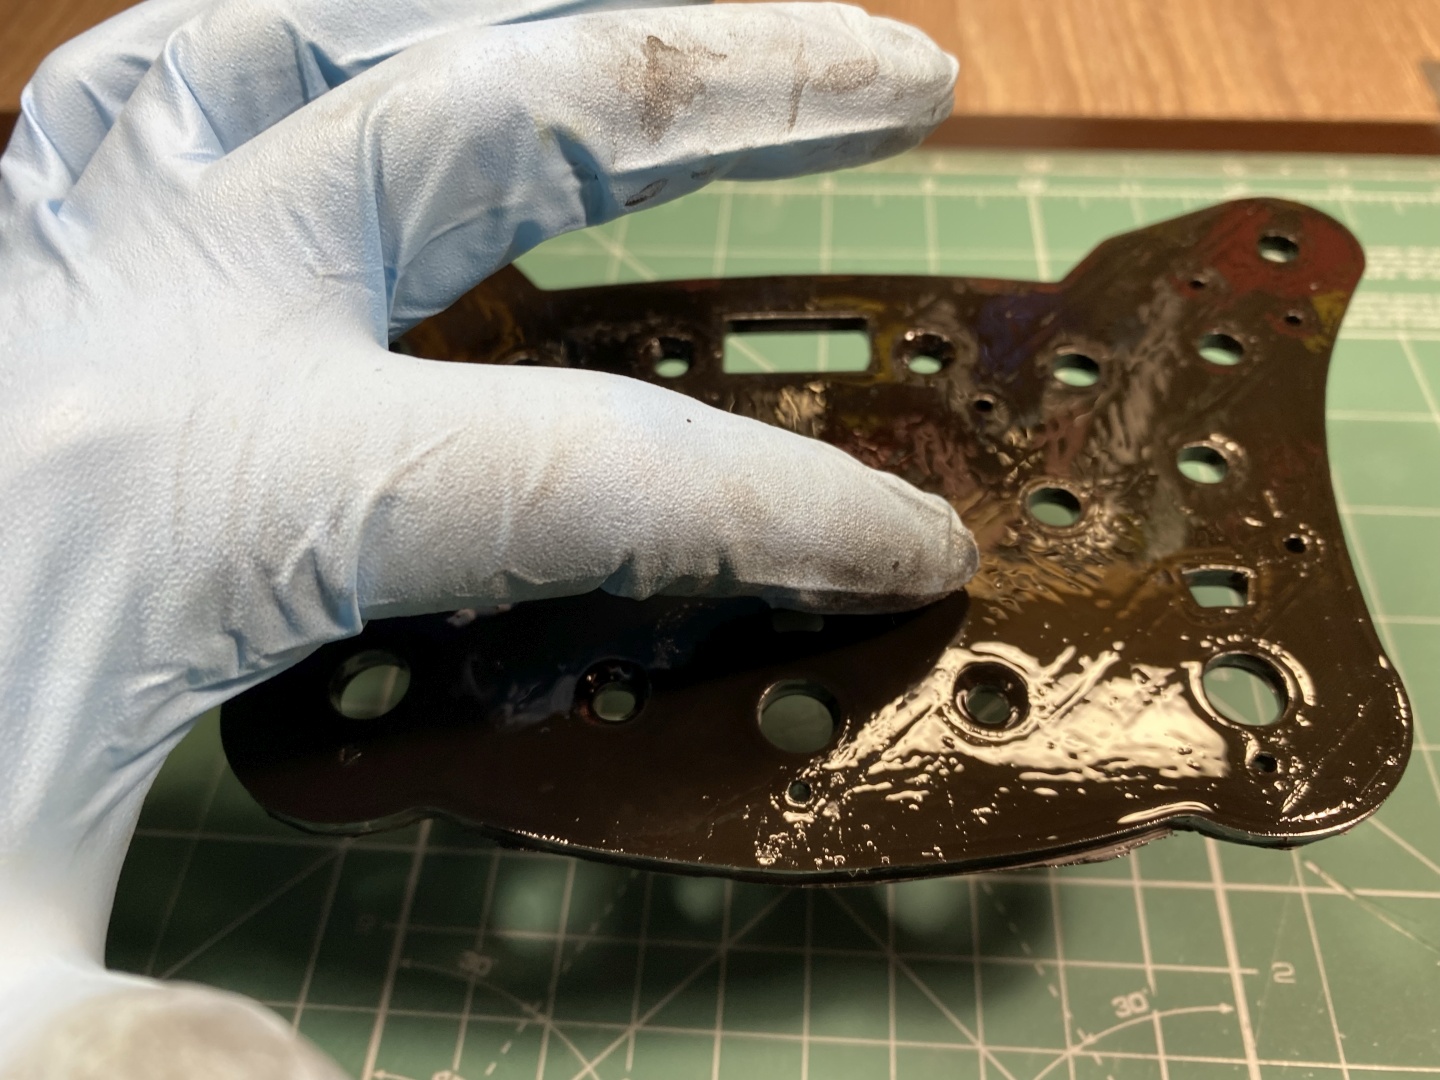
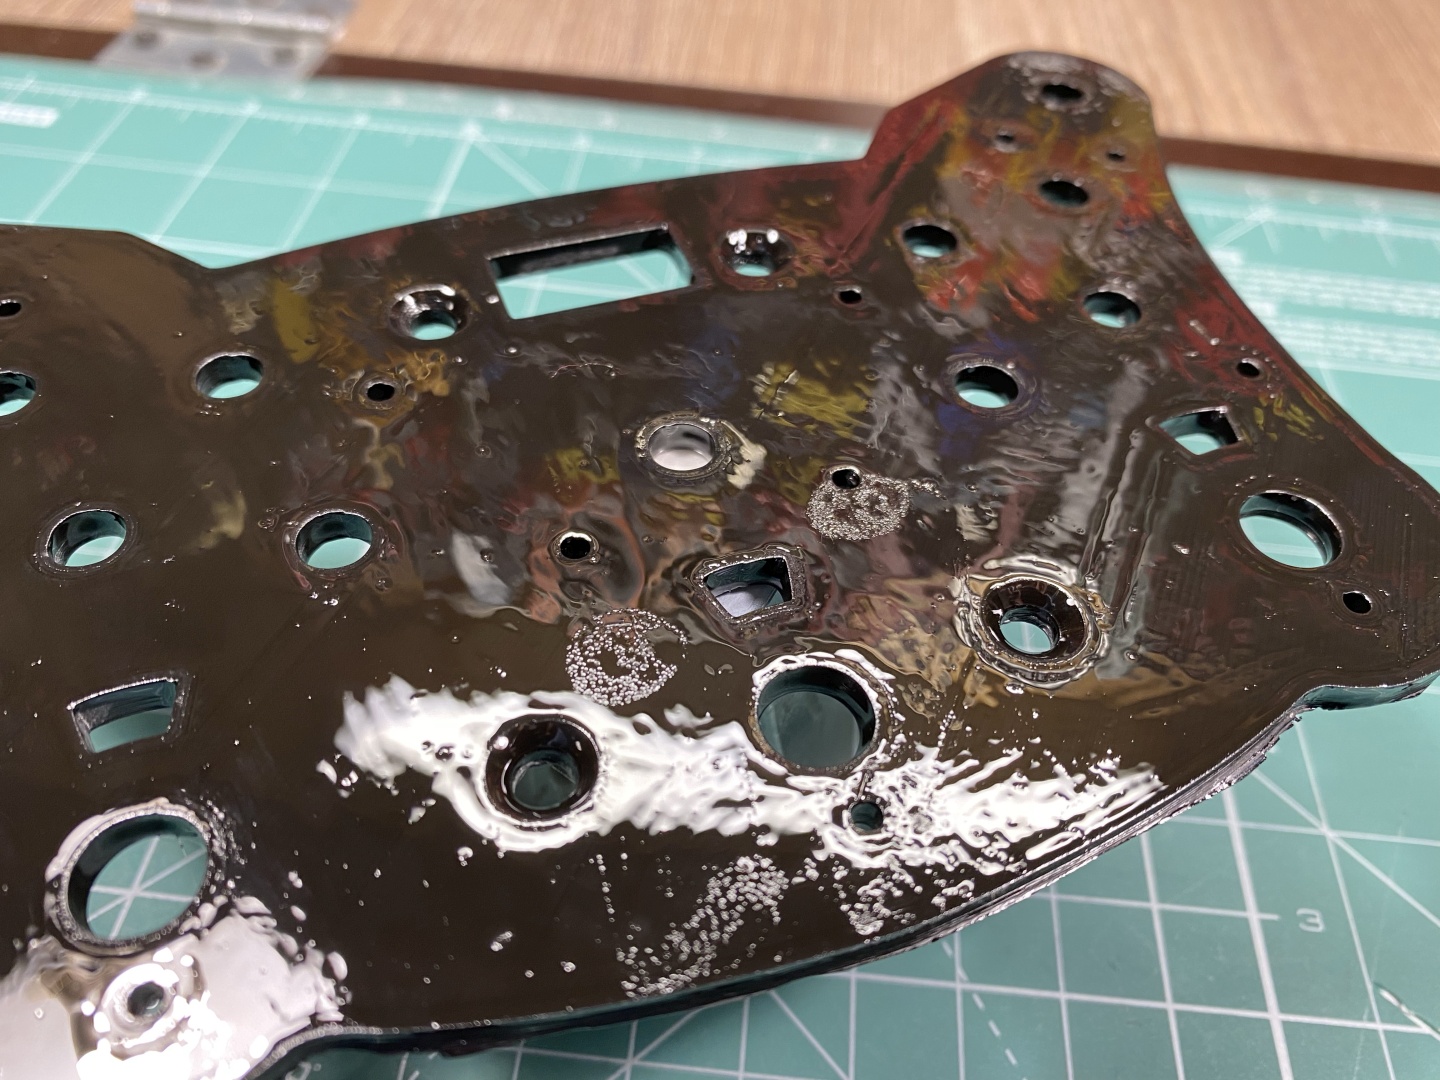
Base coat is quite easy to apply but be careful not to put too much. Make sure all the area is fully covered but overdoing it will start dripping. Furthermore it can produce thick layer that later when vacuum sealed can leak through the carbon fabric and ruin the top finish. Keep an eye for the first 5-15 minutes if you basecoat layer starts pulling away and reveals some of the core surface - you can still go over with the brush and fix this. At the end when properly applied you should have nice black uniform surface - do now worry about the brush strokes, they will disappear in time:
Prepare the Carbon Fabric
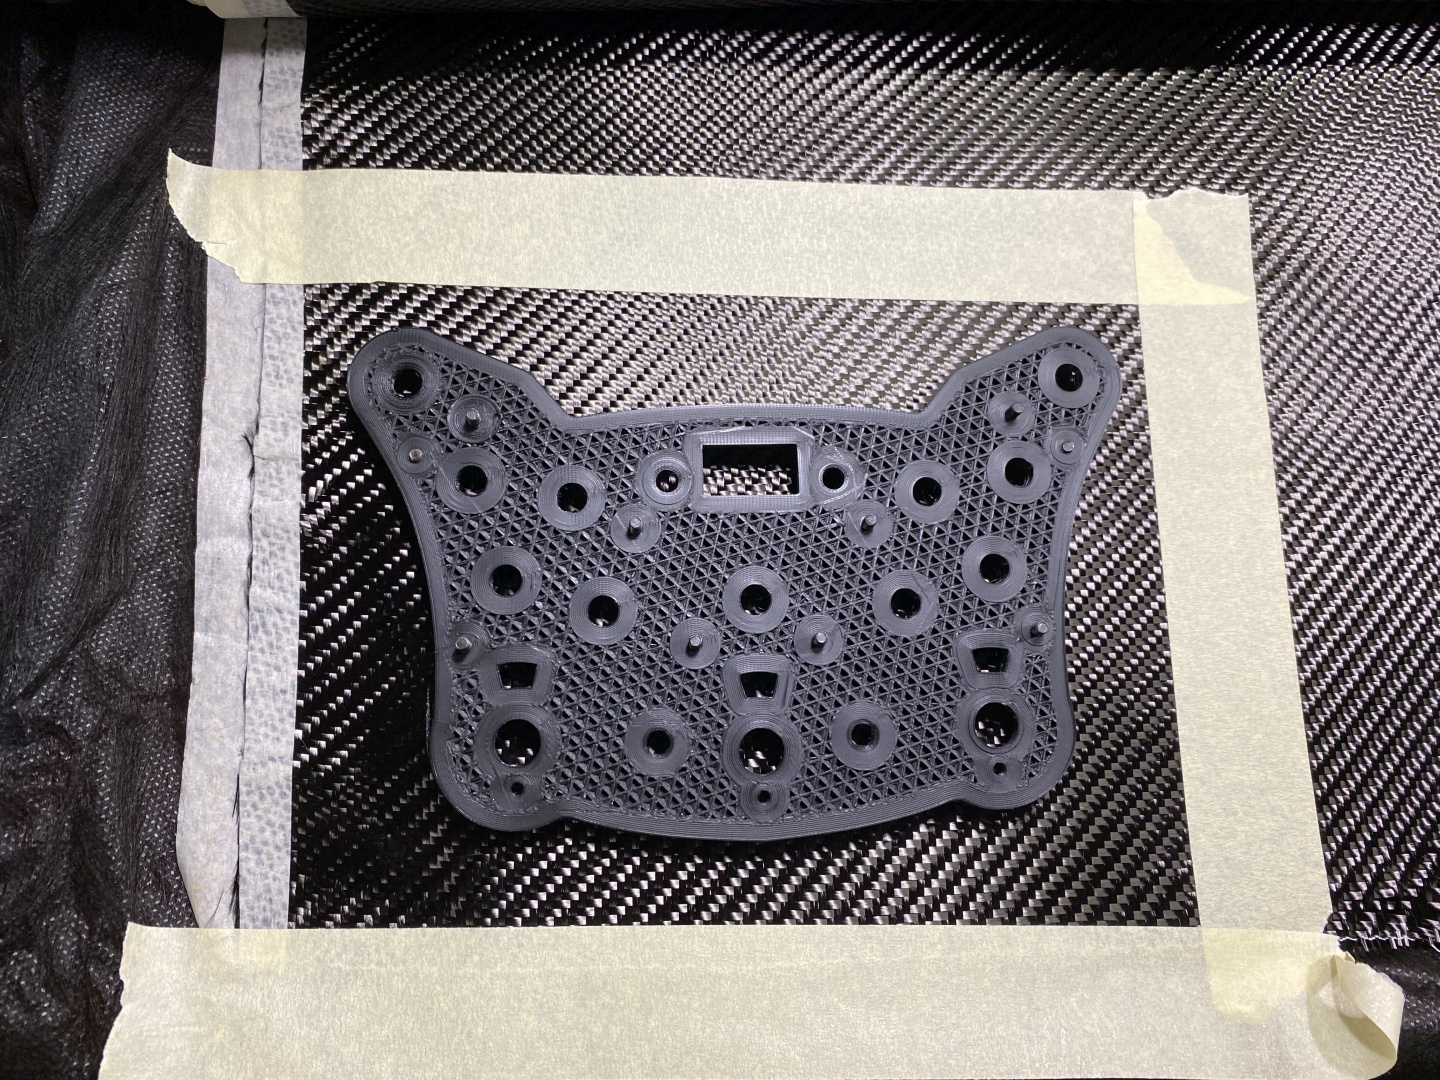
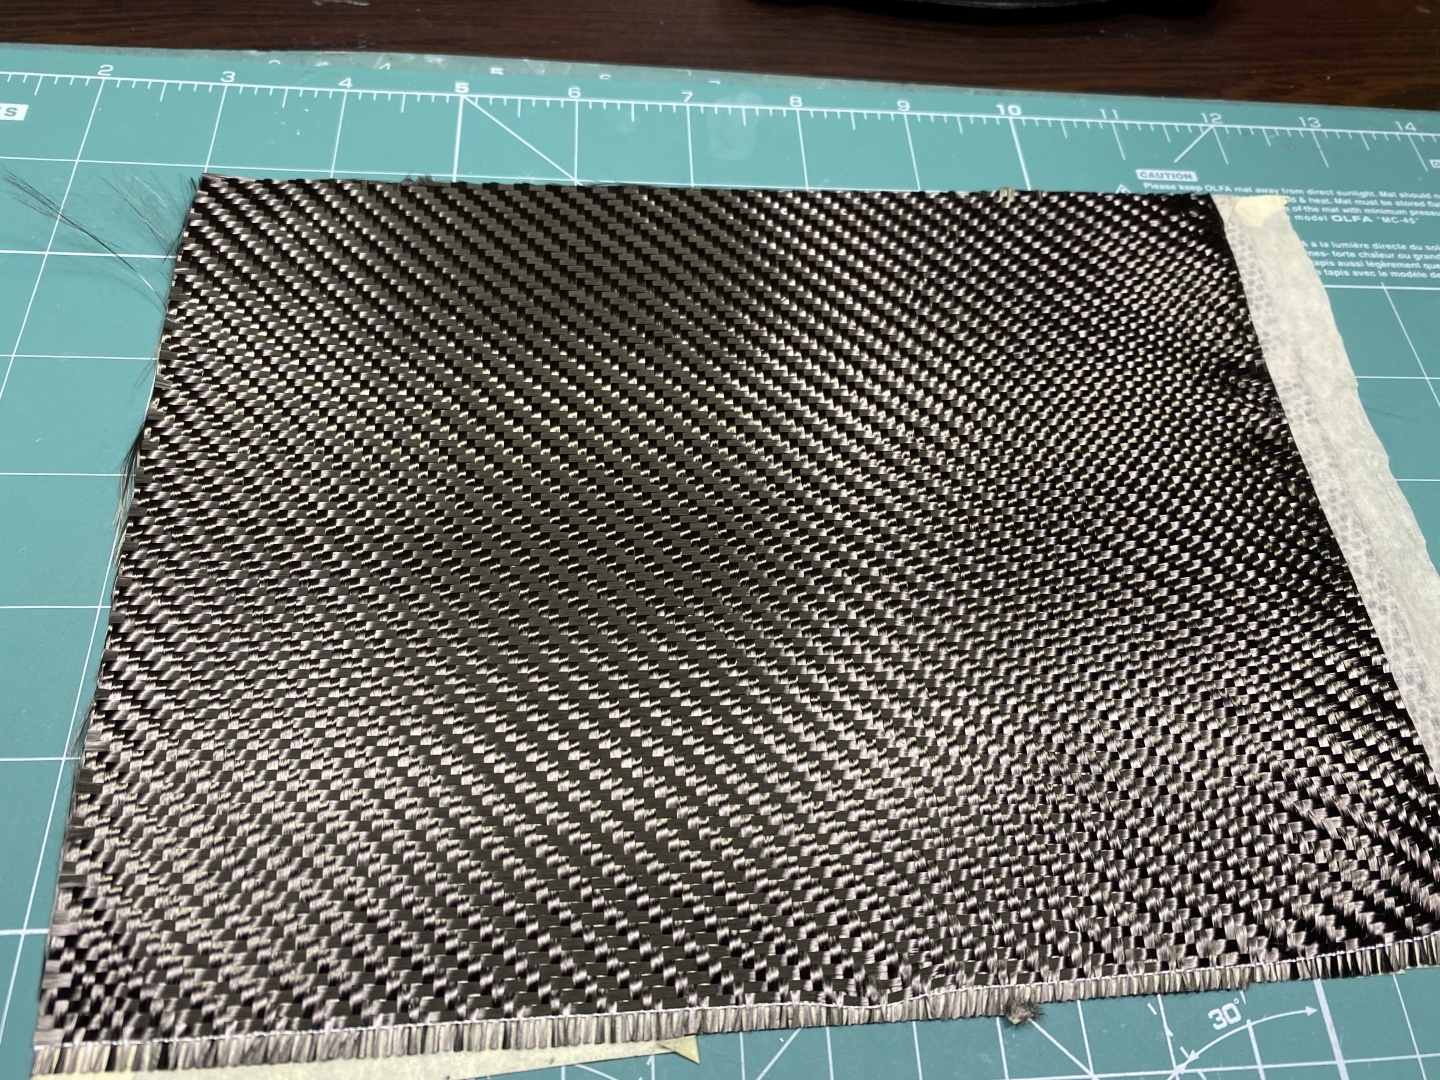
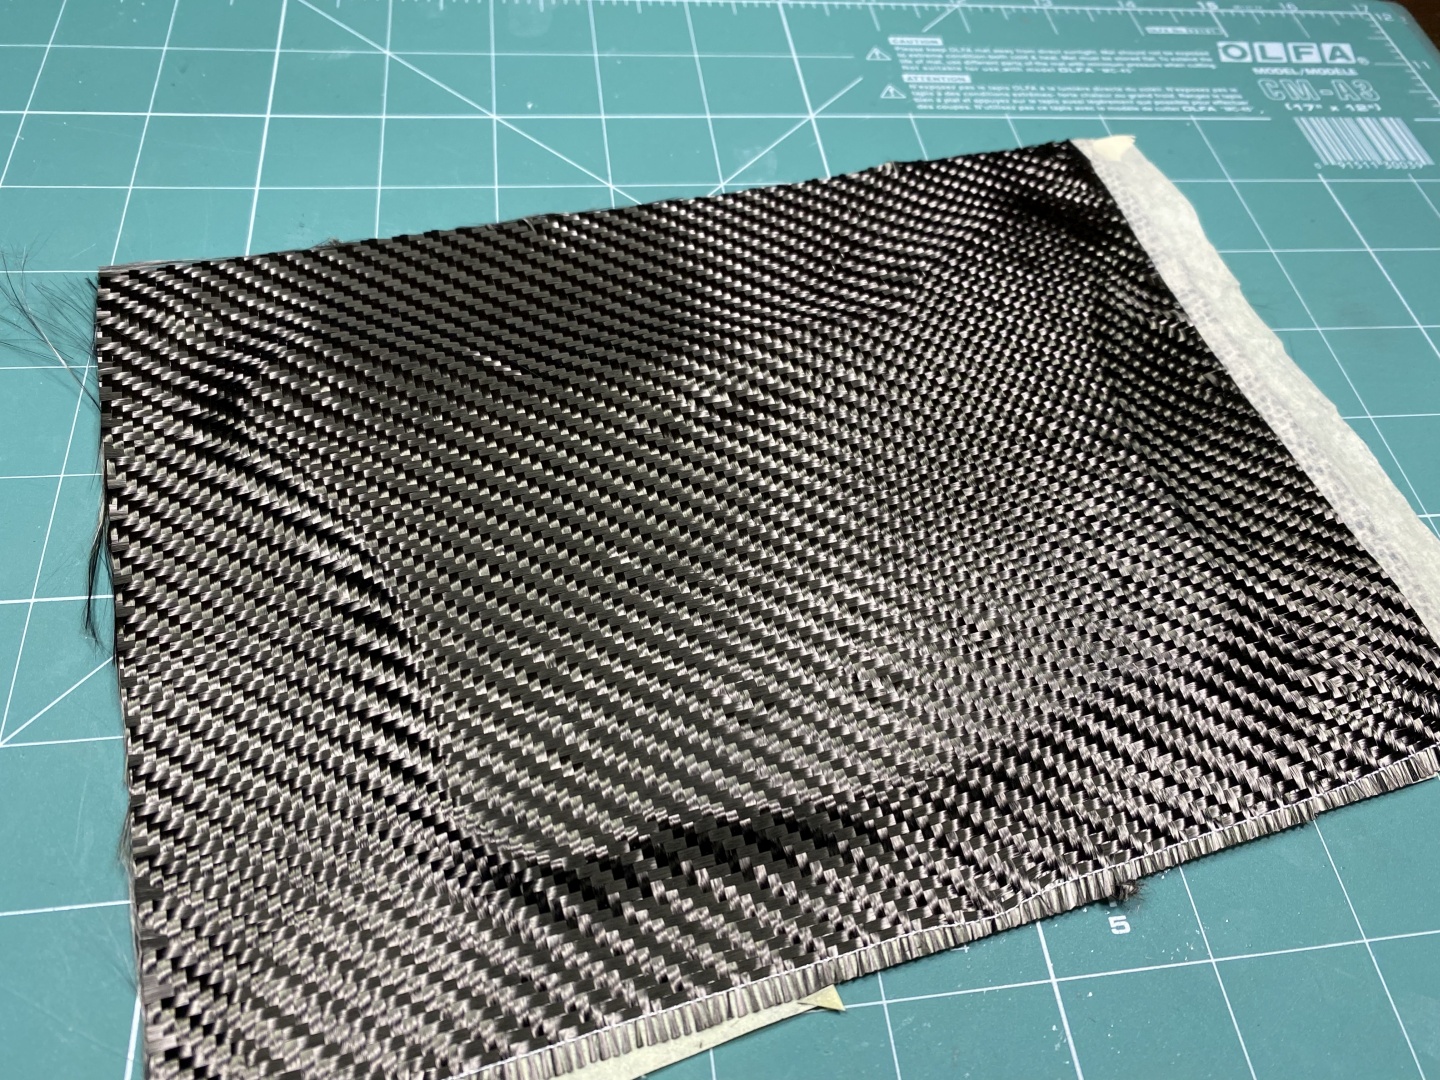
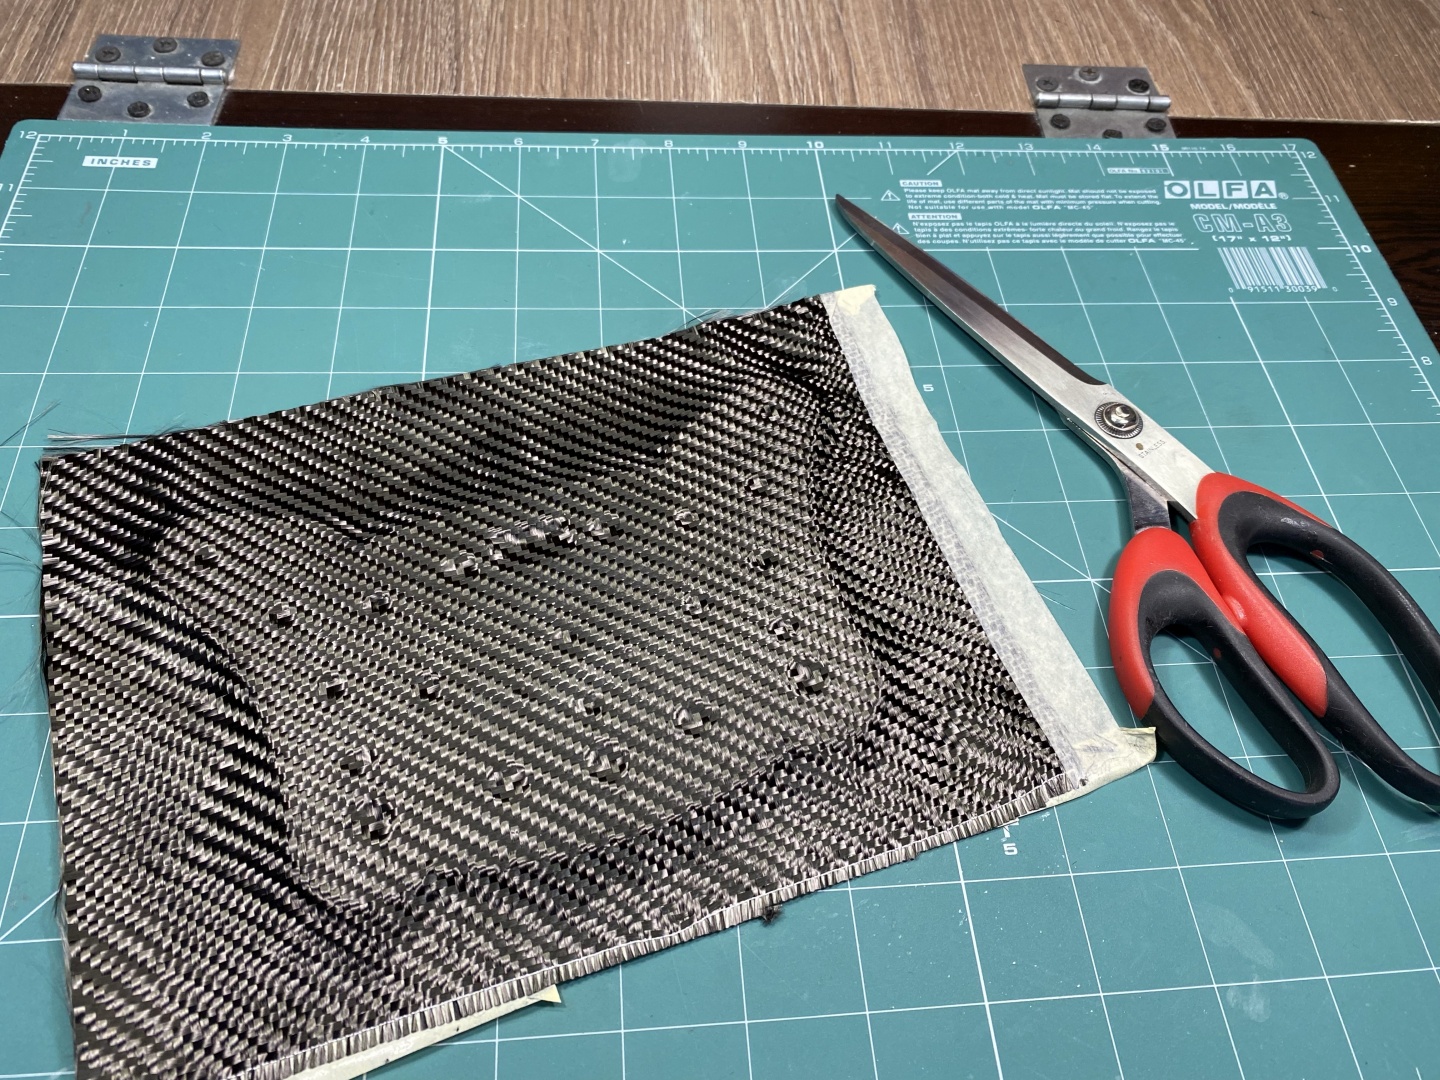
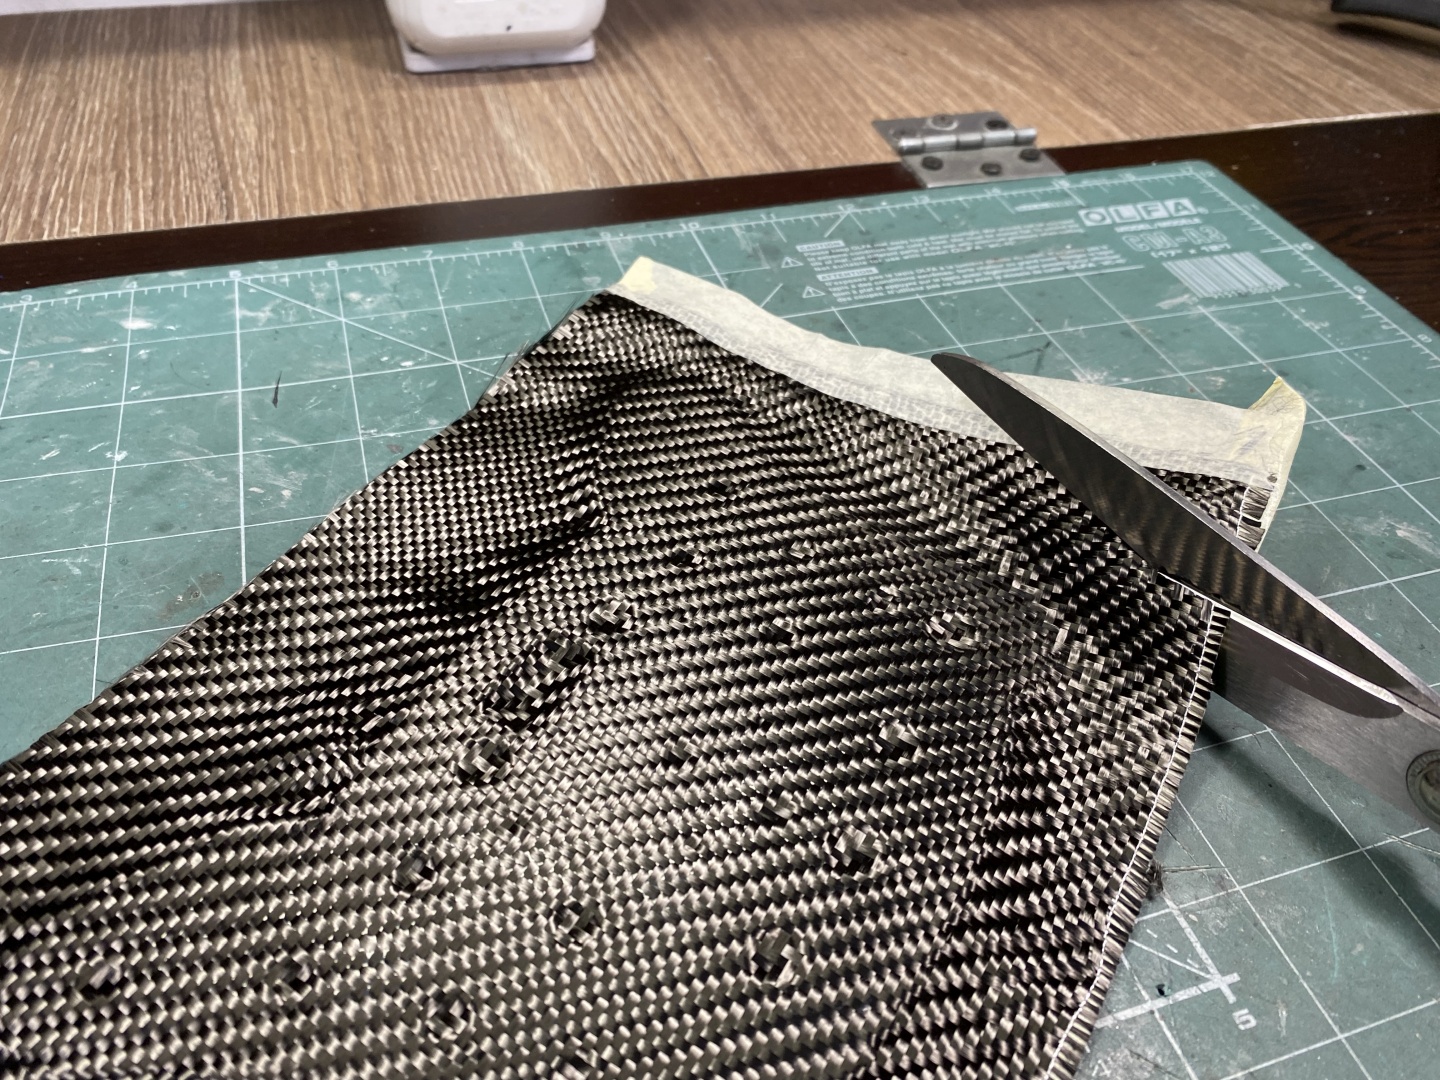
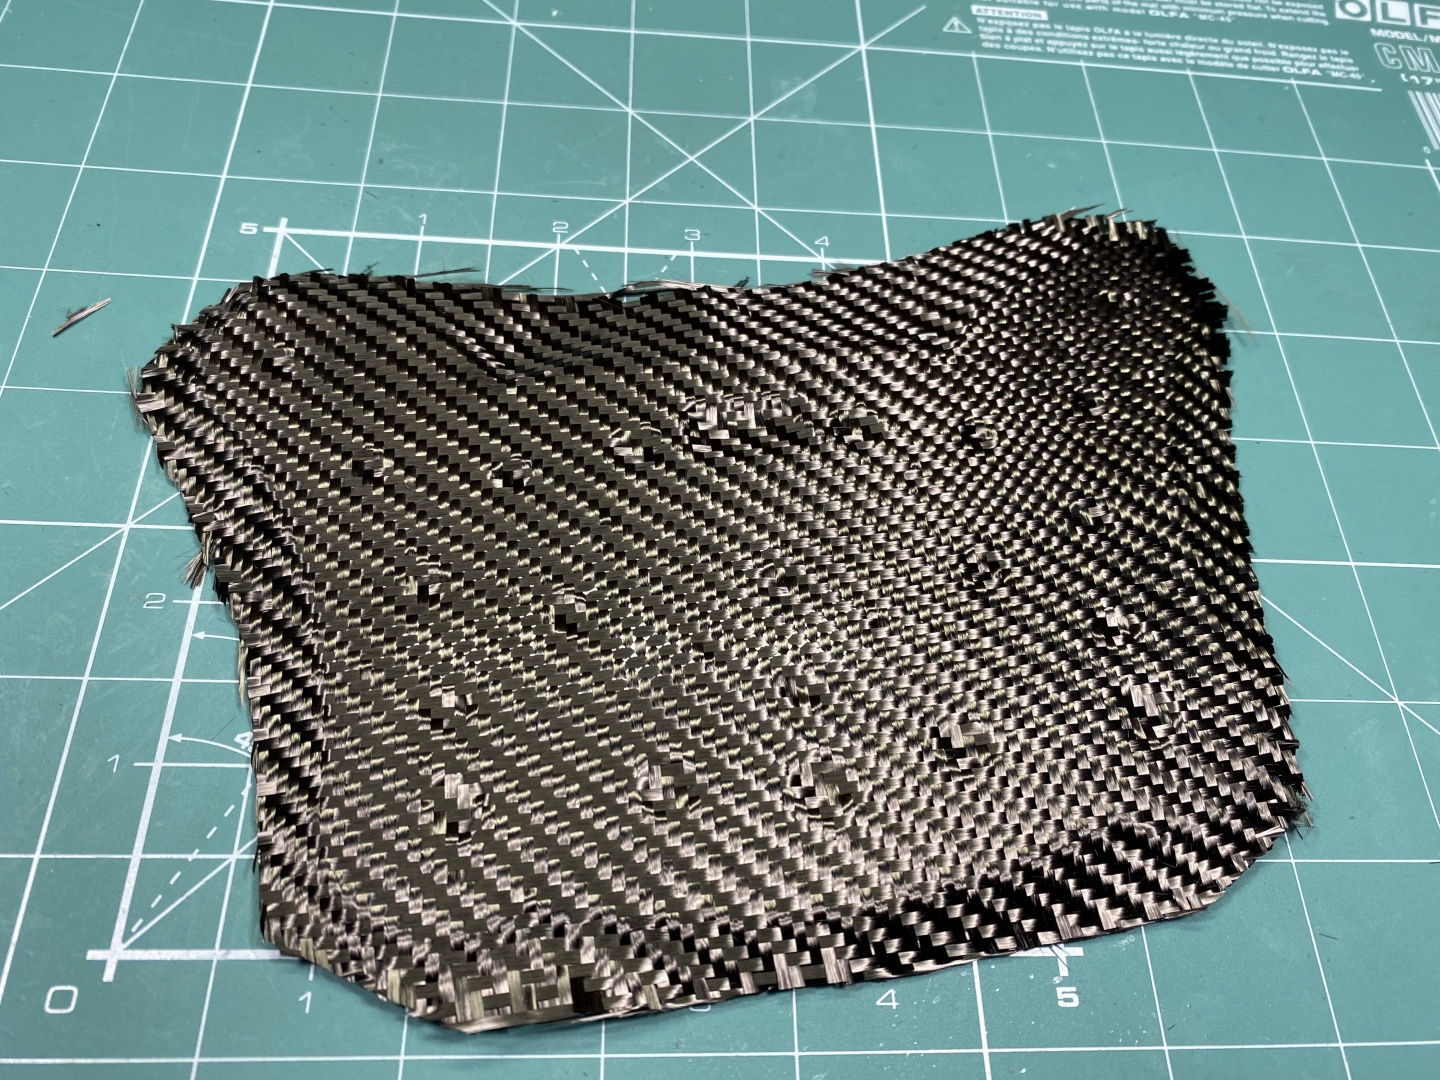
As you have to wait some time before next step now it is good opportunity to cut to size the carbon fabric. Usually I have some templates from failed prints that I can roughly measure how much fabric I need. Unroll carefully some length of material, put the template or eye measure, apply some paper masking tape where the cuts would be. This masking tape will keep the carbon fabric together and also will make cutting and handling much easier. Cut with sharp scissors in the middle of masking tape:
Prepare all pieces of carbon fabric you would need for every item, and of course cut two pieces for double sided items.
Applying the Carbon Fabric
Dry-time 1.5-2 hours
For every base coat dry-time before carbon fabric application is different, but usually is in the range of 1.5 to 2 hours. If it is not written on label it still can be easily verified.
You need to reach level of tackiness when the base coat is not liquid any more but is very tacky - right before it starts to harden. If you miss this level you will have to wait till fully hardened, sand down and start over.
To check if the layer is ready for fabric application press gently your gloved finger on the surface. When you remove it you should feel that it is tacky and small finger print should remain on the surface. If the base coat is ready for application your finger print will stay in place and will not level out. If it levels out and disappears - base coat is not dry enough. If you do not feel tackiness when removing your finger - you missed the opportune window. If you did not work with the base coat youy have currently you can start testing every 15 minutes after the 1 hour mark. When base coat is dry enough you should see your fingerprint as shown in the pictures below:
Now that the Base Coat is at its tackiness level you can proceed with sticking the carbon fabric. Start by laying it on the table. With your gloves gently stretch the fabric until you have the pattern straight. Take the piece of cloth holding carefully by the masking tape and place it on top of your base coated part. Press with palms gently to stick it together. For double sided items repeat on both sides.
When this is done you should get the following result:
Vacuum Bags
Dry-time 8 hours - overnight
Now that you covered your product with carbon fabric it should be vacuum pressed for best result. This is not mandatory step, you can just leave it to dry as is but vacuuming provides much better adherence and flatter surface.
Level of vacuum you need for this step is relatively low - home food vacuum machines are on the strong side for that. I found out the easiest way to vacuum small parts is 3D Printer Filament Vacuum Bags. They are quite cheap, come with vacuum pump and are reusable. Keep in mind one of the sides of these bags is not flat - it has texture. If you put too much base coat or did not wait to dry enough it tends to leak out from the fabric and ruin your nice carbon look. If you have preferred front side of your item always put it on the slick side.
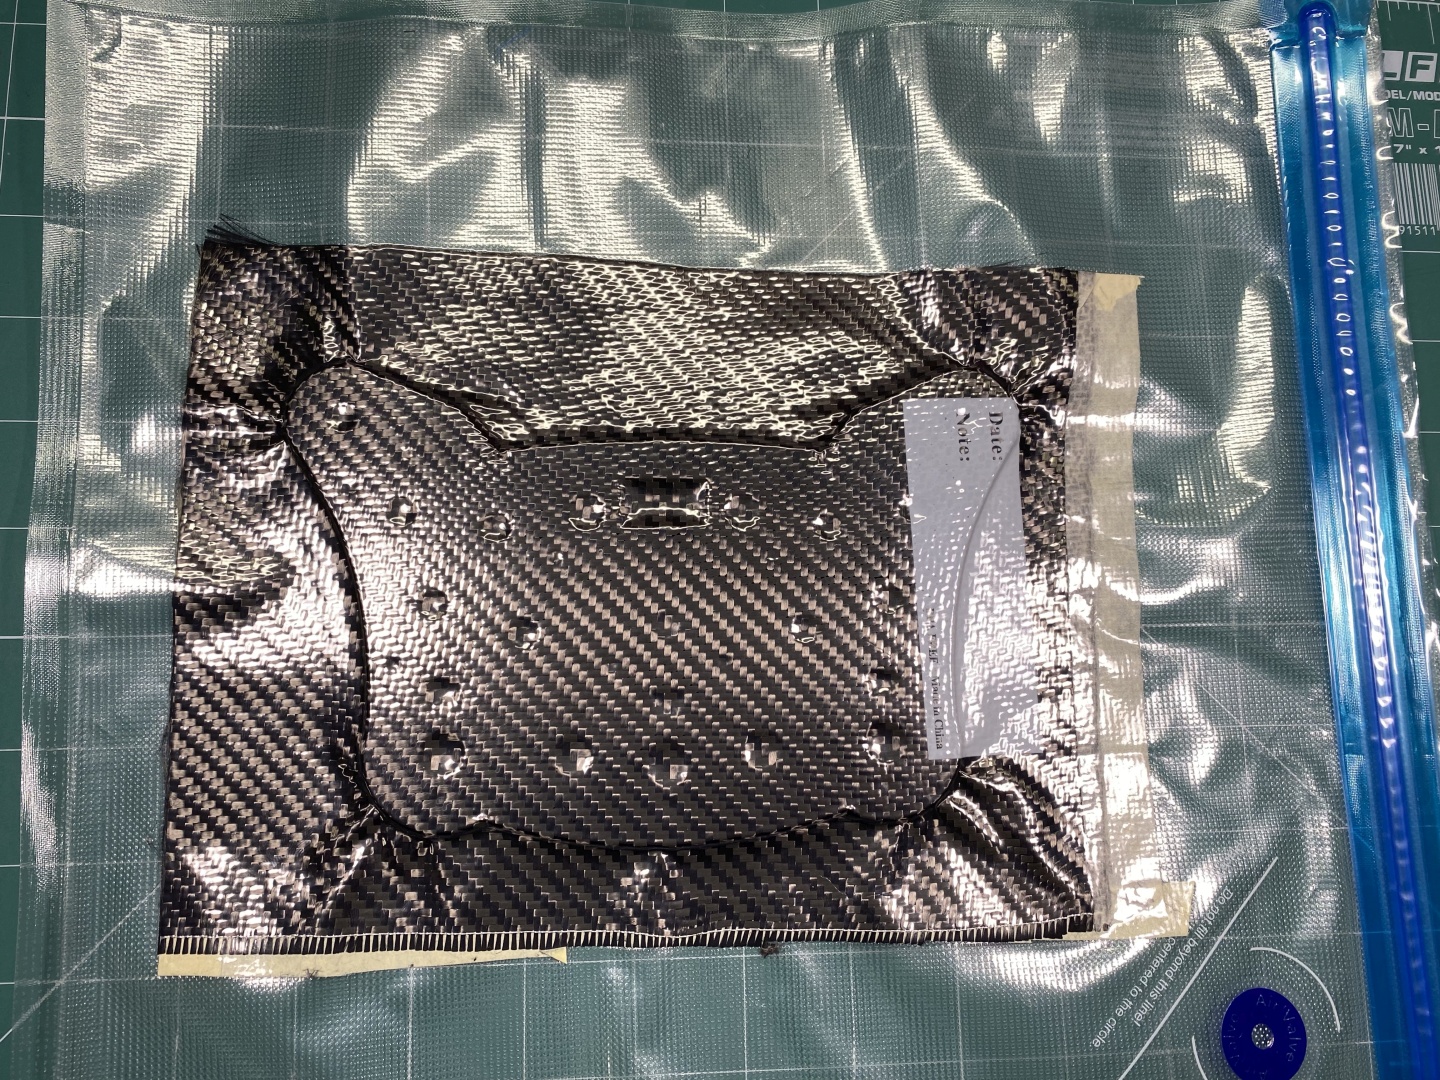
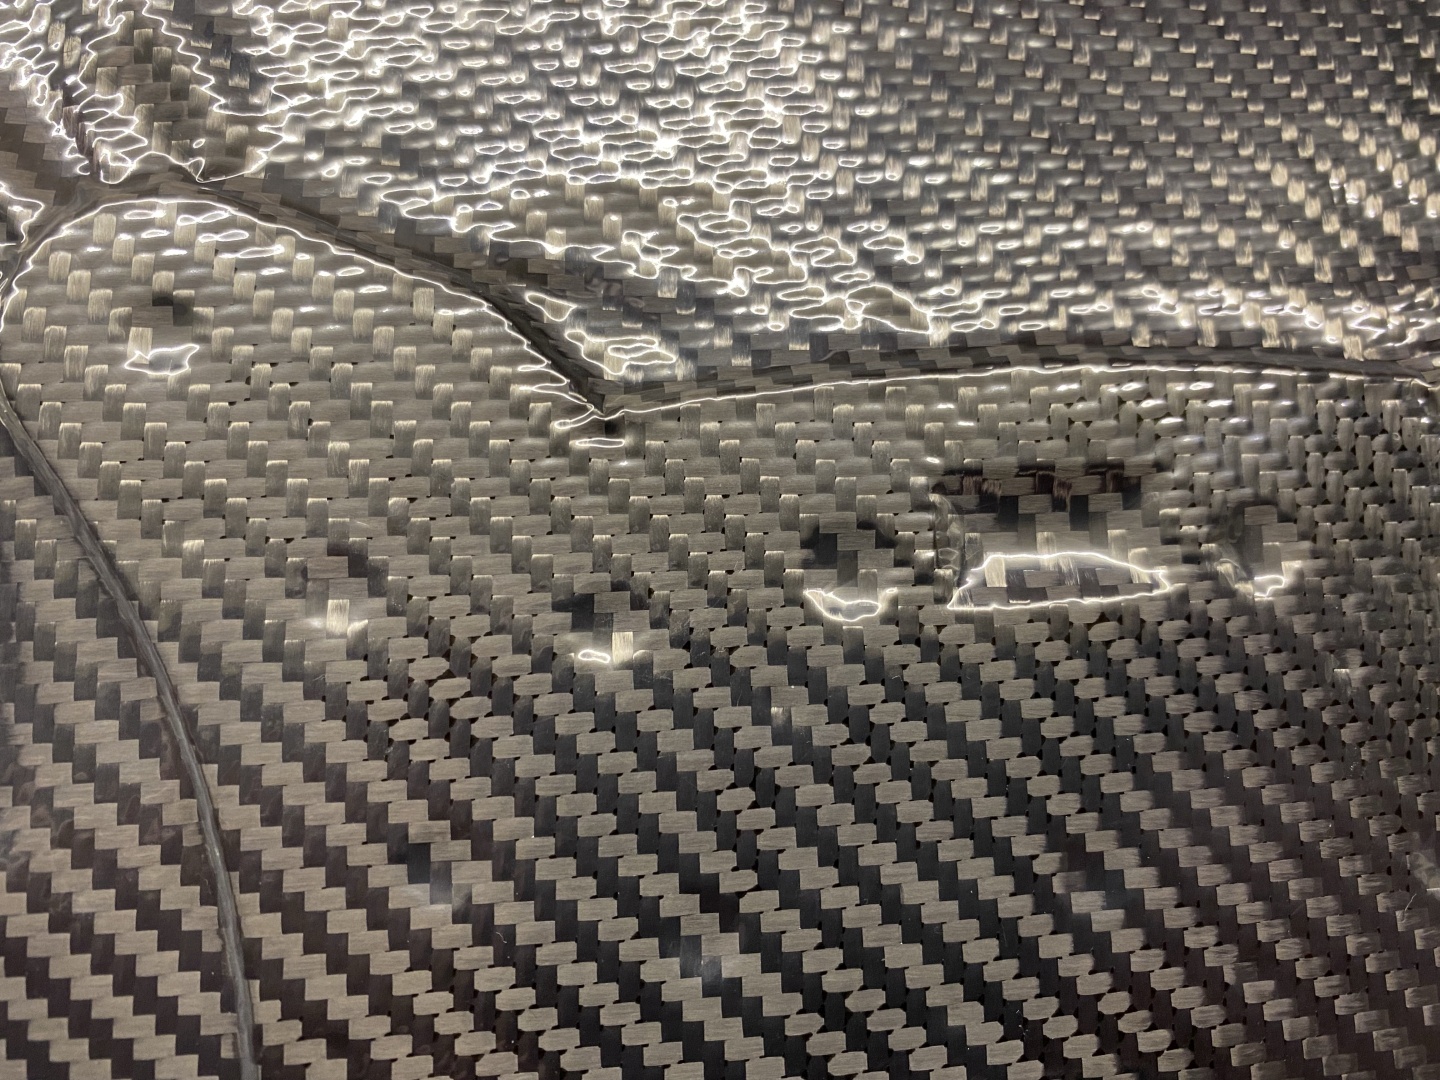
Close the bag, vacuum it and this should be the result:
At this point we can leave it aside and have a rest. Minimum curing time is 8 hours, but leave it preferably overnight for better results.
Initial Trimming
After the base coat has dried completely you can trim some of the excess carbon fabric. Do not cut very close to edge ad you will ruin the twill, it is very easy to untangle it. cut with sharp scissors carefully 1cm away from edge. At this point I also puncture the holes especially laying double sided carbon as at next step the small holes will start disappearing and later it is very hard to find them (they will up with resin). Proper trimming makes it easier at later stages also will save some material:
This done now we can finally start laying the First Resin Layer:
Preparation
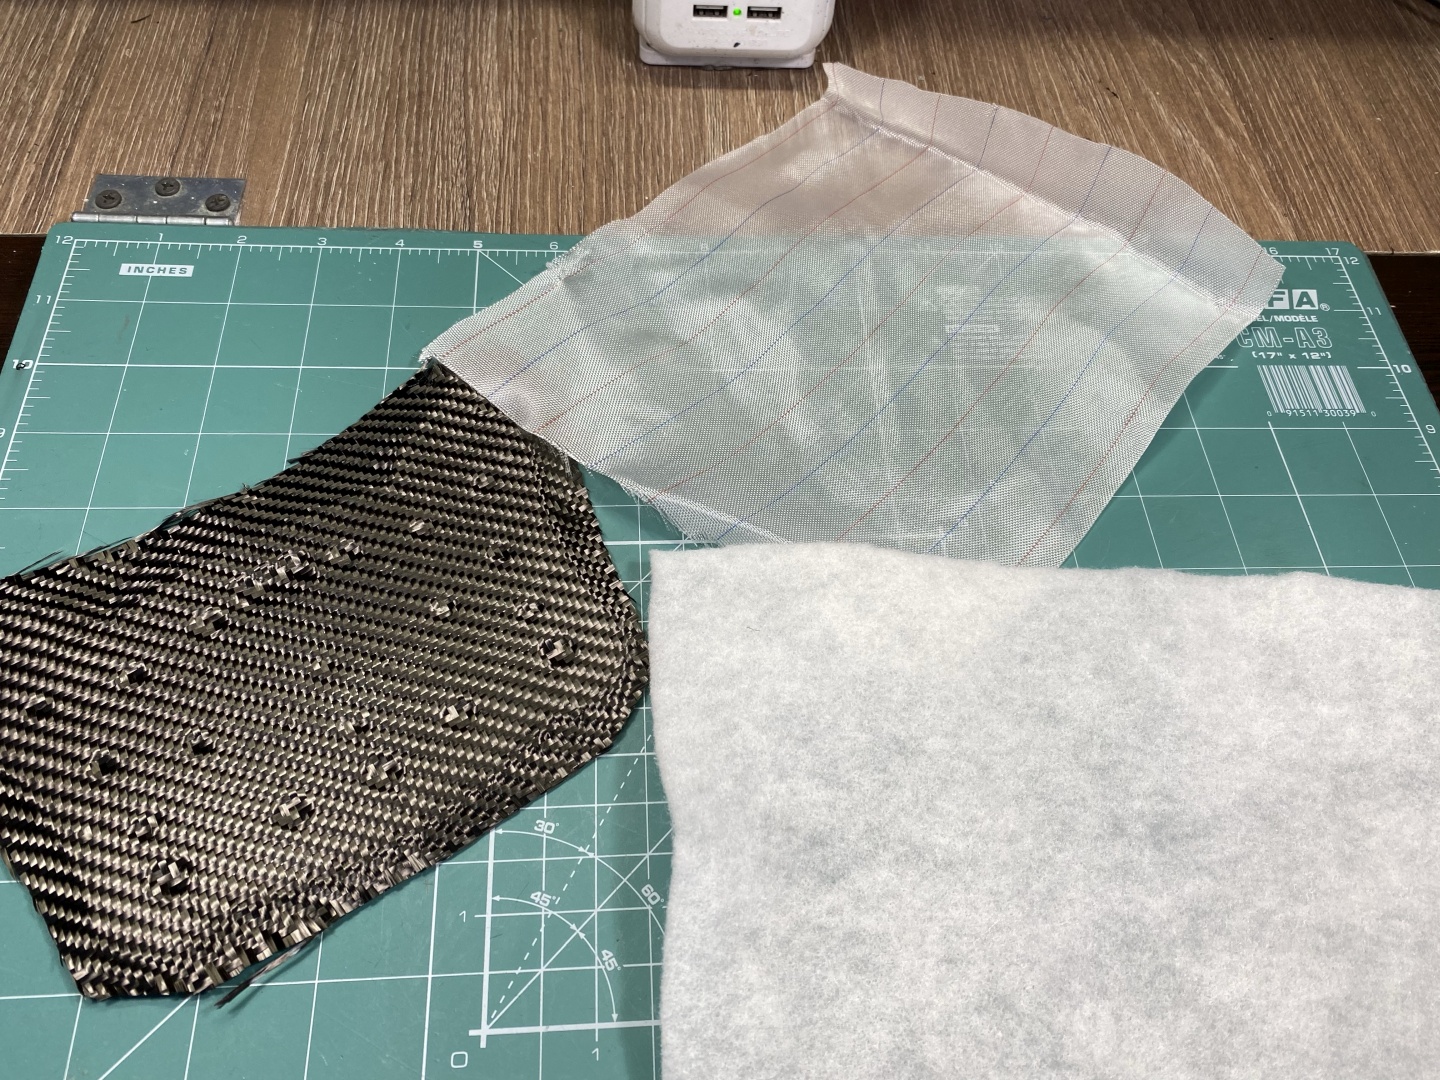
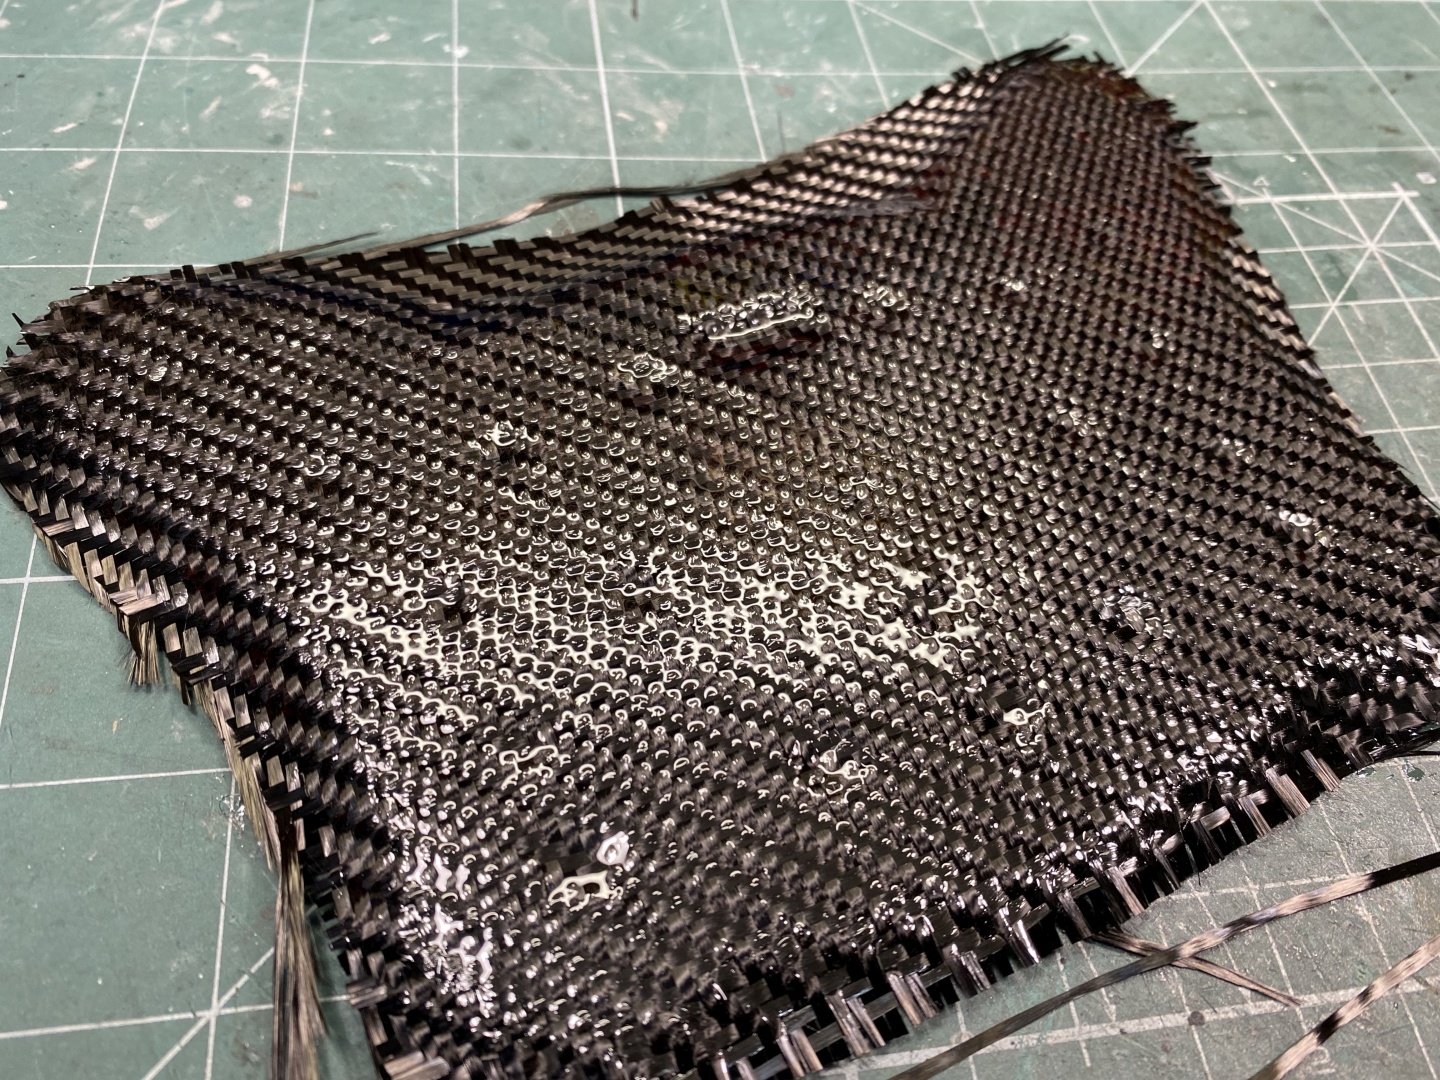
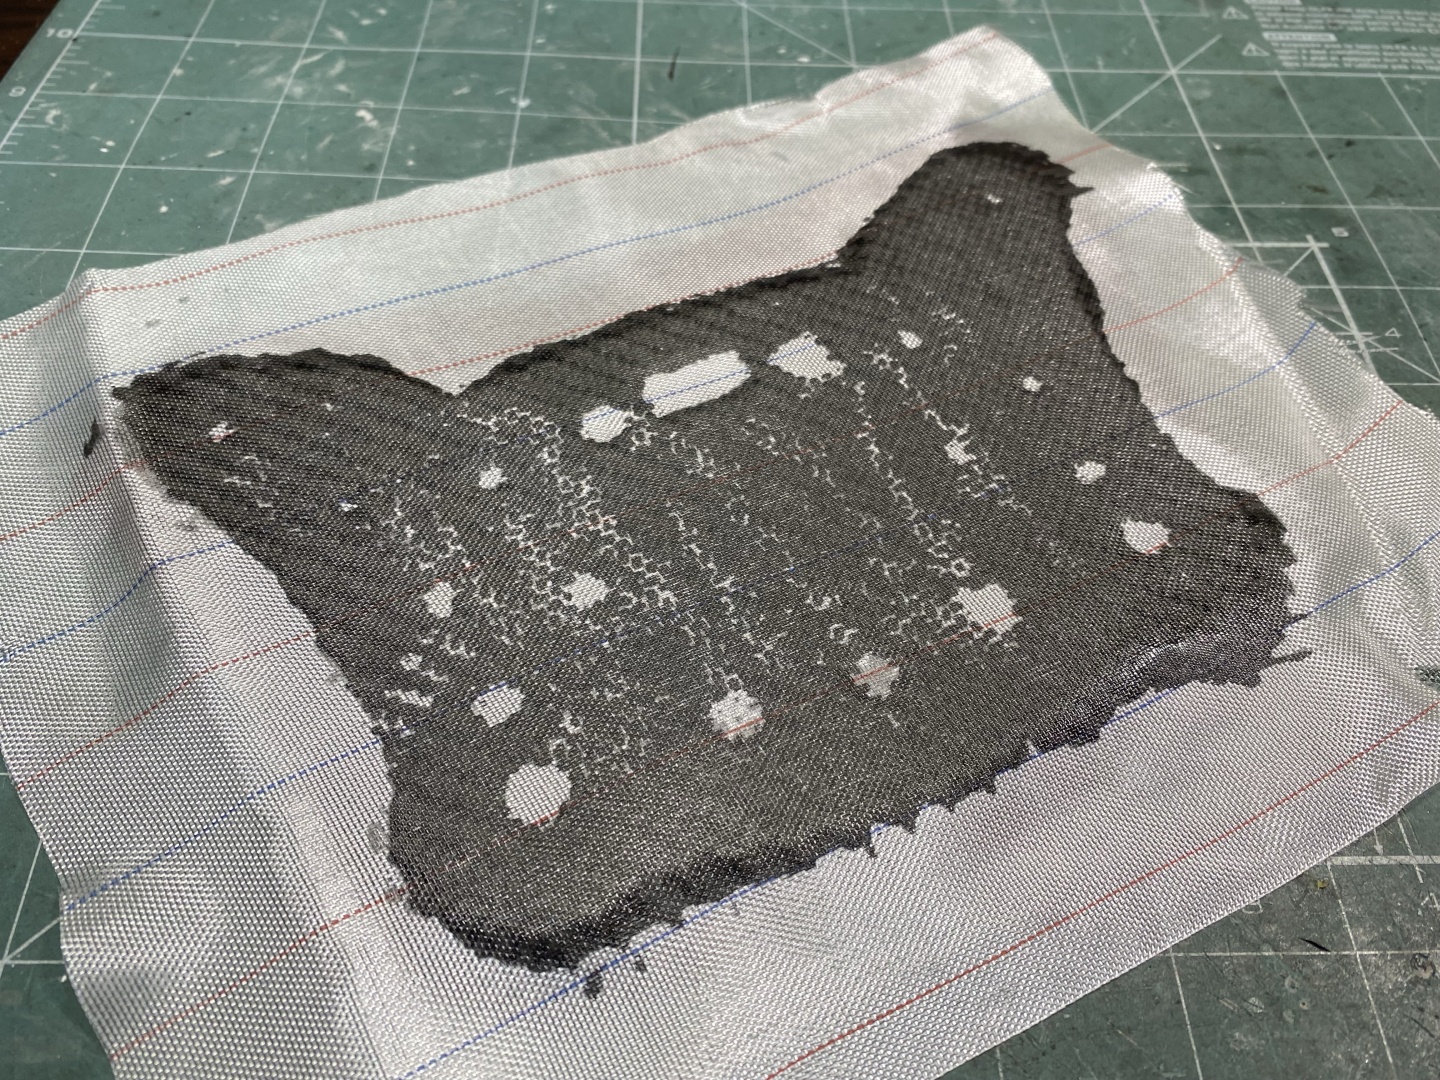
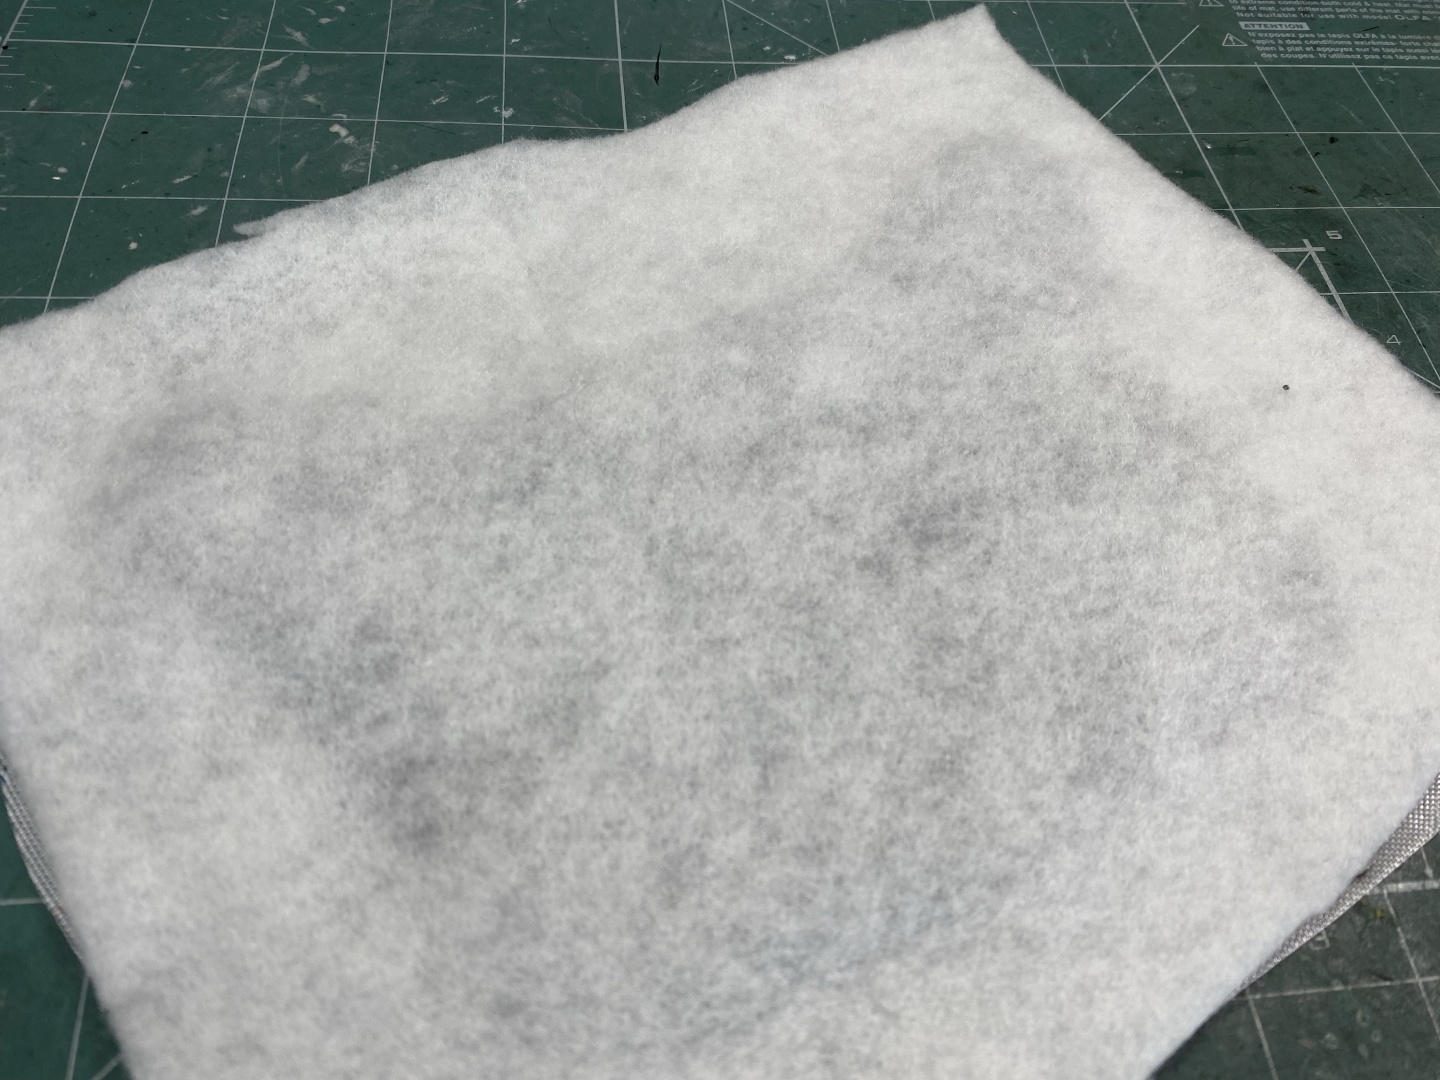
Before you start applying the first resin layer you will need to prepare the transfer materials. Start by cutting enough pieces to cover all your items from the Peel Ply and the Breathable Fabric. You will be covering with them the resin, which will be transferred away ultimately providing nice flat surface for next layers. Peel Ply is the divider which will make sure that you can peel off this cover and the breathable fabric is what actually absorbs the residue resin.
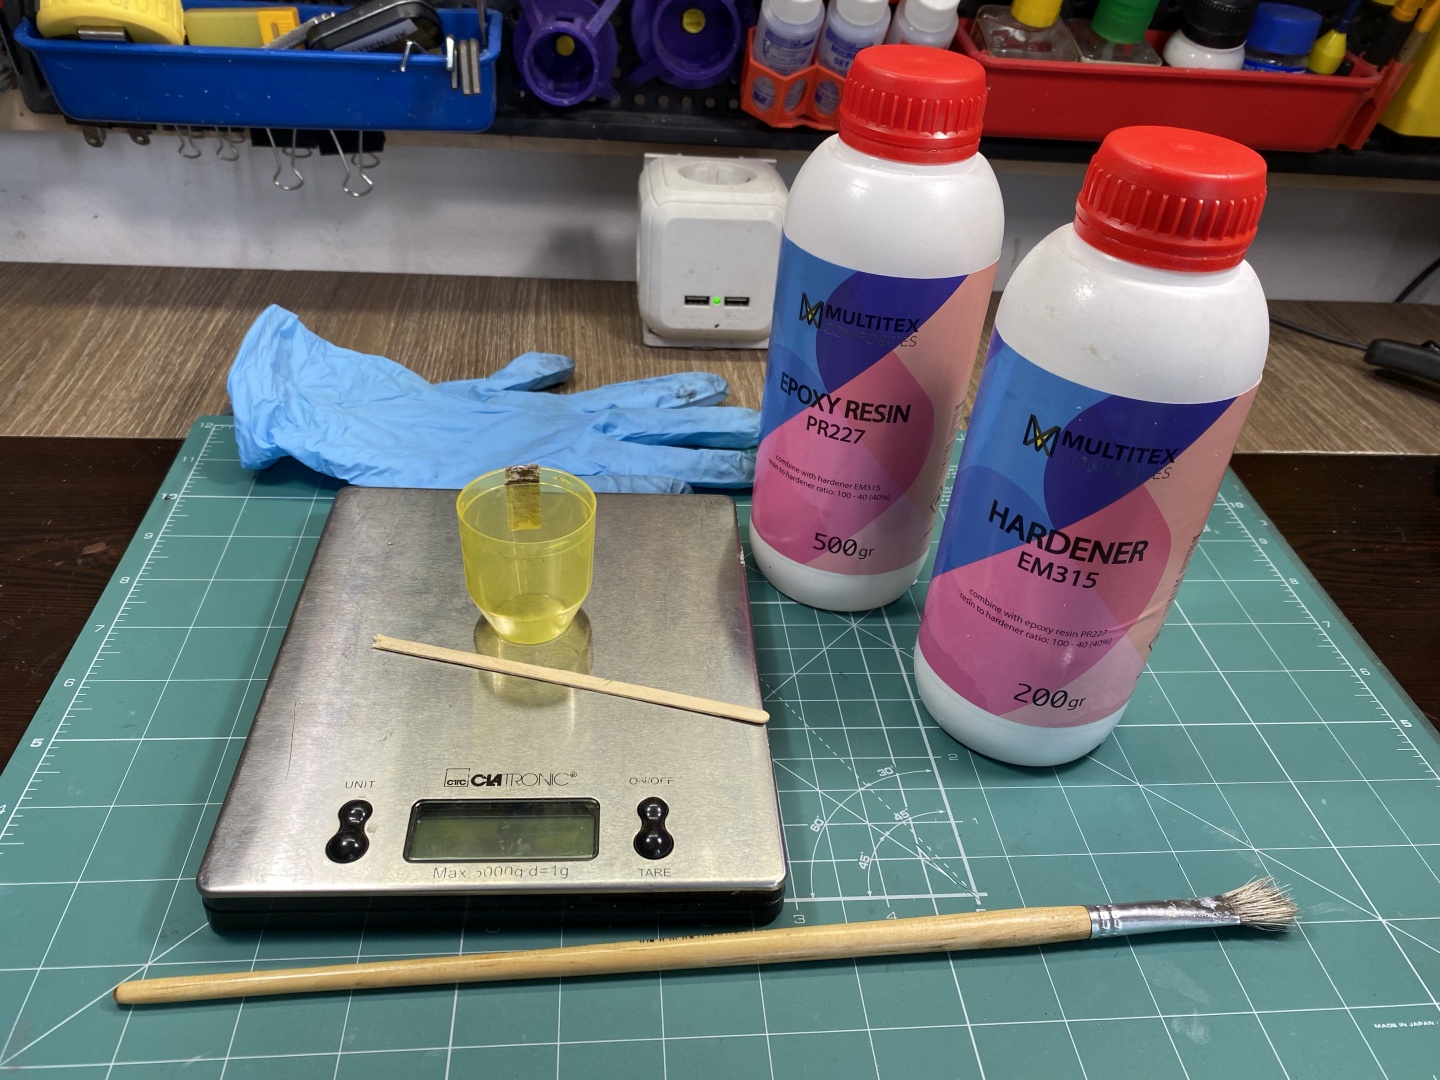
When you have prepared all covering materials proceed with mixing the Crystal Resin (for ratio see label). The first layer absorbs more resin than the consecutive ones as the fabric is still soft. Prepare more resin as you really want to soak it up thoroughly (if you put too much the breather will absorb it, do not worry):
Applying First Resin Layer
Wash again the surface with soap water and rinse. Clean with isopropyl alcohol as well.
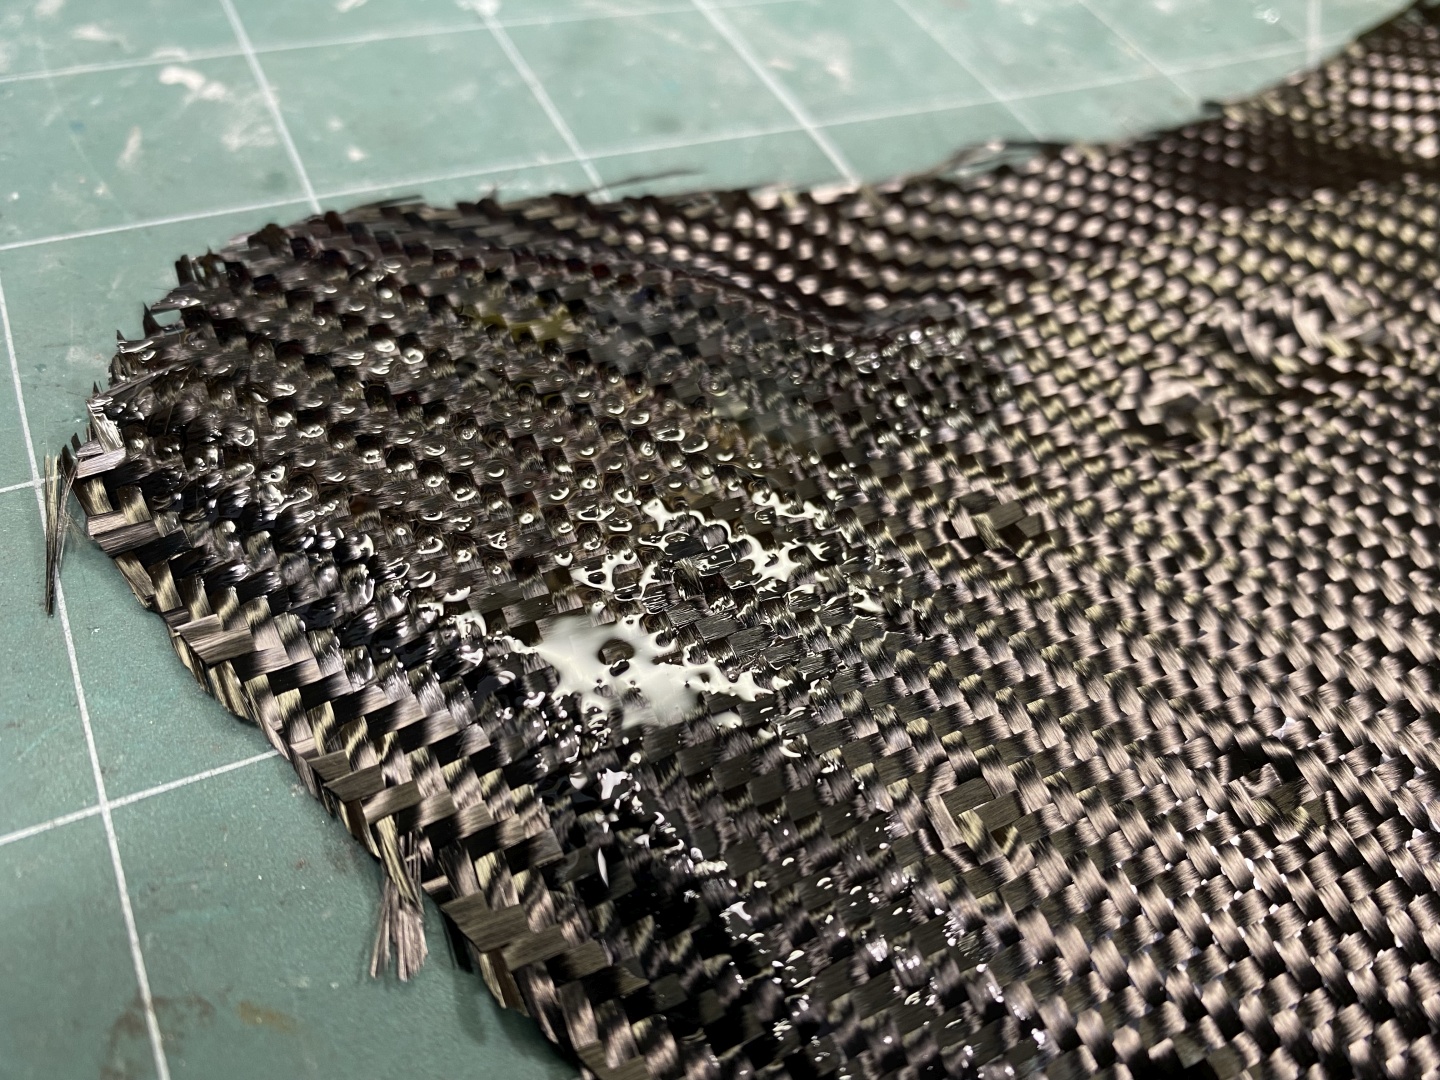
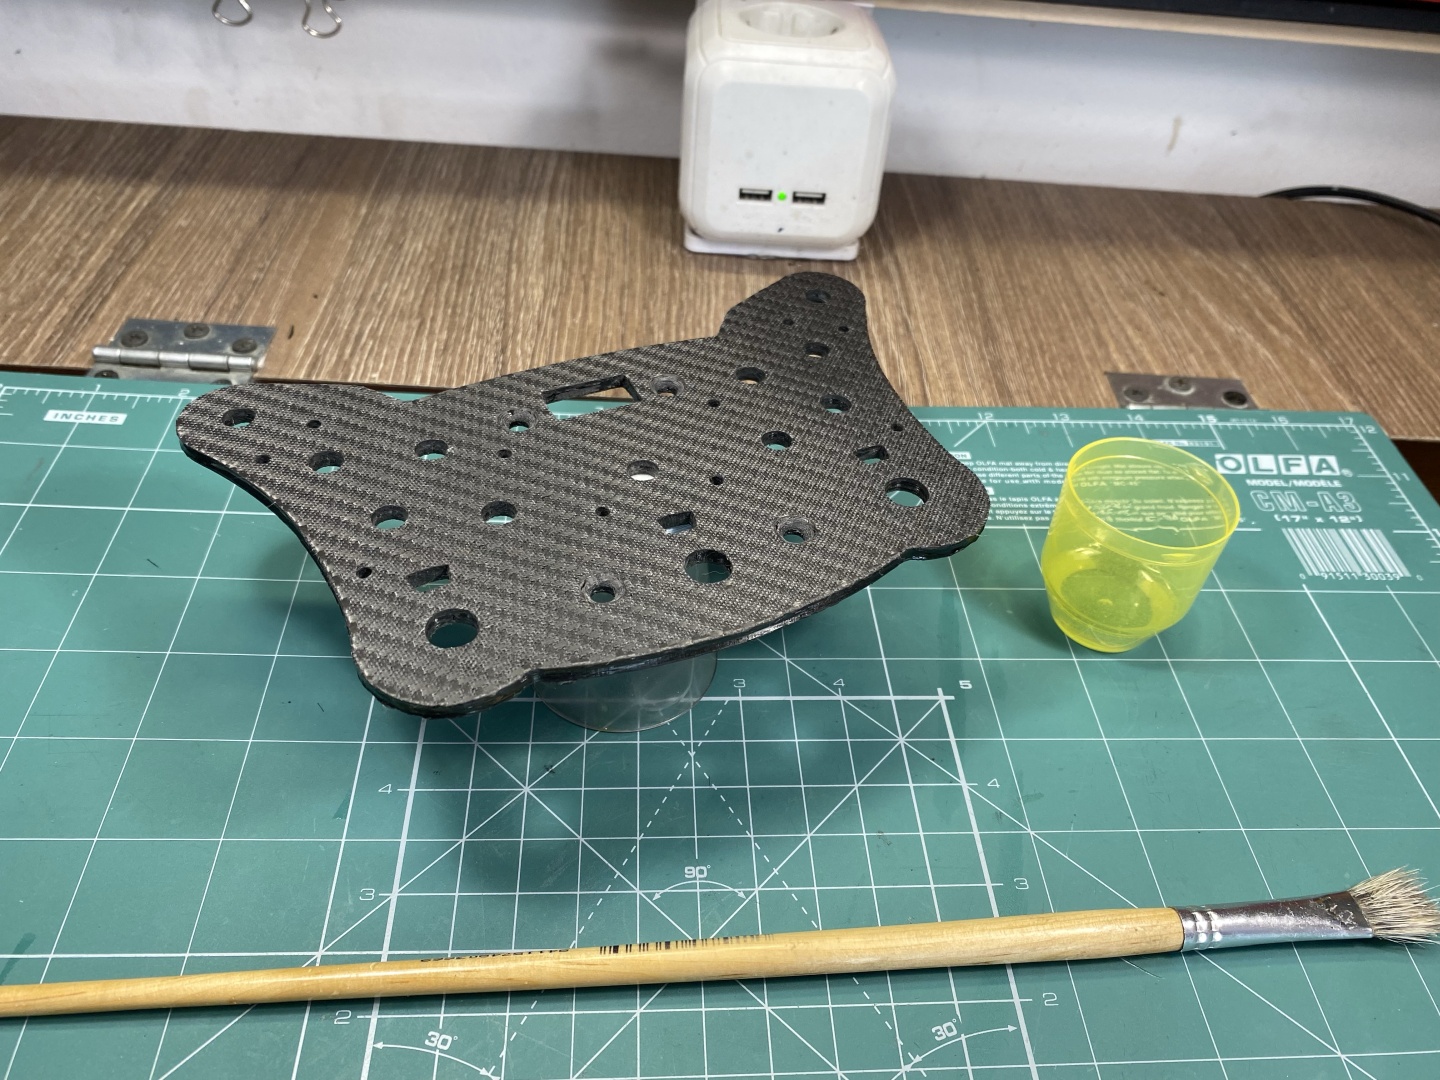
After you prepare the resin you can start applying it. It is recommended to use new brush so it does not leave traces but I always manage to clean them properly with Acetone and they are still soft after multiple use. Apply resin thoroughly, make sure you are soaking well all the fabric and not missing any spots:
If you want to add more carbon fabric layers for strength now is the time to do it. We will not cover the full process here, but basically you will be putting alternating layers of fabric and covering them with resin.
Applying Moisture Wicking Material and Vacuum Seal
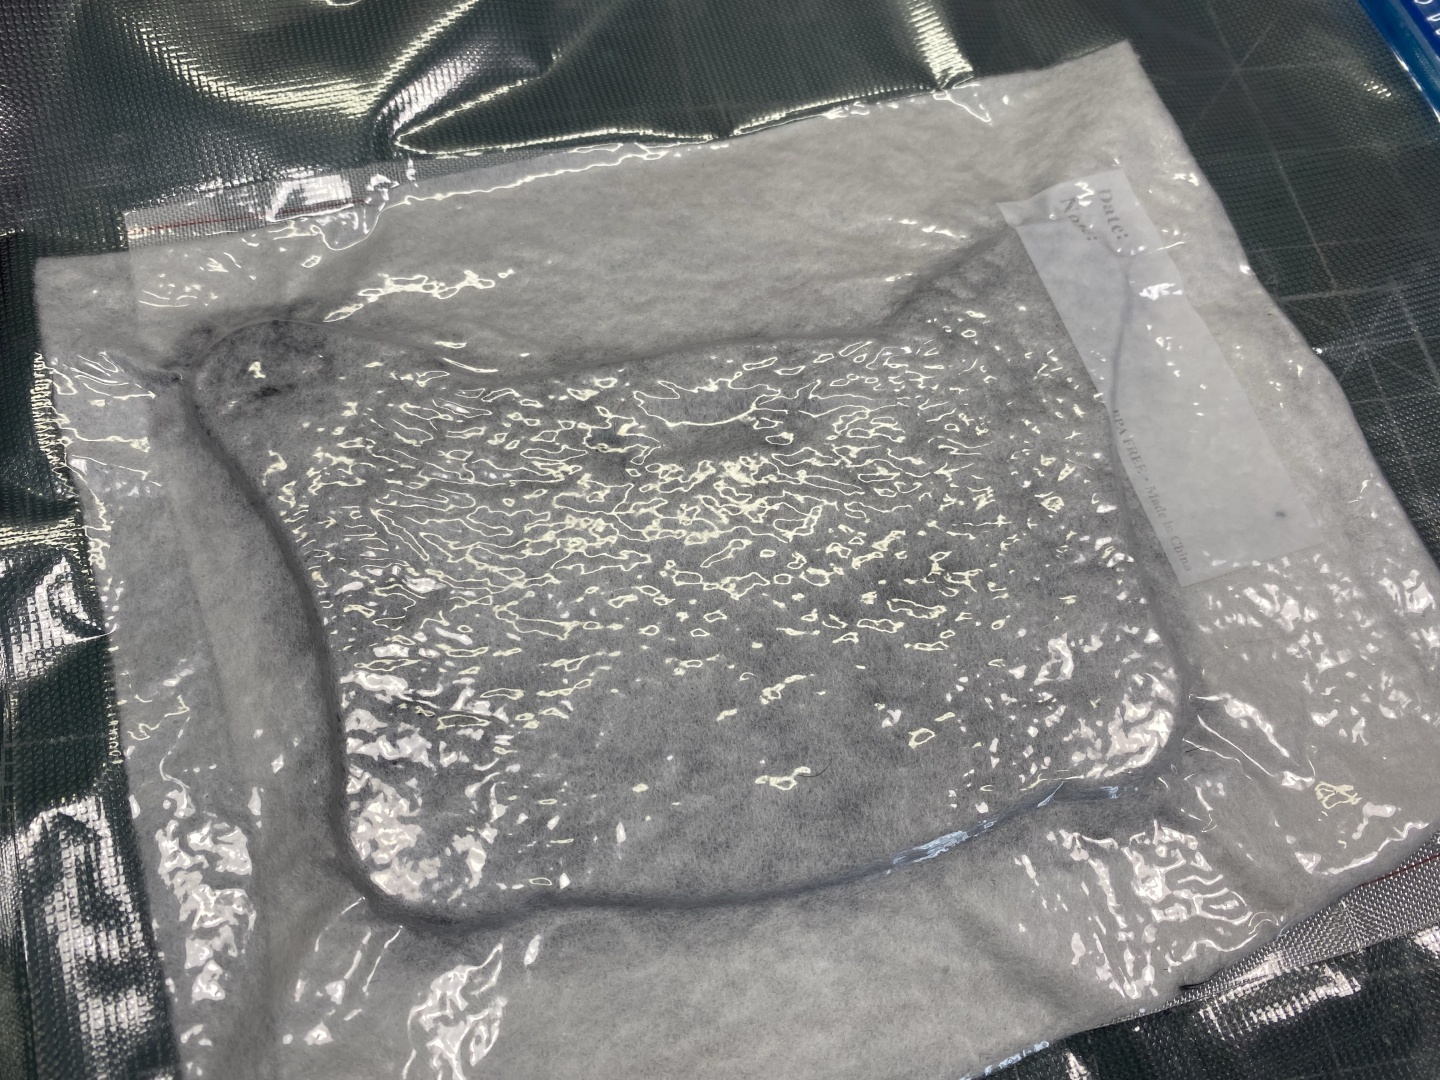
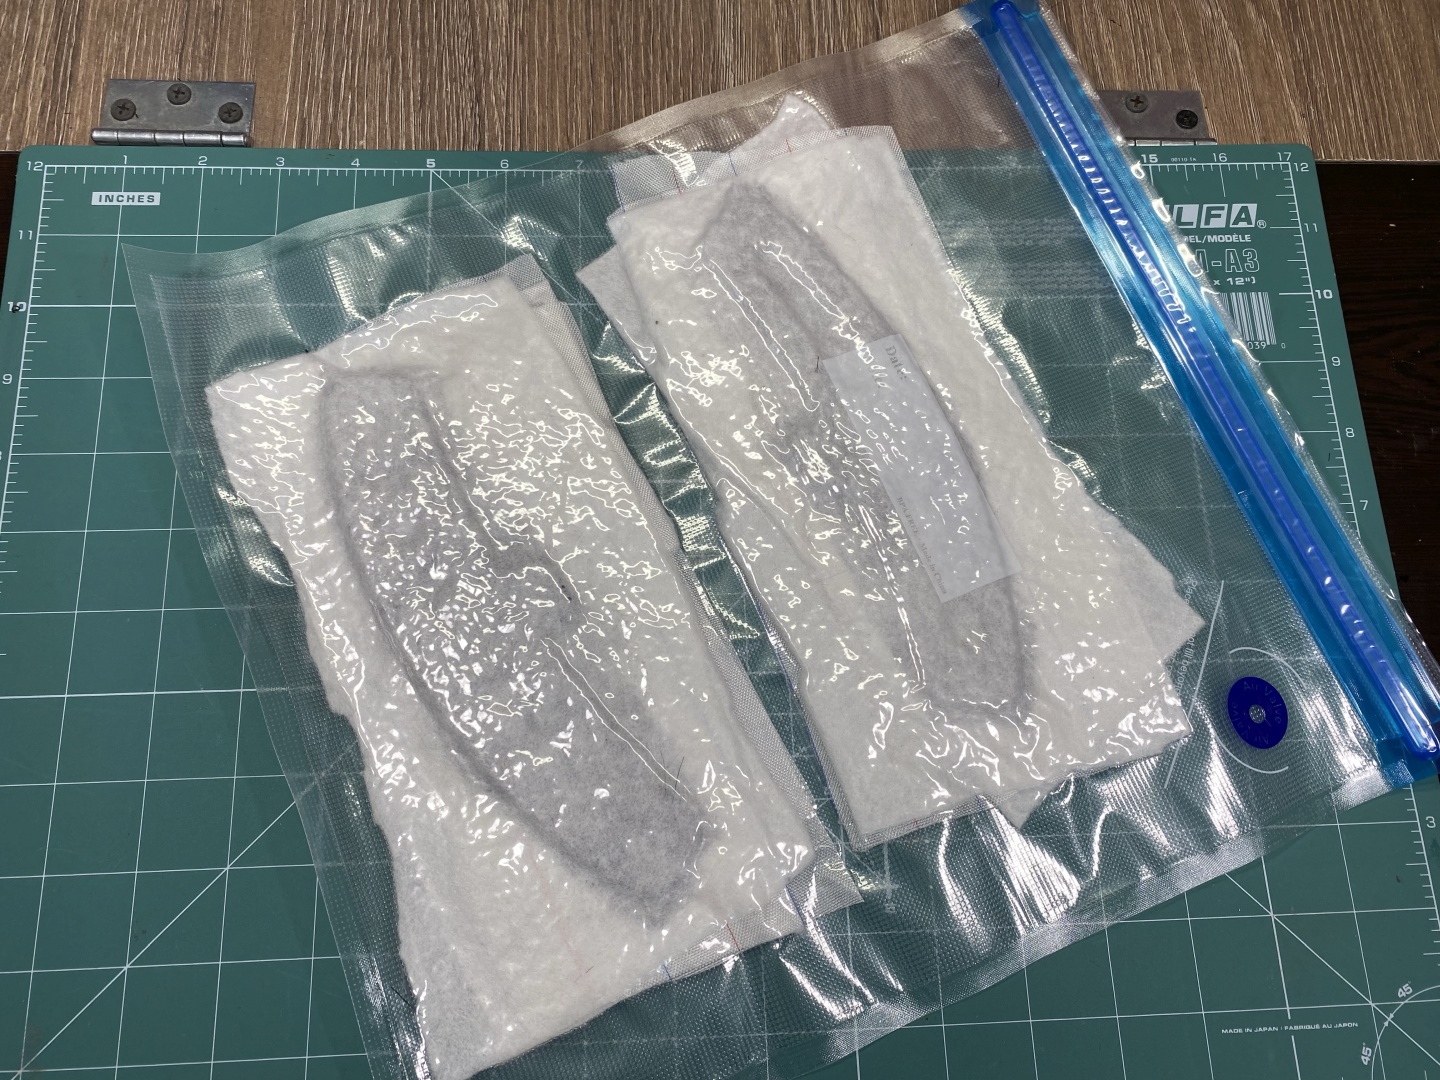
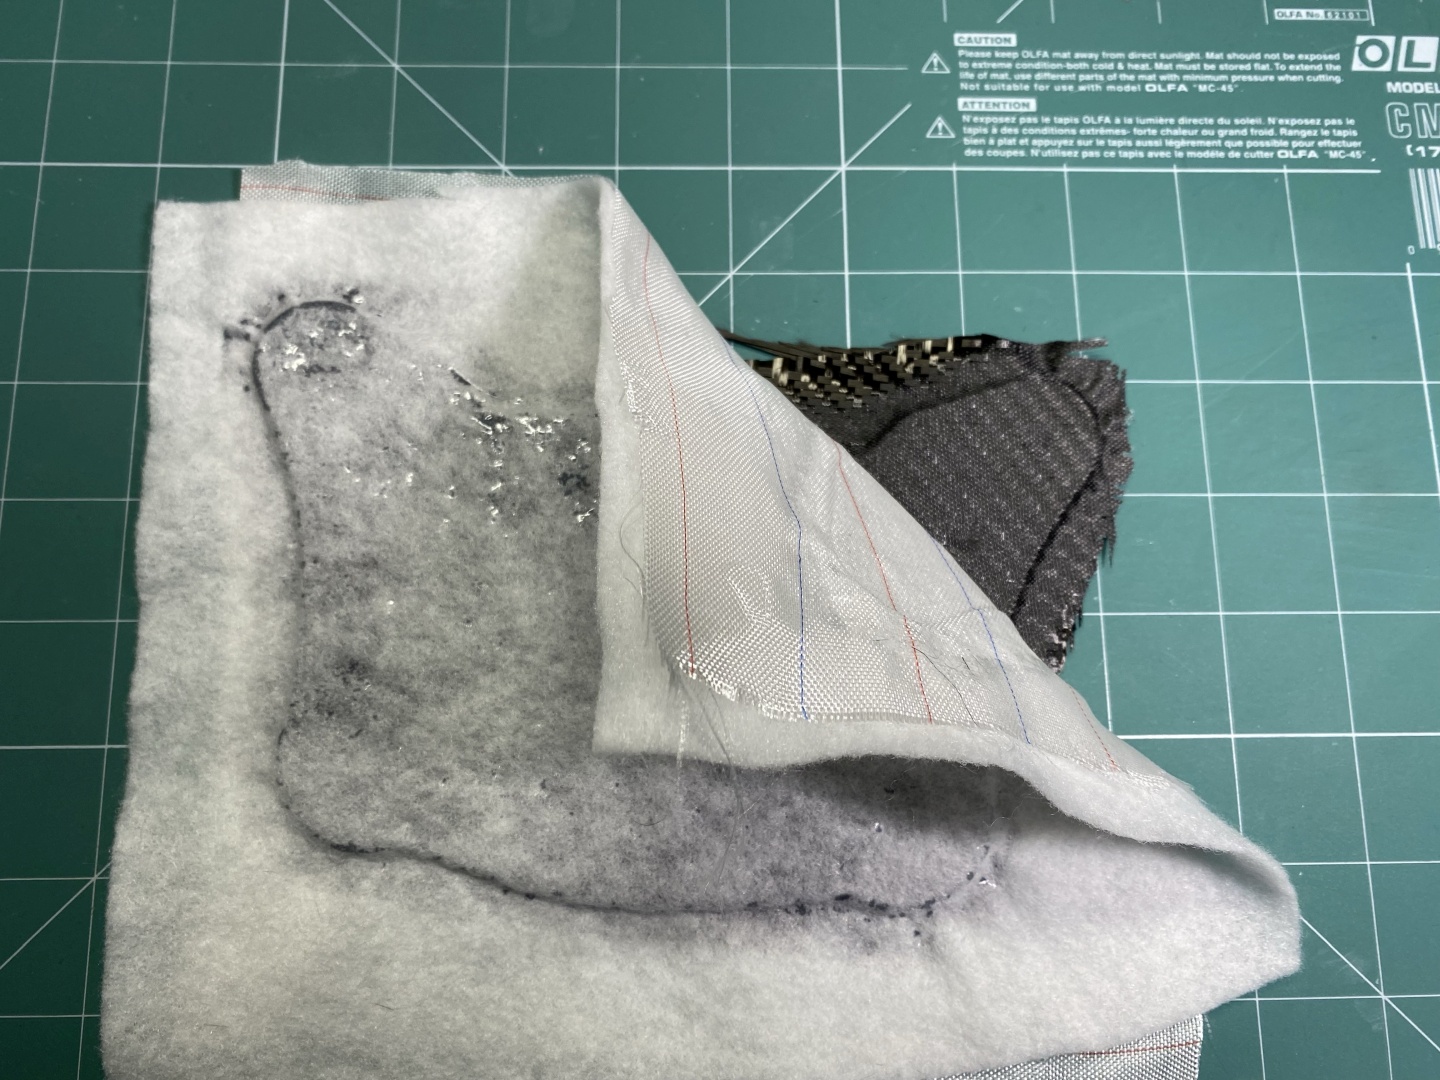
Immediately after you complete the resin layer you can proceed with the cover moisture wicking materials. First apply the Peel Ply - just put it flat on top of your product, it will soak itself. The Peel Ply fabric is highly porous material separating the permanent (carbon fiber) layer from the wicking material. It forms barrier through which resin flows and is absorbed by the breathable layer. On top of it cover with the Breathable Fabric, press it gently to stay in place:
Carefully put the whole assembly in the bag and vacuum it. This will result in nice flattened carbon fiber top player:
Again standard drytime is minimum 8 hours, but the longer they dry the better the result. I usually leave them at least overnight.
Edge Trimming and Preparation for Top Layers
Dry-time 8 hours - overnight
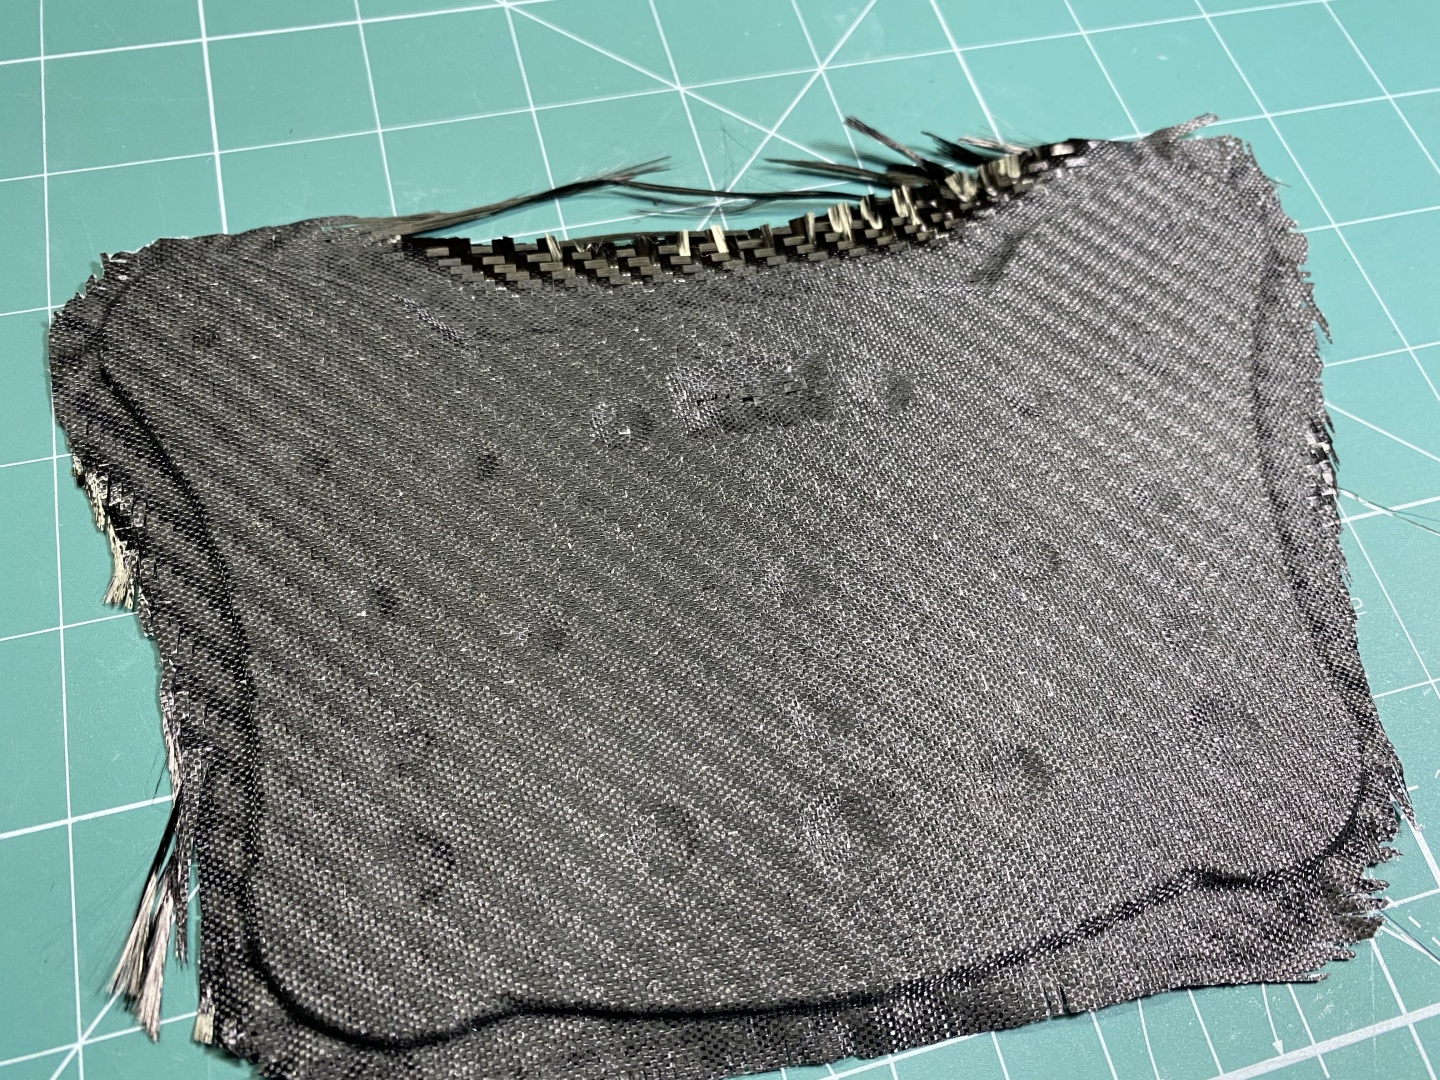
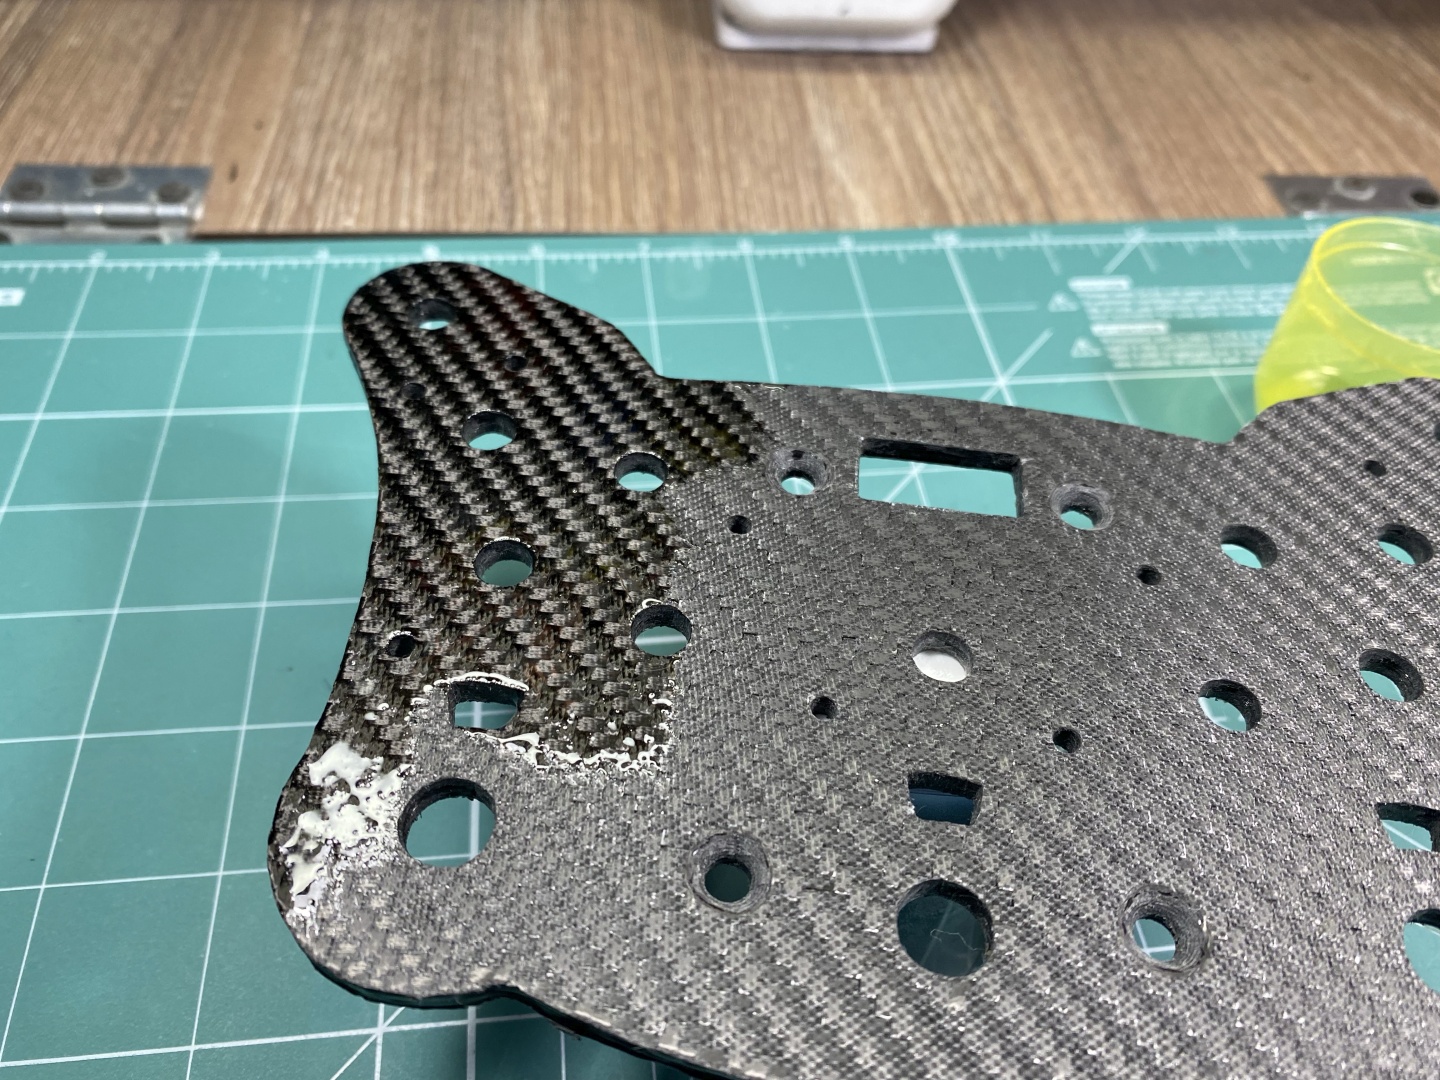
Now is the time to remove the wicking material and catch our first glimpse of how well we managed to make the carbon surface. Open up the bags and pull the Peel Ply layer - it should come down easy. It leaves you with nicely textured surface which after some sanding will provide you very good grip for next layers. It has very rough finish but should be completely flattened and uniform throughout the whole item:
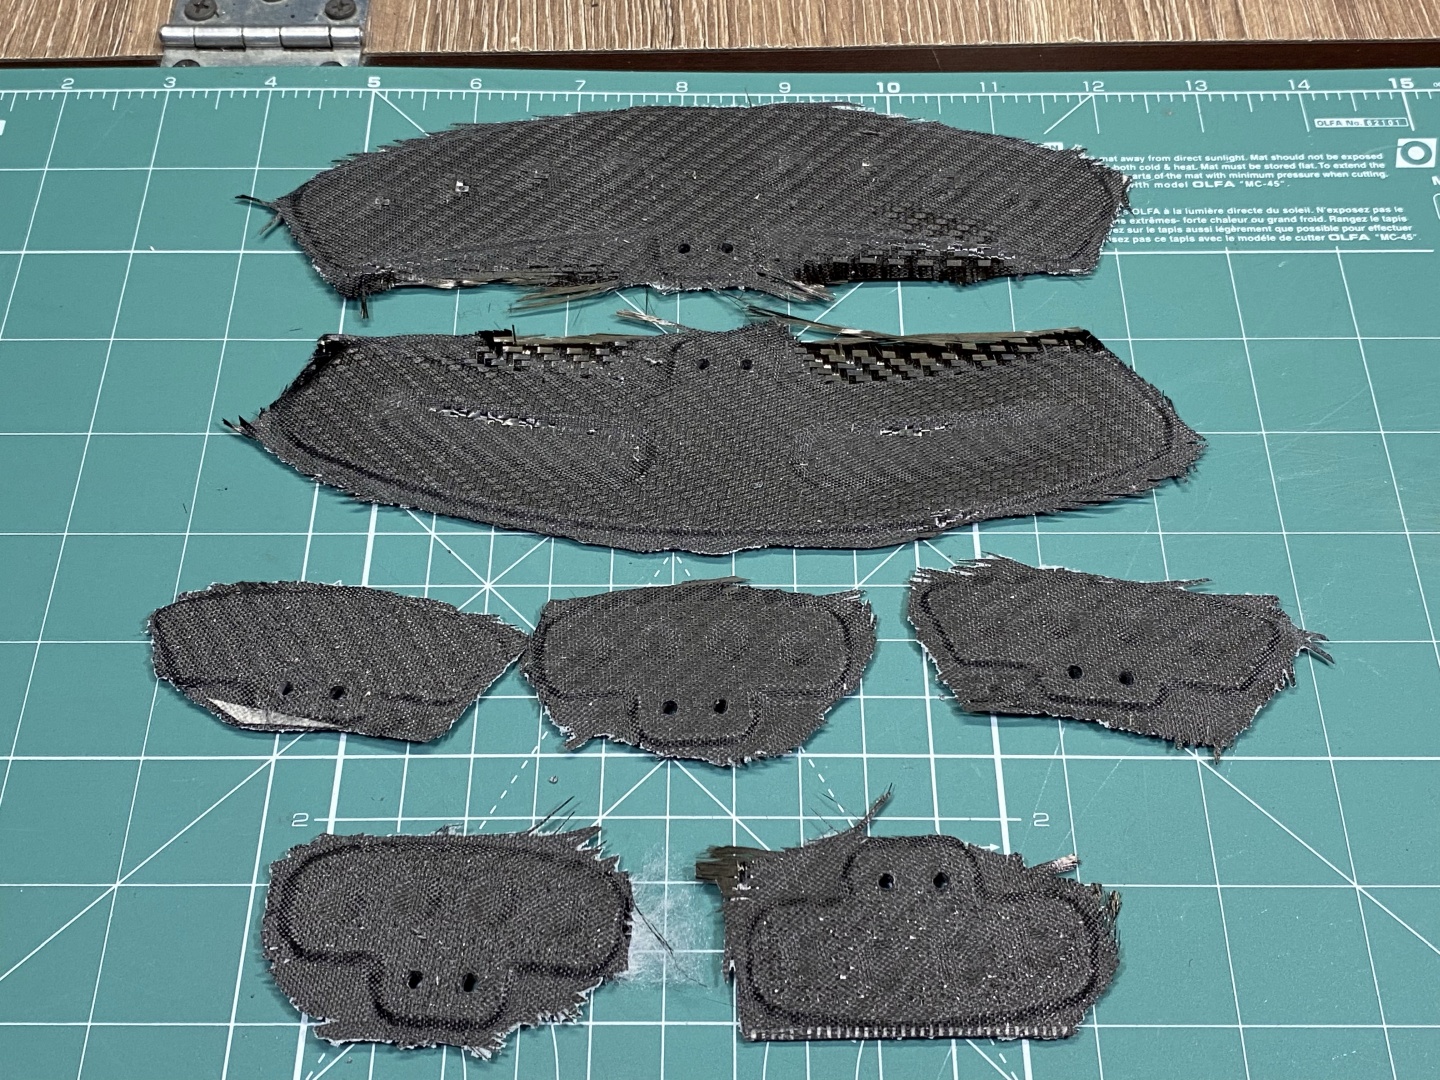
At this stage it is best to remove all unneeded carbon fiber and clean up all openings. For that purpose you generally need scissors, hobby knifes, sanding files. The small round holes are easily cleaned with drill:
Be careful when you cut - the fabric is already very stiff and tends to fall apart on small sharp pieces which then get into your skin and are hard to remove. Wear gloves, respiratory mask for small particles as well - especially when sanding it. Do not forget eye protection as these small pieces are very hard and sharp and you do not want them in your eyes.
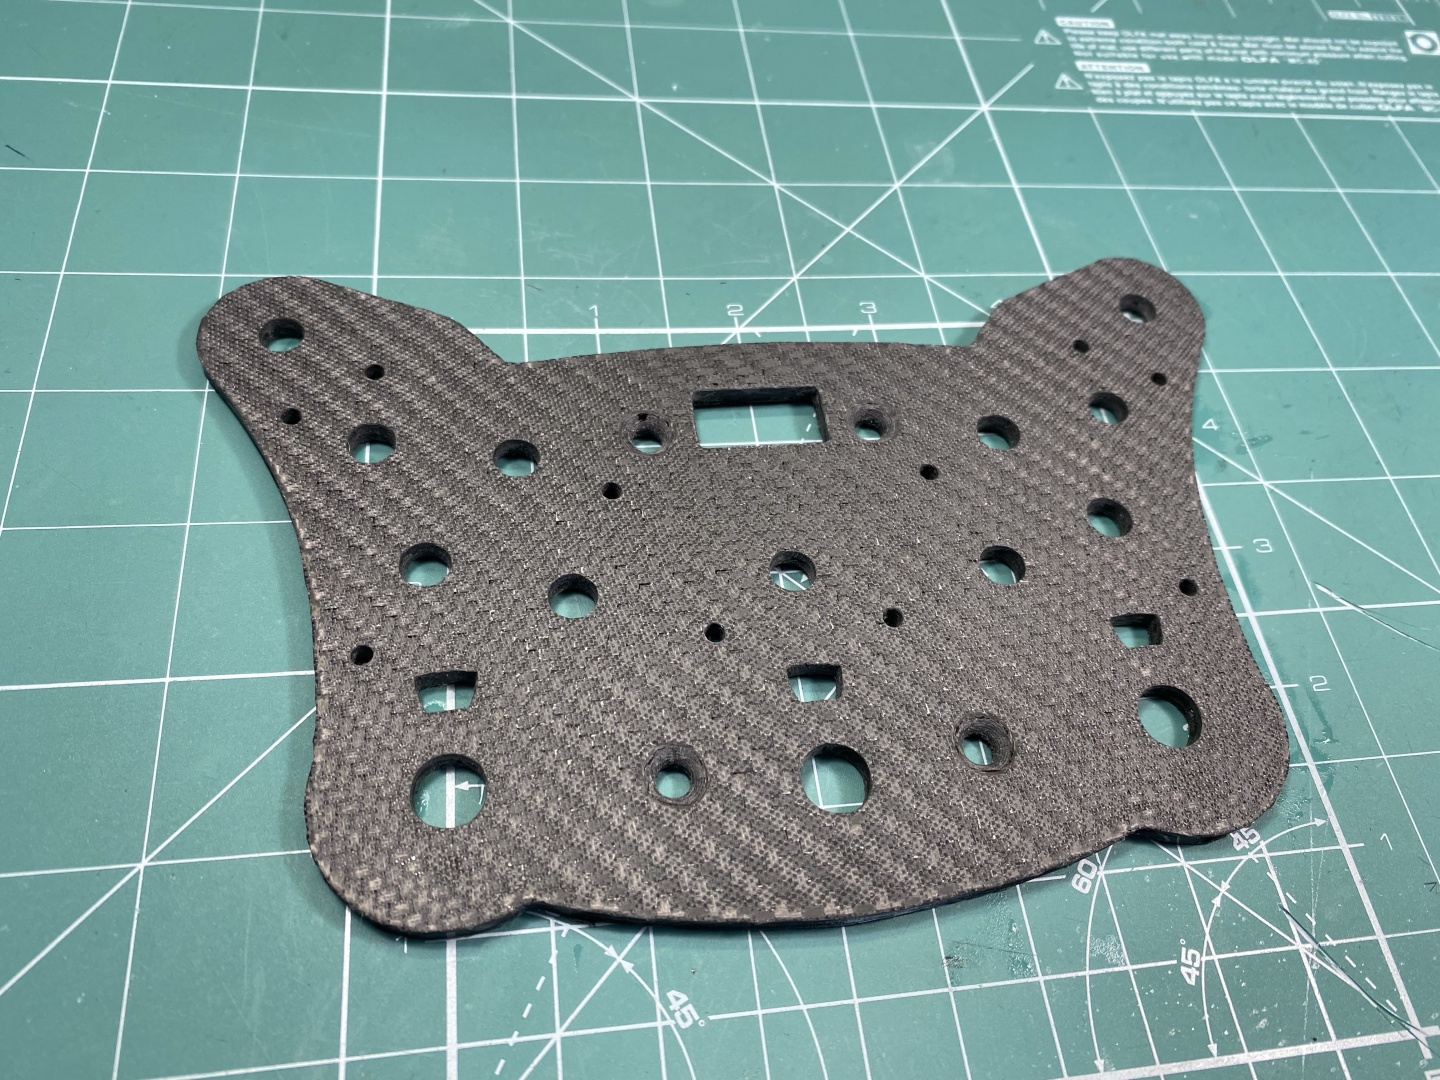
As you put only single layer of resin inside the carbon fabric it is still relatively easy to cut. Trim down all the edges until you reach the 3D printed part (if you used black PLA it is a little complicated to figure out what exactly is from the base coat and what is the PLA. Good thing here as the base coat does not stick well to the untreated edges and is easy to separate from the PLA. At the end you should have something much closer to the finished product:
As always wait time between major steps can be as long as you like provided you waited the resin to dry. Even if you leave the project for some days/months again it will be still fine. When you feel ready you can proceed with the start of the end Applying Resin Top Layers:
Sanding the Surface
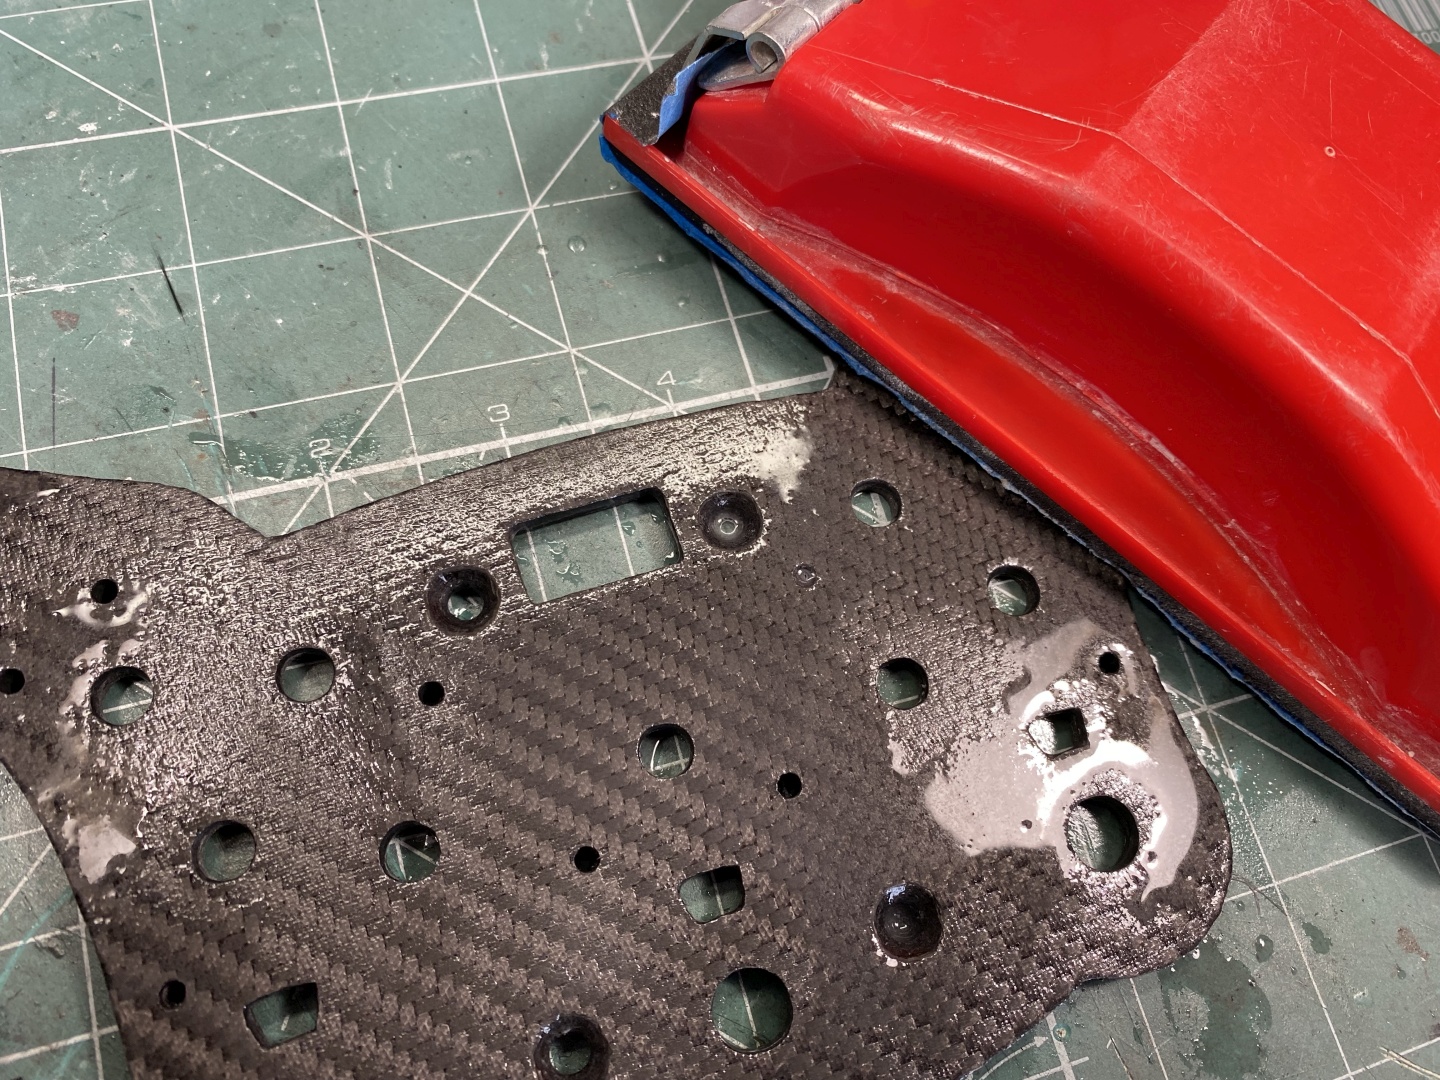
Remember the grippy finish left by the Peel Ply mentioned earlier? Now would be the time to flatten it. Using 180 grit dry and wet sand paper you can smooth down the resin layer. Sand down carefully, when you see black appearing - STOP immediately - you've reached the fabric layer and going further you will destroy the carbon look. After flattening with 180p and washing with water this is how the product should look like:
The top surface is very rough and looks far from what you expect. This is because the layer is not completely flat, you can get a glimpse of what is to come if you wash the item - water will reflect light more uniformly and you will be able to see the expected carbon finish:
[lgtbox]images/articles/how-to/carbon_skinning/04_fullresin/res003.jpg[/lightboxitem][lgtboxp]Wet with water to reflect light properly and catch a glimpse of the nice finish[/lgtboxp]
Applying Resin Top Layers
For next steps timing is crucial - do not continue if you do not have the time to finish them. You can stop in the middle, but it will require then sanding and restarting the process. What you need here is to put the final 3-4 layers of resin, waiting between each for 2 hours. Resin has to dry for 2 hours to reach the perfect tack stage before next hand, ensuring proper bond between layers. I usually put 3 hands only, which takes roughly 4:15 hours.
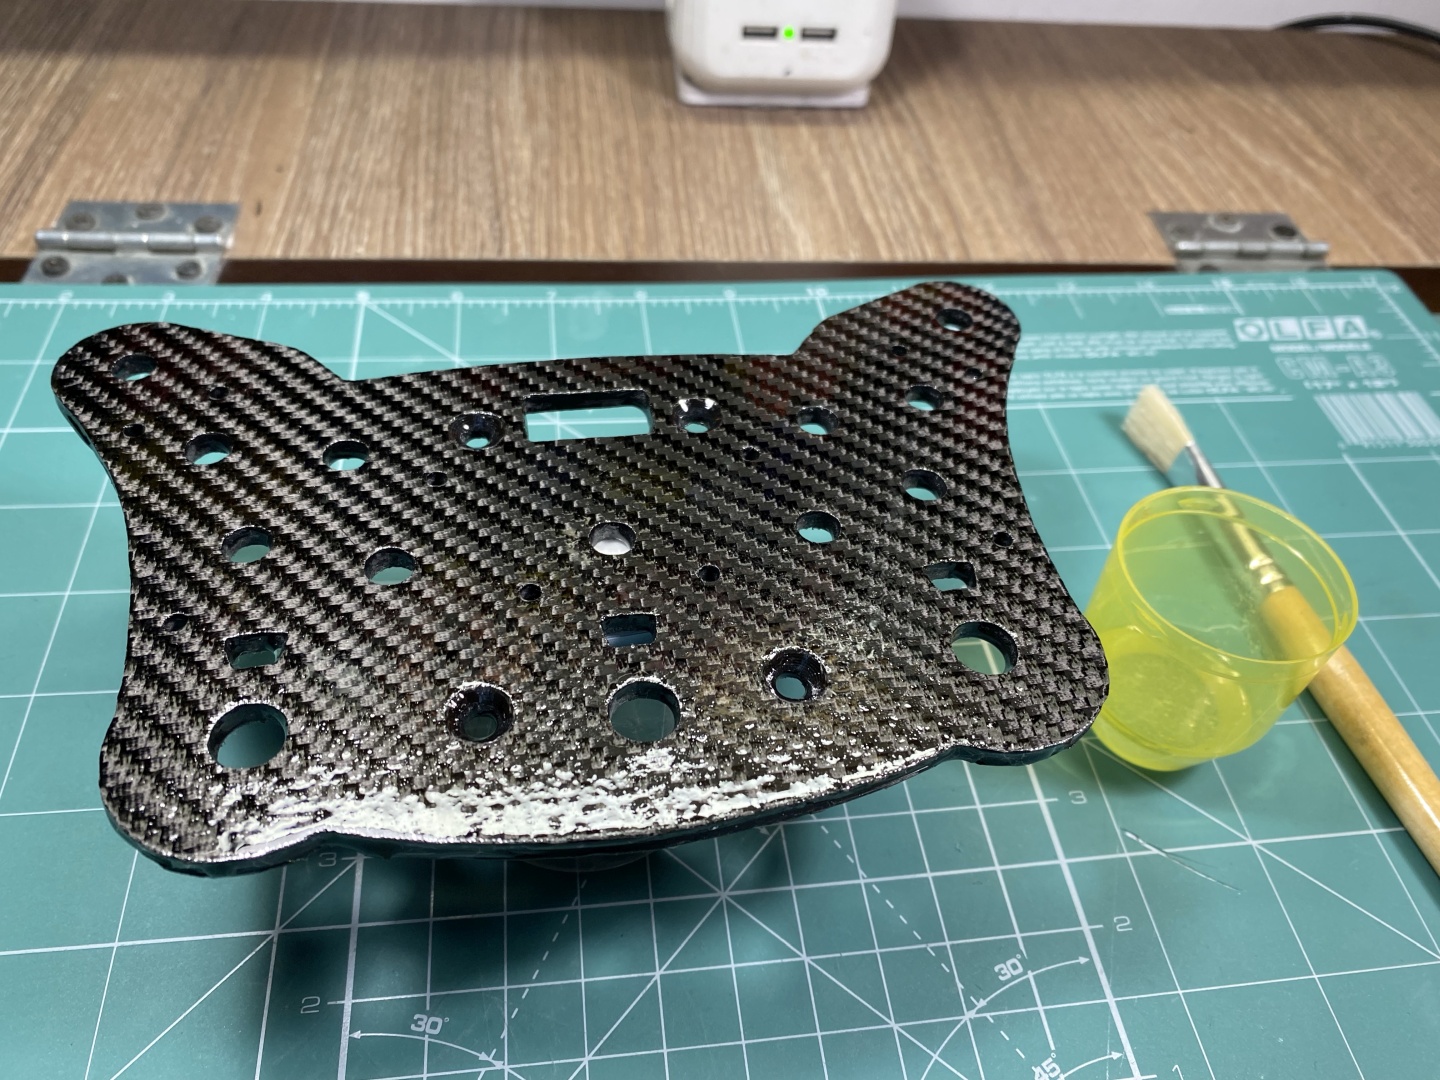
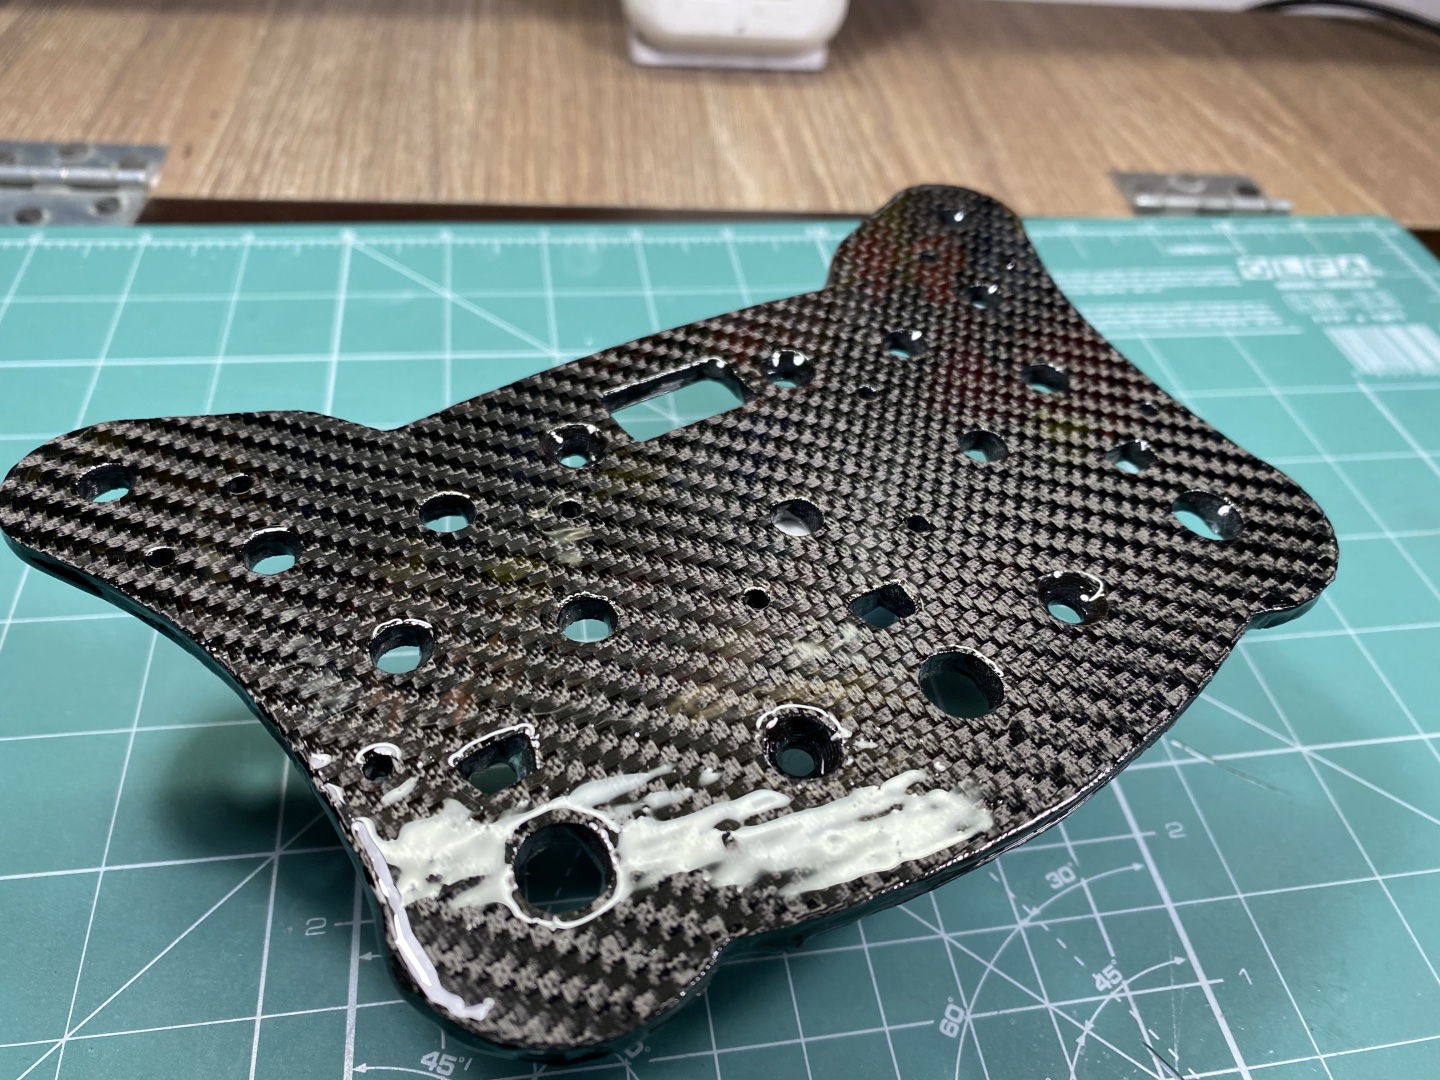
After wash with water and clean with Isopropyl alcohol you should mix some resin and proceed with first layer. Here the rule is - less is more. You should aim at putting uniform thin layers and build them up. Also make sure your brush is clean and soft. You will need less resin at this stage - fabric is already solid. You will most probably get spillage, but this is fixable - just more sanding. In general if you are gentle with the amount of resin and lay the parts flat on the table you should minimize it. On the other hand, shifters being double sided, I did not have this option so I had to sand a lot at the end. Here are the parts after application of first hand of resin:
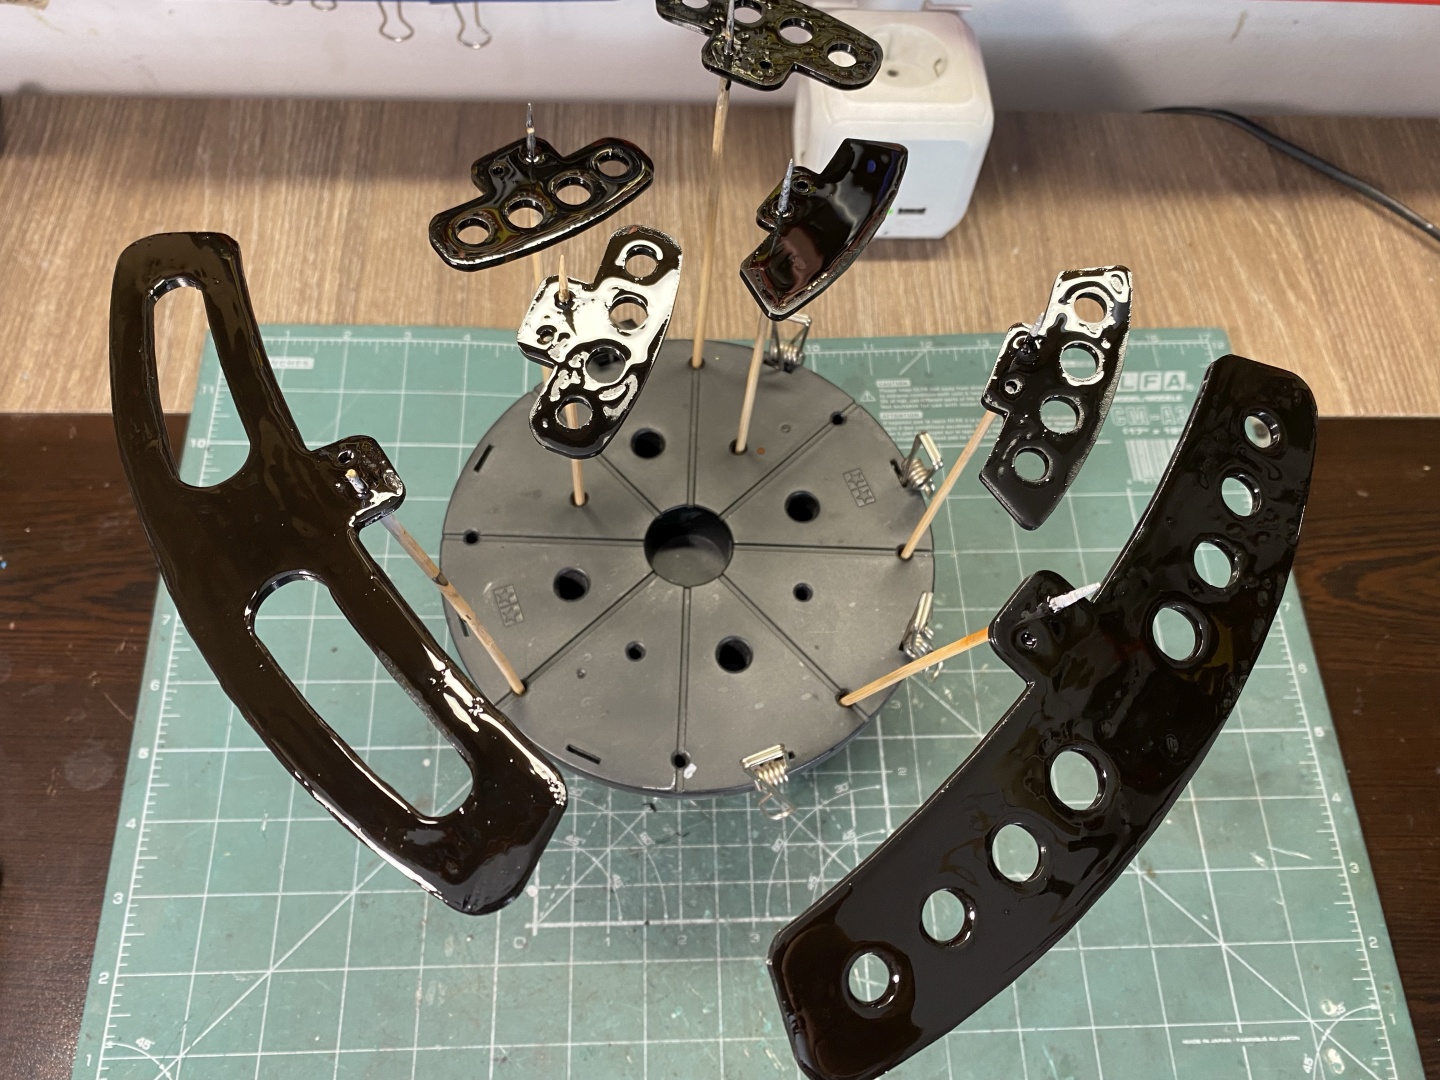
Dry time - 2 hours. Ten minutes before the 2 hours mark start mixing the resin for next layer. You will need about the same amount. Make sure your brush is clean and soft - bottom layer is not dry and can be damaged by hard brush. Apply the second resin coat in the same fashion:
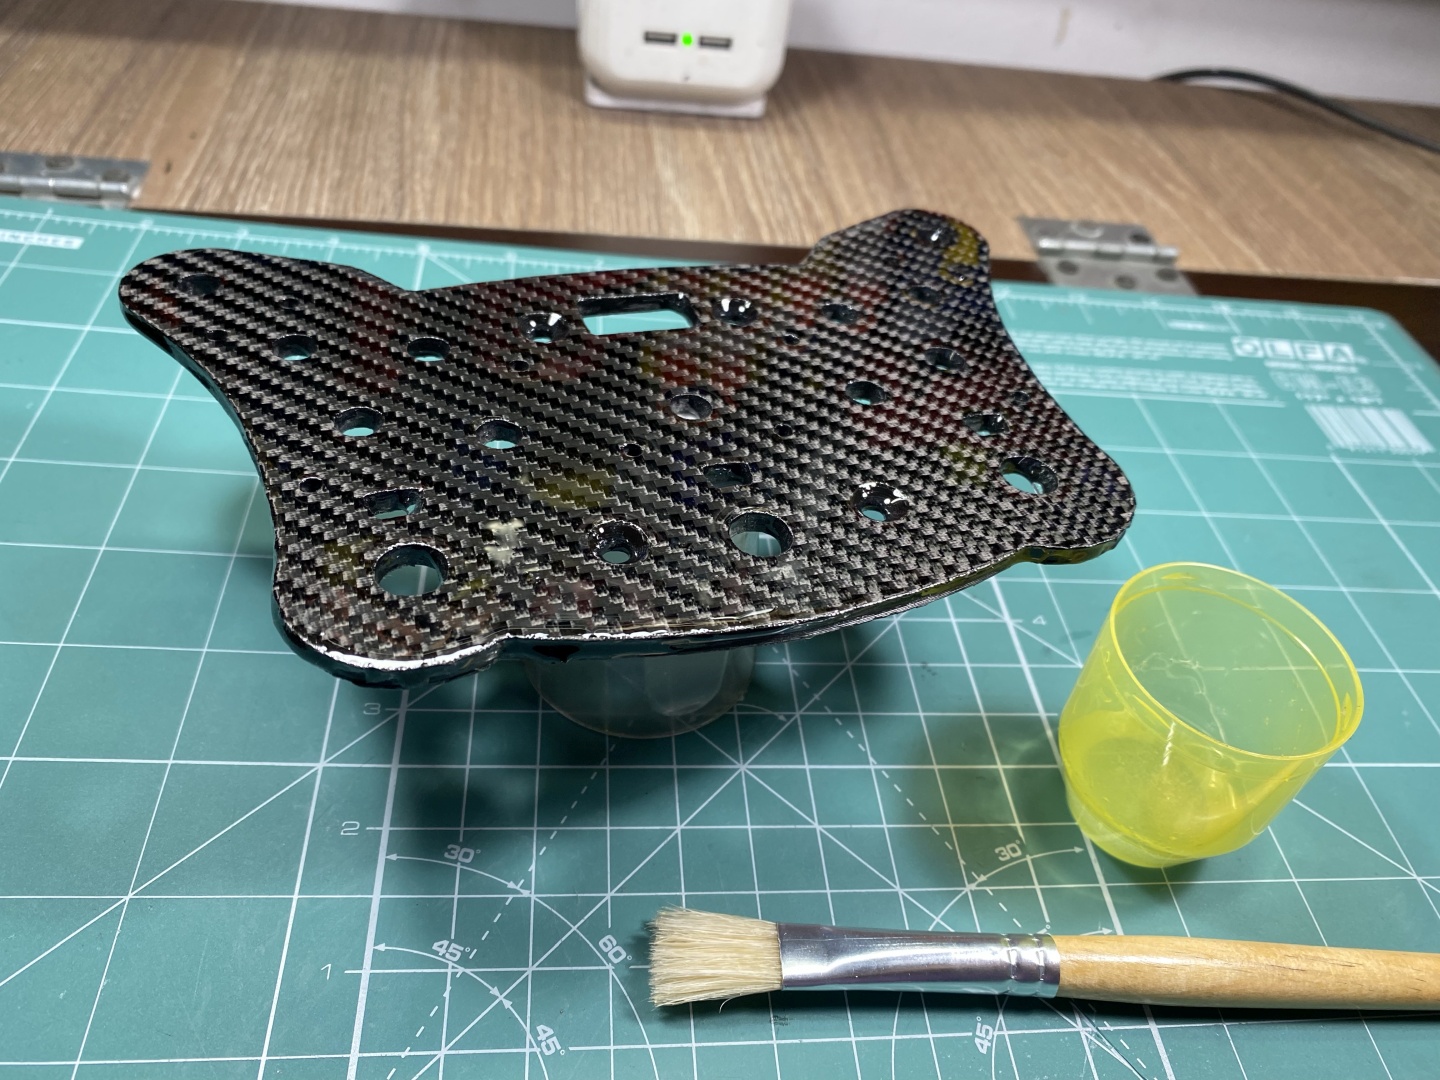
Dry time - 2 hours. Follow same procedure for third and final resin layer (I find 3 layers to be quite enough so I stick with this number):
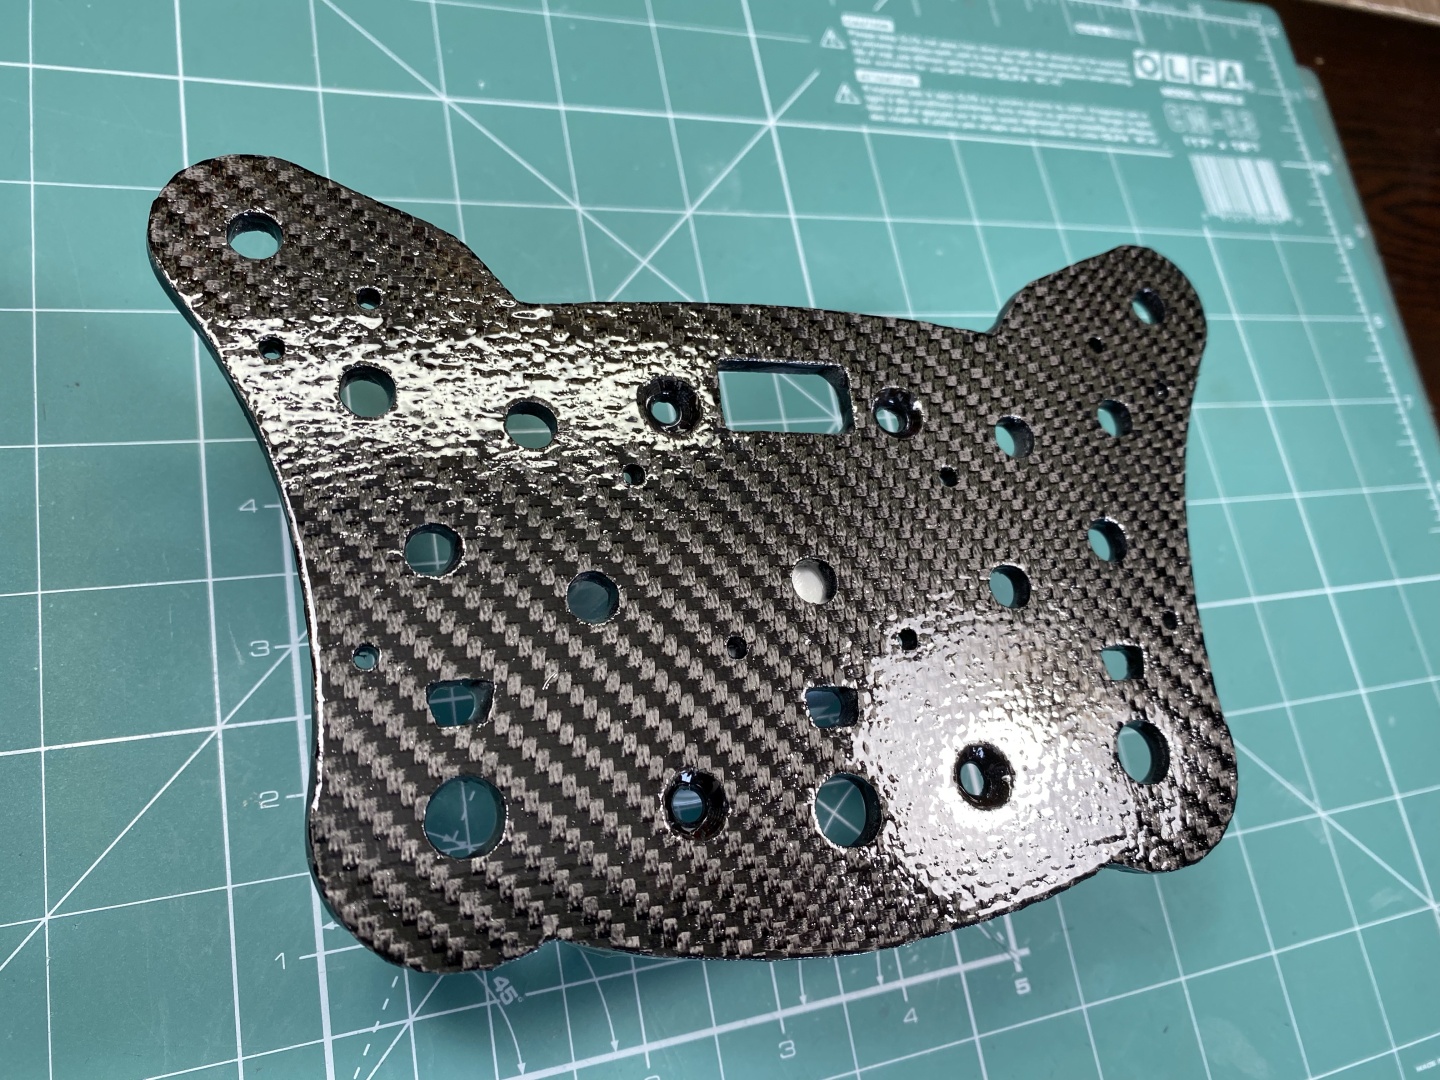
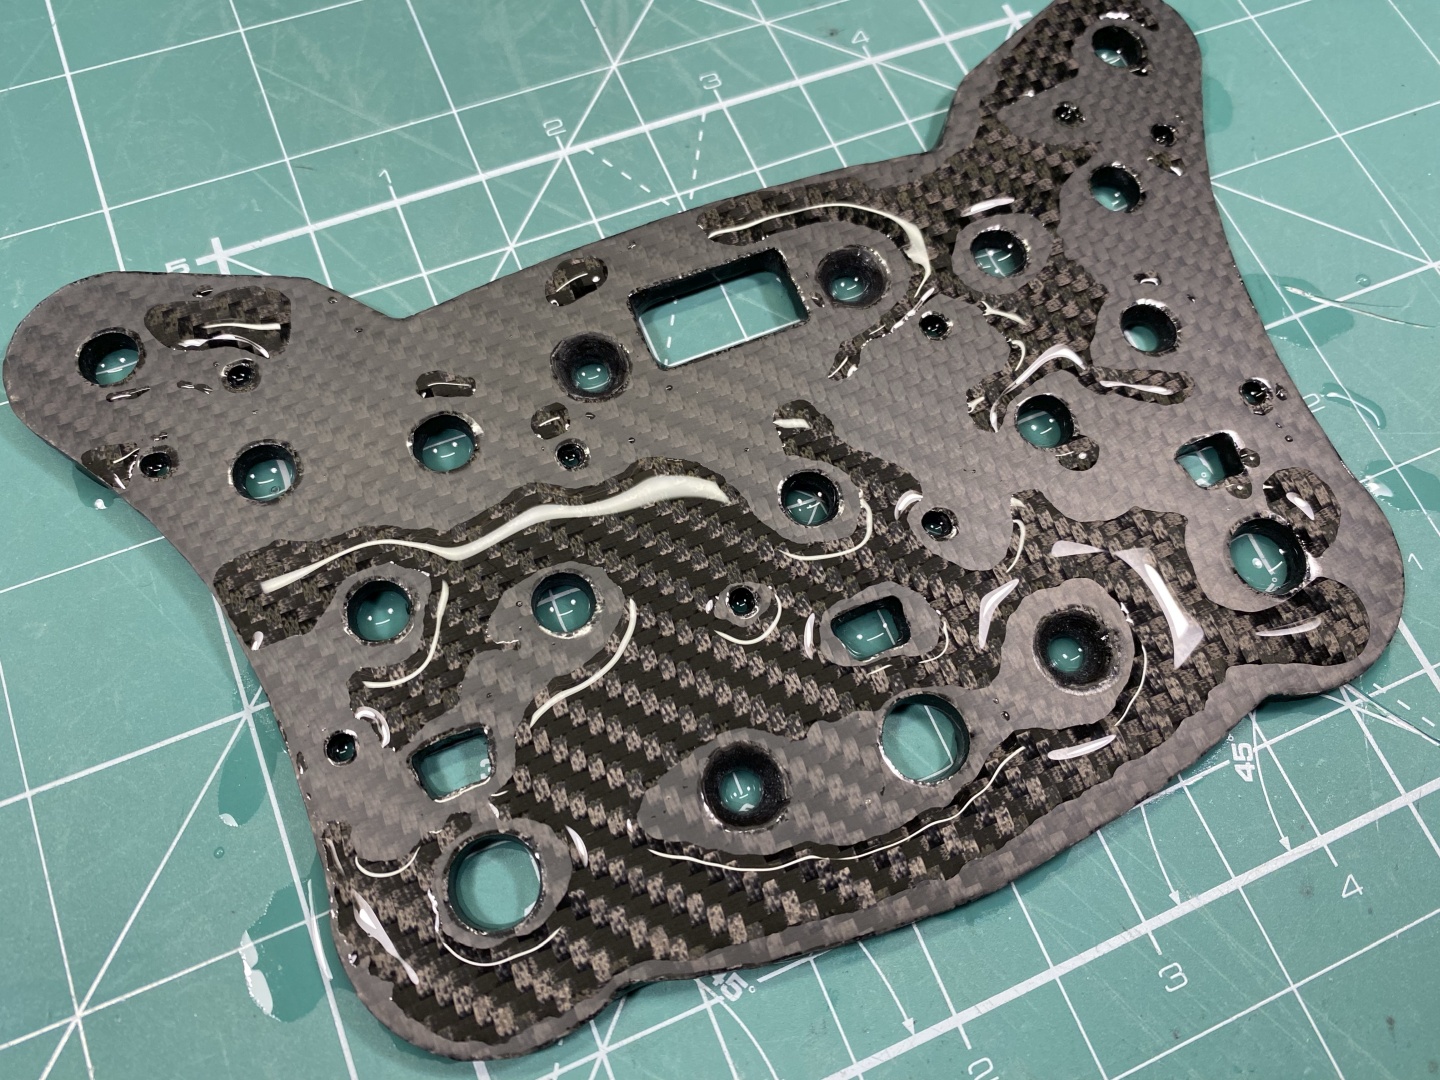
After the third layer the nice carbon finish will be clearly visible. Still it looks strange because the top resin is not completely flat and reflects light unequally:
And to conclude this chapter - here is quick comparison between what we are doing and carbon fiber vinyl:
Leave the parts now to fully dry. Minimum as always is 8 hours for initial dry but usually takes at least 24 to 48 hours to complete cure.
Generally I wait a couple of days before proceeding with next step - Top Layer Post Processing:
Top Layer Post Processing
After you waited enough tome for the resin to completely cure you can proceed with next step - sanding the top layer and cleaning up the openings and sides. Every step can be taken at your leisure - you can leave the project at any stage here. The resin layer will be very transparent and shiny but the carbon fiber fabric will look a little puffy, as if it was not flattened well. This to extent is due to top layer not being completely flat and reflecting light differently and this is what we will work on now:
Clean up openings and sides
Again you will have to clean all openings and edges from residue resin. If you cleaned the basecoat well previous stages the resin will come off very easy as it does not stick well to PLA. Proceed in same fashion as before to clean and sand all edges:
Sand with 180 Grit
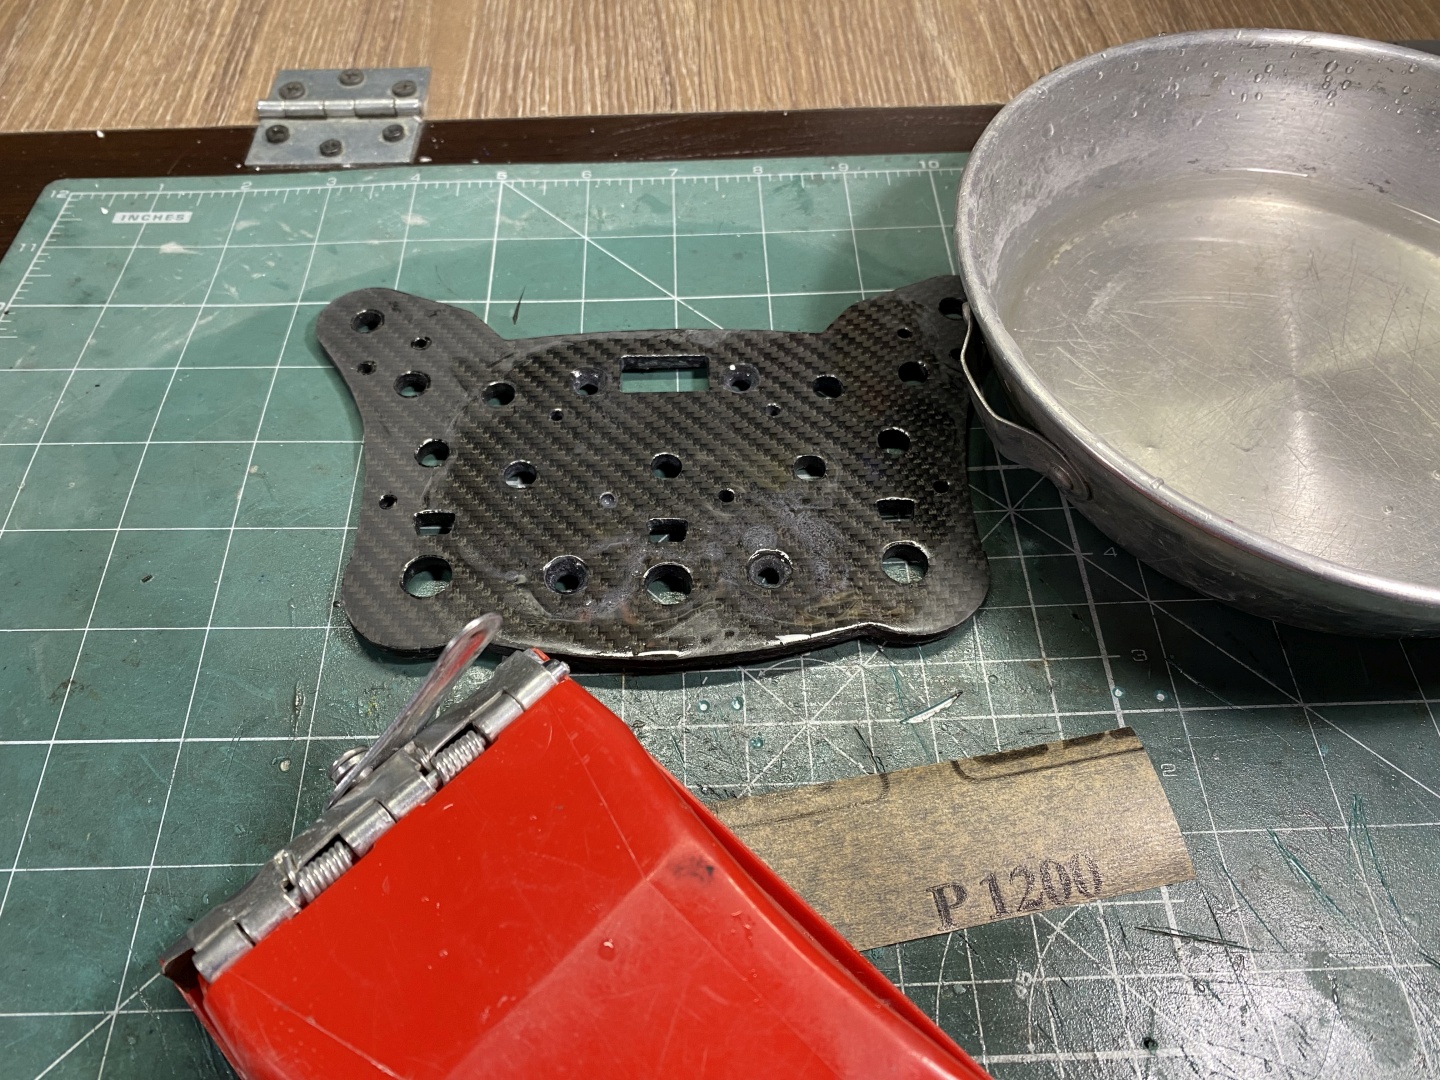
At this stage will be the bulk of the sanding. Usually here I proceed directly to wet sanding as it is much faster. Using 180p sandpaper you have to flatten as much as possible the top surface. While at it you can also sand the outside edges if needed. You want to remove any dents and low spots if possible, aim for completely flat look. You will get quite hazy finish, but again if wetted you will see how the end finish would look. After you complete this step wash the item and change the water:
Sand with 400 Grit
Usually at this step i go for 240p, but as I was out of it I proceeded directly with 400p. It takes a little longer sanding time this way but still is fine. Proceed in same fashion - wet sand - sand edges - wash and change water:
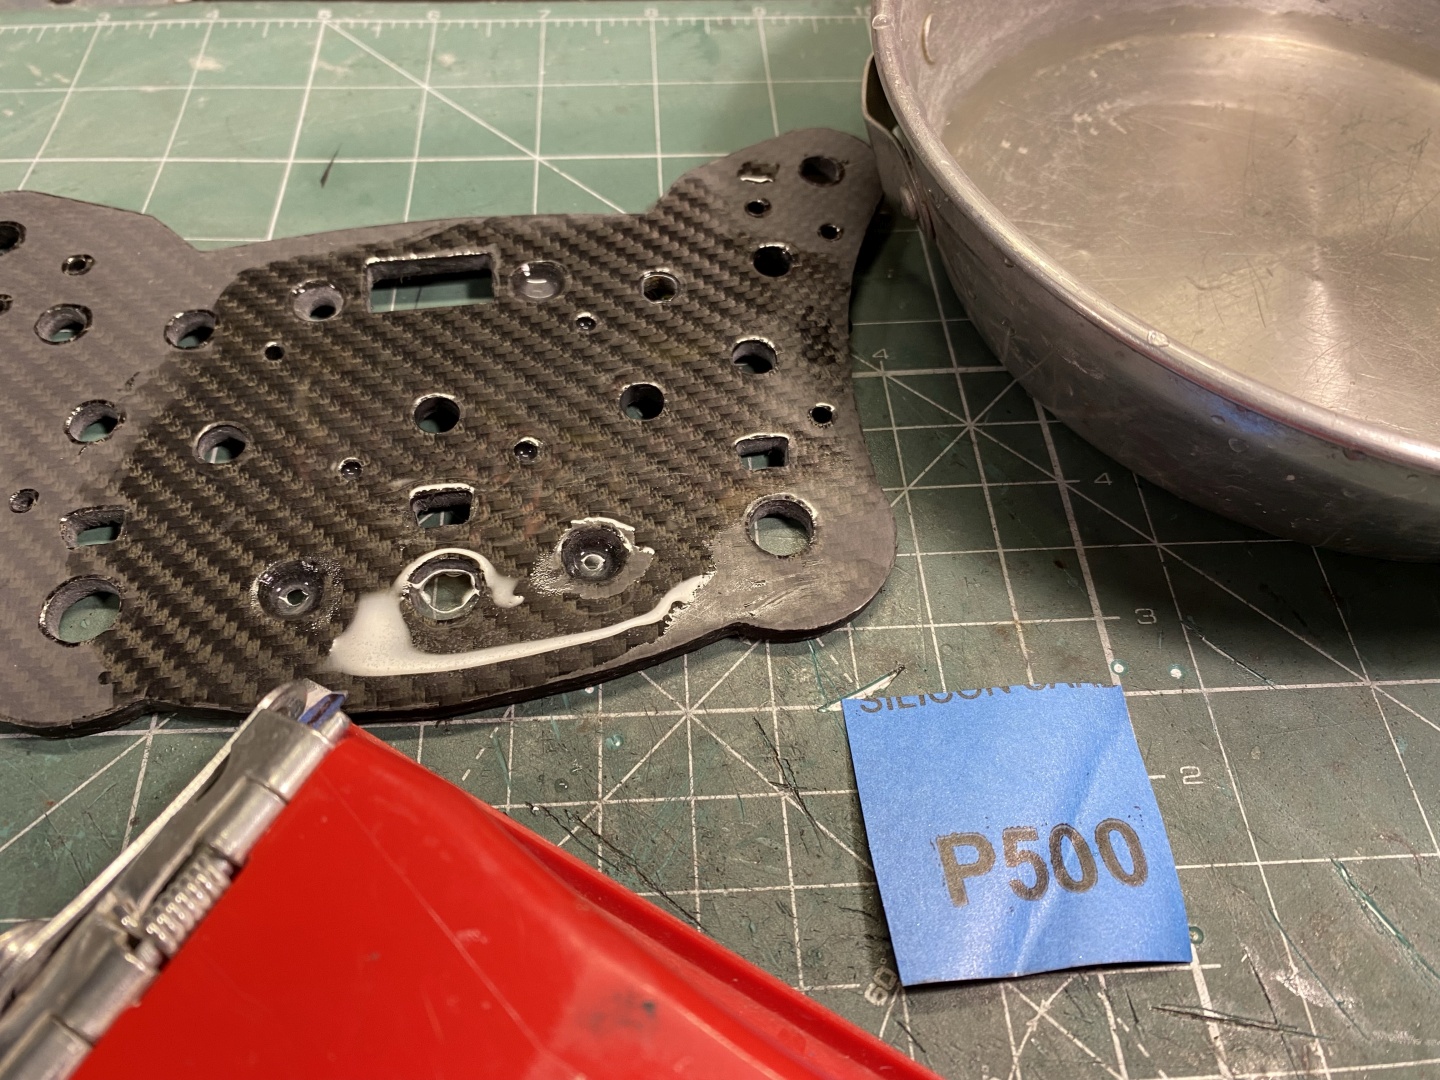
Sand with 500 Grit
Next we proceed with 500p. Here it starts to get quite faster. You do not need to spend much time to finish this step as the surface is already flat and you have to remove very little material. Still look is quite matte but definitely improving:
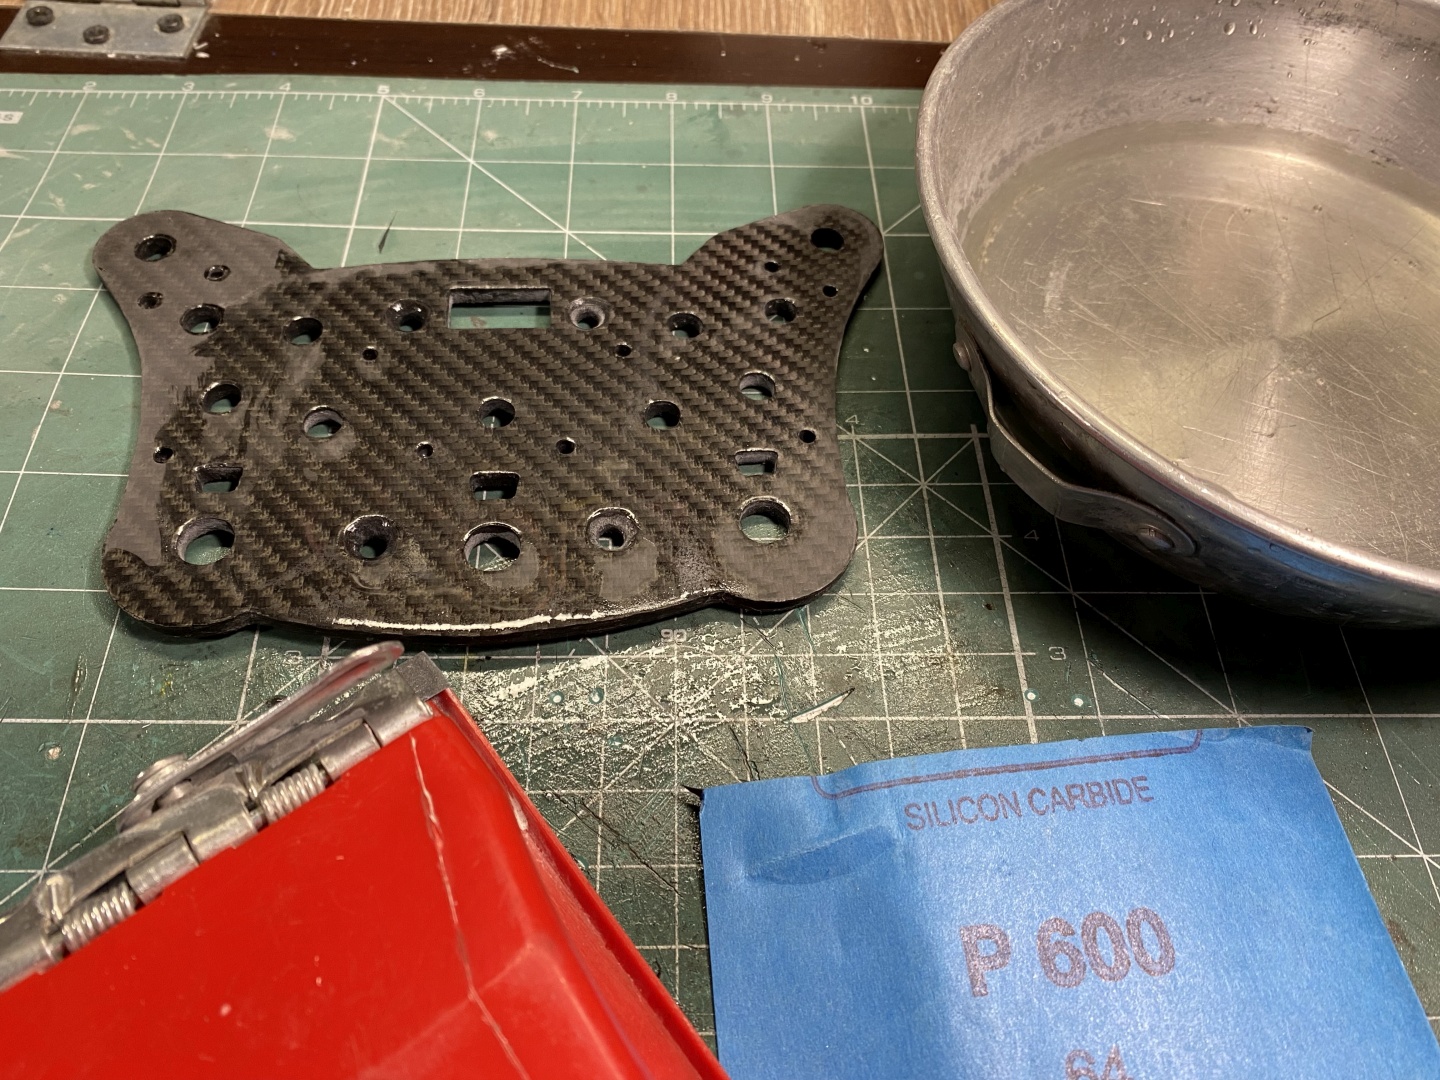
Sand with 600 Grit
Same as above, follow the procedure with 600p. Usually this is the last stage where I sand the edges. After a couple of minutes sanding tou get much better result:
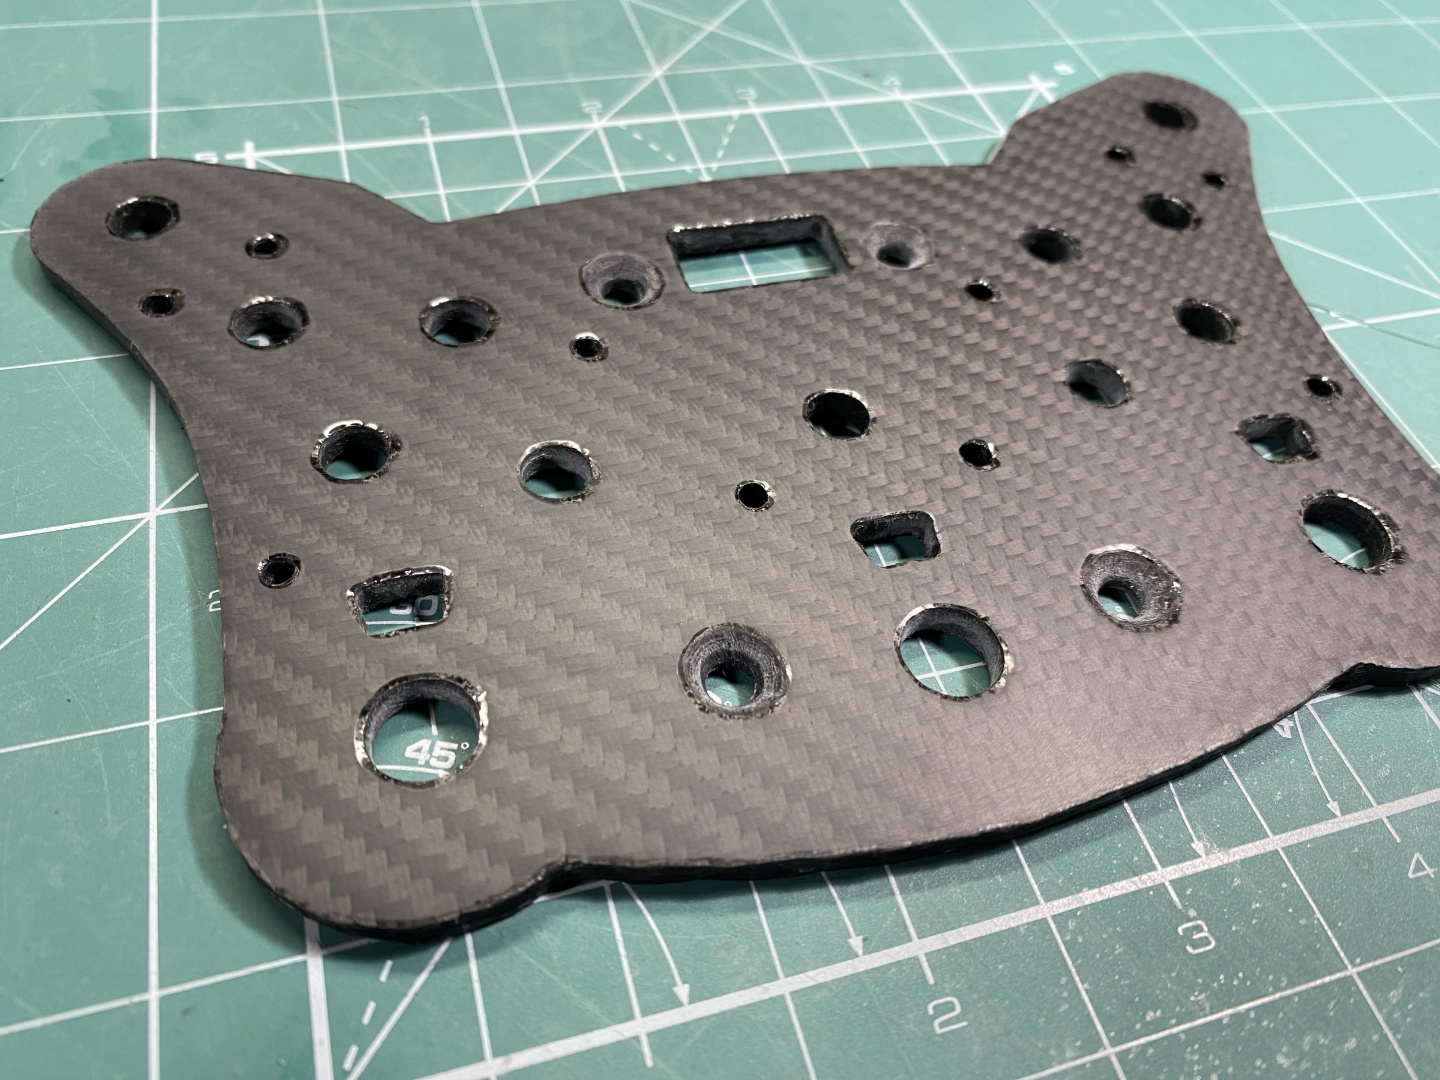
Sand with 800 Grit
Spend two more minutes at 800p and this is where we get - almost done:
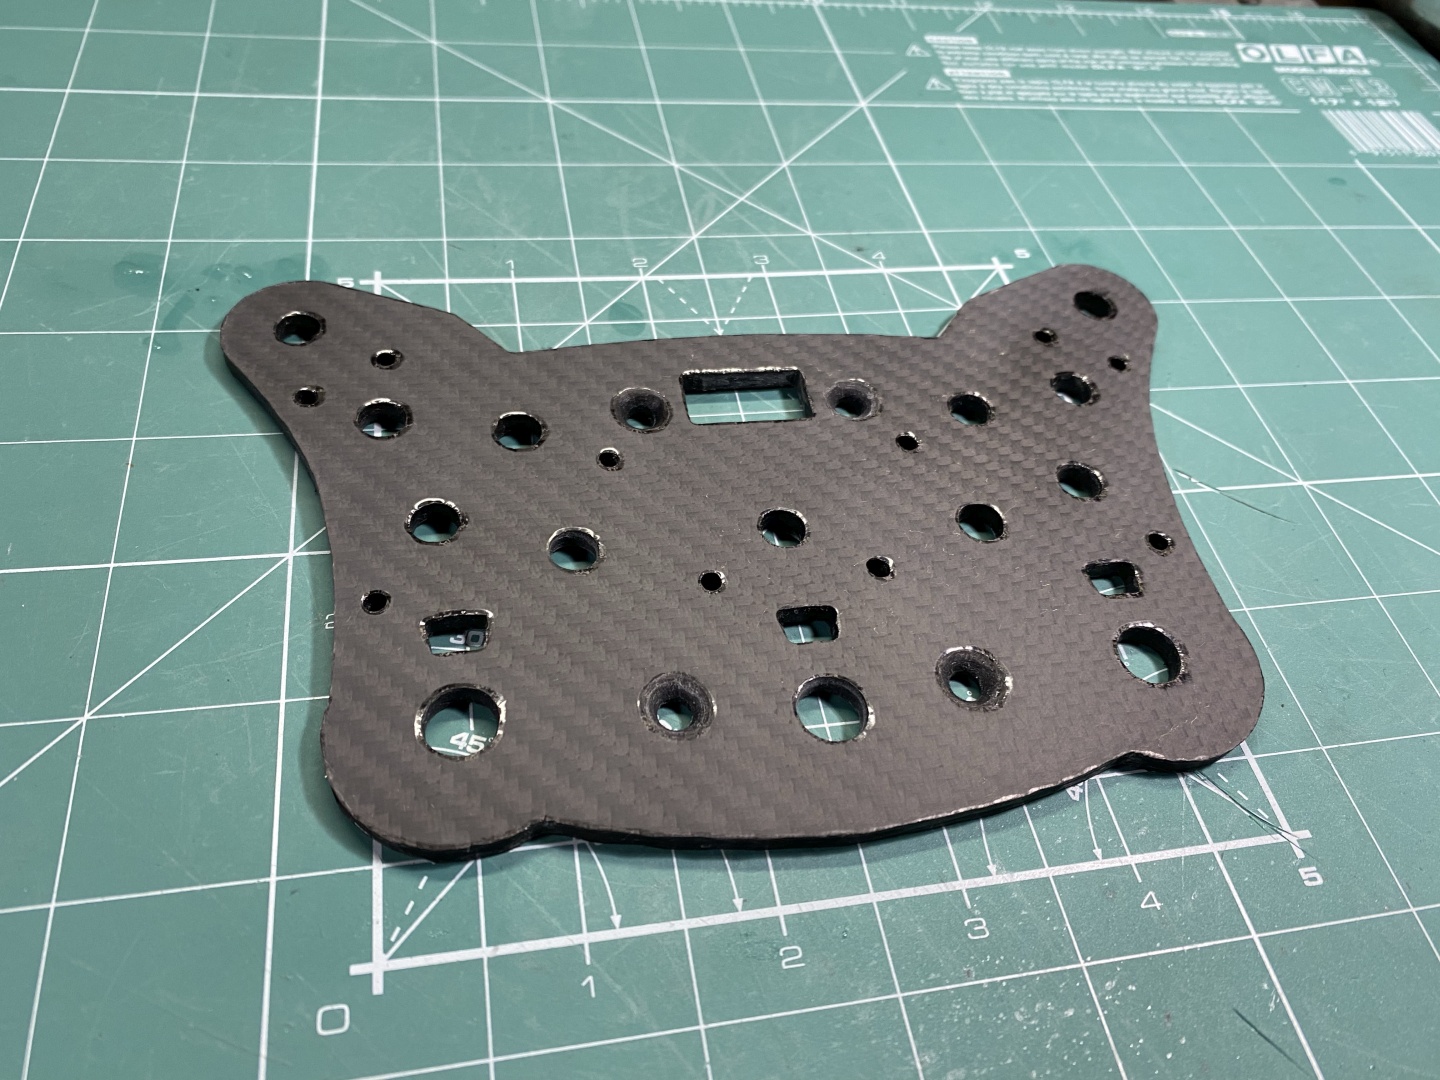
Sand with 1200 Grit - Matte Look
If you are after Matte finish this is the last sanding stage - 1200p. It provides quite nice finish, end result will be almost identical to this look, slightly better after top coat:
Sand with 2000 Grit - Gloss Look
If you are after Gloss or Semi-Gloss look you can proceed with 2000p. I found out it does not matter much at the end as mostly glossiness comes from the top coat, yet again the sanded items to 2000P had some extra shine to them:
As resin is susceptible to ageing and will yellow over time you should always seal it wit Top Clear Coat:
Tools and Materials
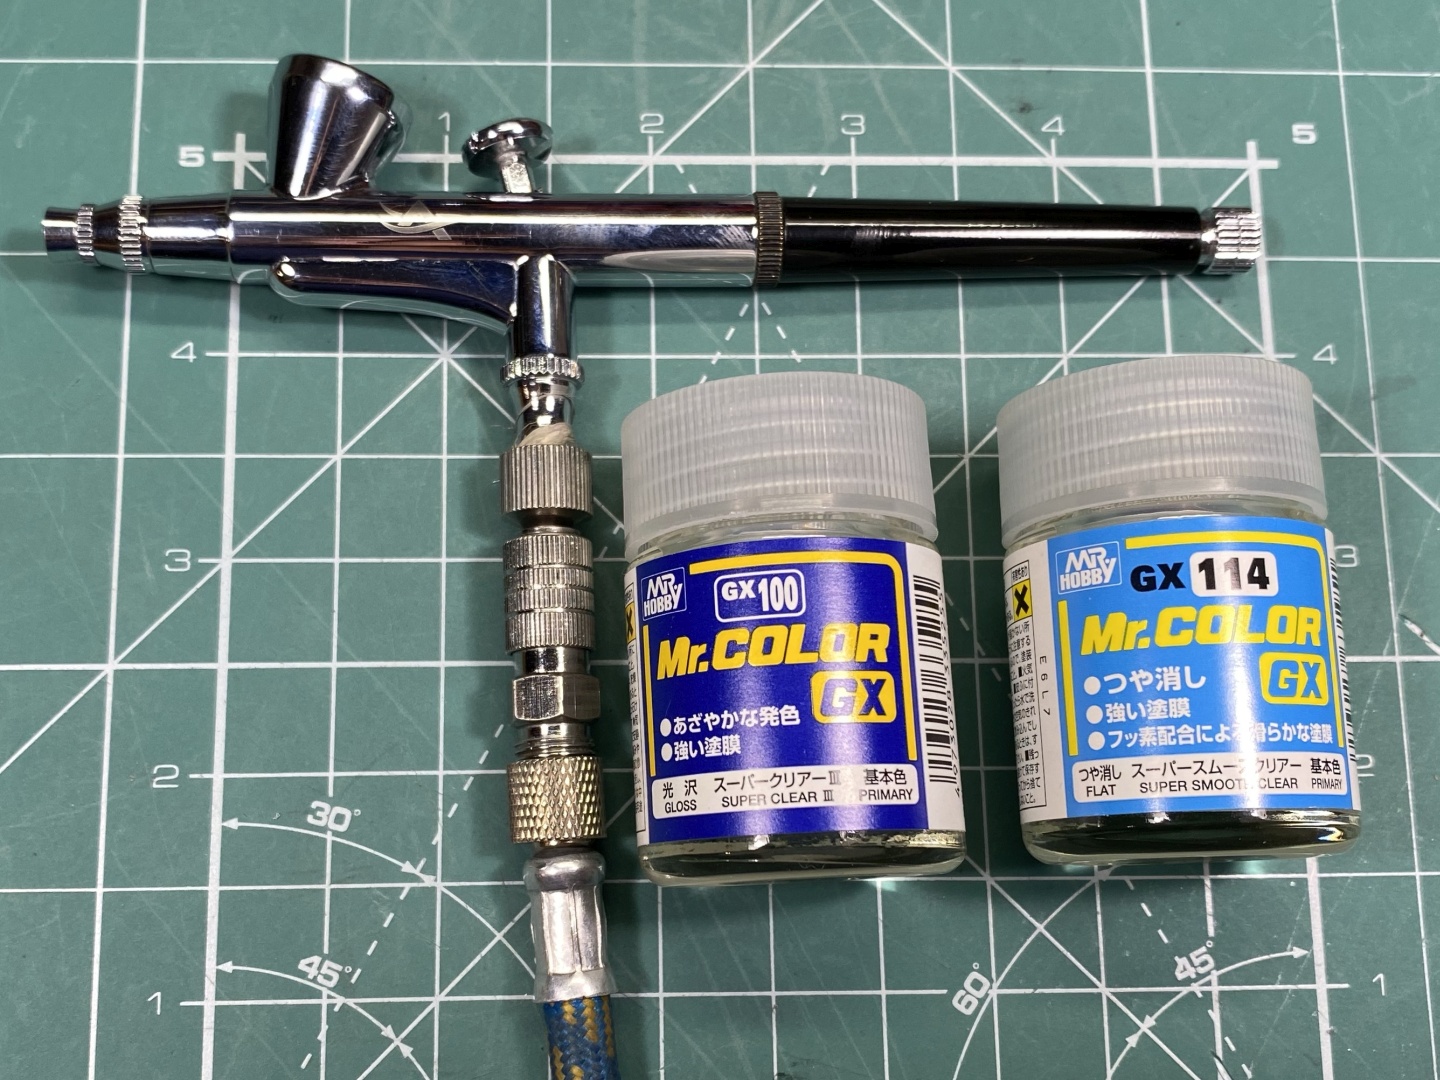
At this stage you can use automotive clear coat and polish compounds but I prefer using scale model materials as they provide better finish for smaller objects. For clear coat I use Mr. Hobby's Mr Color GX Super Clear Flat top coat lacquer (GX 114) which provides very smooth and flat finish. Using such top coat preserves the underlying look and you get either glossy or matte finish depending on when you stopped sanding at previous stages. It is very easy to use, dries fast and is quite durable. If you prefer full gloss look you can go for Mr Color Super Clear III (GX-100) - this is what I use for the bodies or my car scale models. It produces very tough and extremely clear finish, which polished looks amazing, it is regarded for a reason as the poor man's 2 component top coat. Keep in mind it is extremely glossy and needs definitely polishing for more real look. As I prefer matte and semi-gloss finish I Stick with the Flat lacquer, but below you will see you can achieve quite glossy effect as well. Mix and match of resin finish and clear coat will provide different results to your liking. If you do not own airbrush - do not worry - these paints come also in spray cans.
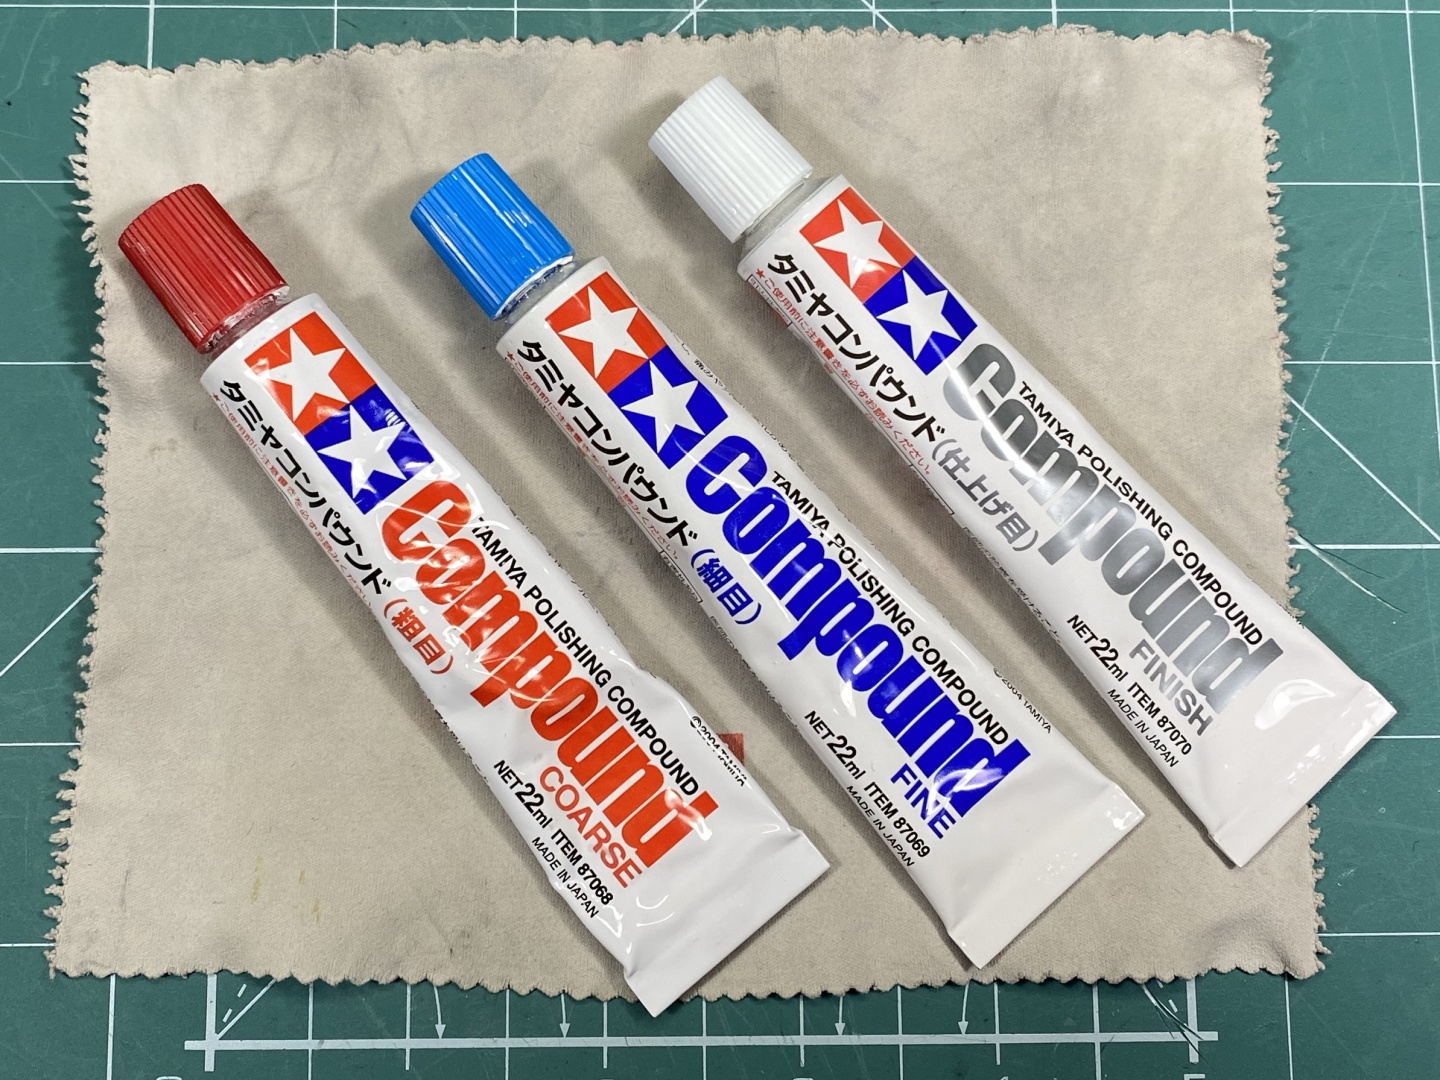
Next you will need some polish compounds. You can still use automotive ones, but I get much better effect with hobby grade. For this project I am using my Tamiya polishes as they are cheaper and rarely use them on models. The have finer particles than automotive grade and provide much better result for small details such as what we are doing today. I generally go up to Coarse polish, Fine produces quite glossy result and if I remember corrctly I used Finishing only once to compare.
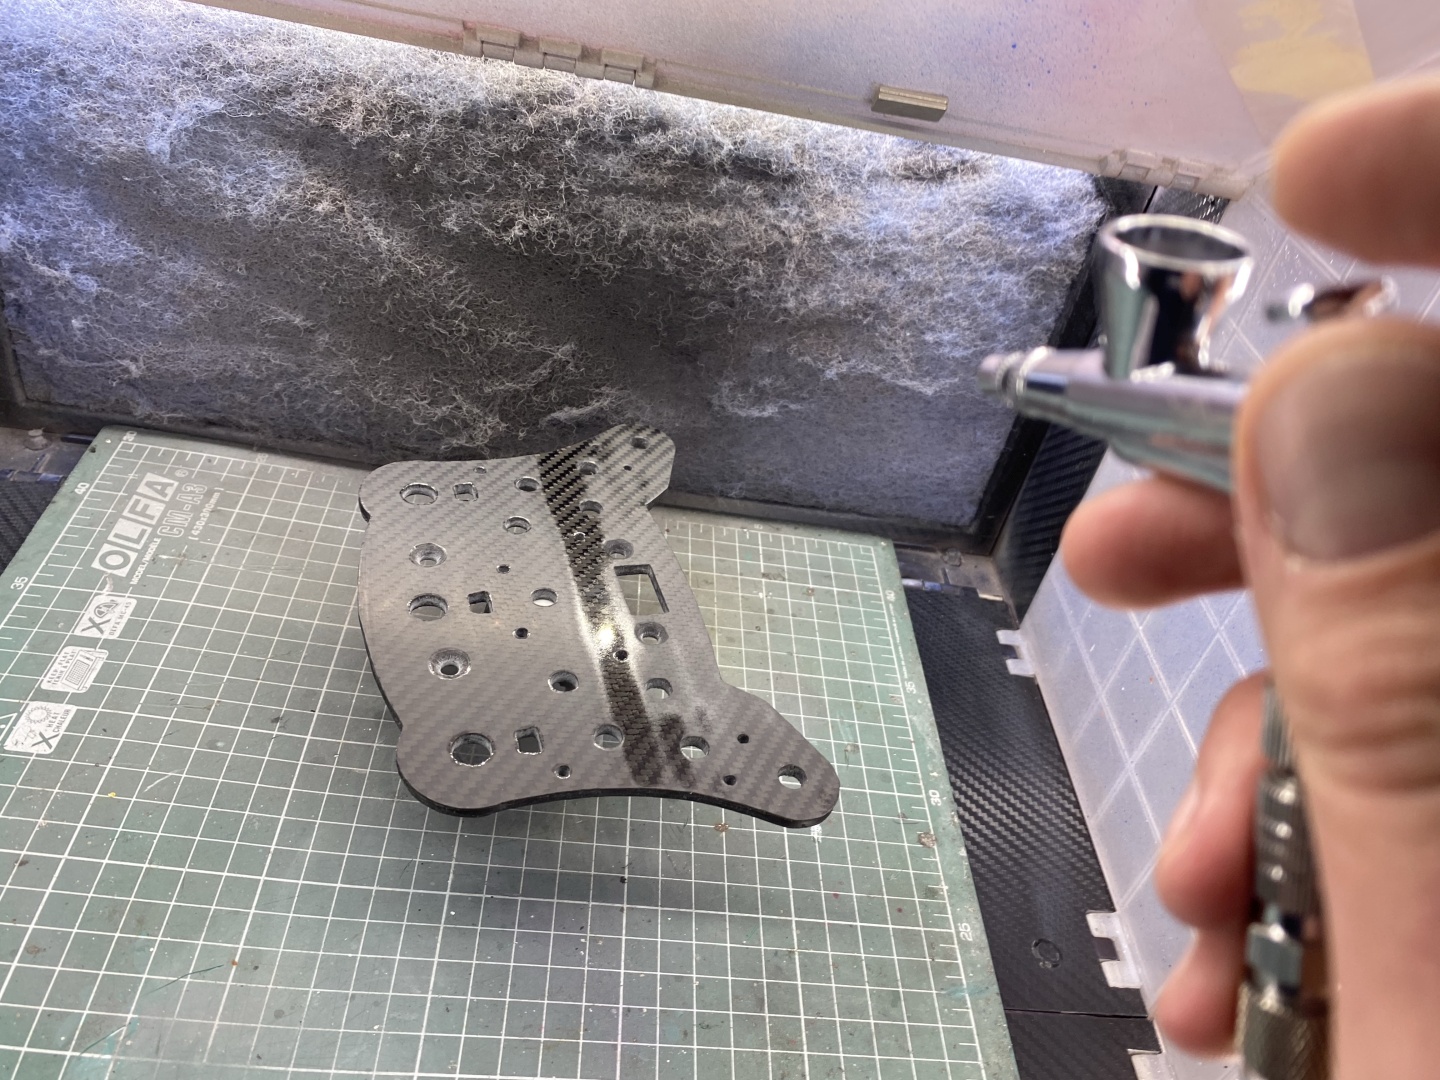
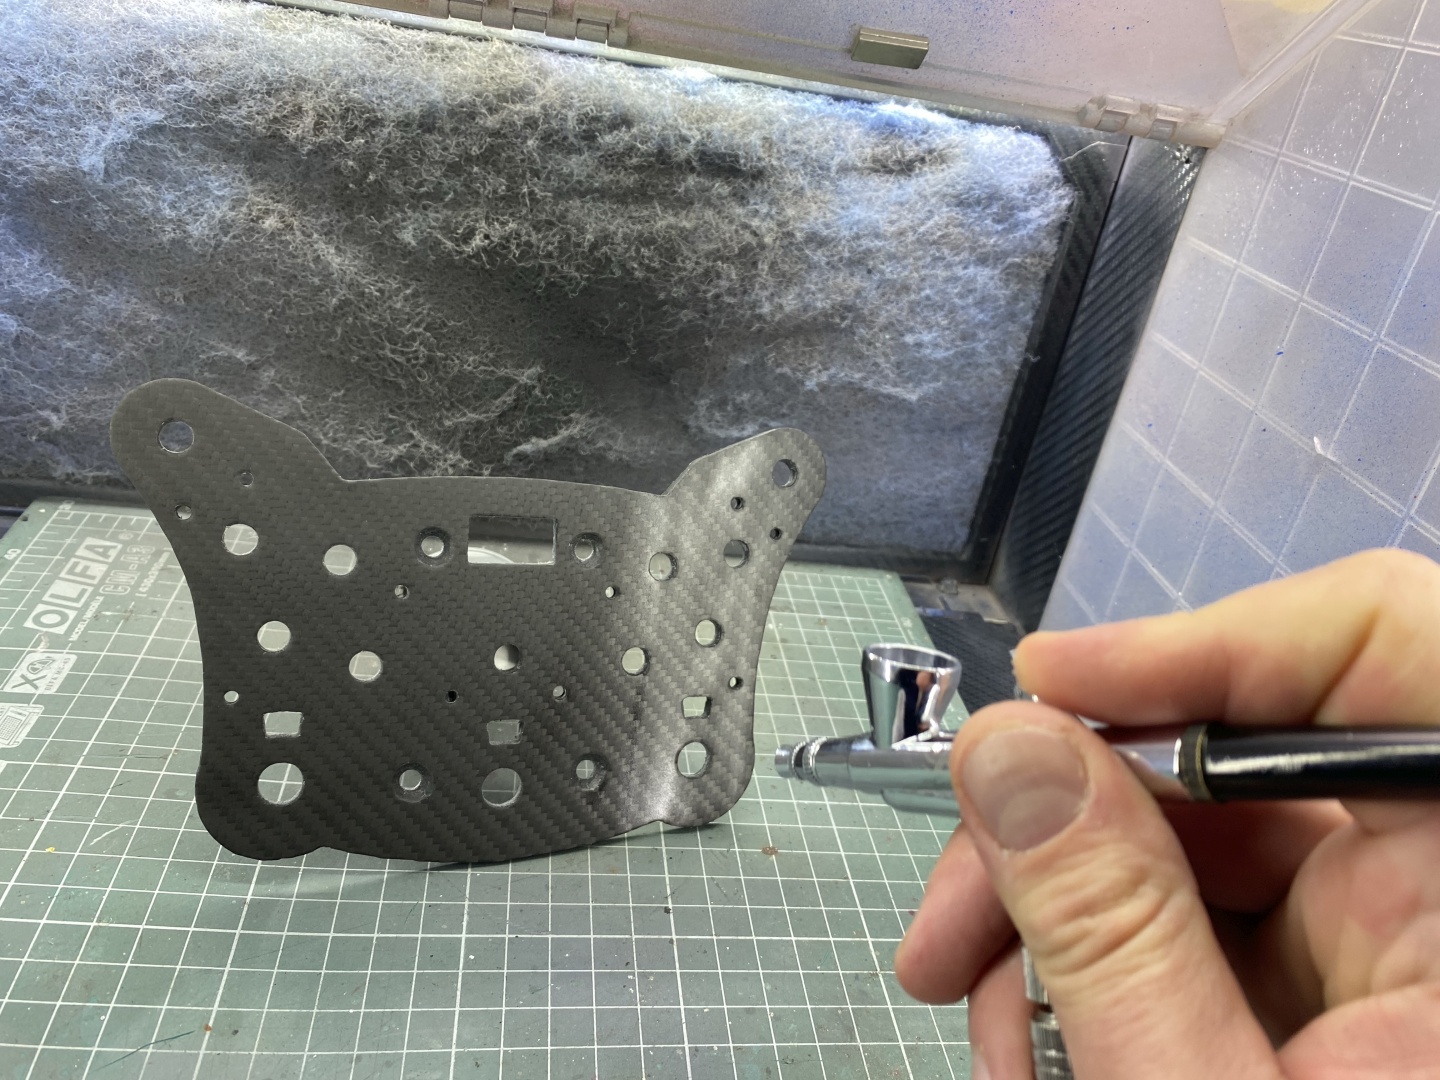
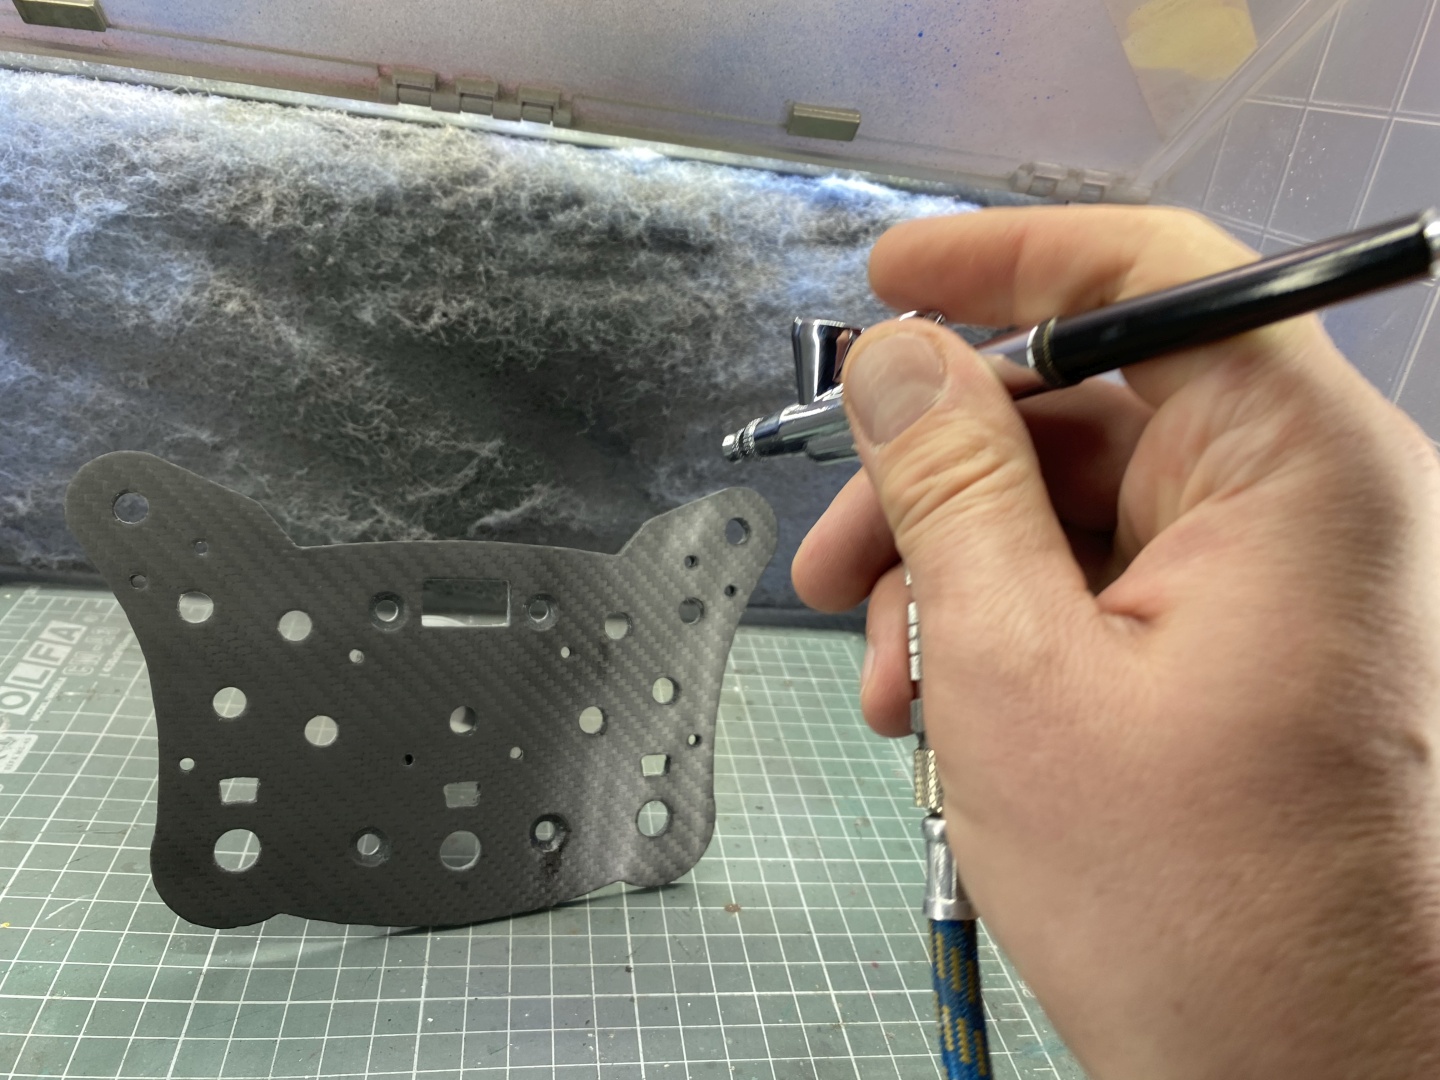
Spraying clear coat should be done in well aired and clean space, having hobby spray booth helps immensely:
Spray the Clear Coat
Clear coat usually is sprayed at 3-5 layers depending on your preference. I stick with 3 and for me is more than enough. Using these hobby paints is very easy, this particular clear coat cure time between layers is 30-60min between layers. As it dries super fast I figured out it works very well to wait only 15 minutes between coats, the whole process takes me a little more thjan an hour with 3 hands of clear coat.
First Hand of Clear
This coat is usually a little lighter, but in either case the clear coat I am using is quite forgiving and hassle free. Spray the first hand in overlapping straight lines:
Second Hand of Clear
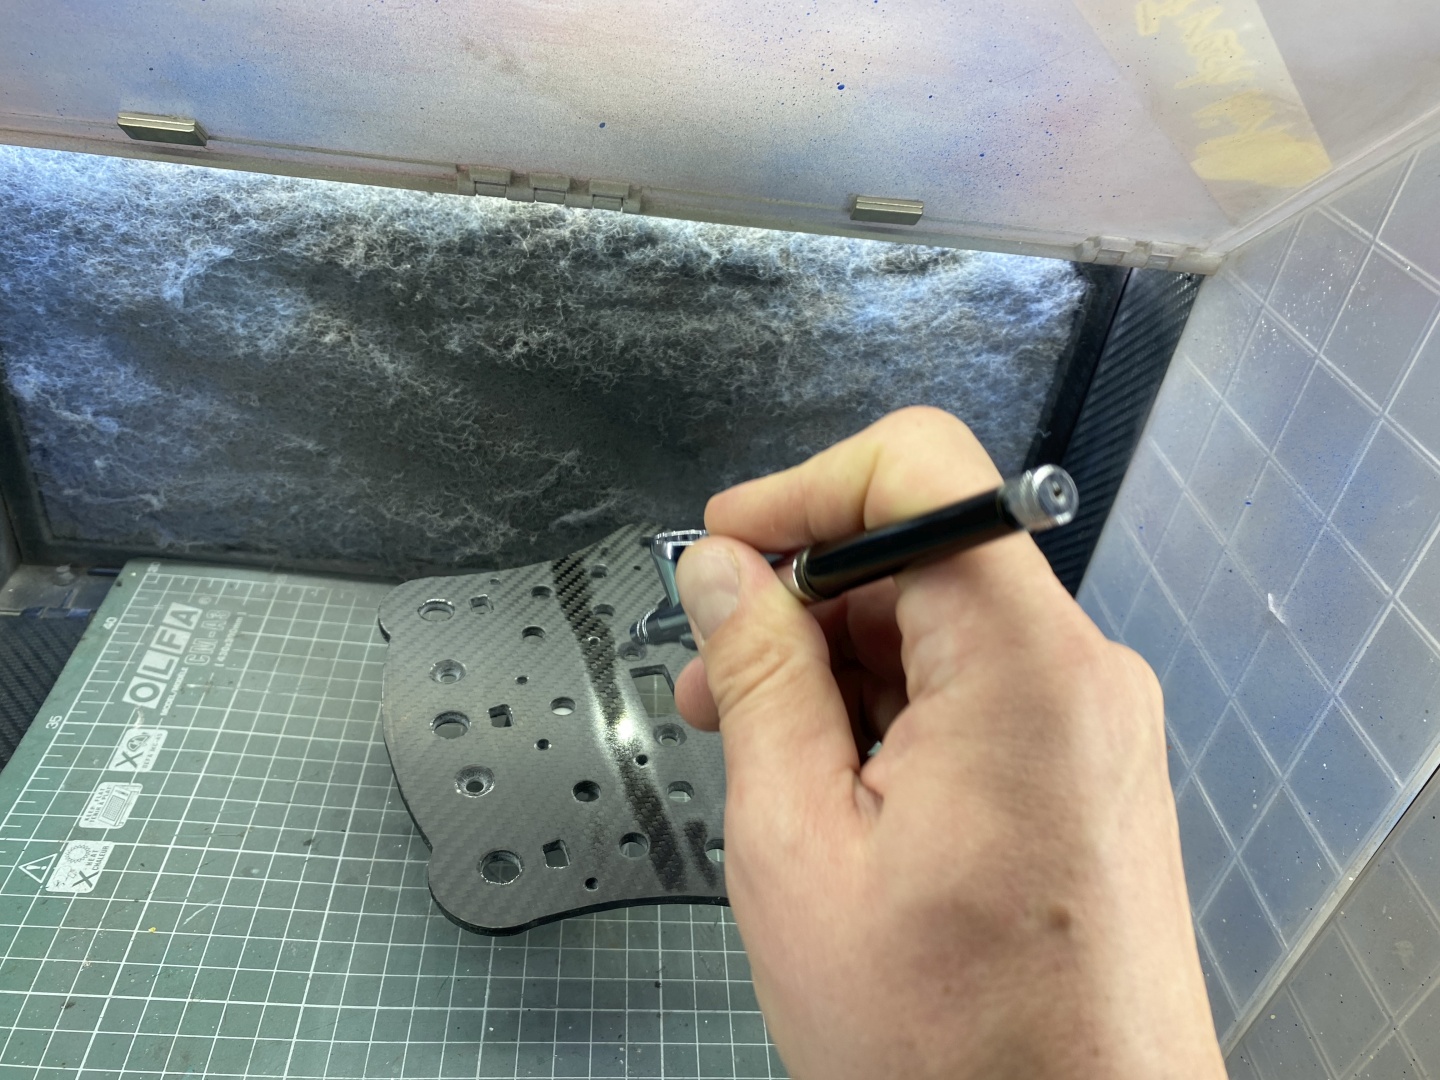
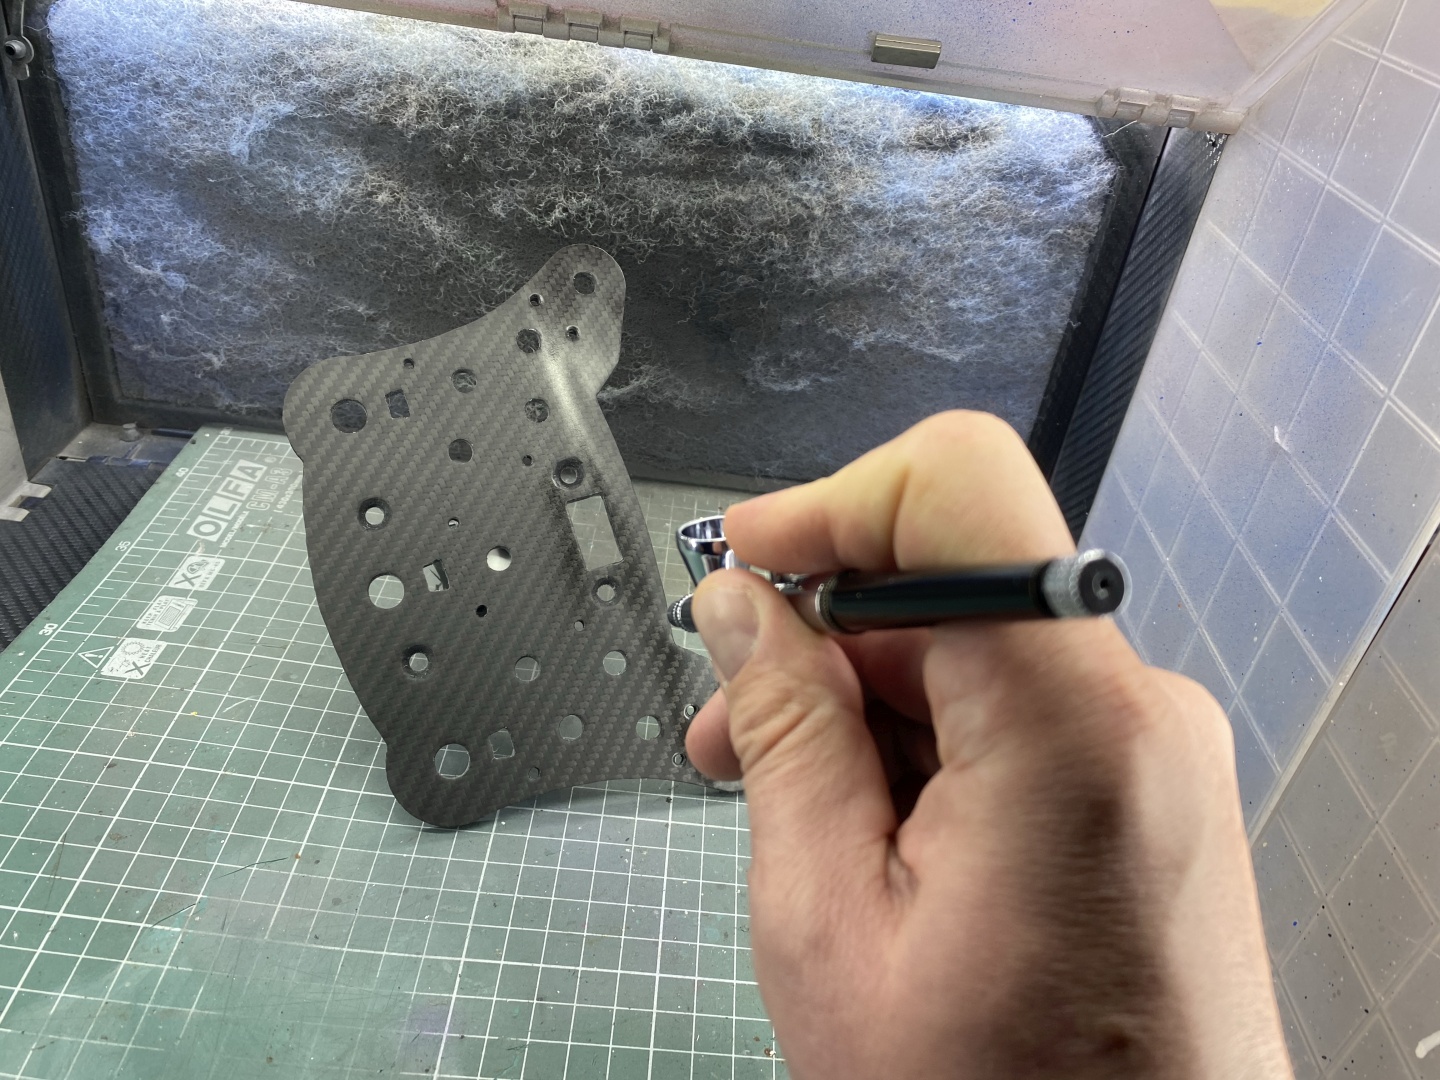
Wait 15 minutes and proceed with the second clear coat. This time the layer is thicker and you are after full coverage. For this layer switch direction - here I am spraying the faceplate in vertical direction:
Second Hand of Clear
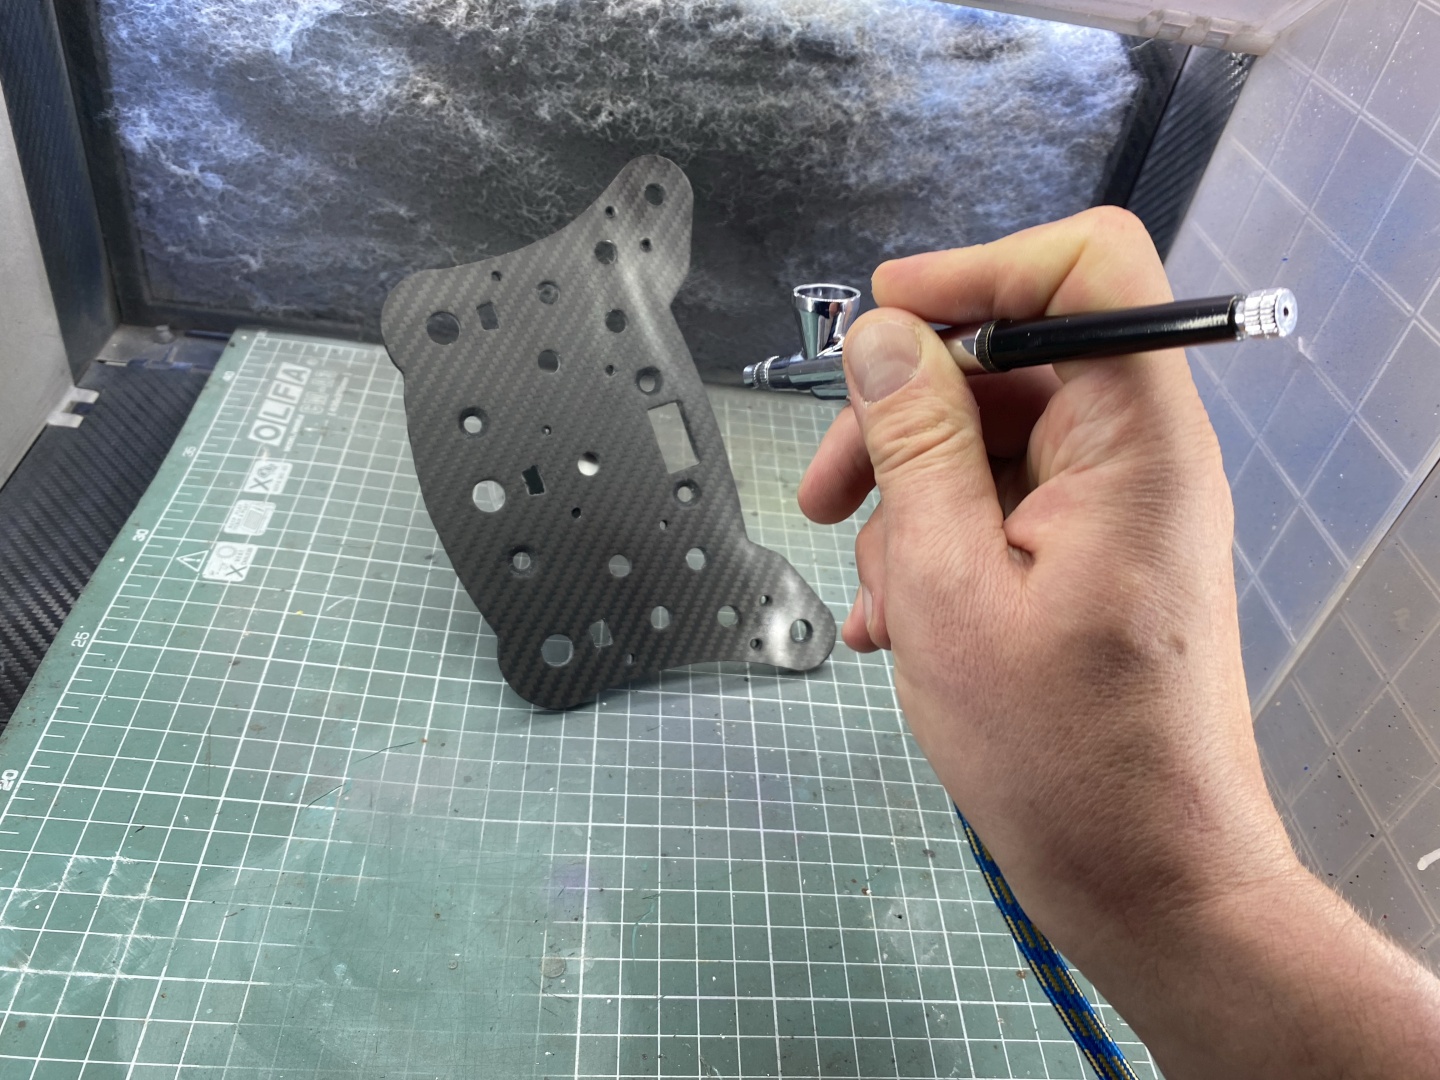
Wait 15 minutes and proceed with the third and final clear coat. Again heavy layer which has to cover any sport you might have missed and build up nice and thick top coat. For this layer switch direction as well - here it is back to horizontal spray lines:
Dry Time 24 Hours to 3 Days
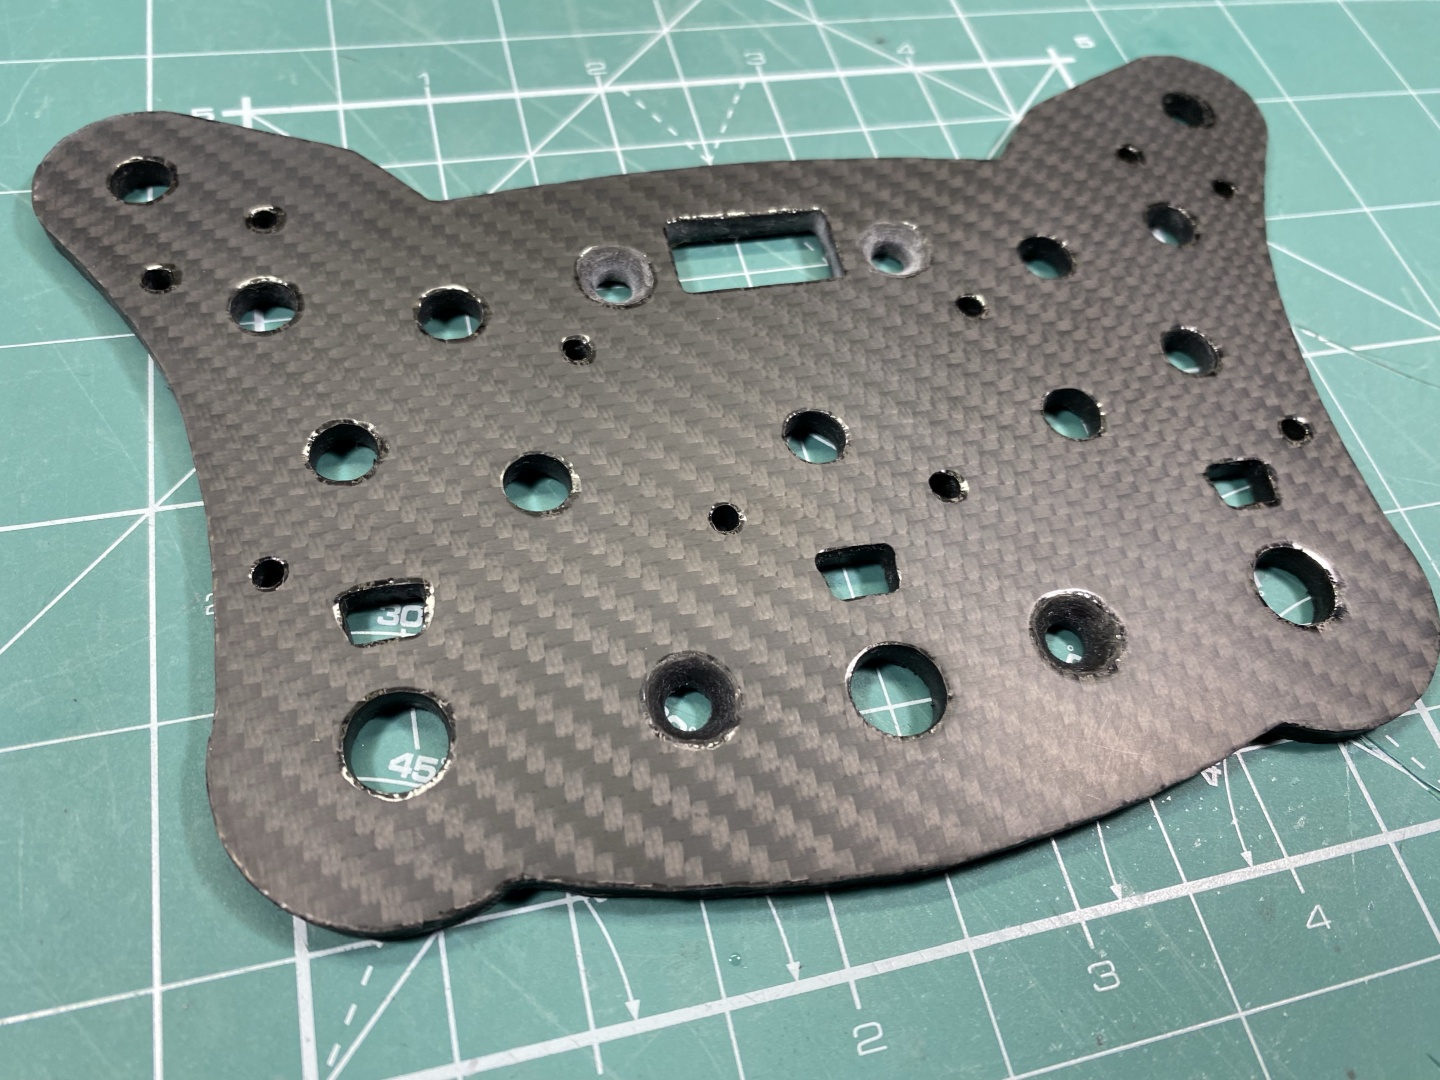
Clear coat curing time is 24 hours but the more you wait the better. I figured out for this particular brand I usually need two days to let it cure fully. Below you can see the result - it looks almost like the finished product but carbon fabric looks puffed. This will be fixed when clear coat is polished.
This is the result when we stopped sanding at 1200p, Clear Coated with Flat:
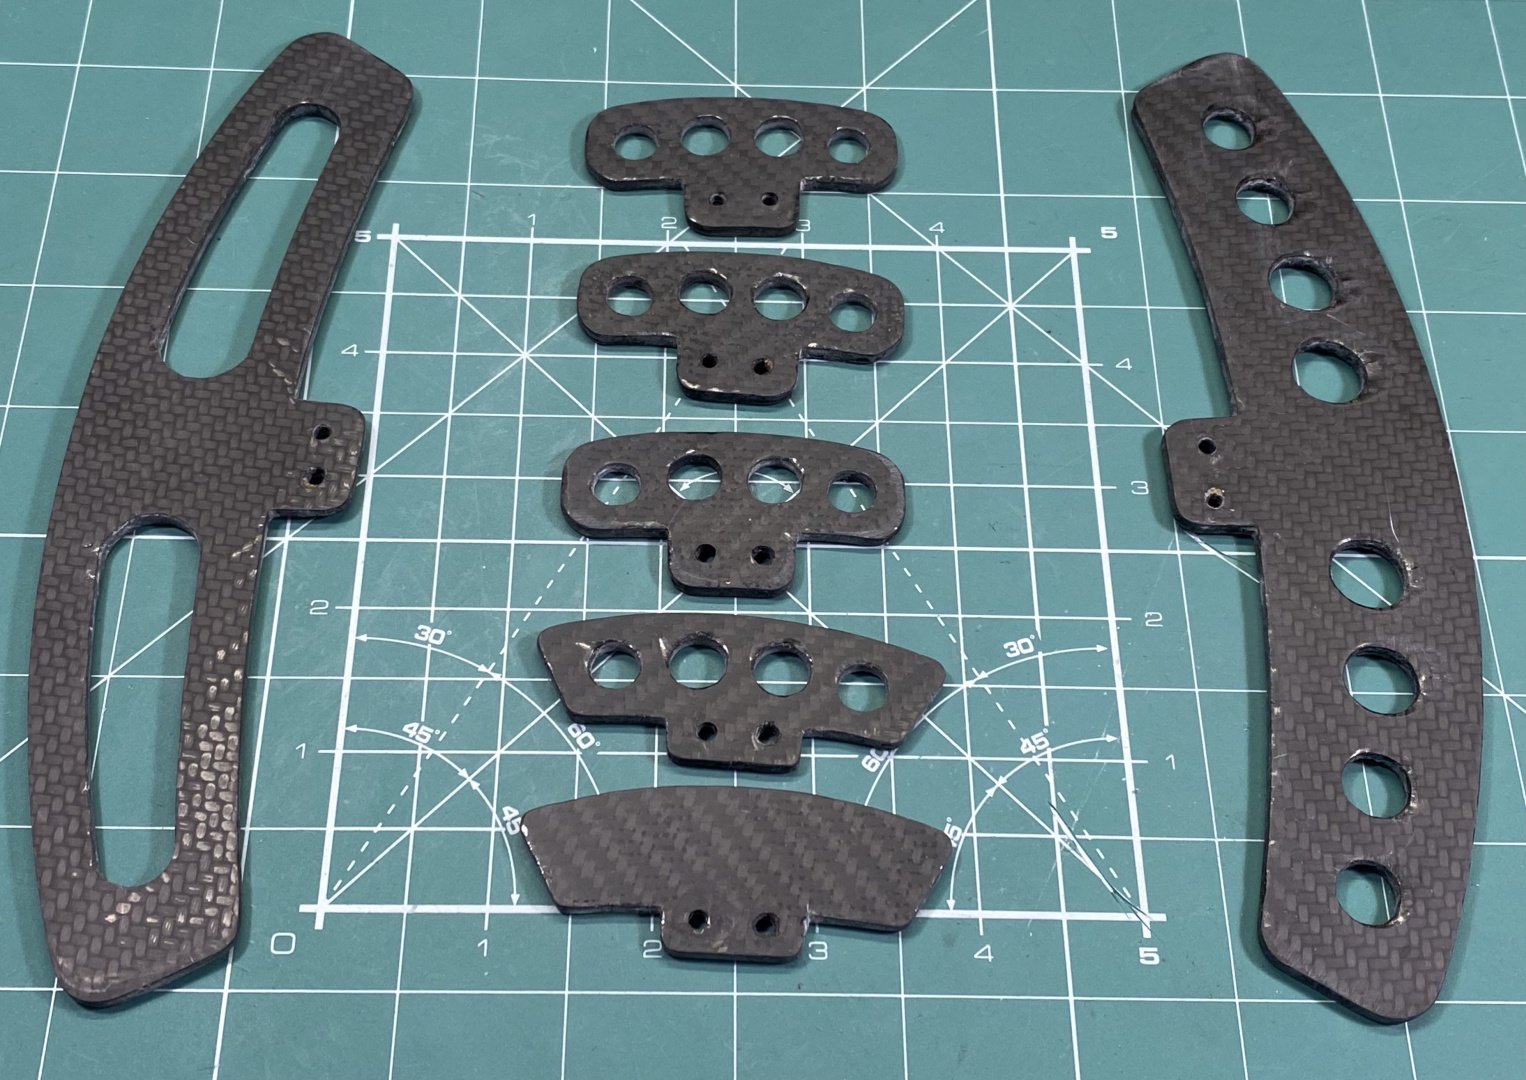
The below paddles were sanded up to 2000p before clear, coated with Flat:Polishing the clear coat
This would be the final step of the process. After waiting enough time for the clear coat to cure we start by wet-sanding the surface with 2000p sand paper. As the faceplate was sanded at 1200p before coating if has nice matte finish which is almost ready:
After each step wash thoroughly and proceed to next finer finishing compound. You can achieve the effect you are after by stopping at the desired finishing stage. Below you will see the results from using Coarse-Fine-Finishing compound.
Sanded @1200p, Polished up to Coarse
This is exactly the matte finish I was after. It looks a little strange because of the multiple light sources on my workbench, but the finish in reality is actually impressive. As it is polished only to coarse compound it has very subtle texture on touch, you can feel it is not completely smooth. This would be nice in paddle shifters as it has some surface friction.
Sanded @2000p, Polished up to Fine
This is from previous project where I was trying to achieve matte look, but actually it came out as Semi-Gloss. The carbon fabric itself is somewhat off as still was perfection the process at the base coat level. On the second picture the small, rounded paddles actually are test for various finishing stages. Left to right it goes as follows:
- Left - sanded up to 2000p, polished with Coarse before clear. Finally polished up to Finishing compound.
- Middle - sanded up to 2000p, polished with Coarse before clear. Final polish - Fine compound.
- Right - sanded up to 2000p before clear. Final polish - Fine compound.
The difference seems subtle but in reality it is quite visible. The leftmost paddle is very shiny even with the Flat clear coat. Also on touch it is extremely smooth, but still not slippery. You can literally feel how flat the surface is - one of the properties of this clear coat is very low surface friction because of the smaller particles it uses.
Now that we have finished product let's head on to our last chapter - Gallery and Conclusion:
Conclusion
Carbon Fiber Skinning is time consuming but relatively easy to accomplish at home process. You make a product which has all the properties or real carbon plate but at a fraction of the cost. It is quite suitable for home project, does not require complicated tools and has wide application especially for Sim Racing related projects. It allows you to achieve different finishes and feel by alternating between all the techniques shown here. You can even add more than fabric layers after, just remember to rotate them 90 degrees. Once you master it you will get amazing results for all your projects at quite reasonable price!
Gallery
Paddles
Matte vs Semi-Gloss/Gloss
Carbon Fiber Skinning vs. Carbon Vinyl
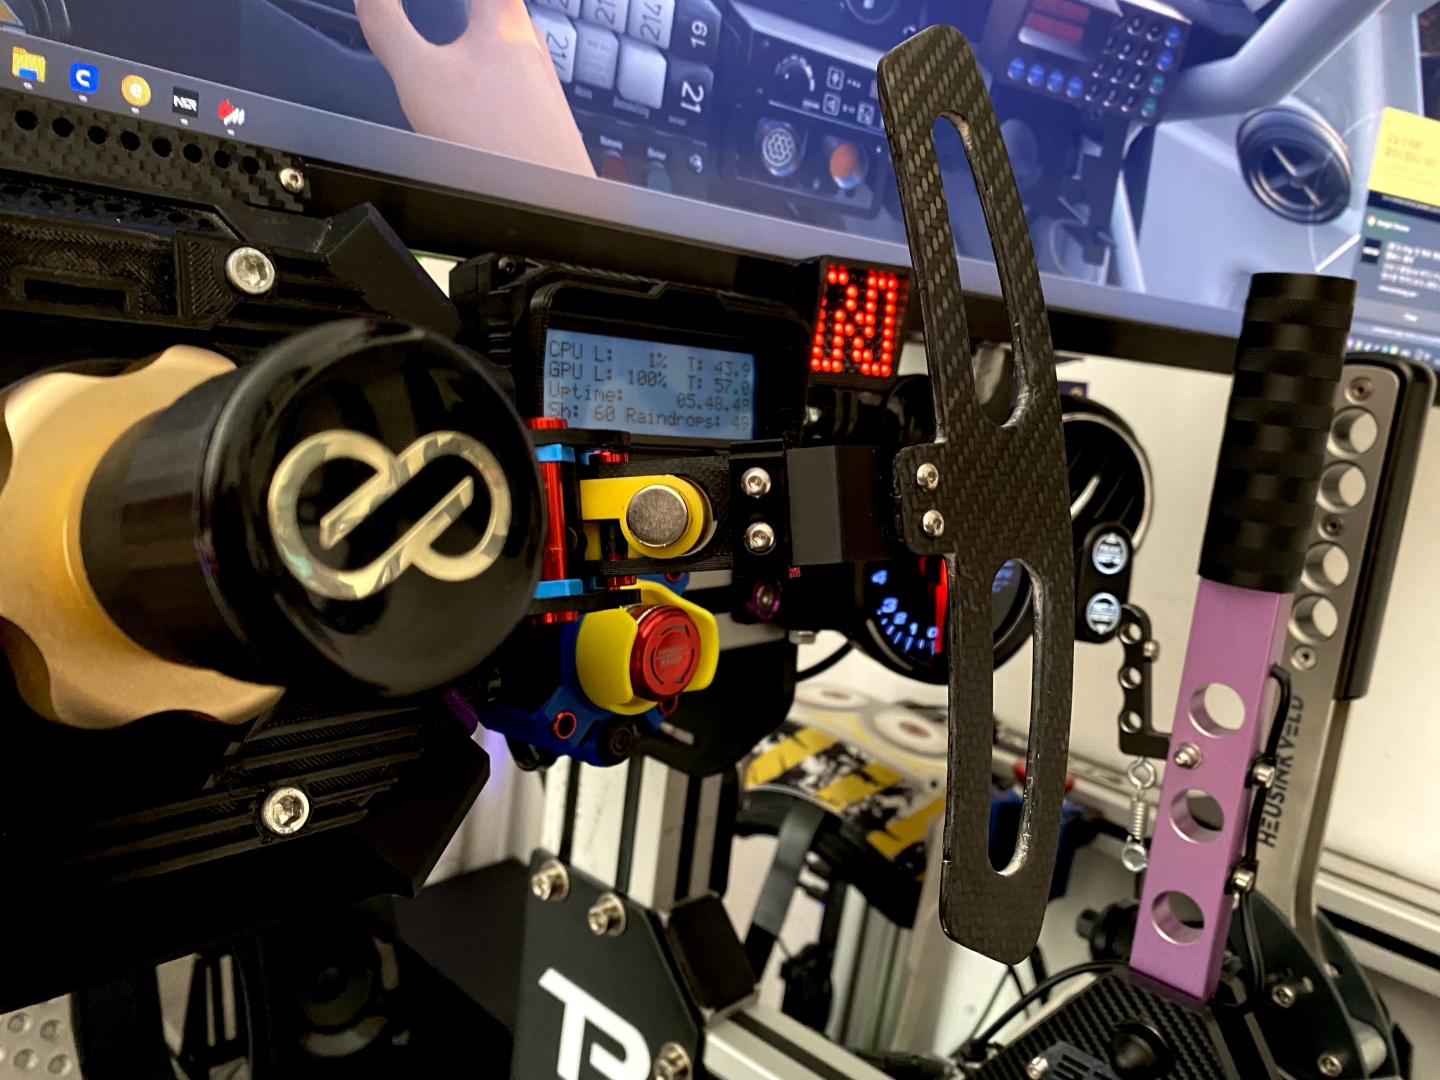
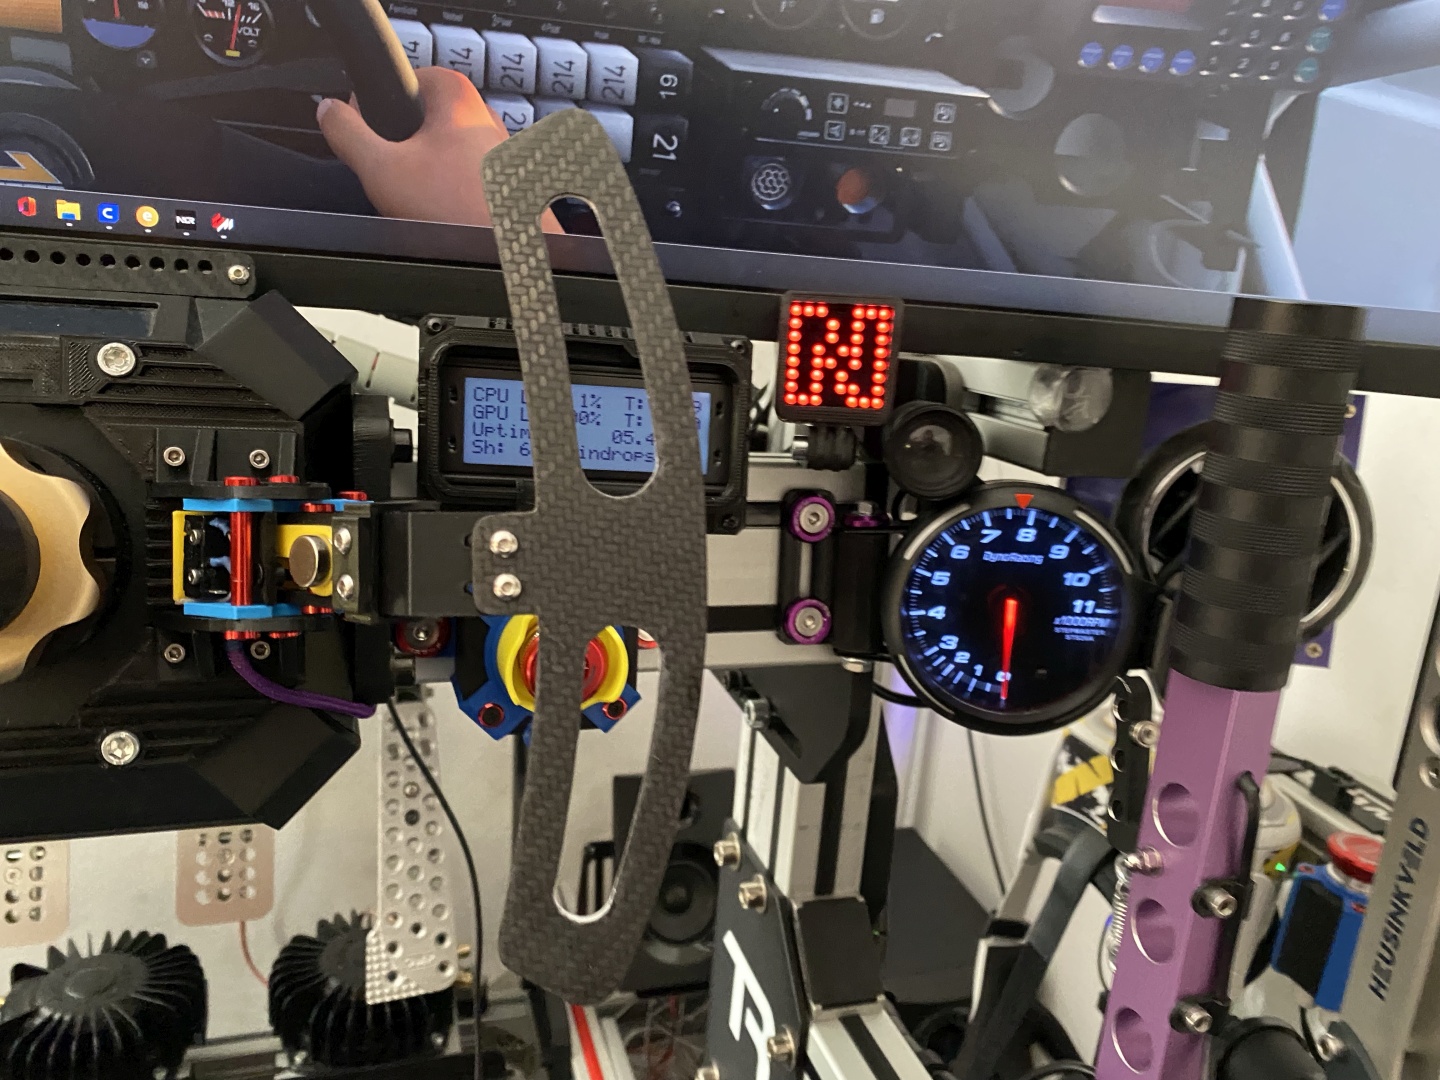
Push-Pull Shifter with Carbon Skinned Paddles
Carbon Fiber Skinned Button Plate
Hope you enjoyed this rather long tutorial and will find it useful in your projects. Happy modding and simming!

