Sanding the Surface
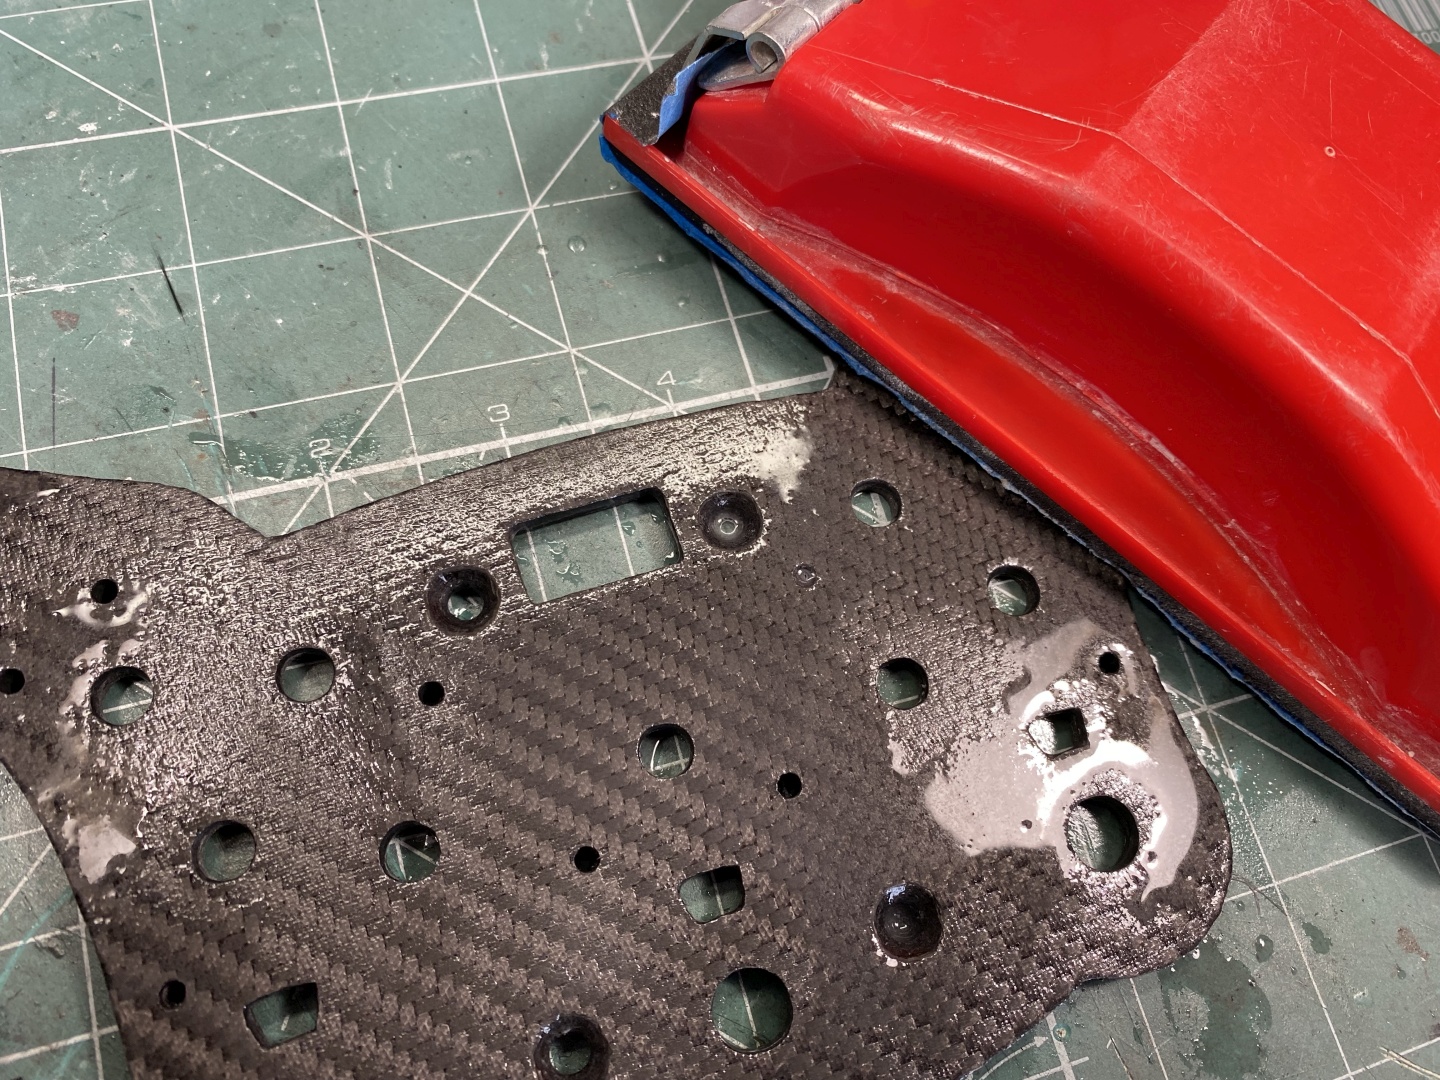
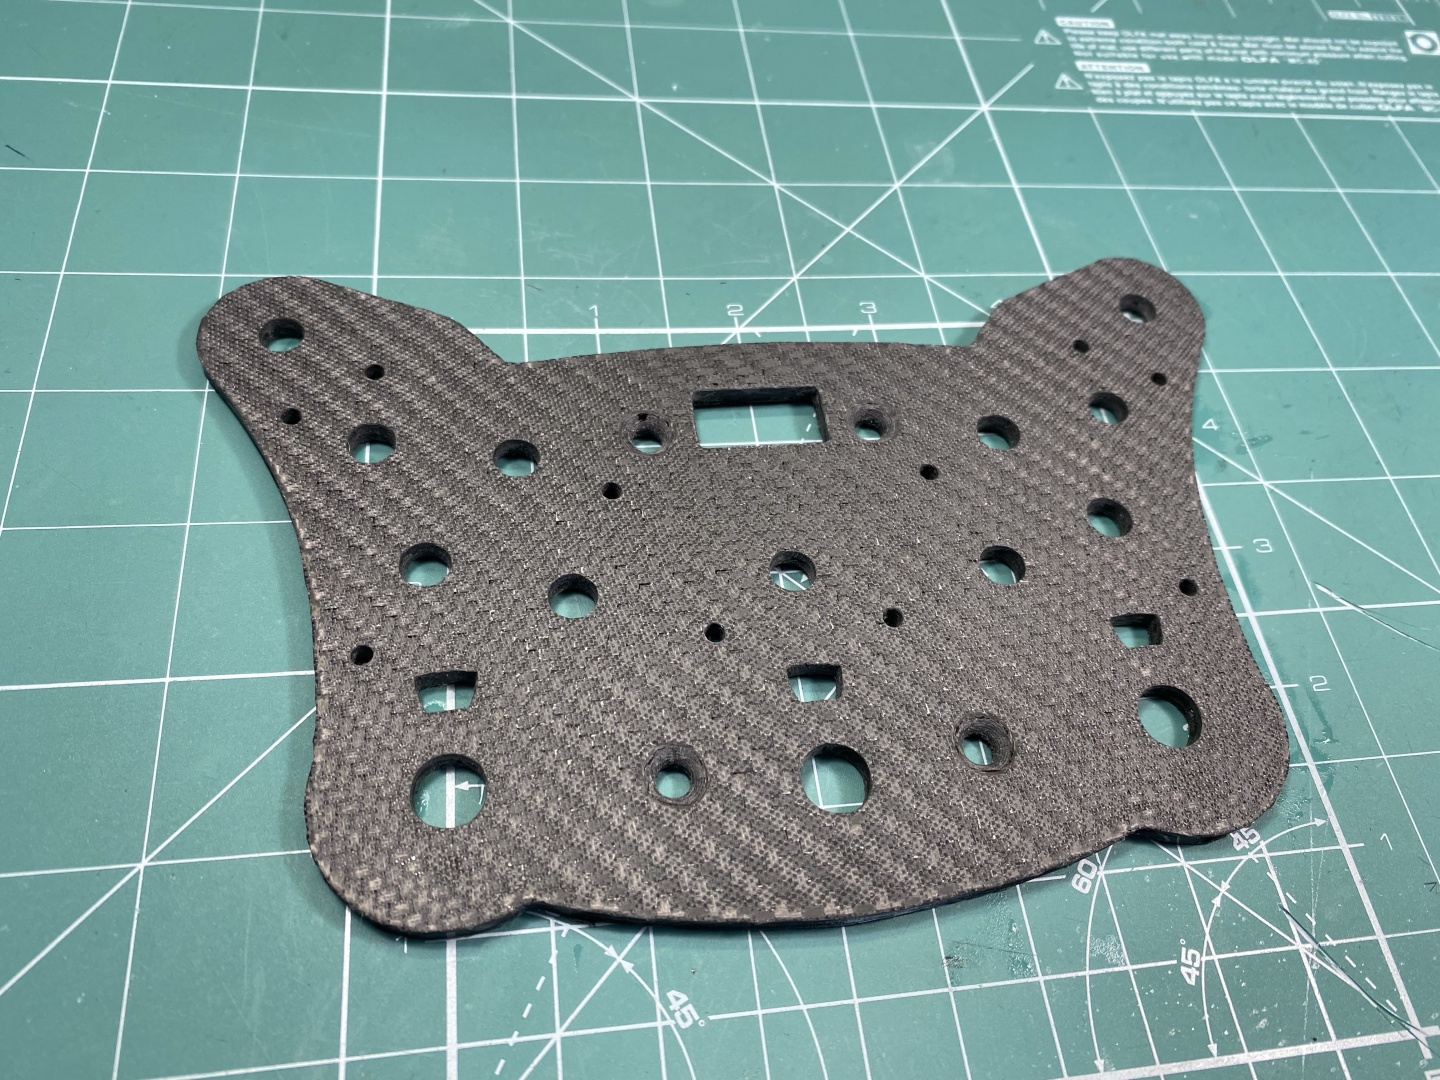
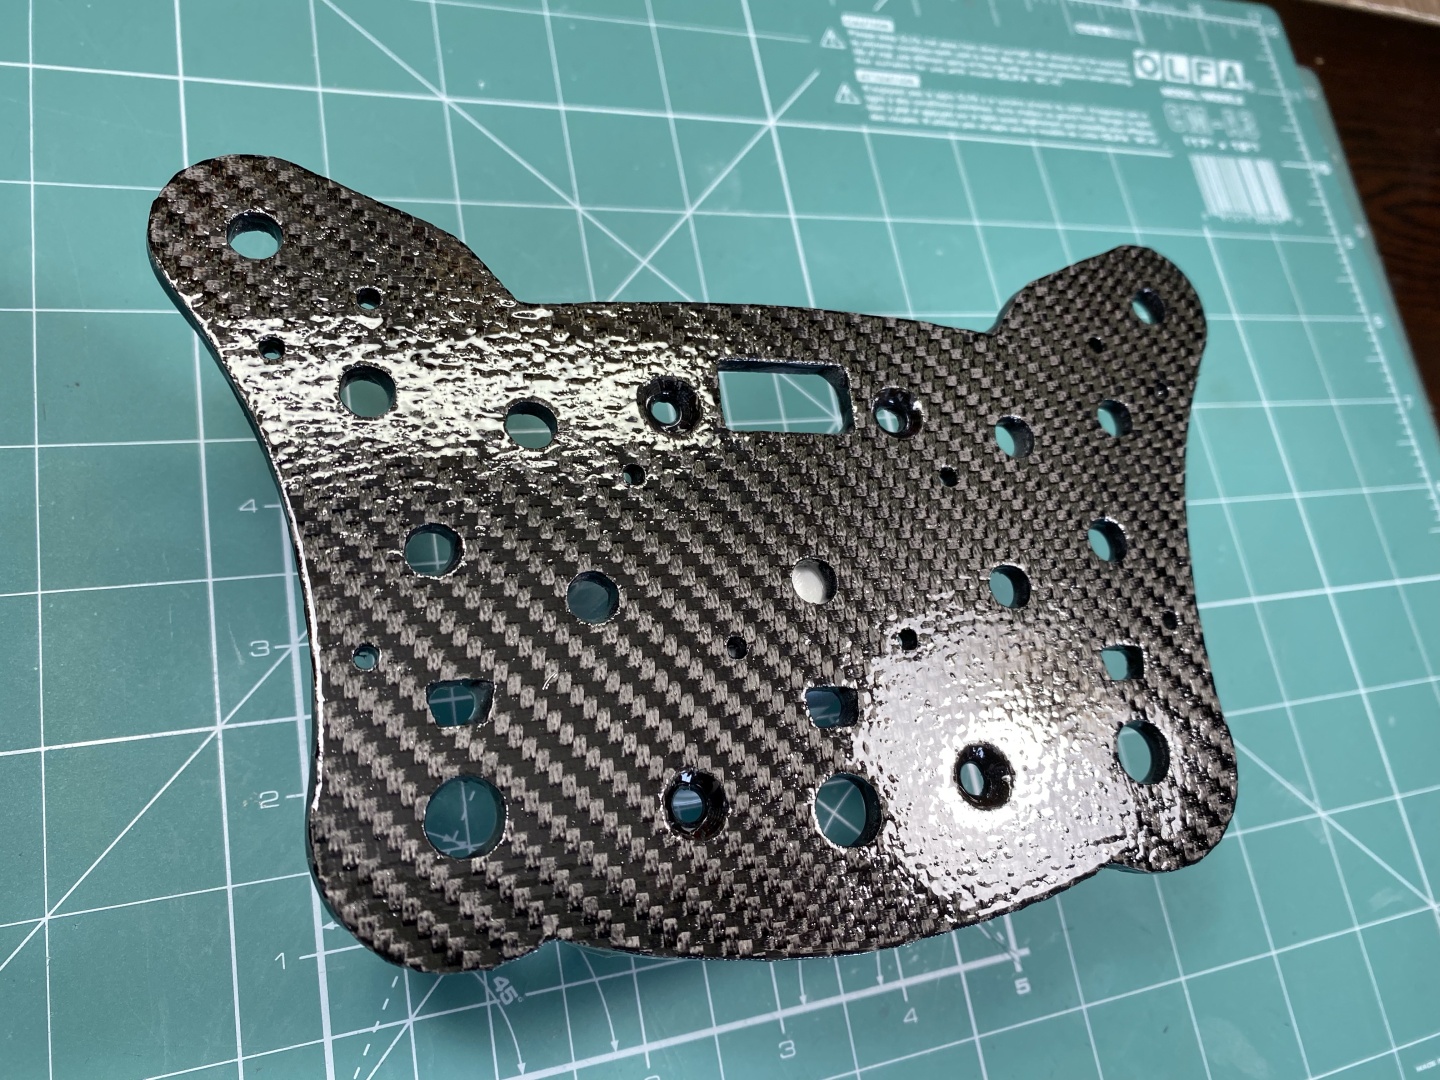
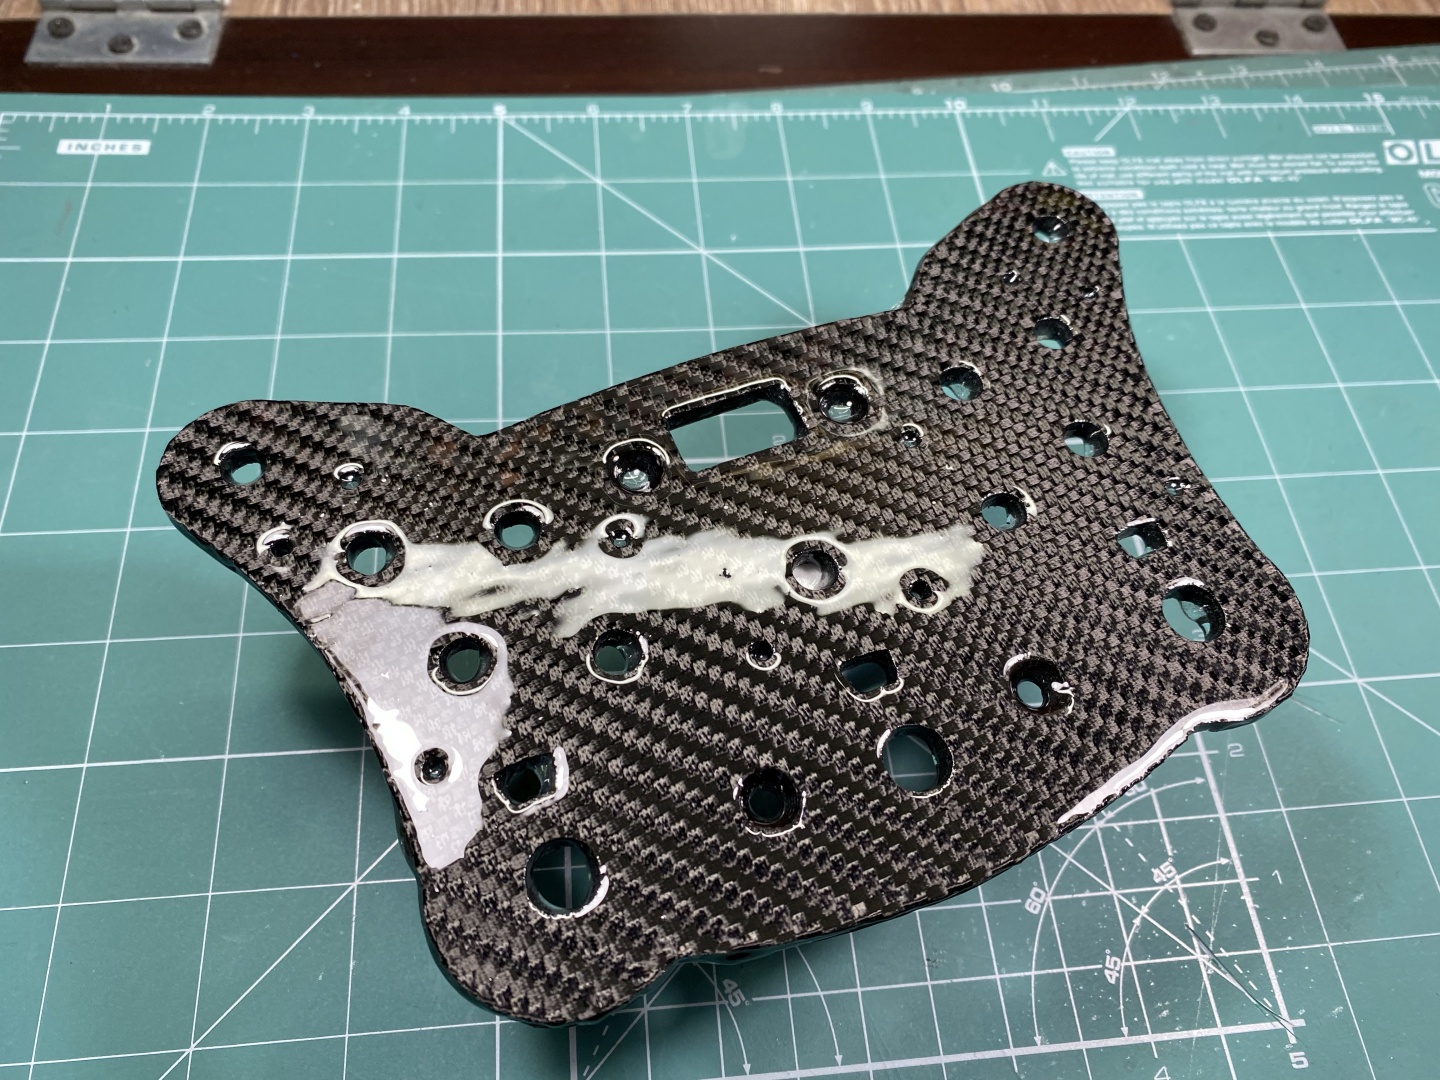
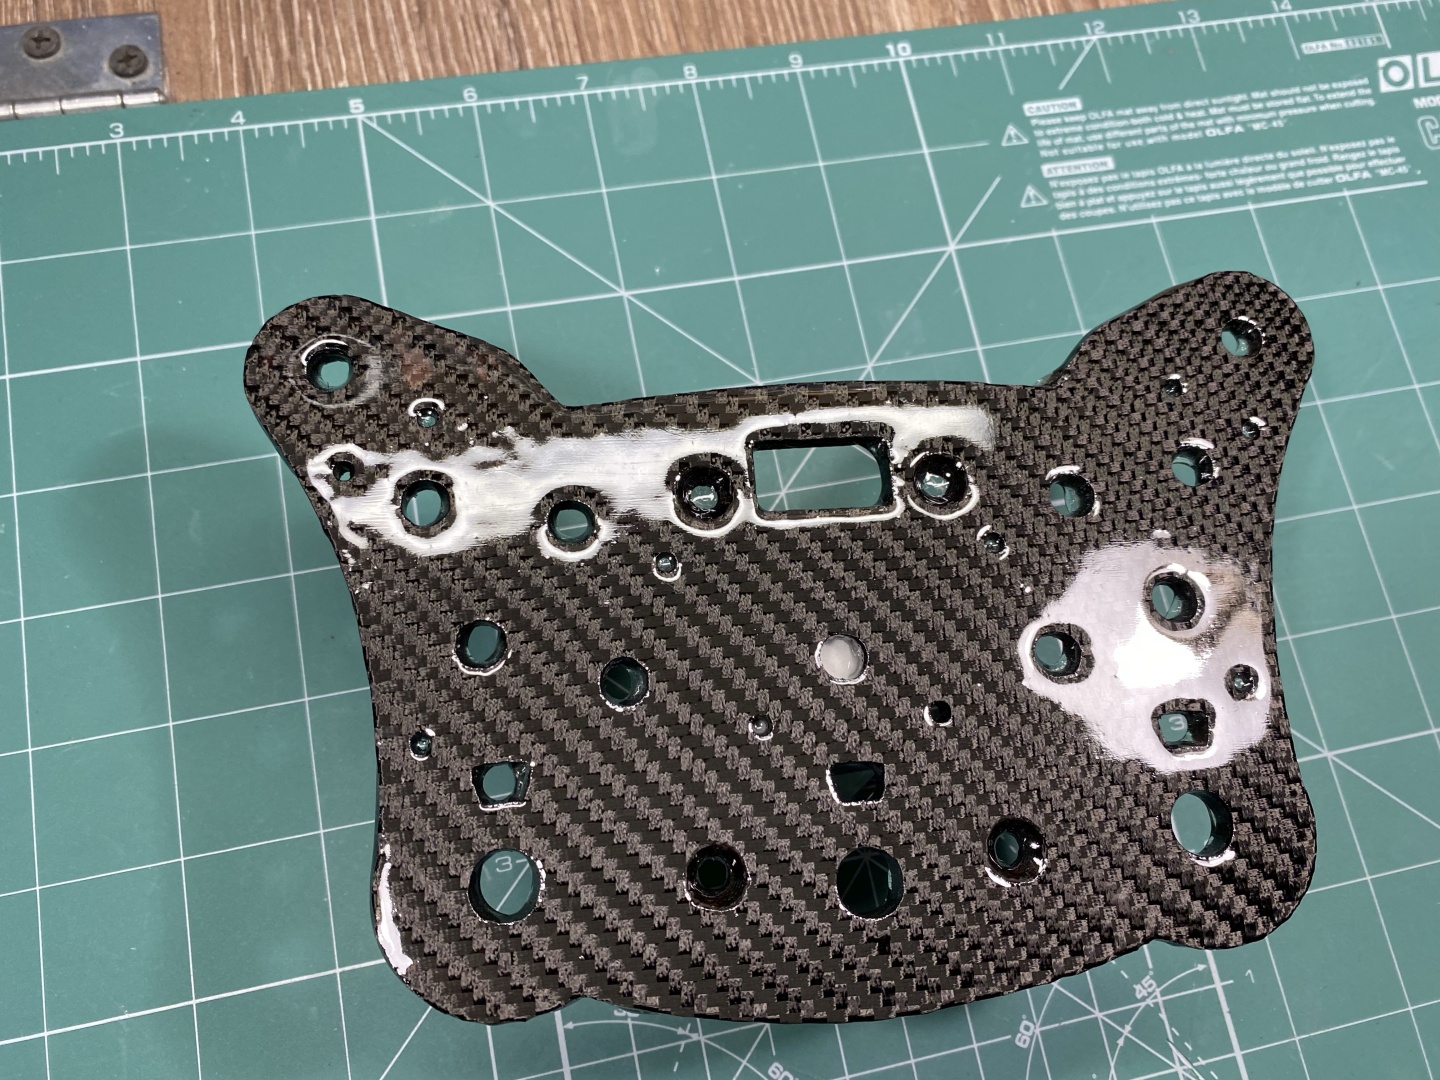
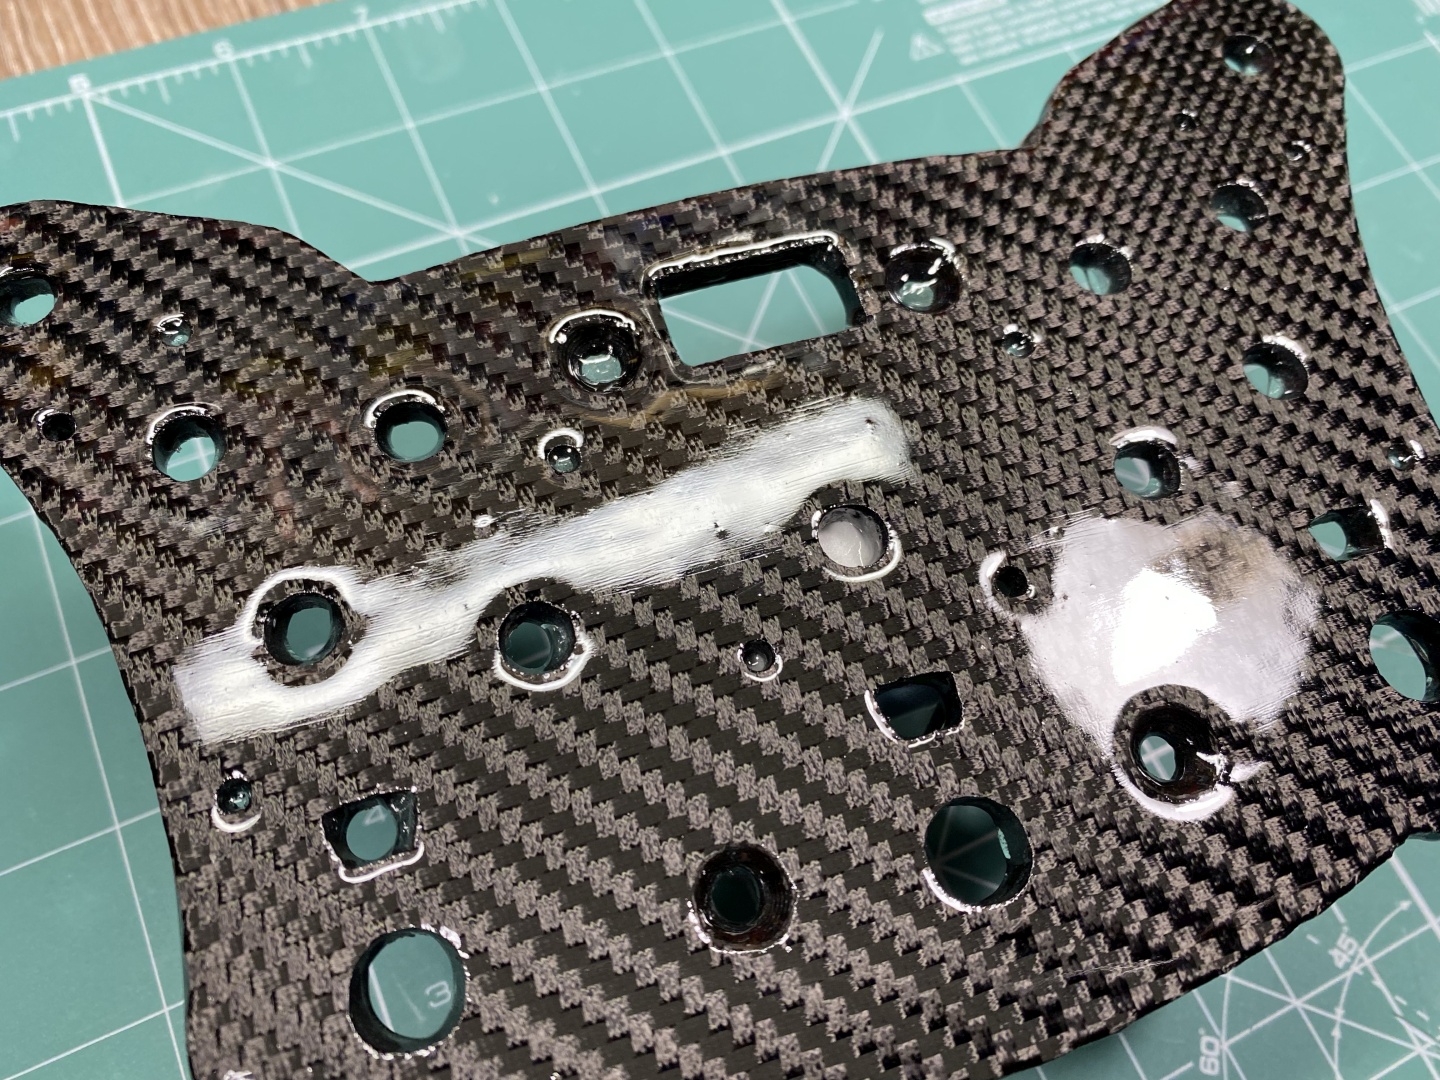
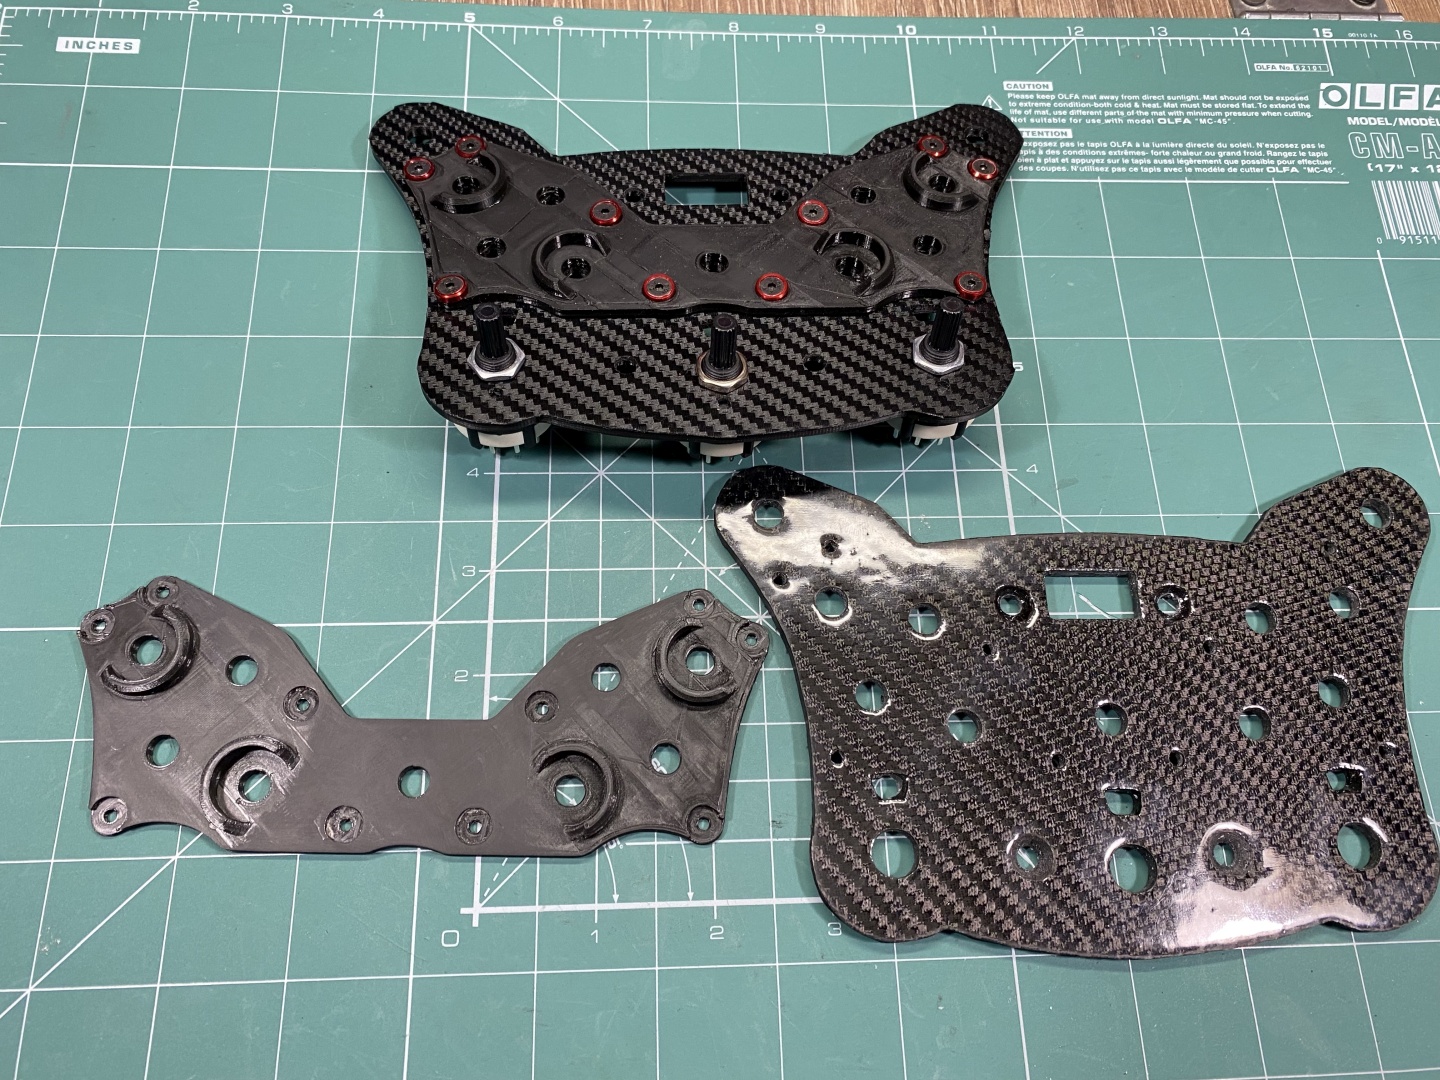
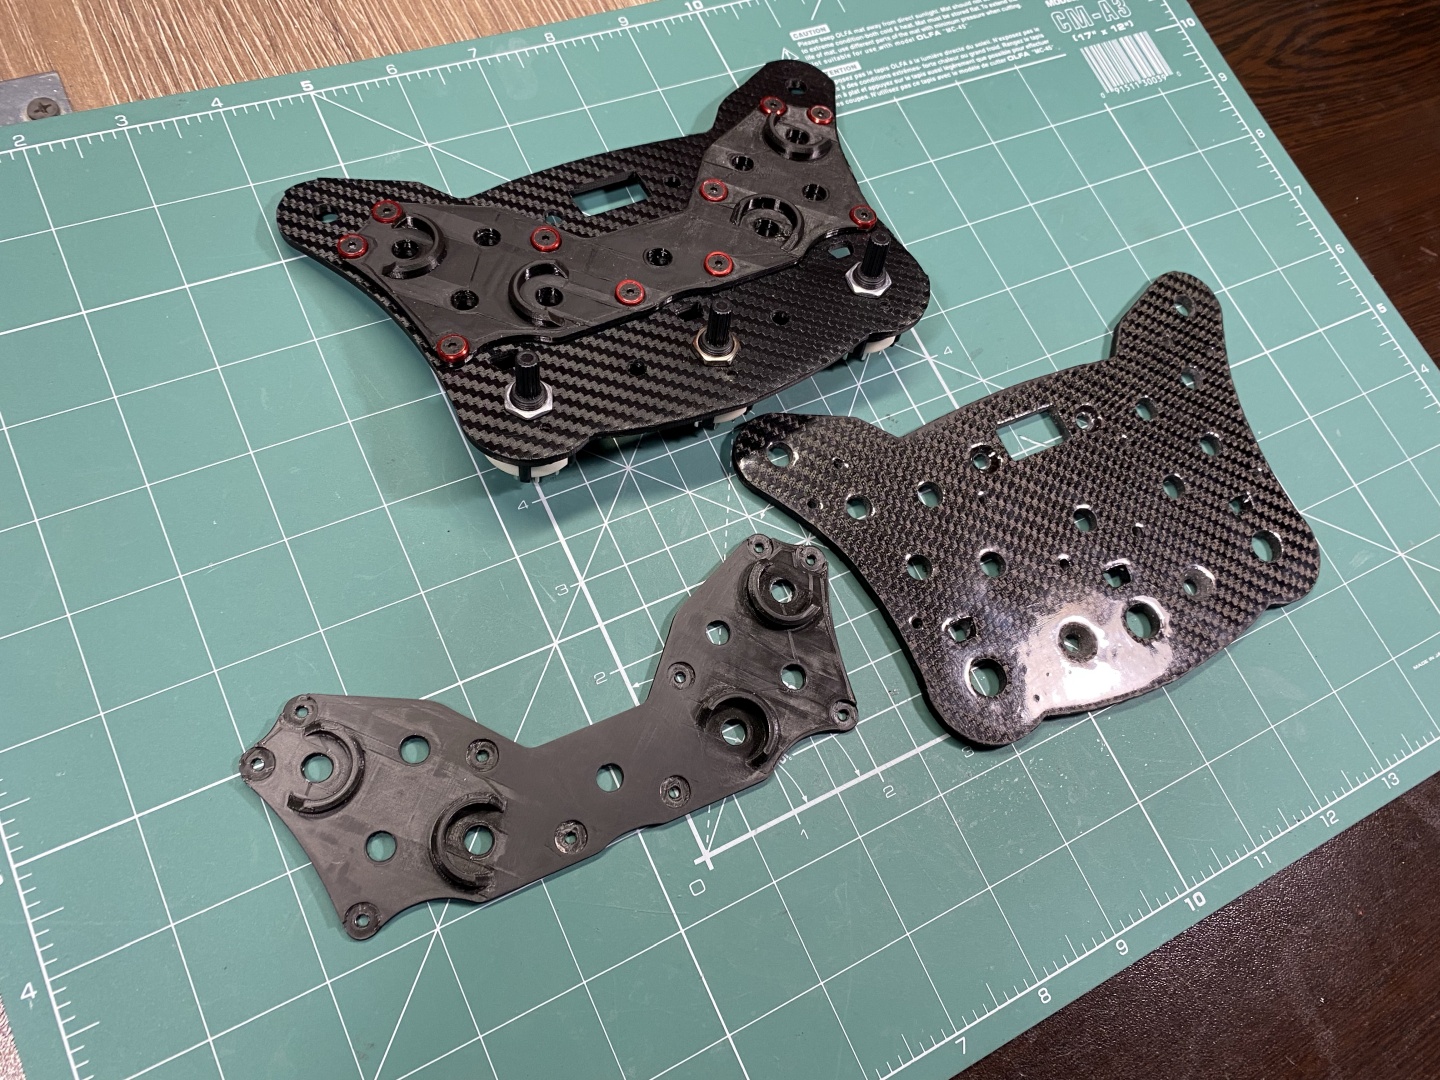
Remember the grippy finish left by the Peel Ply mentioned earlier? Now would be the time to flatten it. Using 180 grit dry and wet sand paper you can smooth down the resin layer. Sand down carefully, when you see black appearing - STOP immediately - you've reached the fabric layer and going further you will destroy the carbon look. After flattening with 180p and washing with water this is how the product should look like:
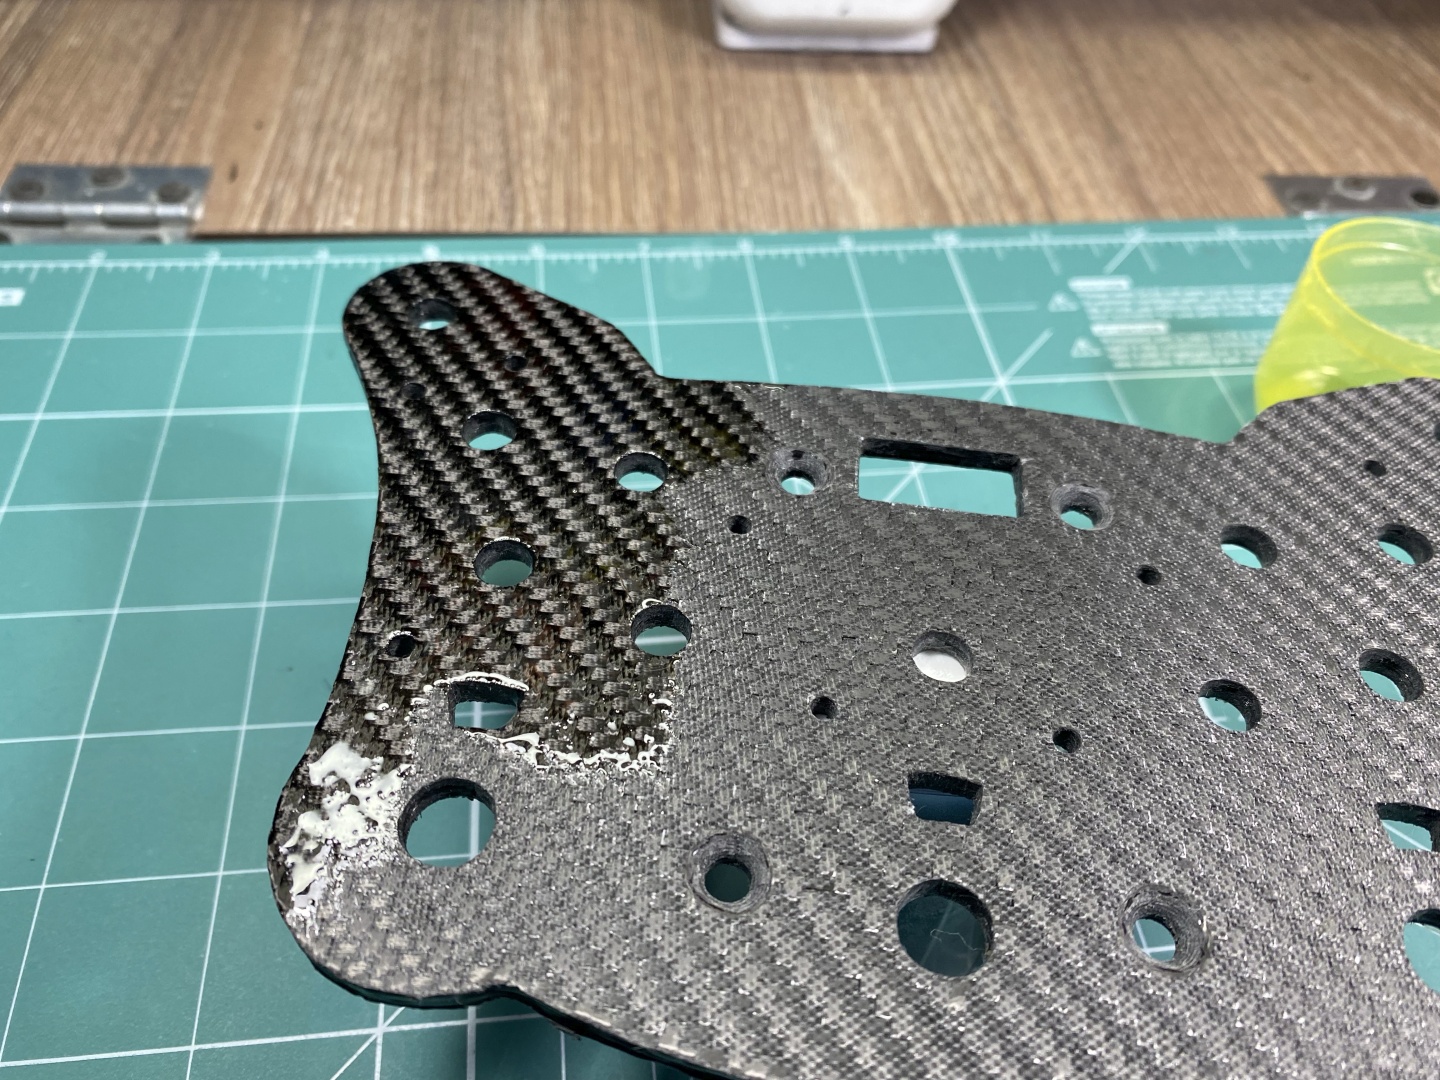
The top surface is very rough and looks far from what you expect. This is because the layer is not completely flat, you can get a glimpse of what is to come if you wash the item - water will reflect light more uniformly and you will be able to see the expected carbon finish:
[lgtbox]images/articles/how-to/carbon_skinning/04_fullresin/res003.jpg[/lightboxitem][lgtboxp]Wet with water to reflect light properly and catch a glimpse of the nice finish[/lgtboxp]
Applying Resin Top Layers
For next steps timing is crucial - do not continue if you do not have the time to finish them. You can stop in the middle, but it will require then sanding and restarting the process. What you need here is to put the final 3-4 layers of resin, waiting between each for 2 hours. Resin has to dry for 2 hours to reach the perfect tack stage before next hand, ensuring proper bond between layers. I usually put 3 hands only, which takes roughly 4:15 hours.
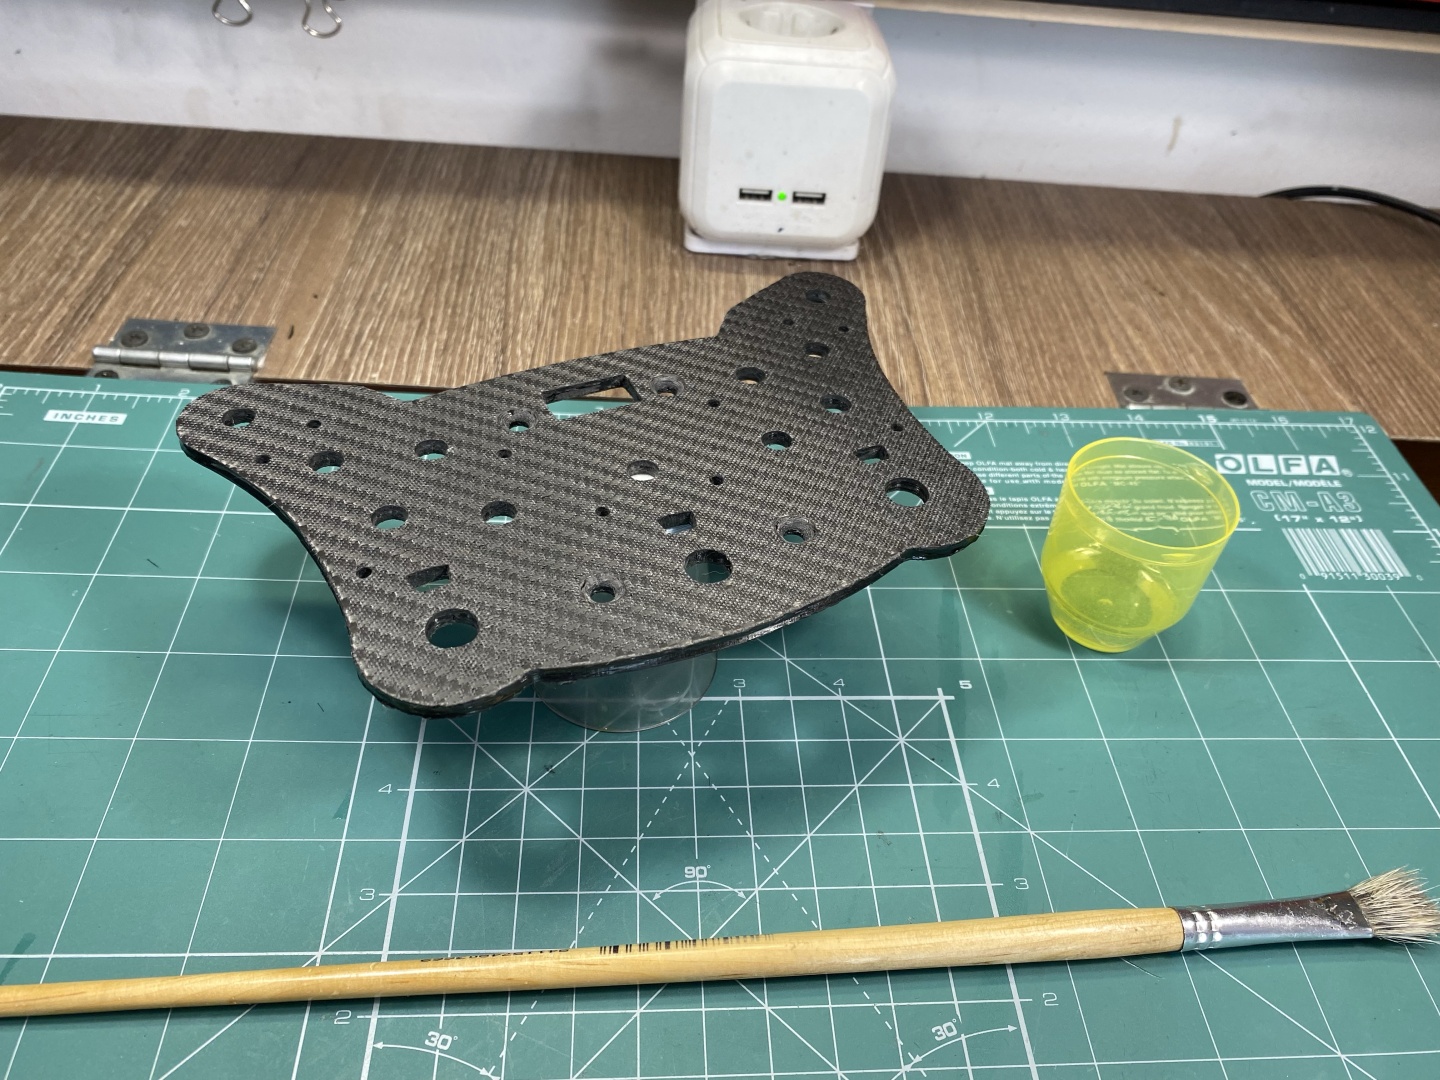
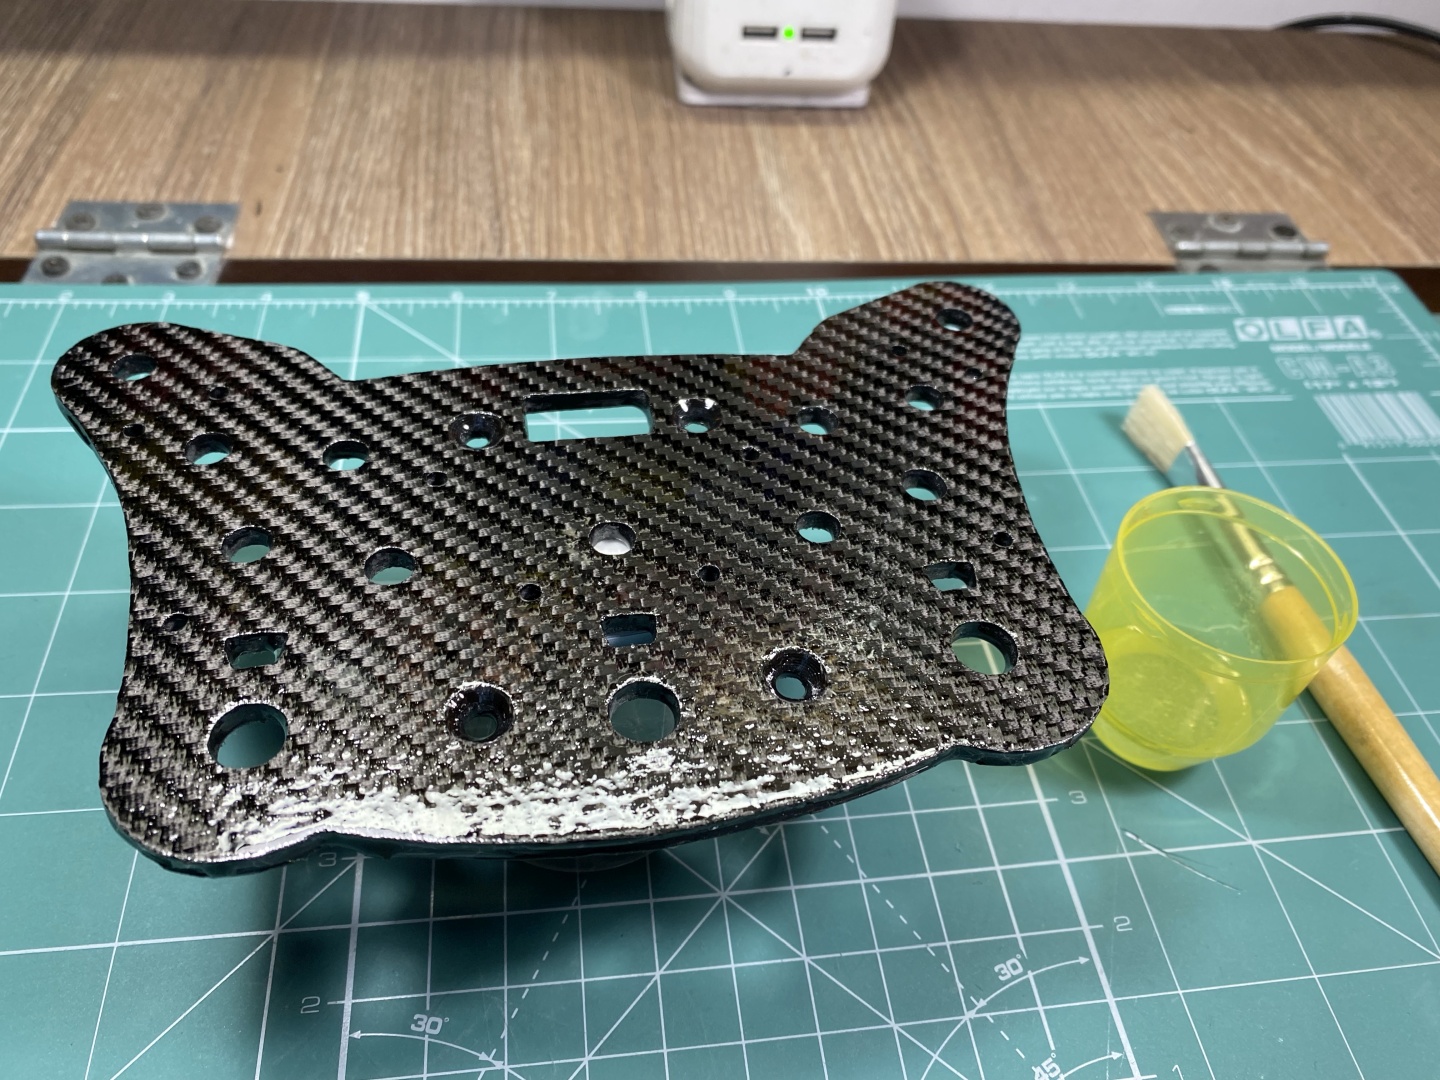
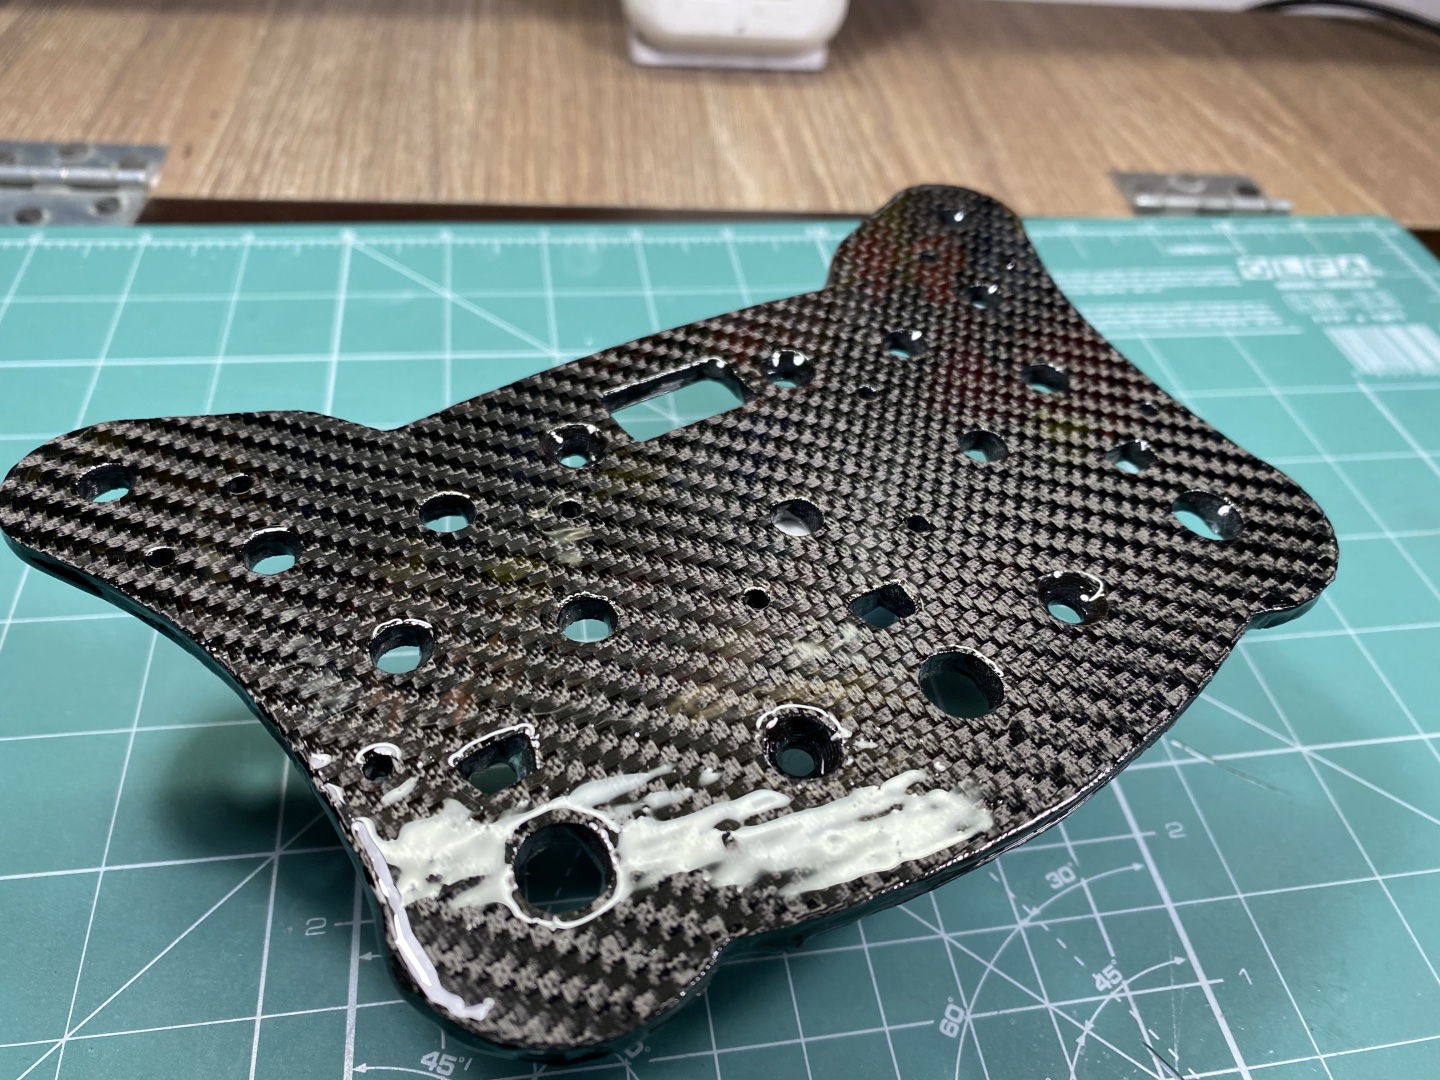
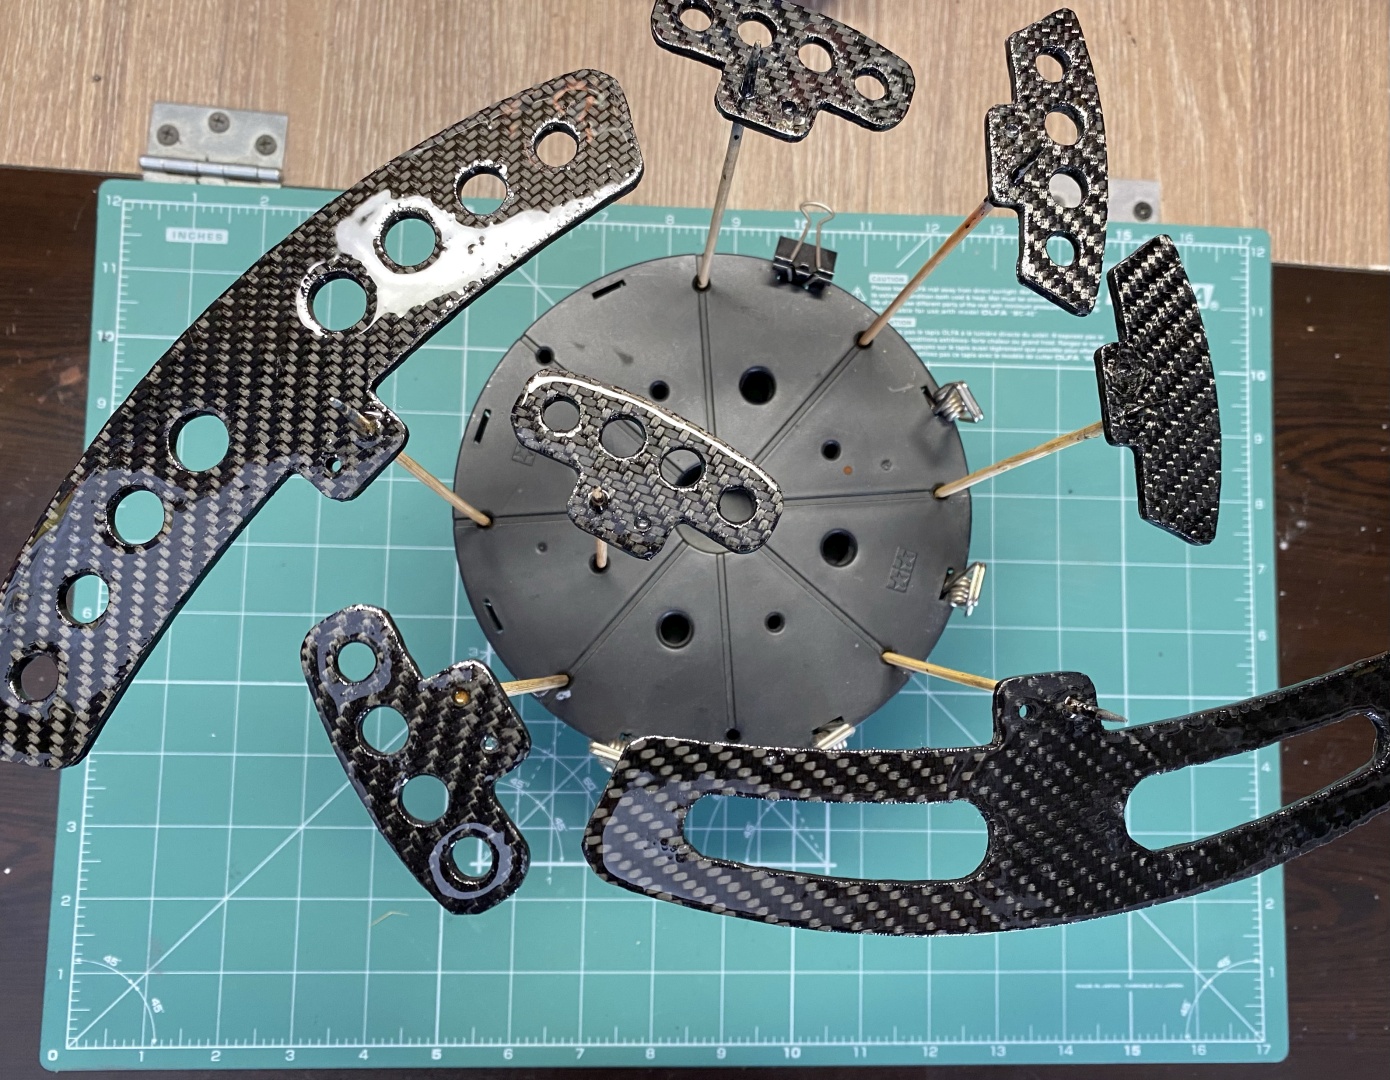
After wash with water and clean with Isopropyl alcohol you should mix some resin and proceed with first layer. Here the rule is - less is more. You should aim at putting uniform thin layers and build them up. Also make sure your brush is clean and soft. You will need less resin at this stage - fabric is already solid. You will most probably get spillage, but this is fixable - just more sanding. In general if you are gentle with the amount of resin and lay the parts flat on the table you should minimize it. On the other hand, shifters being double sided, I did not have this option so I had to sand a lot at the end. Here are the parts after application of first hand of resin:
Dry time - 2 hours. Ten minutes before the 2 hours mark start mixing the resin for next layer. You will need about the same amount. Make sure your brush is clean and soft - bottom layer is not dry and can be damaged by hard brush. Apply the second resin coat in the same fashion:
Dry time - 2 hours. Follow same procedure for third and final resin layer (I find 3 layers to be quite enough so I stick with this number):
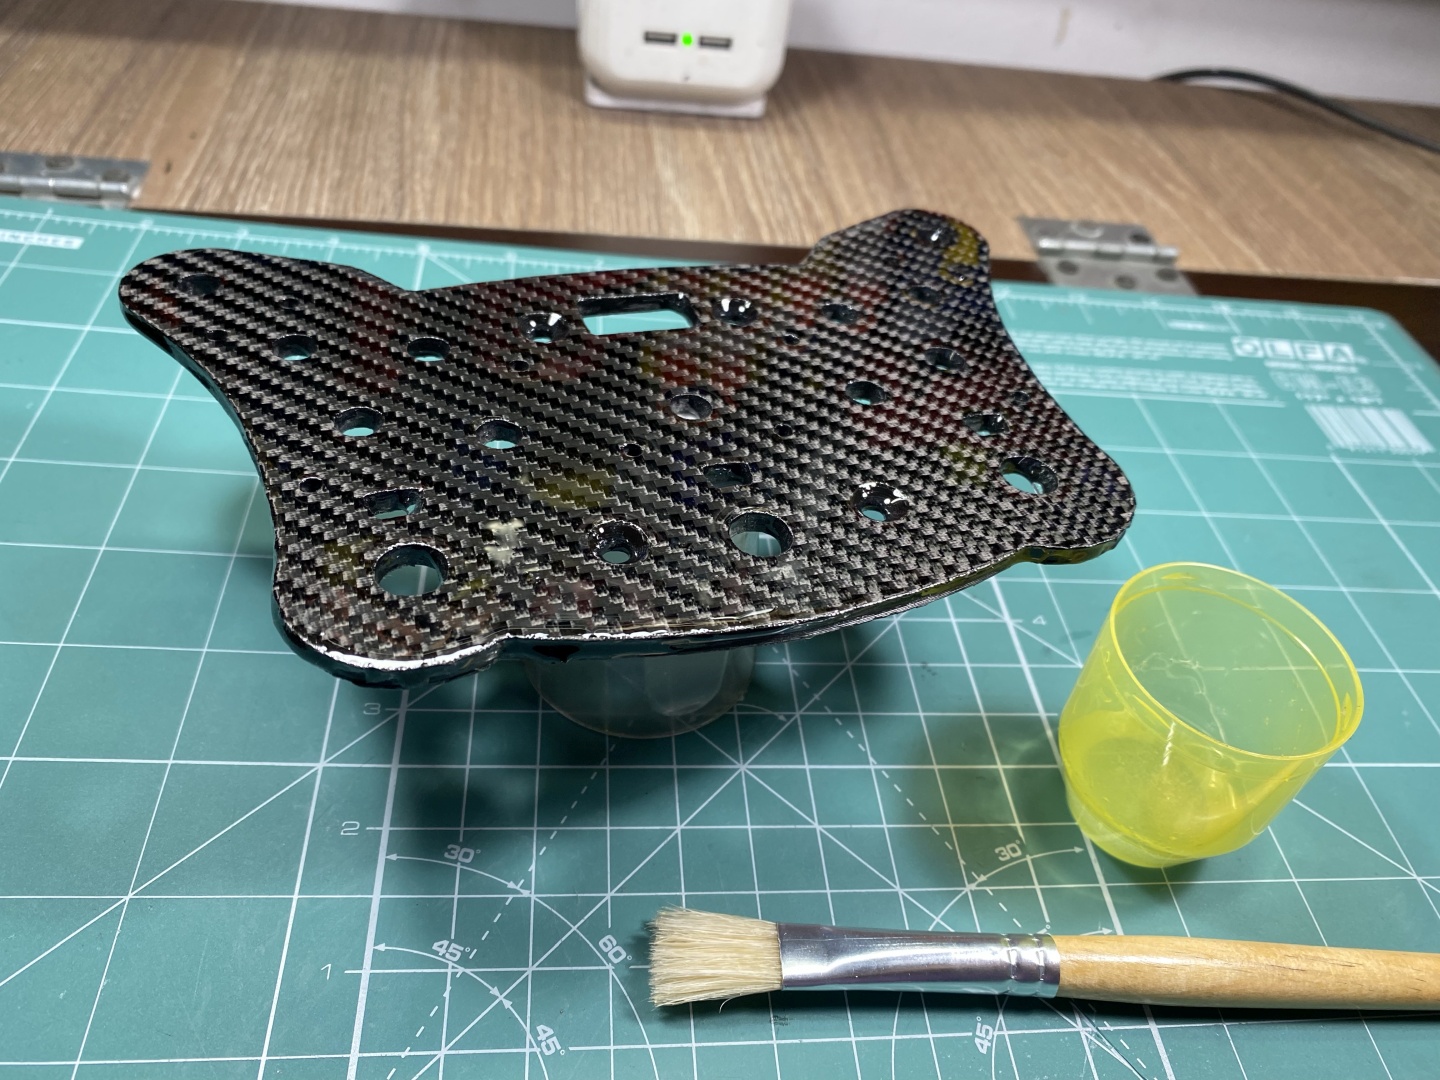
After the third layer the nice carbon finish will be clearly visible. Still it looks strange because the top resin is not completely flat and reflects light unequally:
And to conclude this chapter - here is quick comparison between what we are doing and carbon fiber vinyl:
Leave the parts now to fully dry. Minimum as always is 8 hours for initial dry but usually takes at least 24 to 48 hours to complete cure.
Generally I wait a couple of days before proceeding with next step - Top Layer Post Processing:

