Parts List
PCB Assembly
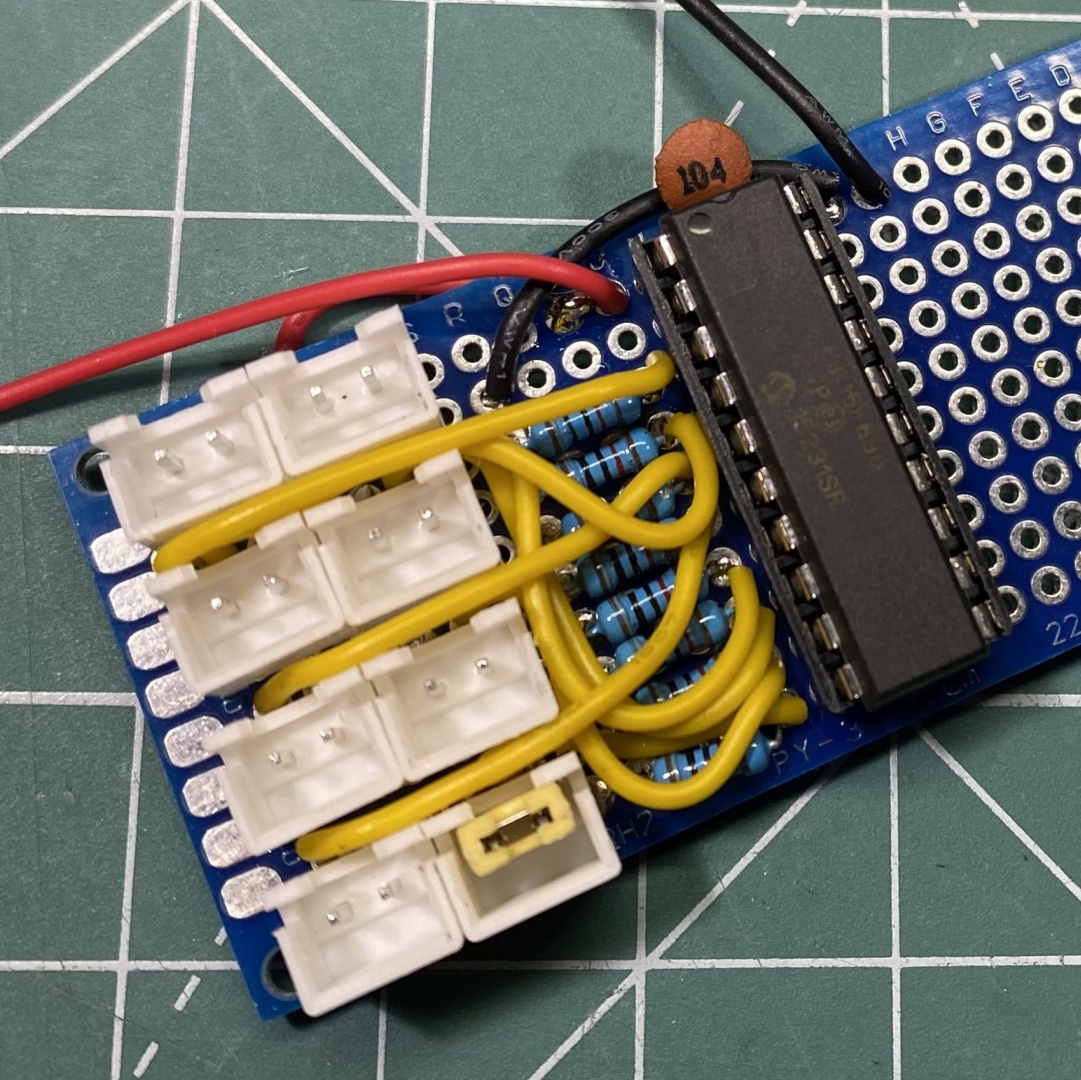
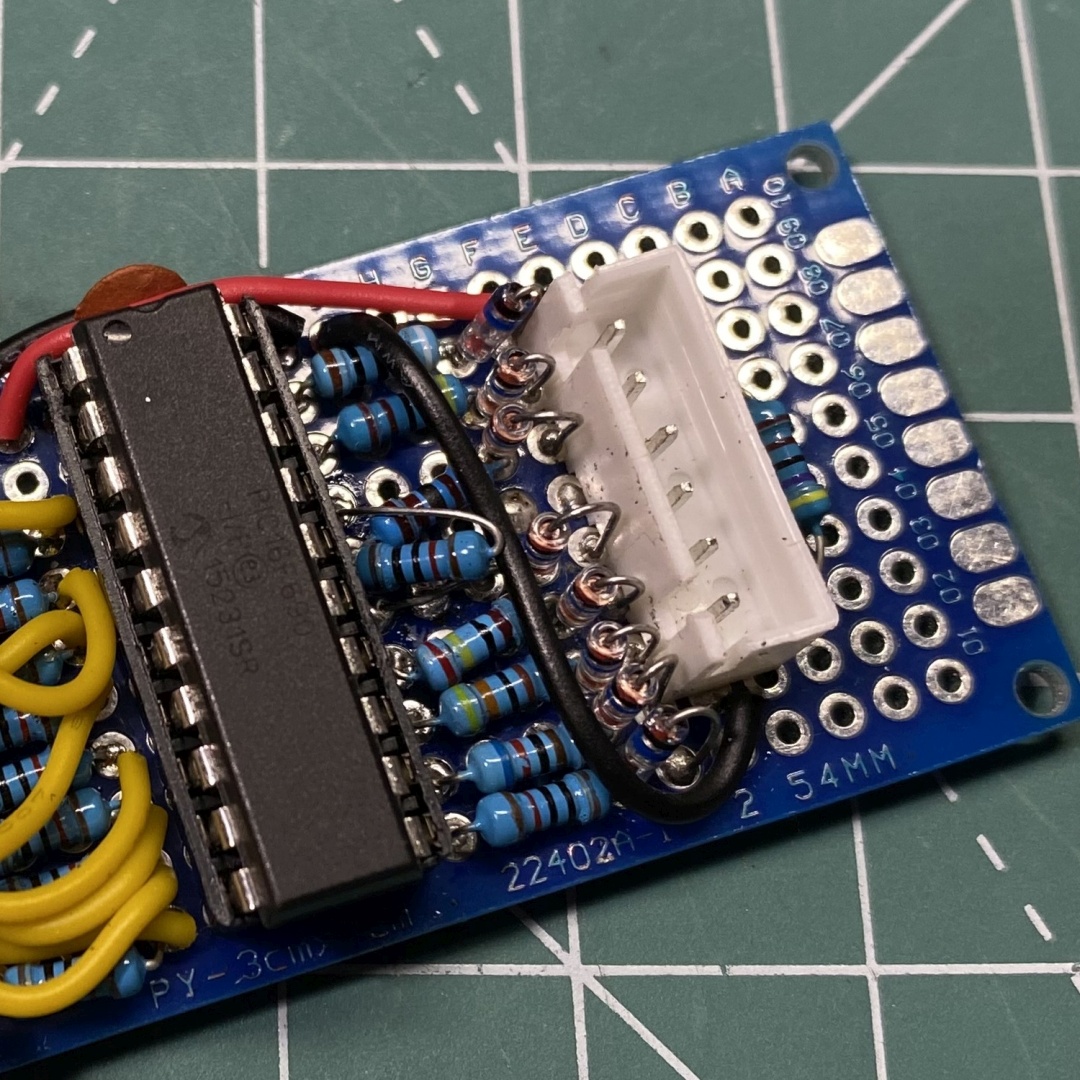
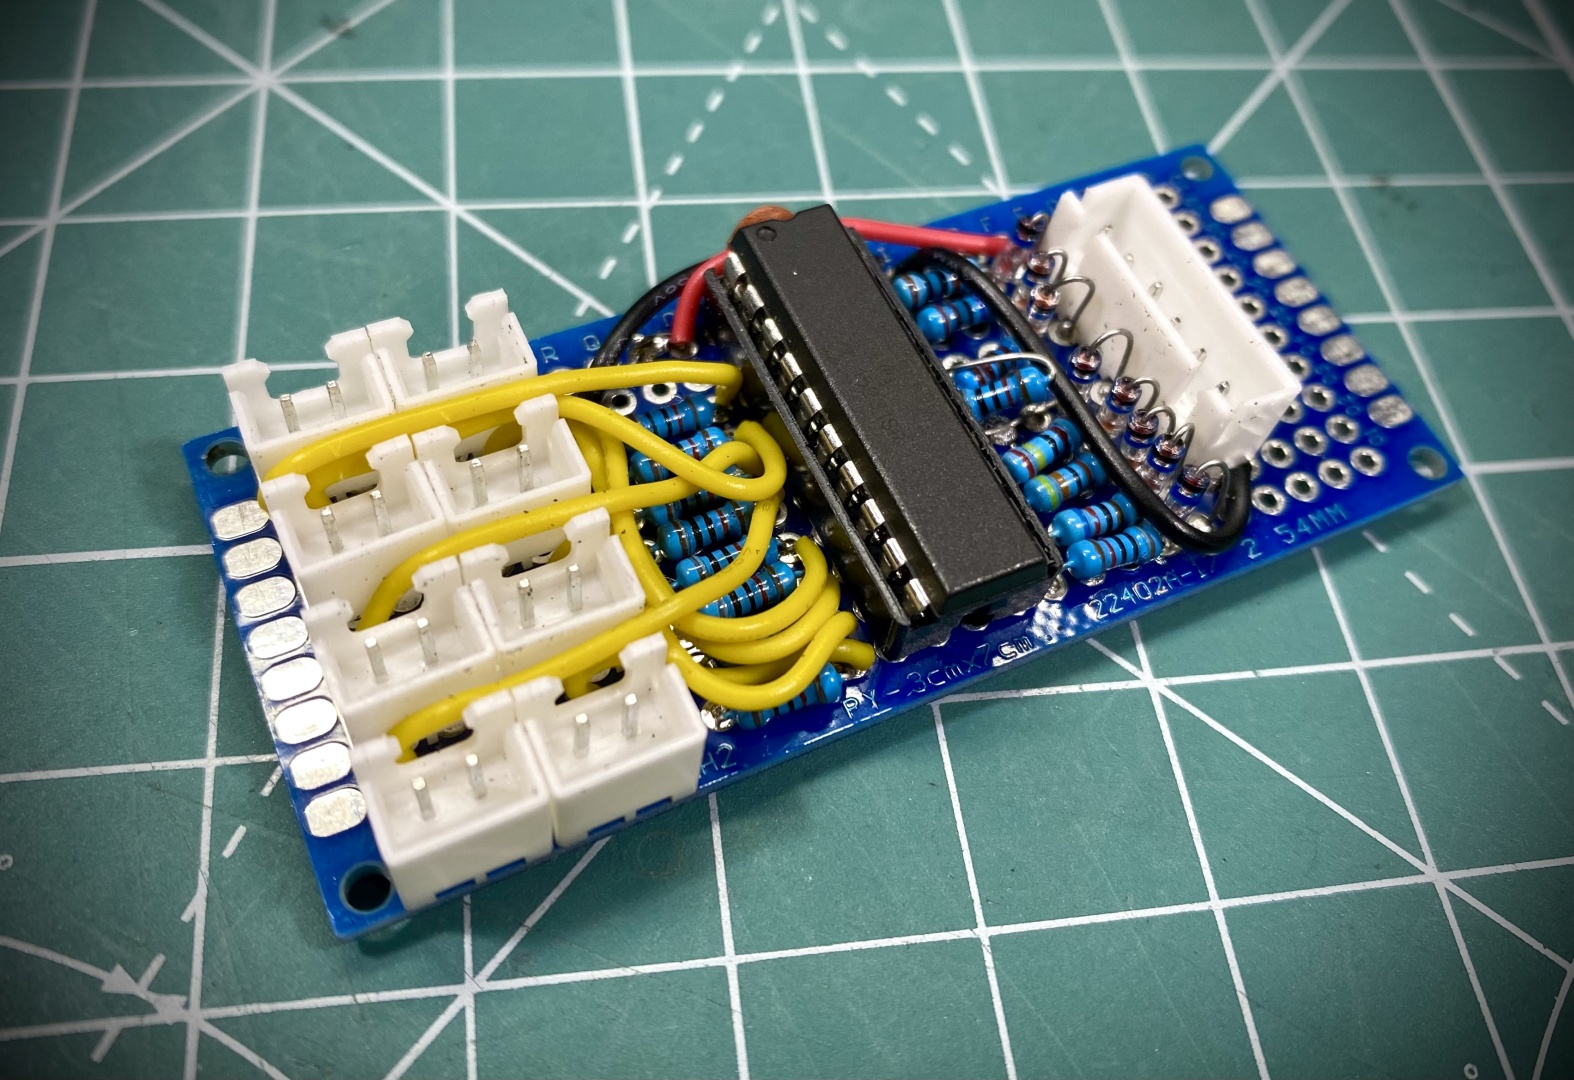
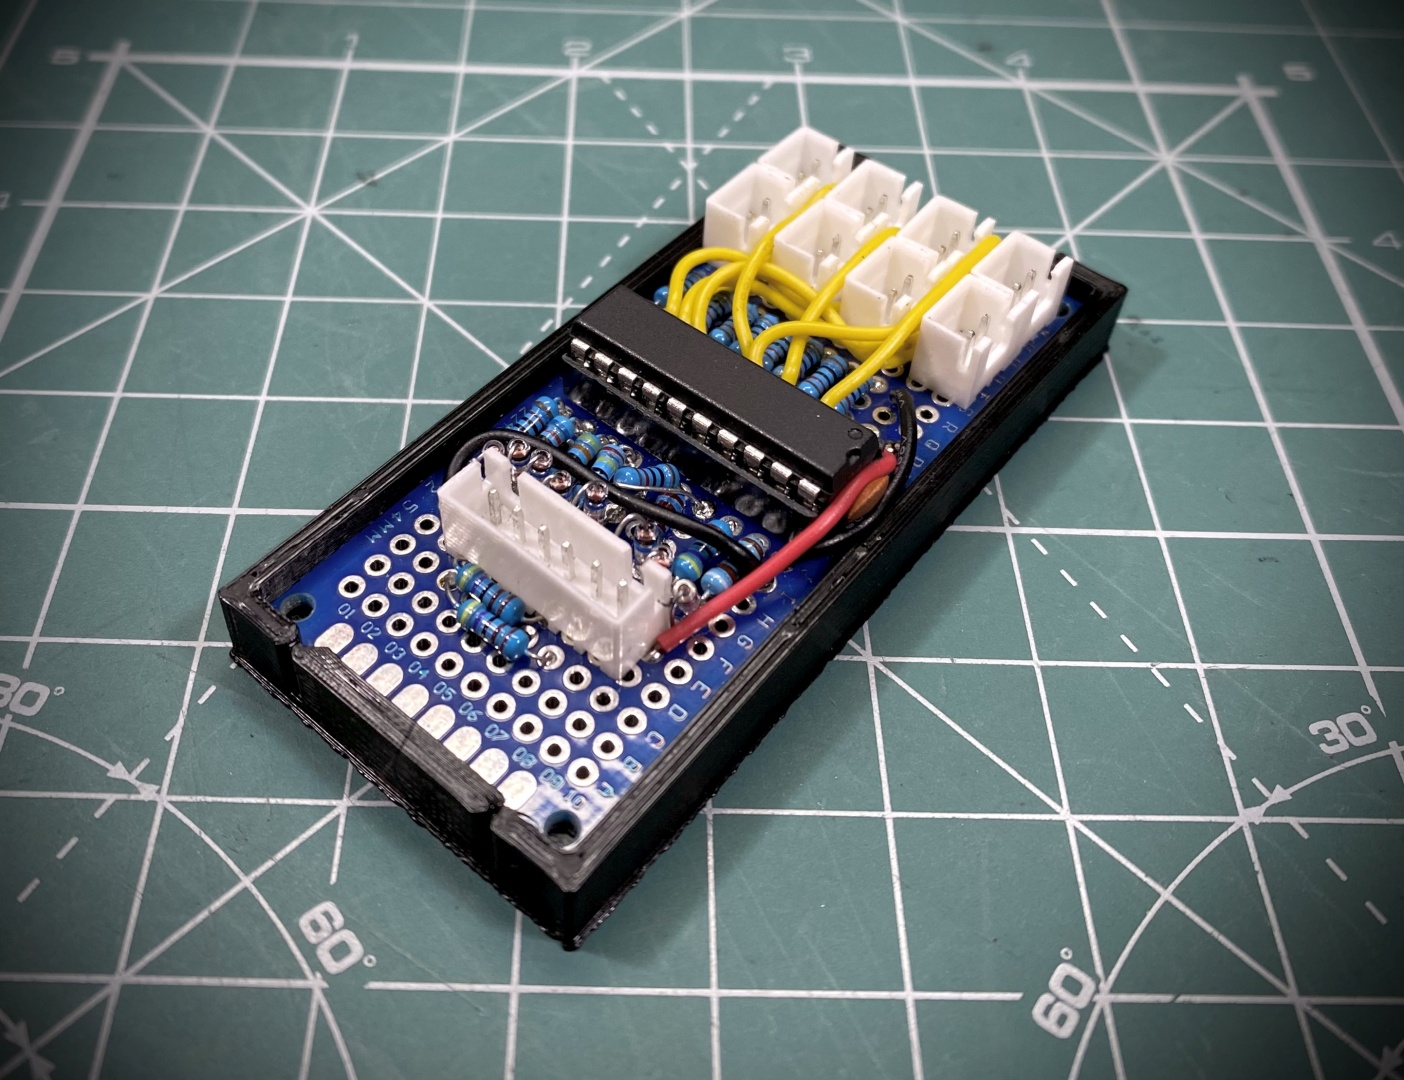
The basic design is actually simple to be soldered to a 70x30mm project PCB. The DIP socket goes in the center of it providing enough space to put on the left side the input switch connectors and on the right side a 6pin JST connector + voltage divider to wheelbase:
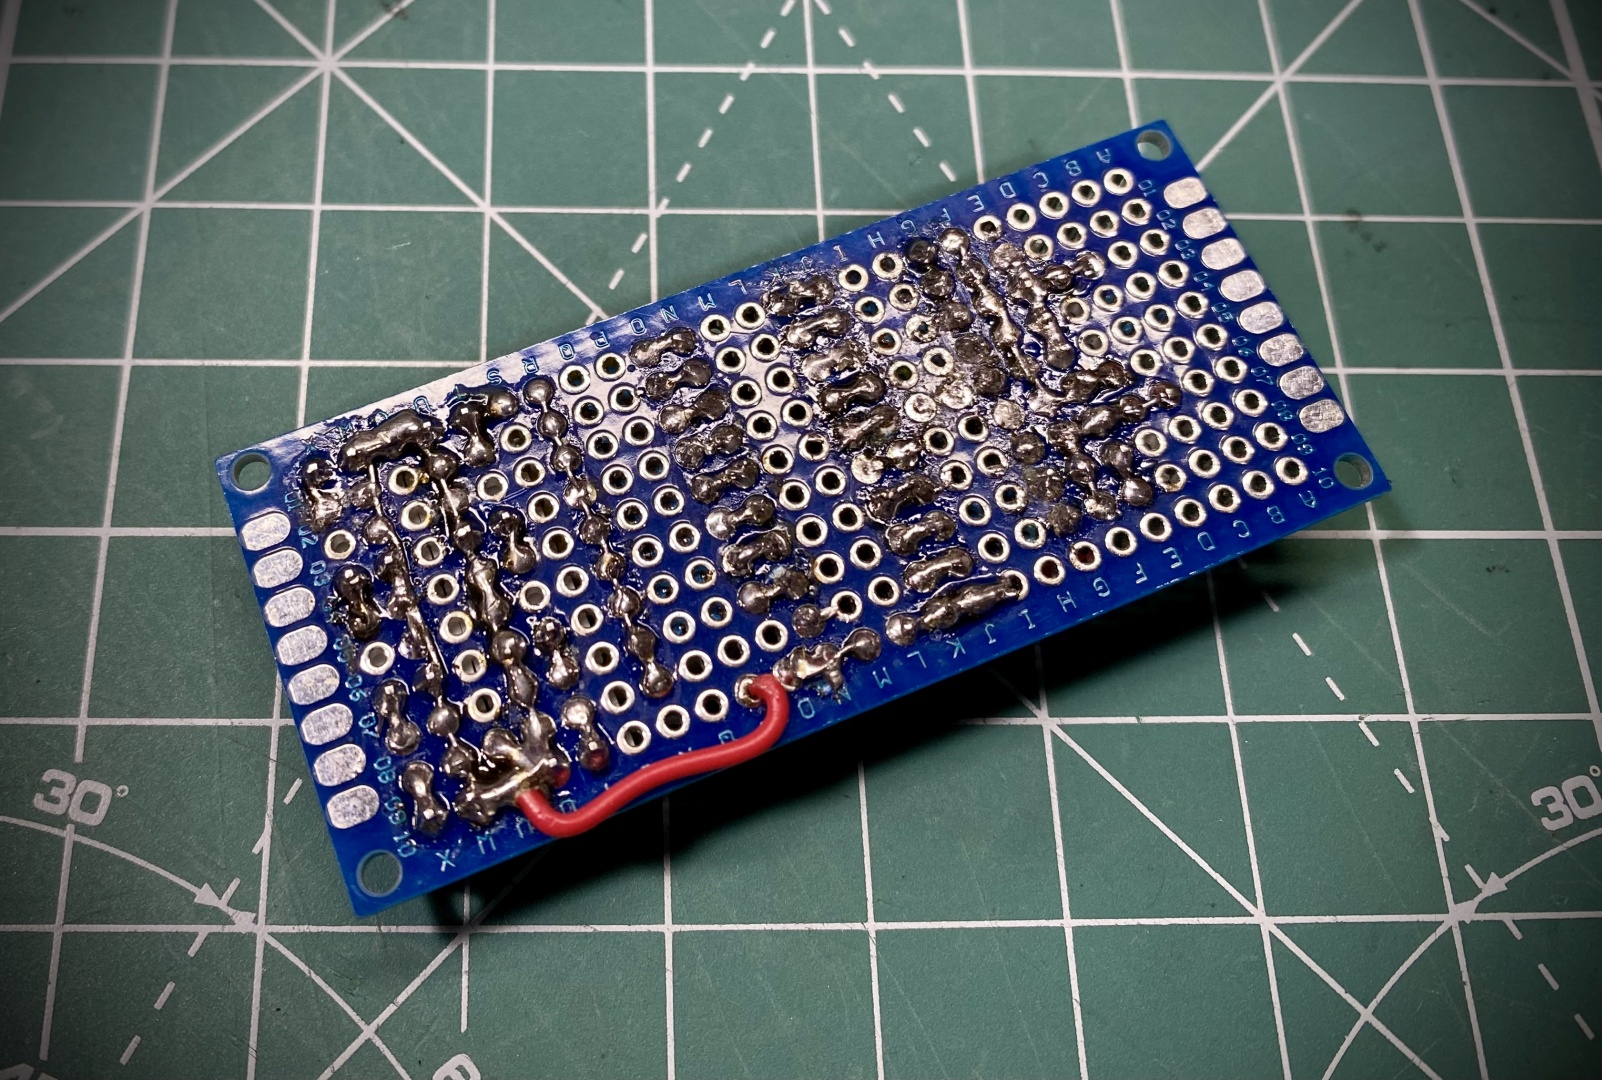
As you can see on above pictures it is straightforward to solder the PullDown R1-8 resistors right next to socket and next to them align 2 columns by 4 connectors for the shifter Gear switches. They are connected to VCC on one side and on the other with solder bridges to the PIC's inputs.
On the right side we have the outputs which are directly connected to the Voltage Divider resistors followed by the signal diodes. On Y3 output we have two resistors as we did not have 20KOhm one, on X1 we have a simple wire bridge. All 3 Y diodes combine in one output and connect on pin 5 (Y-Axis), all 5 X outputs do respectively the same to Pin 4 (X-Axis). PullDowns are connected on the right of the 6p connector. Bypass capacitor is soldered right next to the PIC threaded below the DIP socket.
Final circuit should look something like that - as you can see there are not a lot of bridges and is very simple even with project PCB:
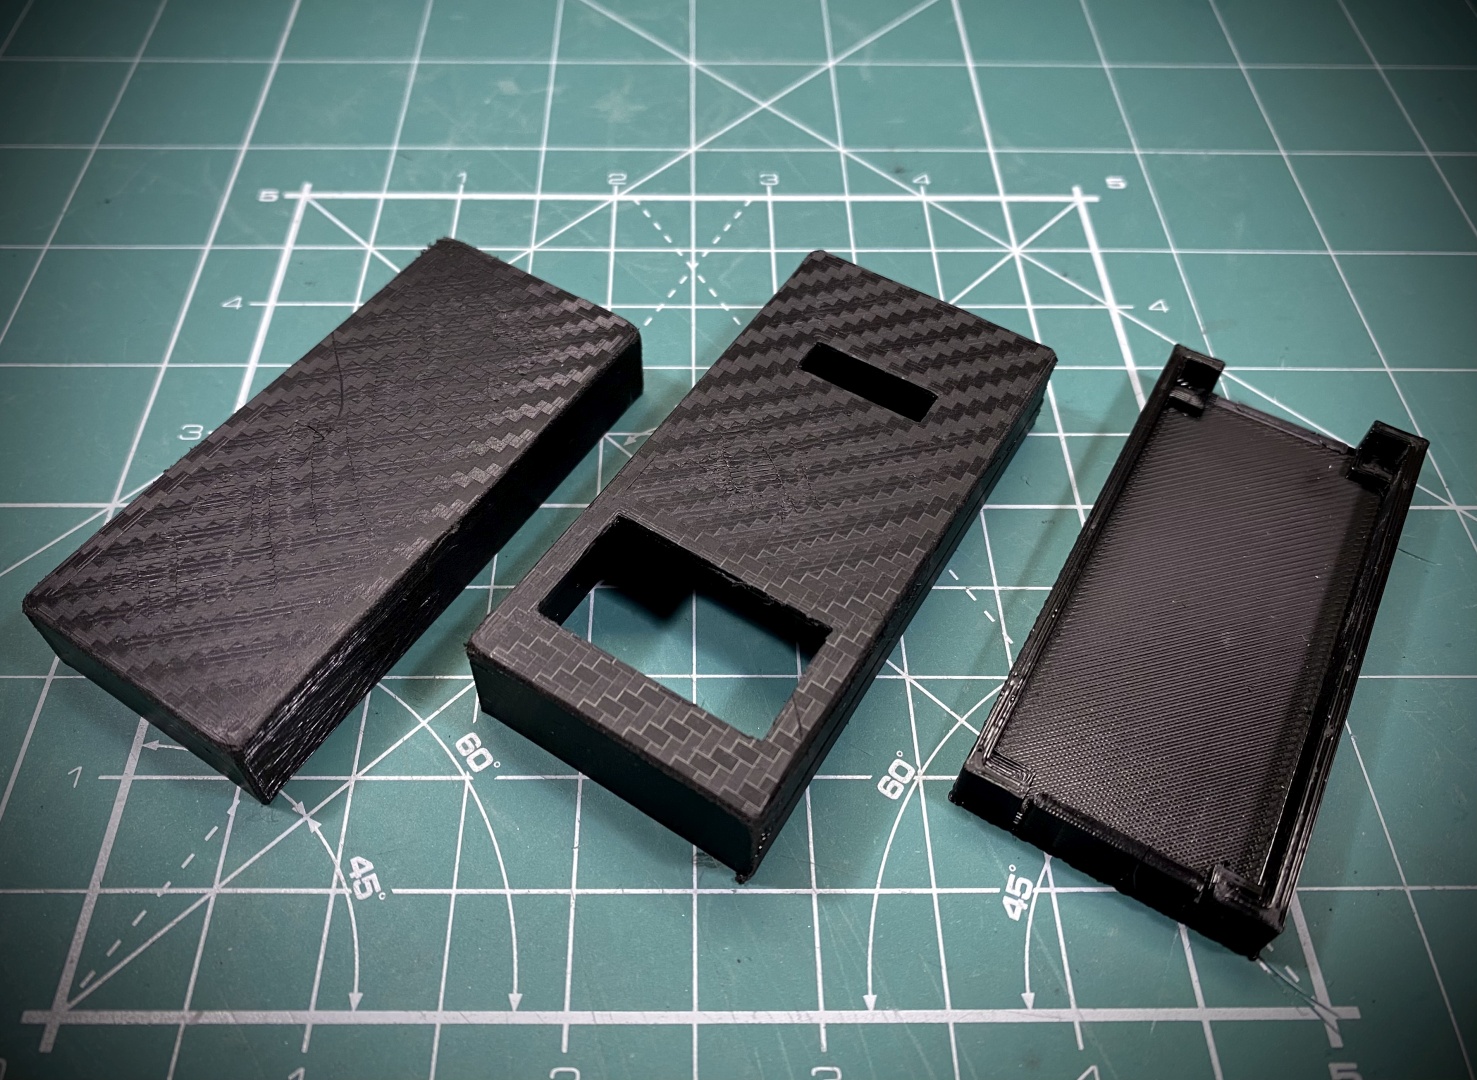
You can download HERE designs for open-top bracket or full covered enclosure for this project:
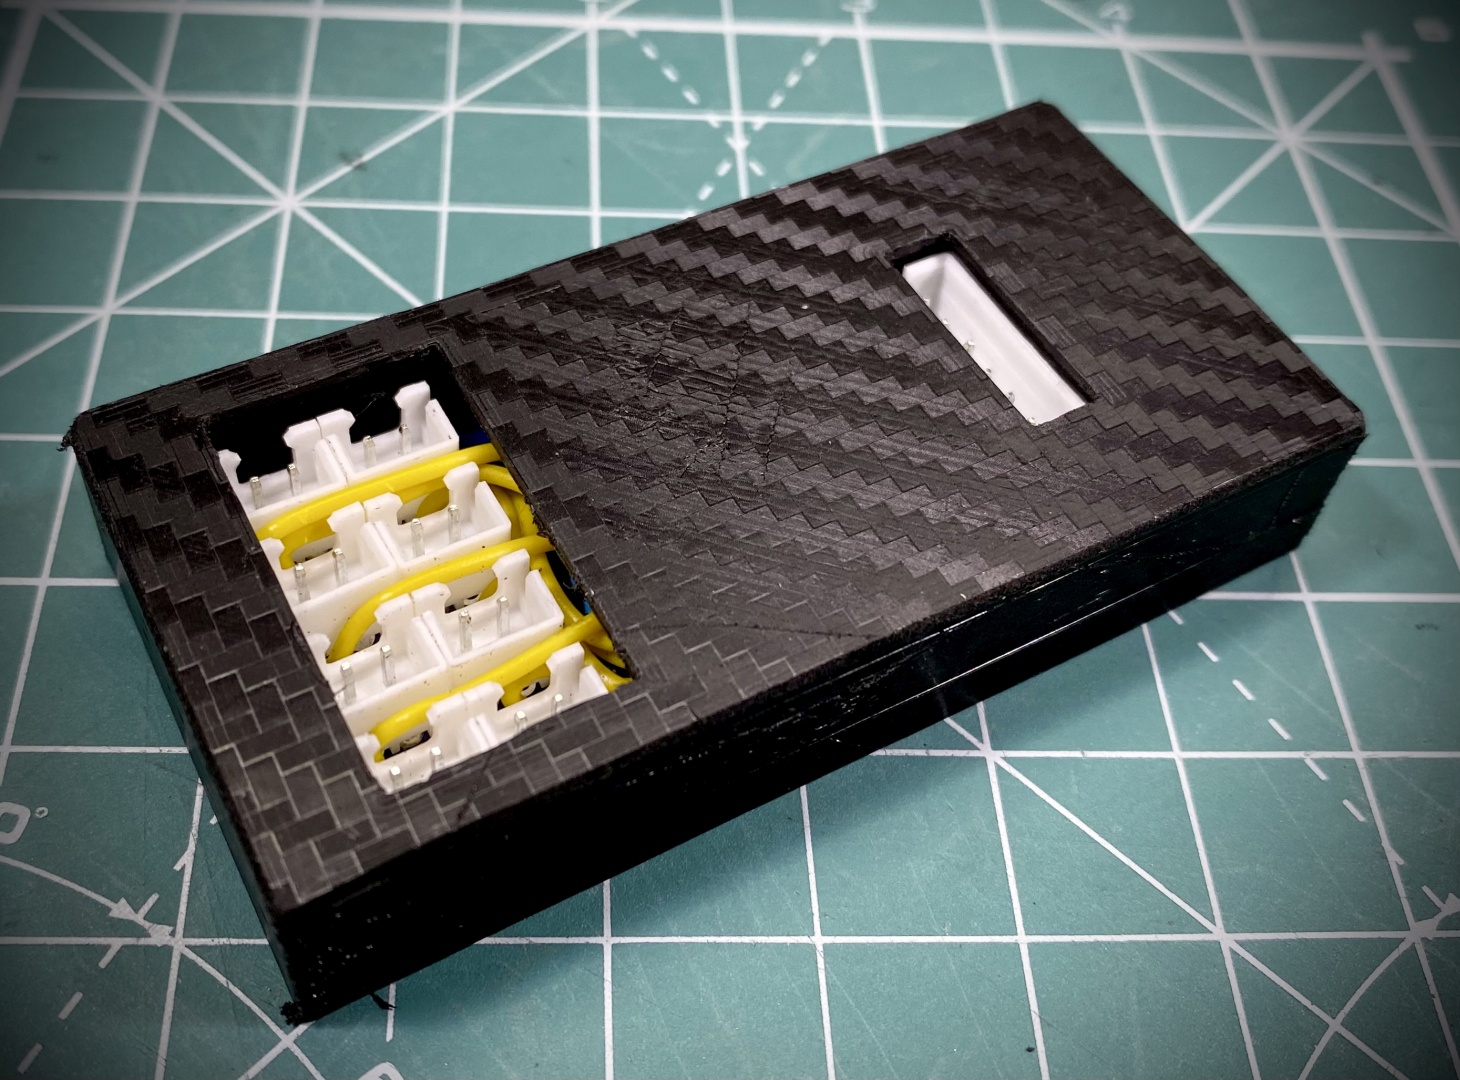
And at the end - this is the finished product:
Now comes the fun part - connecting our interface adapter to a H-Pattern shifter. Our obvious choice is the BDH H1 Bazooka shifter, for which you can read our impressions in This Long Term Review. As you can see from the pictures below the Interface Adapter even with full enclosure has smaller footprint than a standard USB gamepad adapter:
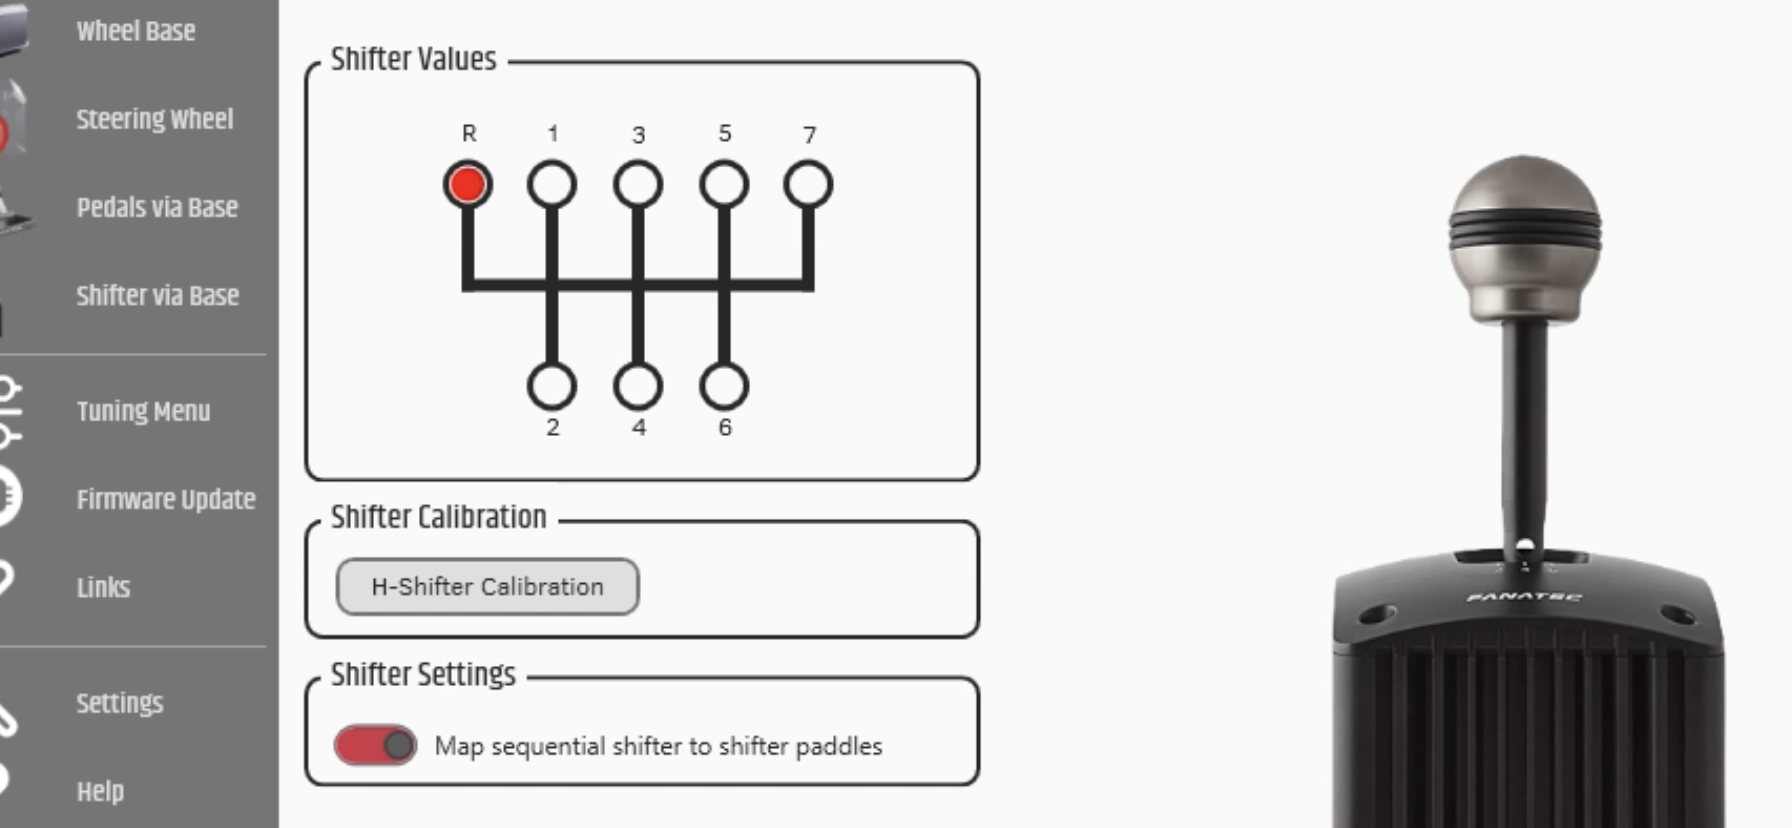
If you managed to complete everything properly after connecting you newly interfaced shifter to Fanatec wheelbase and having performed initial calibration you hopefully will get the following satisfying screen:
Congratulations! Now you have natively supported non-Fanatec shifter working with the internal protocol seamlessly with your wheelbase. We are pretty sure that you will be able even to use it on Consoles!
Conclusion
This is fun little low cost project that will allow you to bring a aftermarket H-Pattern on Sequential shifter to your Fanatec ecosystem. It works reliable, has real-time response and utilizes the internal Wheelbase protocol. This we realize it is not particularly tempting for PC users but still having one less device to bother with in-game configuration and one more free USB is not a bad thing. For console users on the other side - this is welcome addition opening possibilities to use wide array of very cool shifters present out there on the market.
In either case we hope you enjoyed the report for this project and will have great fun building your own Universal Interface Adapter!

