-
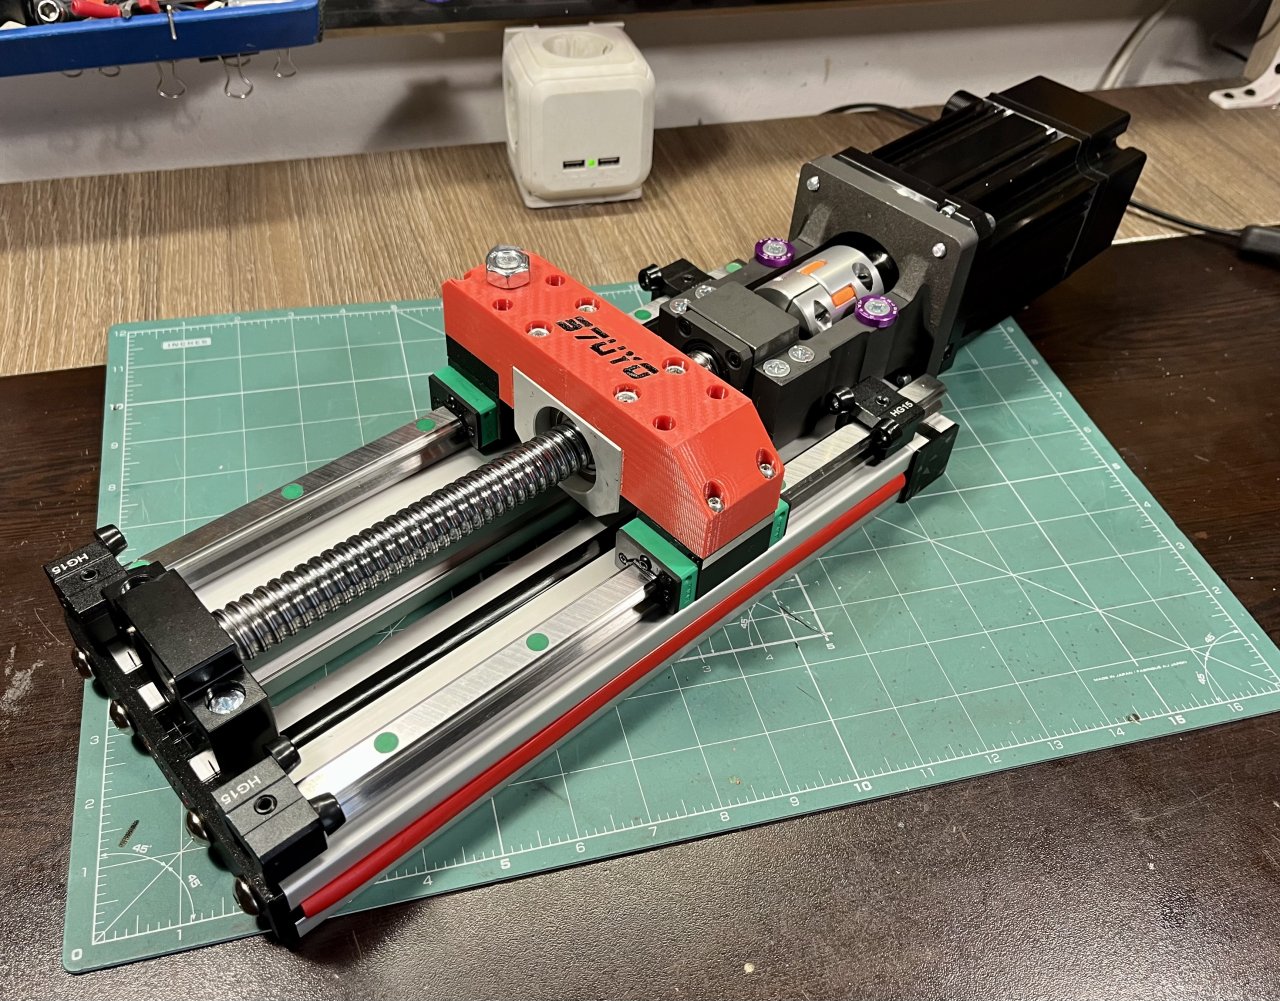
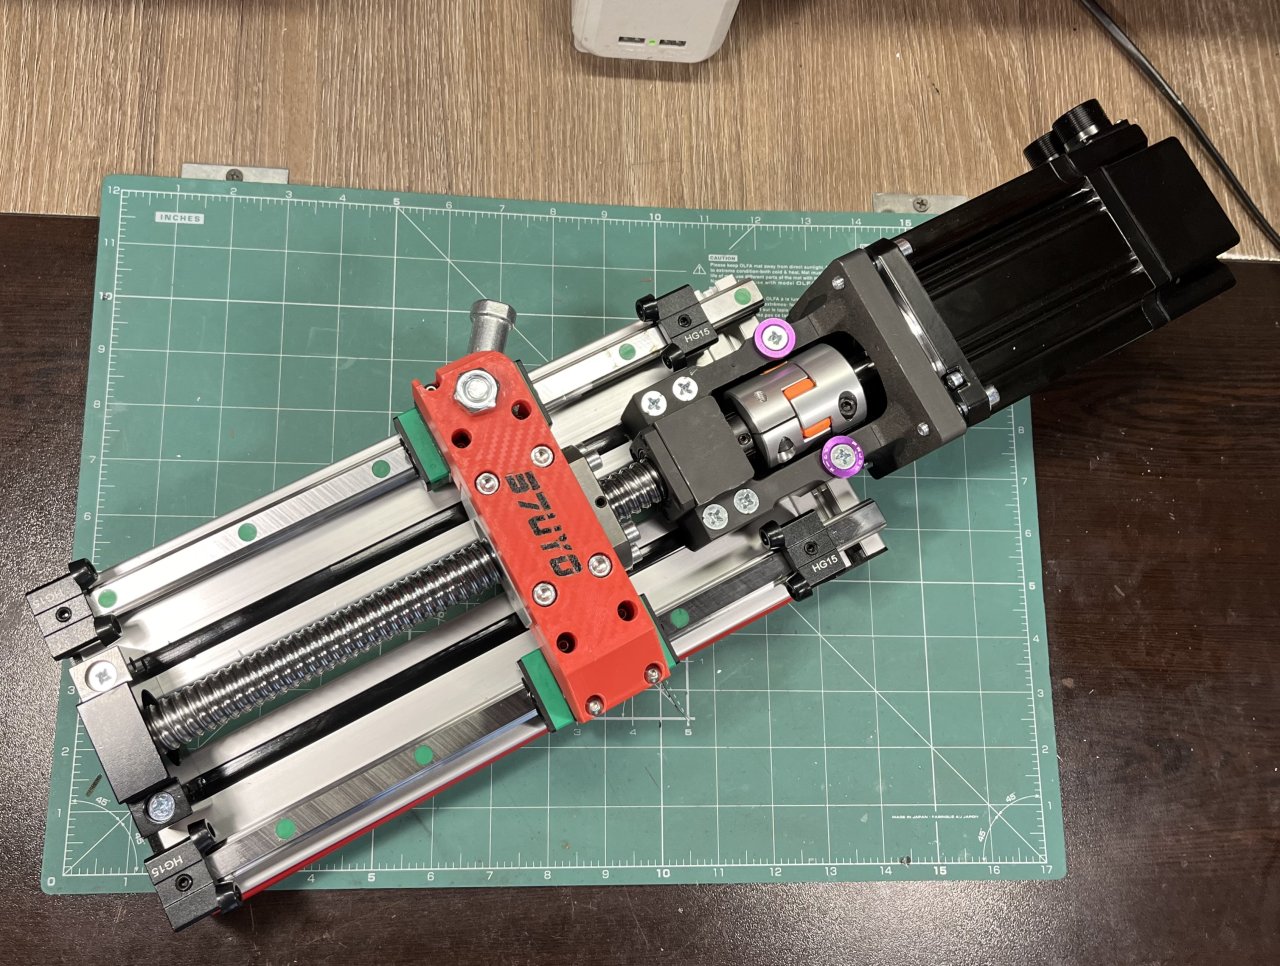
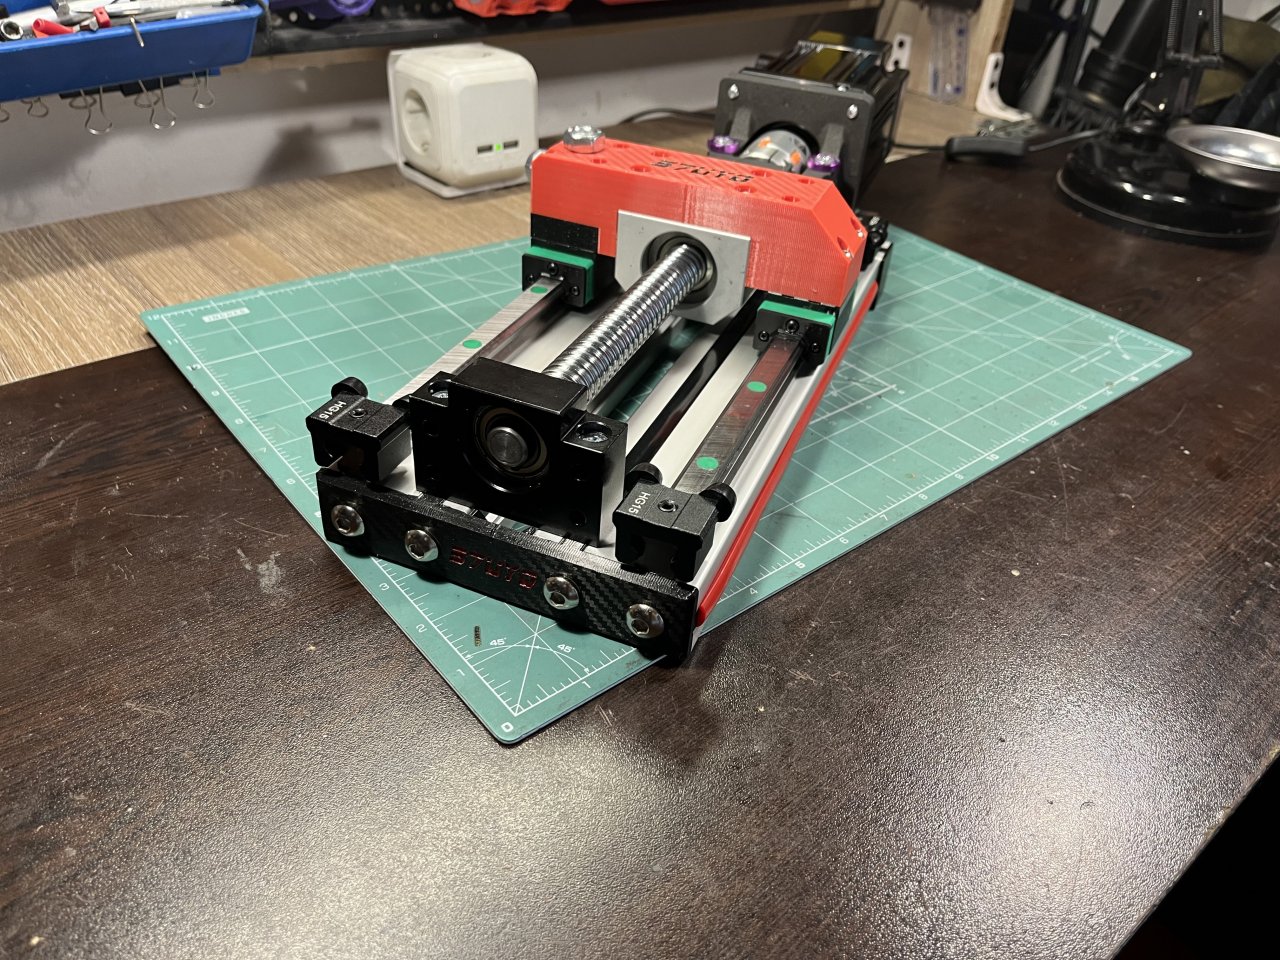
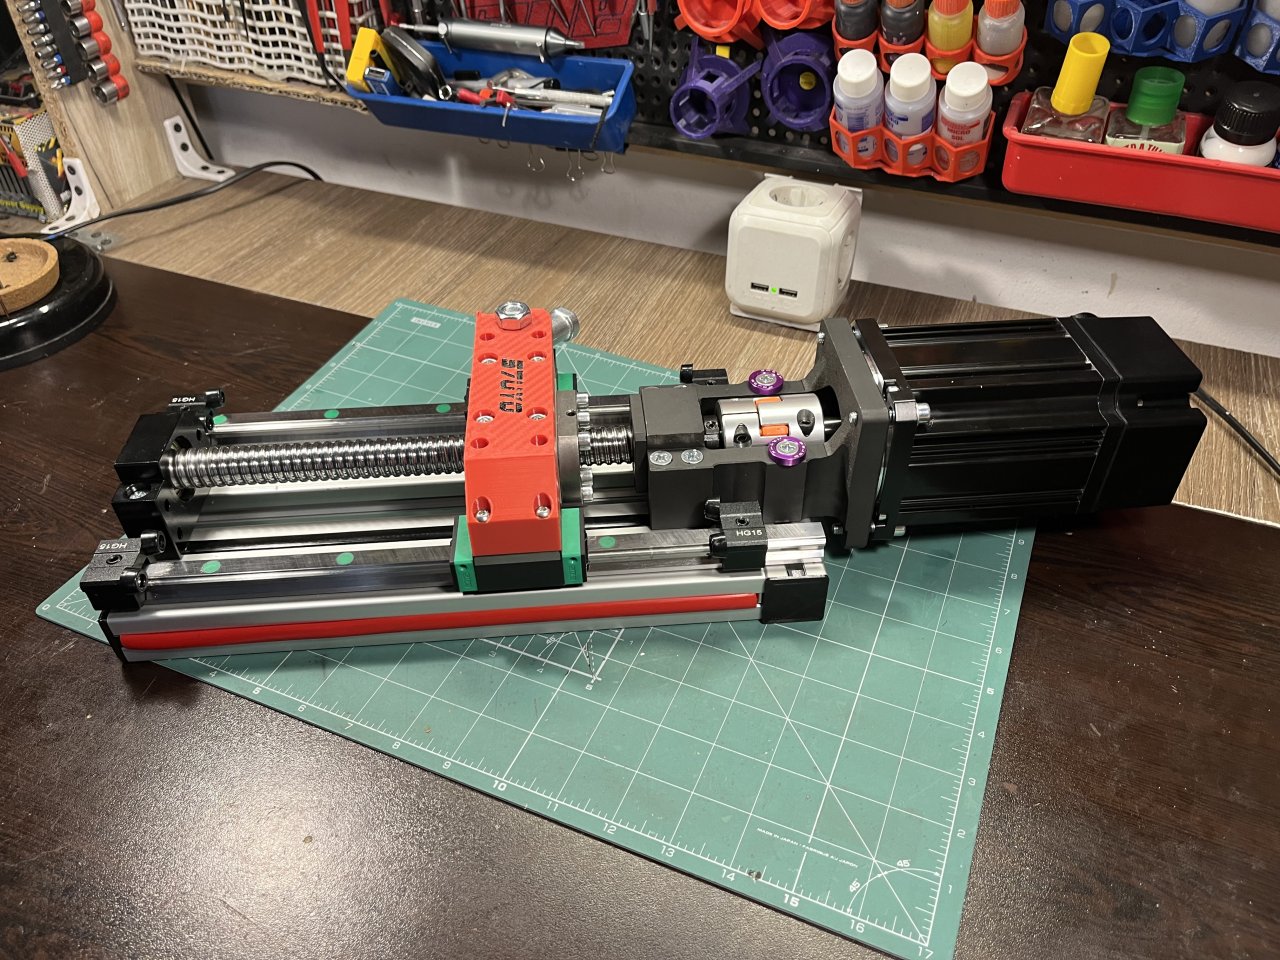
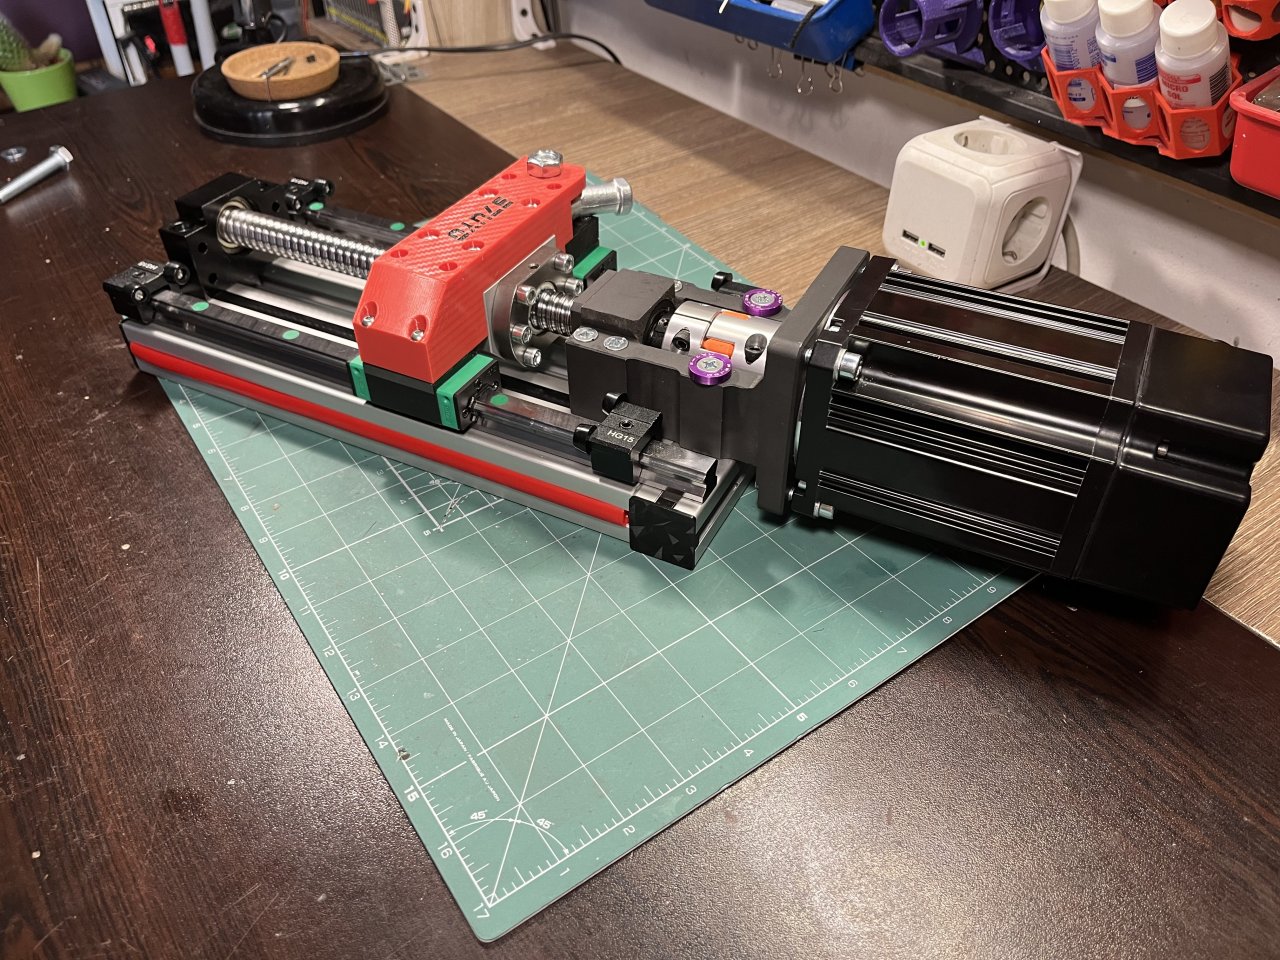
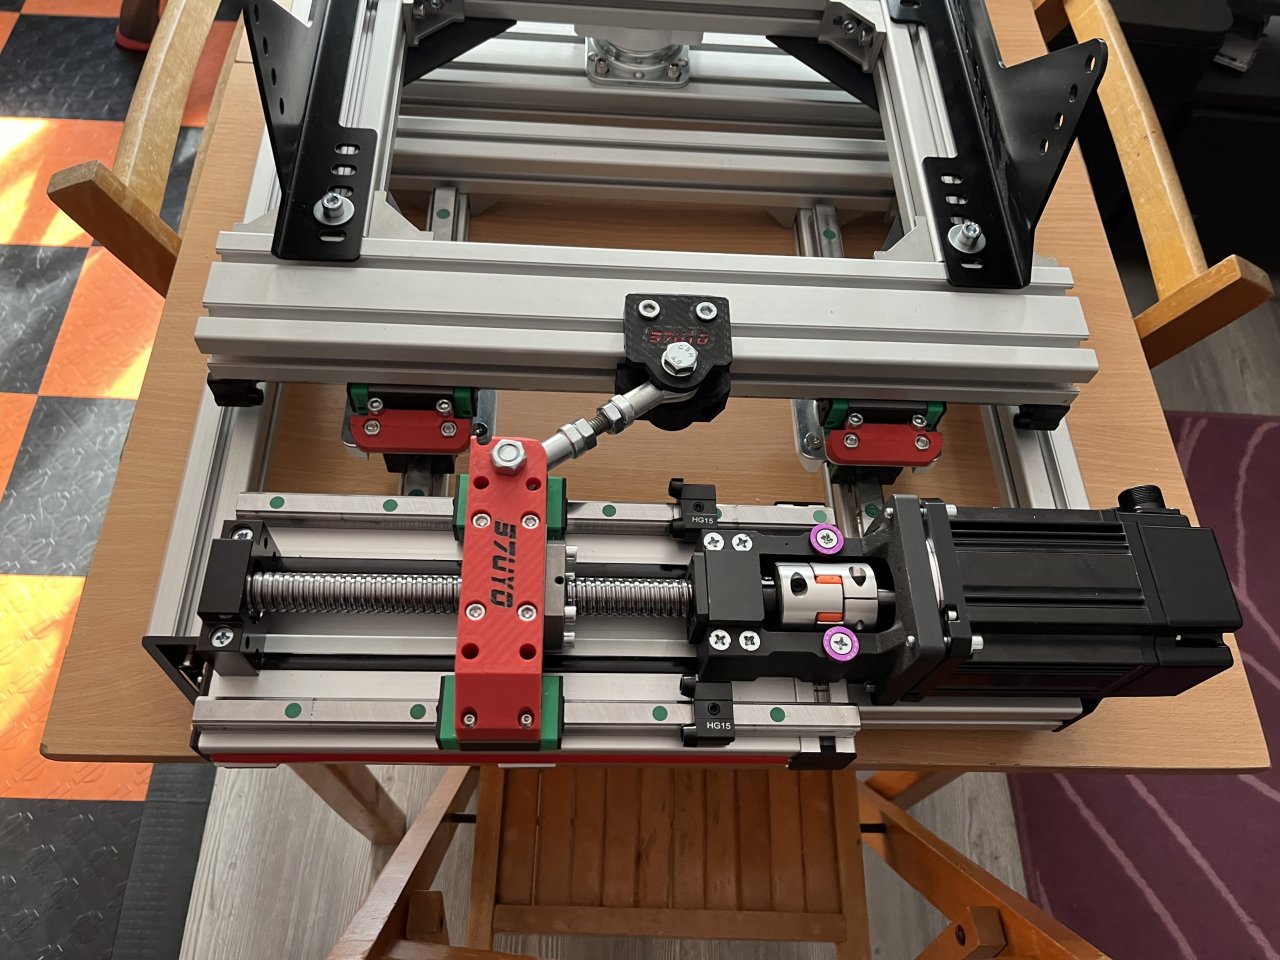
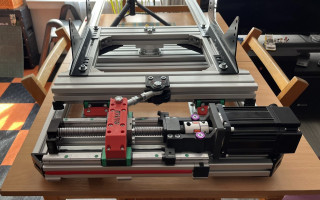
Simple linear table actuator to be used in my Compact Traction Loss Seat Mover Motion sub-system. Based on HGR15 linear rails and SFU2005 lead screw. Works with 90ST motor and driver, is intended to be driven by a Thanos AMC controller.
Goal was to be as minimalistic as possible and easy to build. Baseplate is from 3030 profiles to keep footprint to a minimum, also I am using integrated motor mount with leadscrew bearing further minimizing width. Interface with seat mover TL platform is designed according to my setup, for different types of implementation it would most probably need redesigned.
Total travel of linear table is 165mm, will be set as 160mm actuator in the Thanos AMC.
-
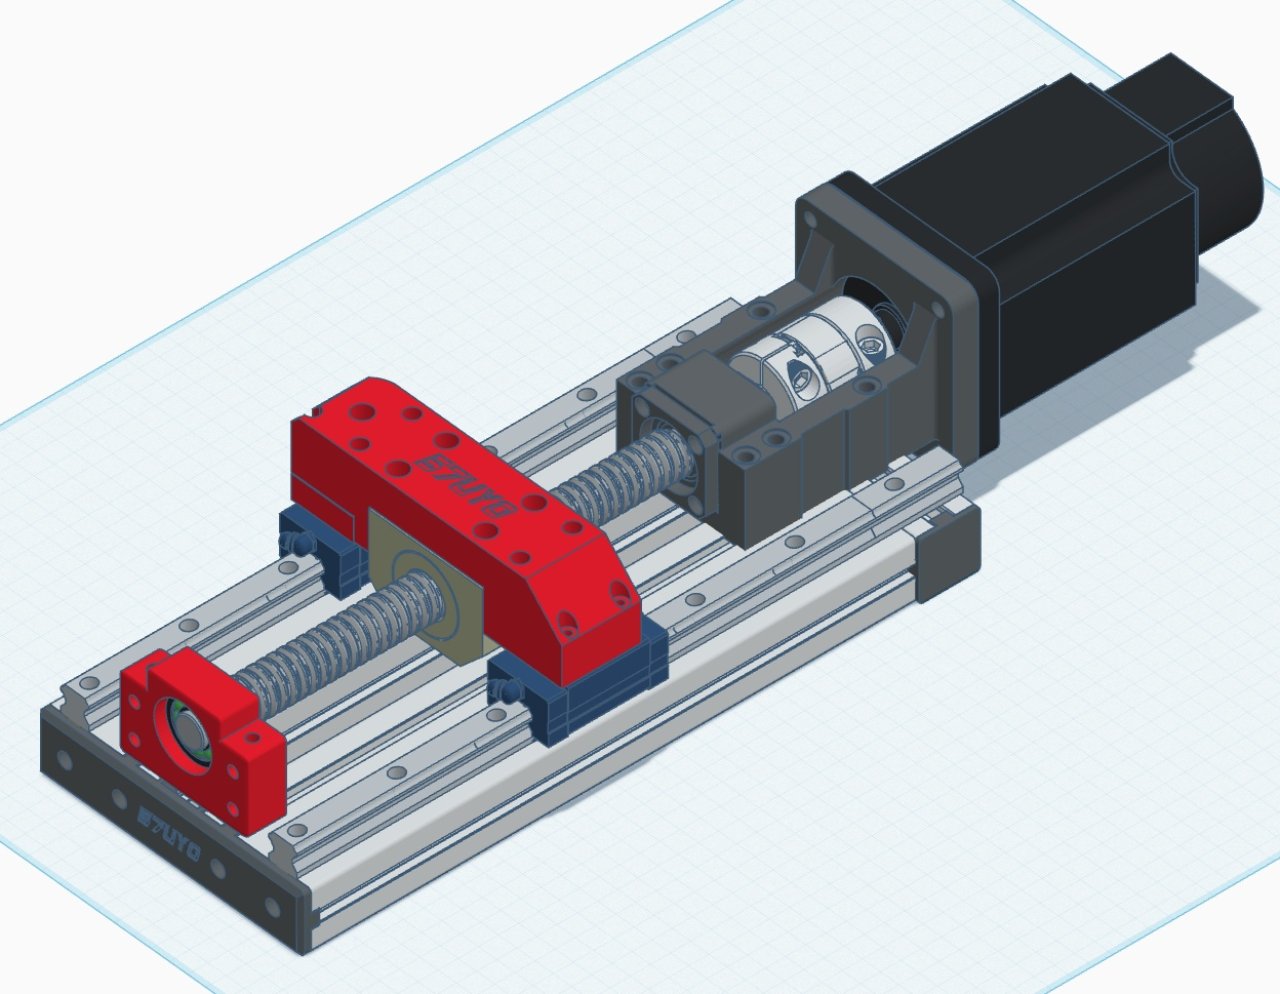
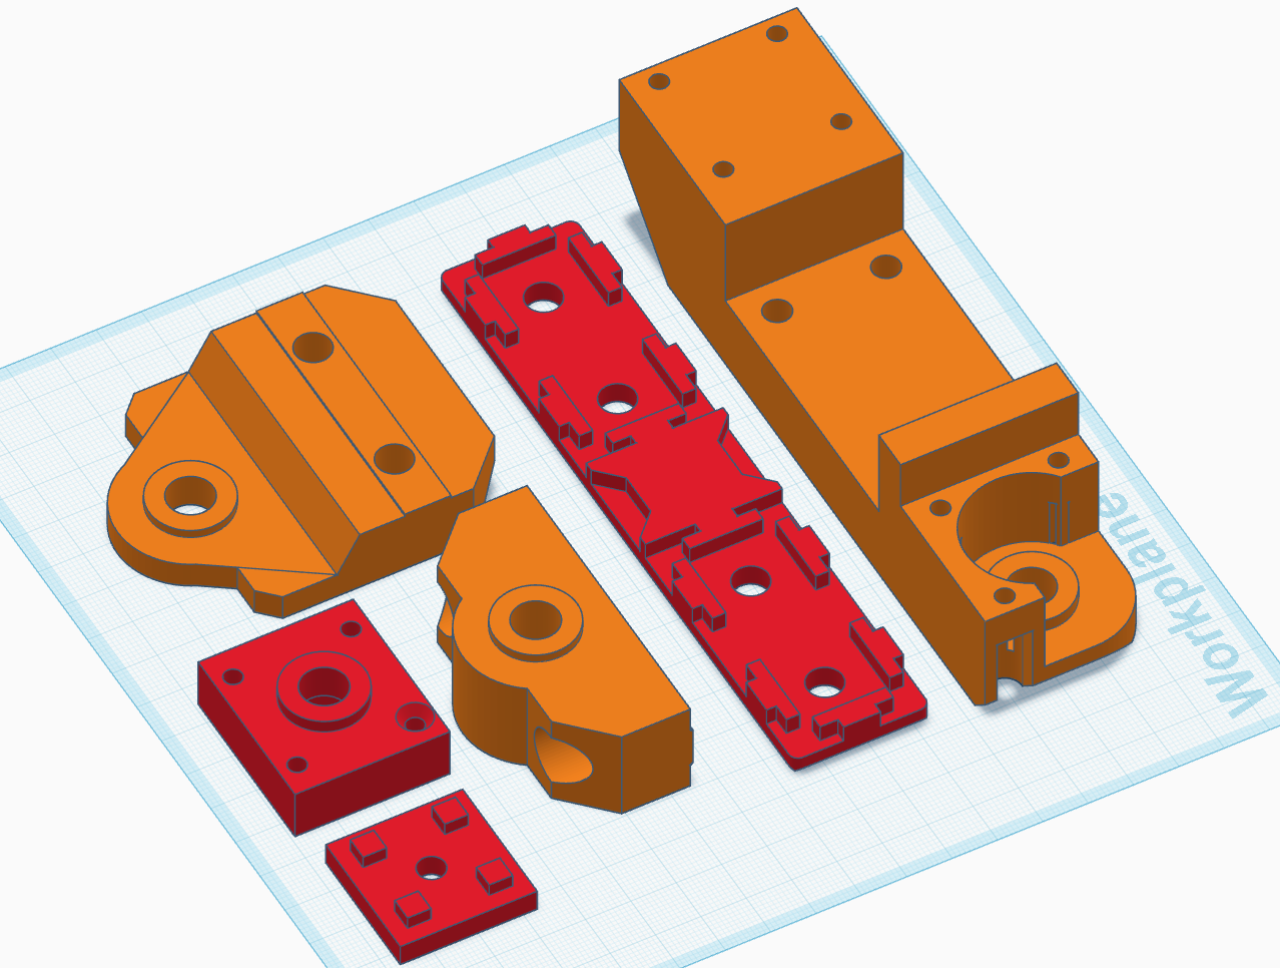
3D model:
Pats list:
Notes:
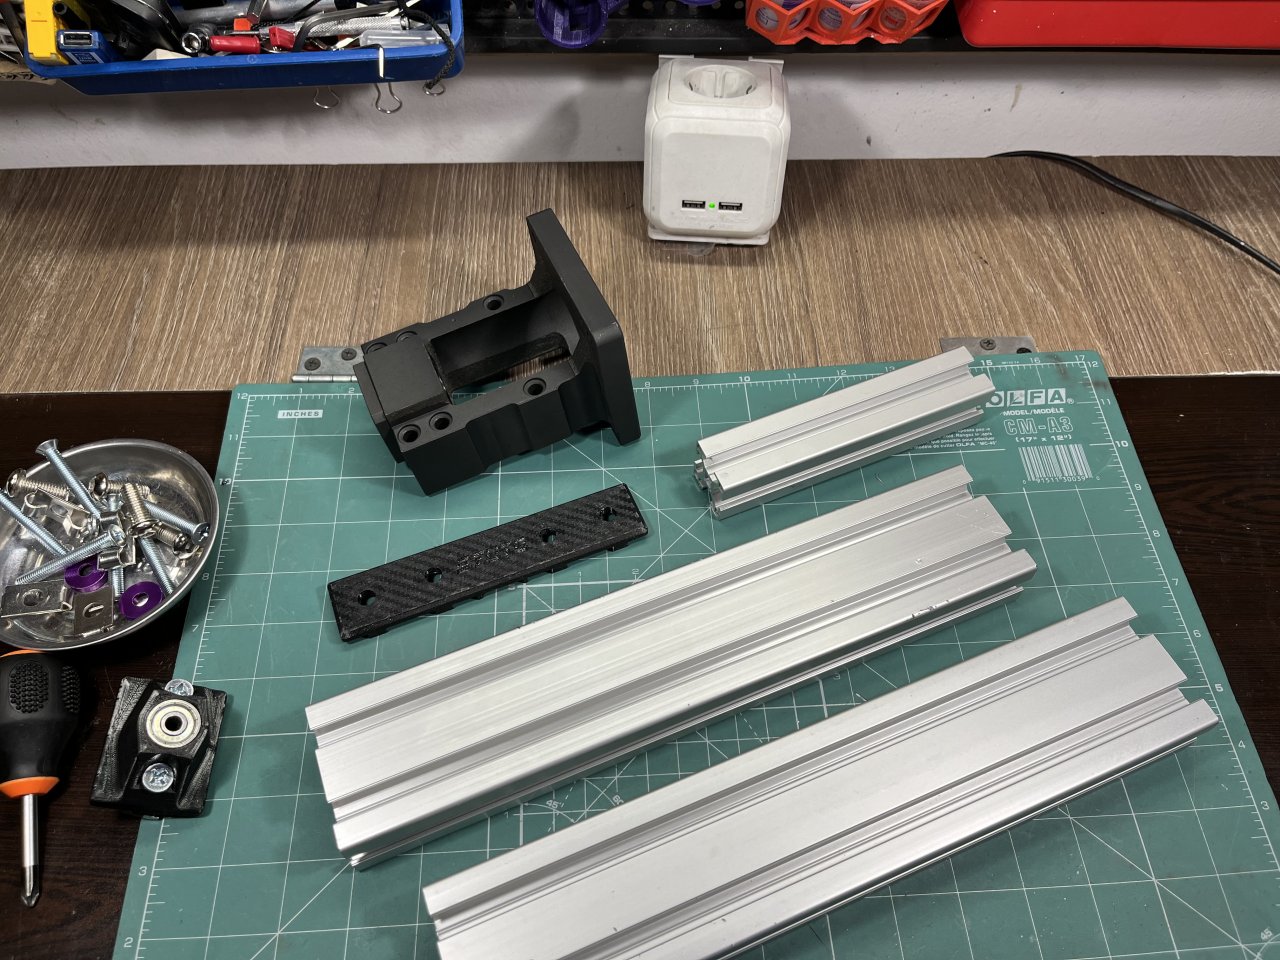
Included in files you can find HGR rail alignment tools. Strongly advised to print them so you can properly align the rails to the support frames.
End stops once the assembly is finished are not mandatory. Still bettor to keep them on.
Prices are in EUR with VAT included, all current at the moment the material was written. The 90ST motor and driver I managed to get with discount (thus the black version, do not recommend it if it is same price as white). Currently price of motor and driver is back to standard one, you might wat to search suitable discount.
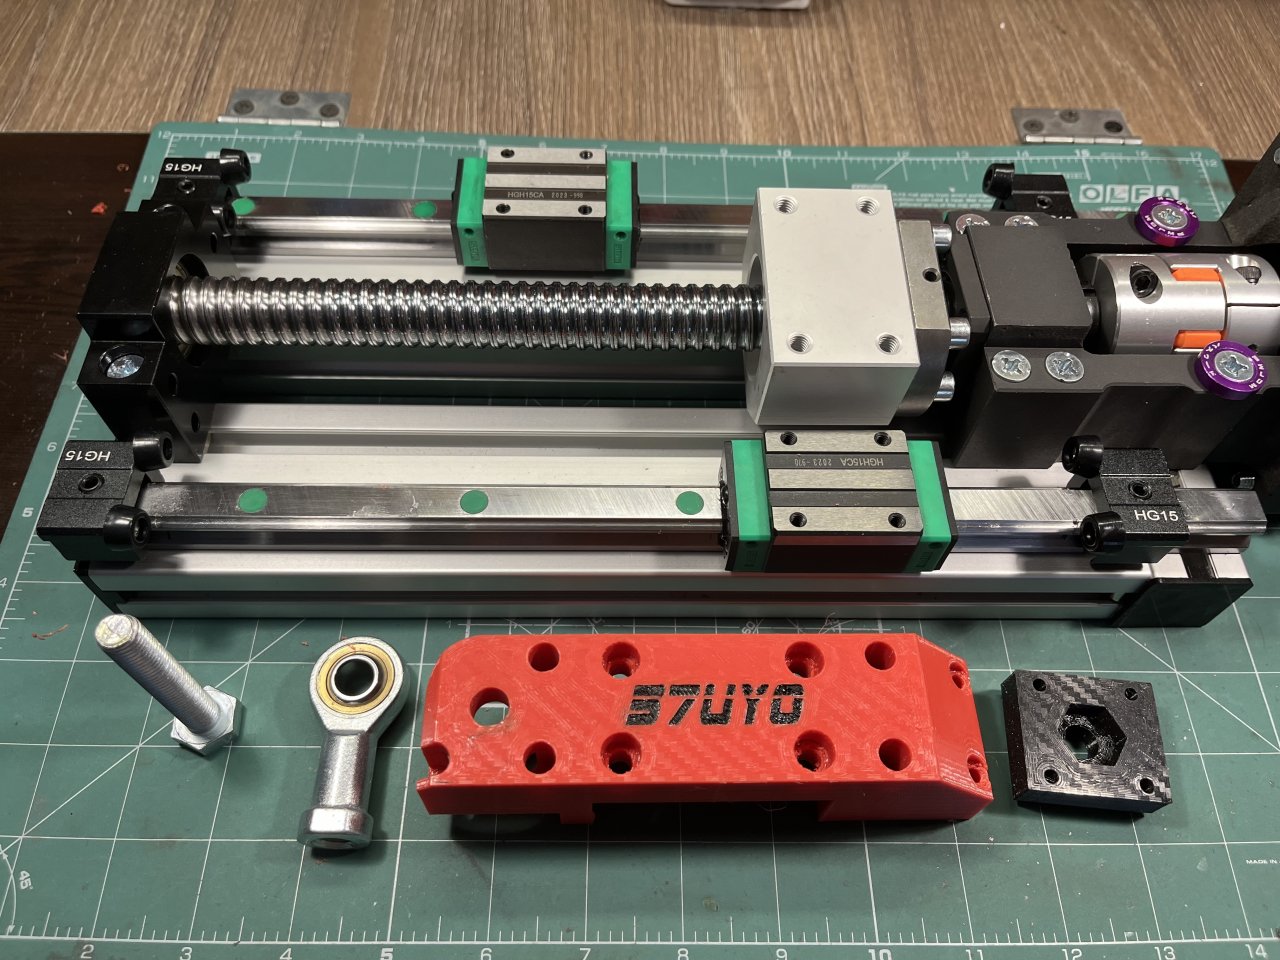
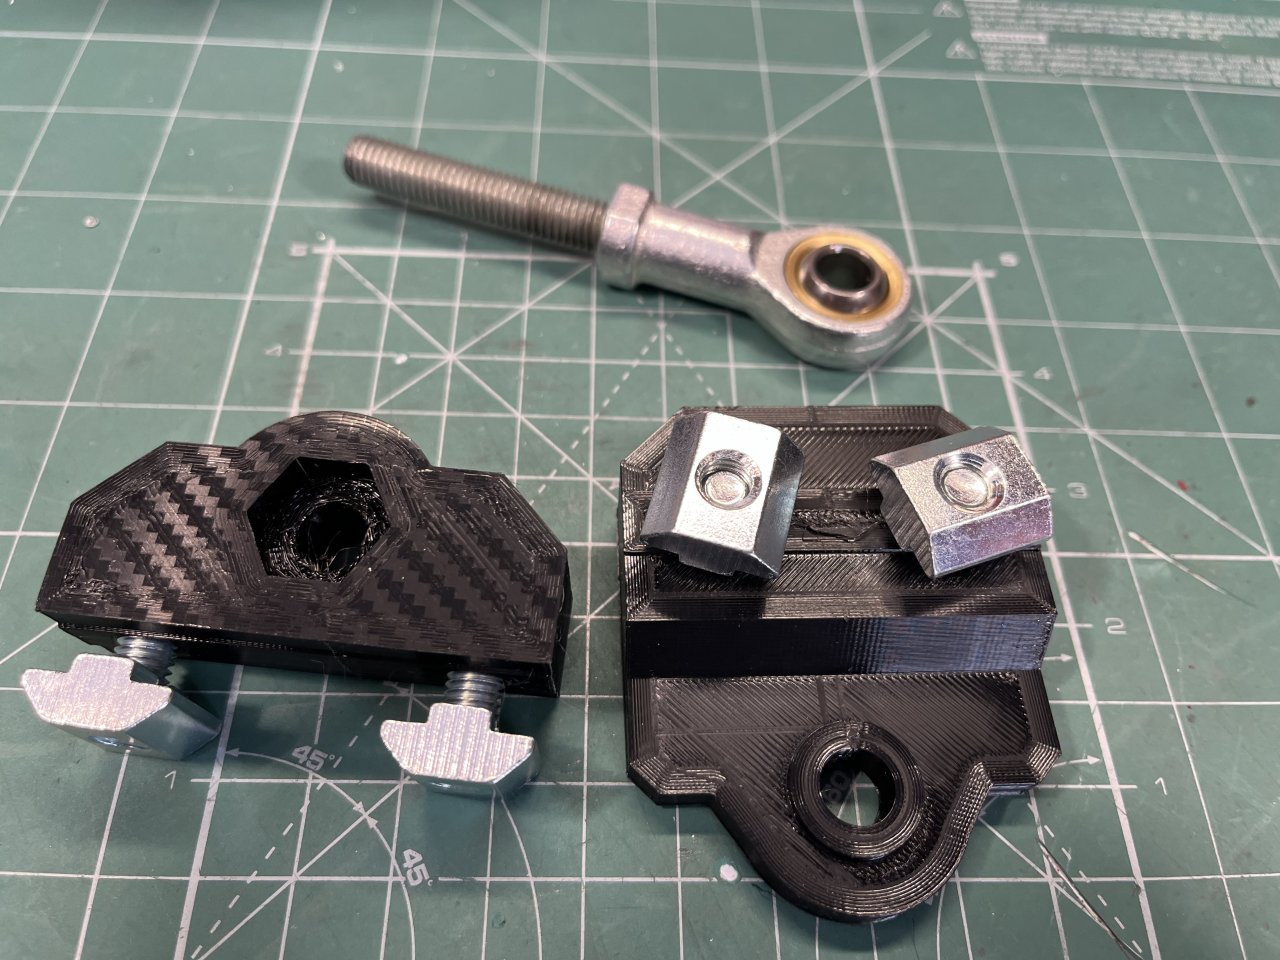
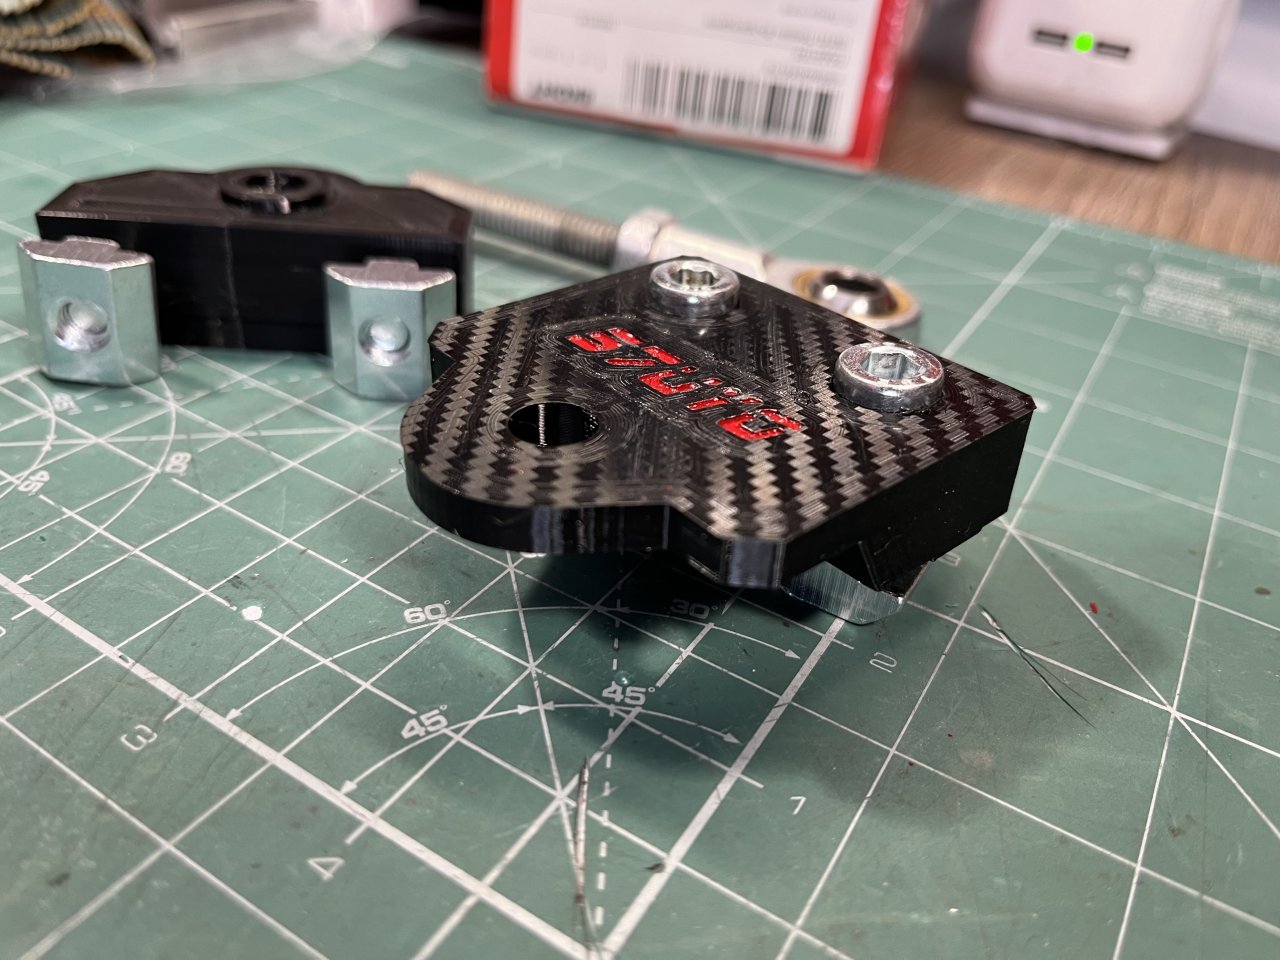
This actuator is designed to connect directly to my TL frame, if you have other implementation most probably the height of the linkage mount has to me modified.
I measured and cut to length M8 threaded rod. You can either do it like me or buy pre-cut one. It is not marginally important the mount to be in the exact center of the seat platform so you have some leeway.
Print Settings:
All parts were designed to be printed without supports as long as your printed is good at overhangs. All was printed in PETG for better longevity. The more walls/layers you put the better. I myself printed at 9 perimeters, layers top/bottom and 40% infill.
-



Comments (0)