-
***Update 18.02.2025 - new HGW block low profile heavy duty mounts***
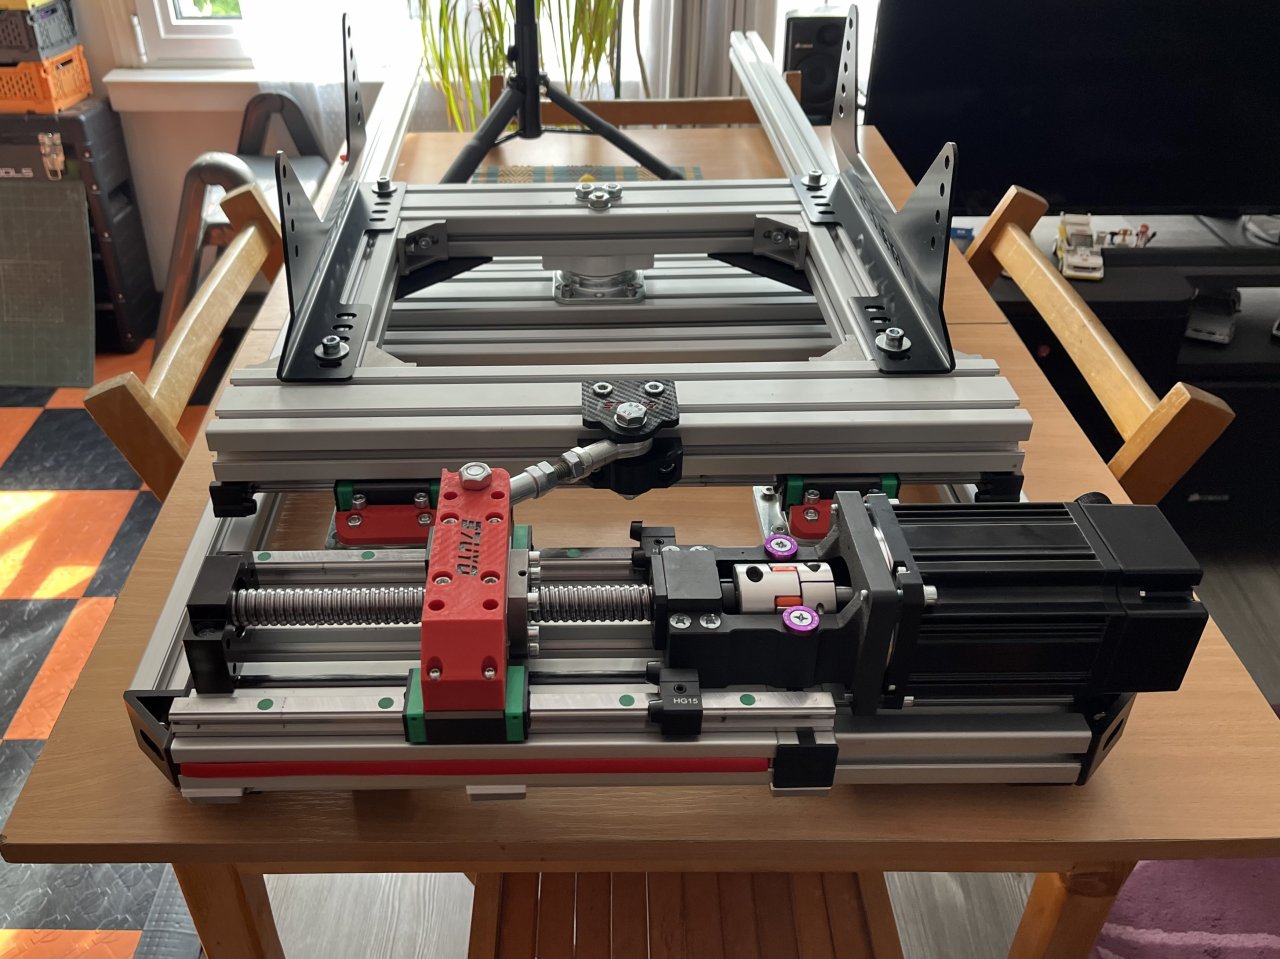
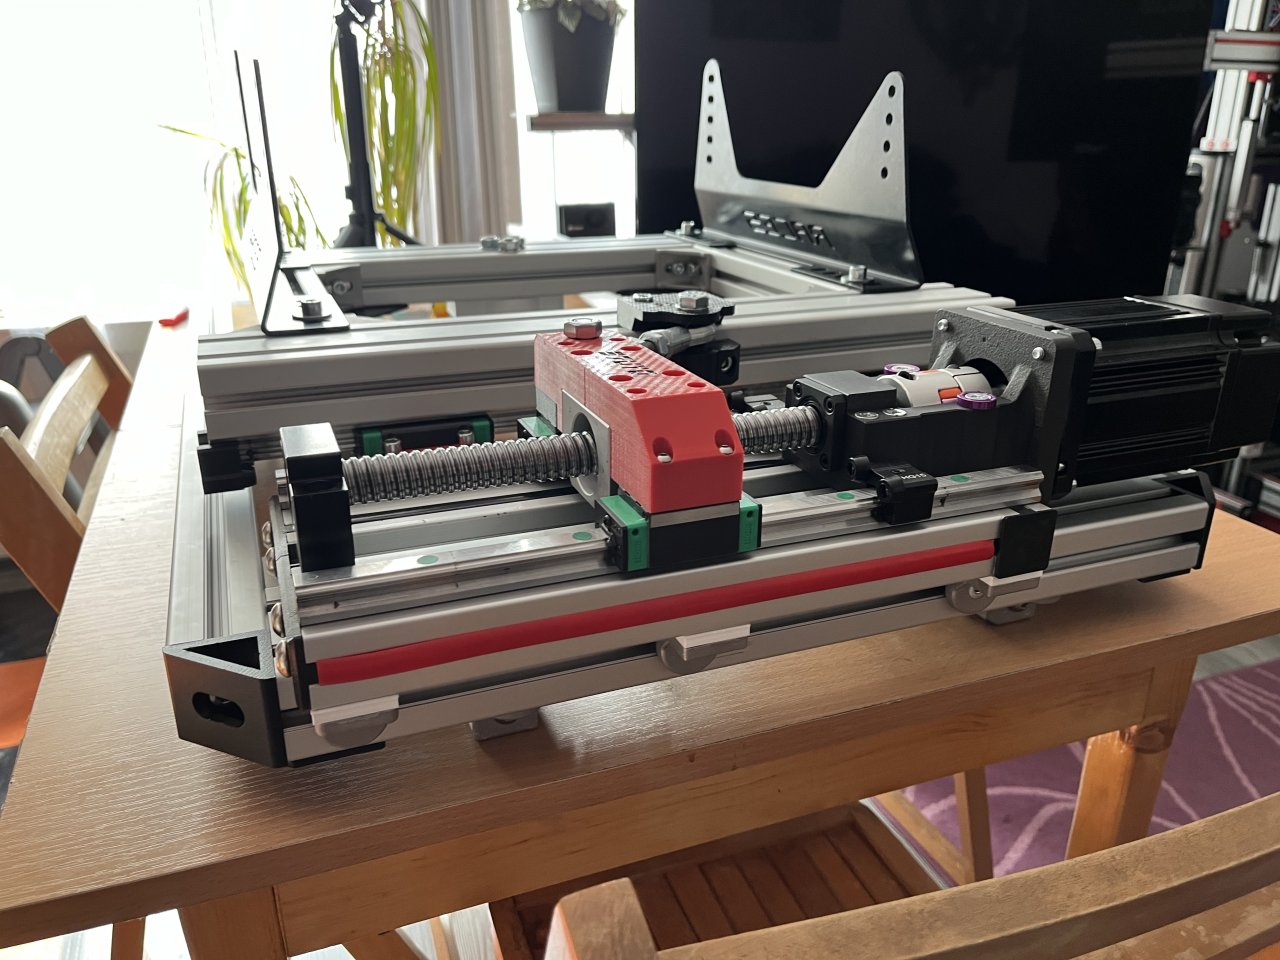
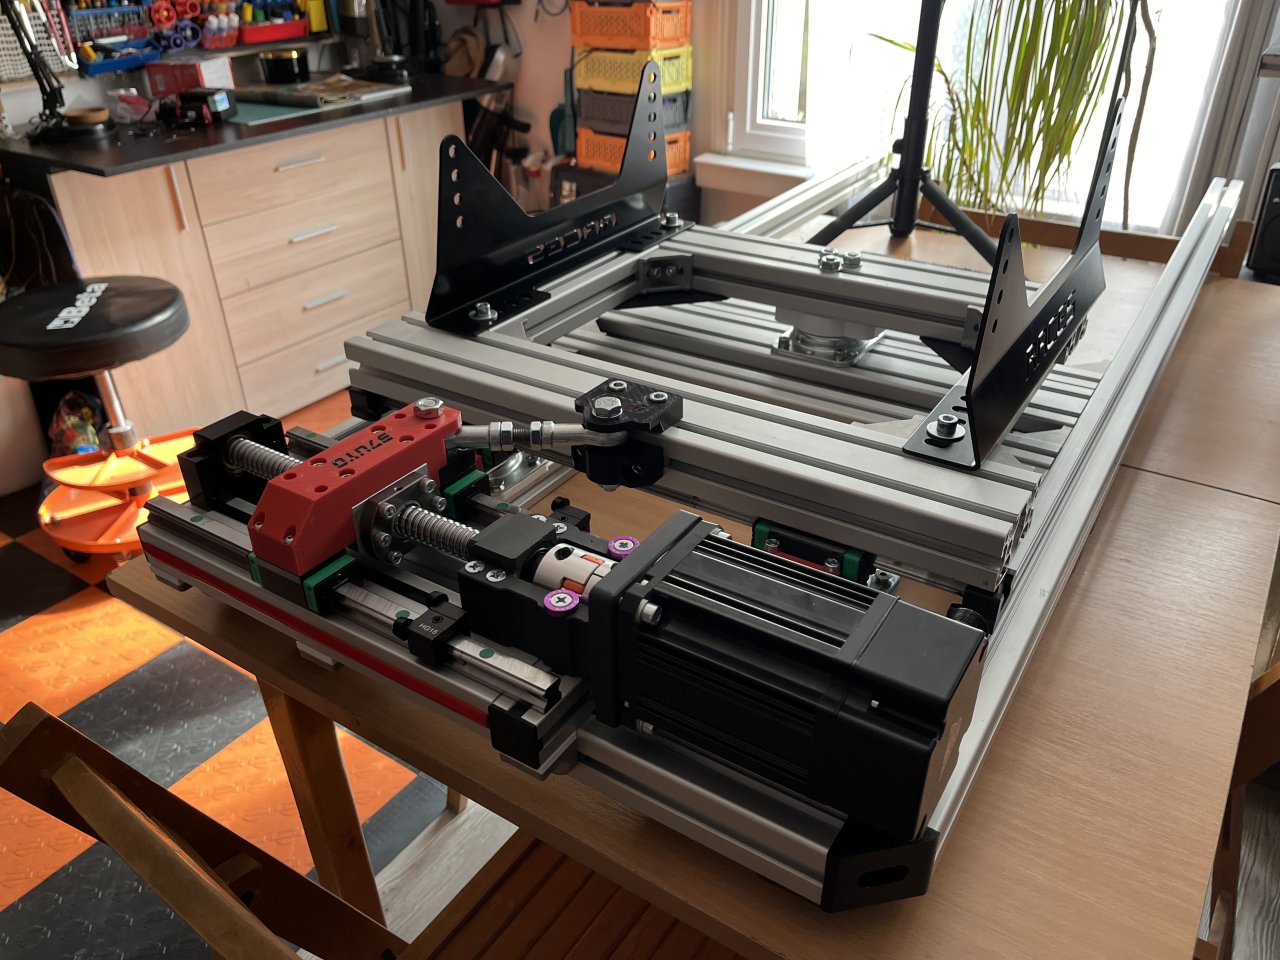
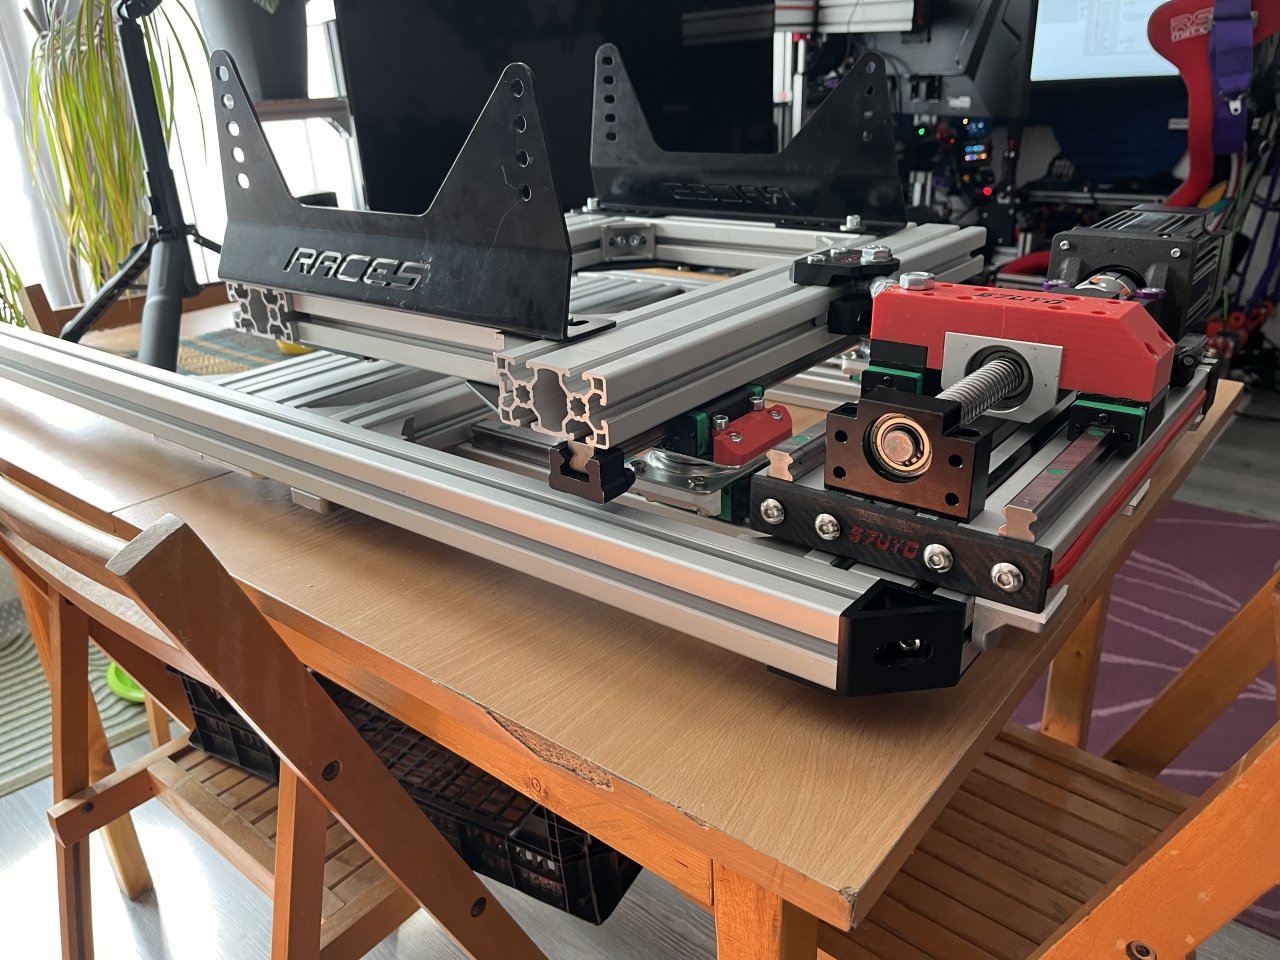
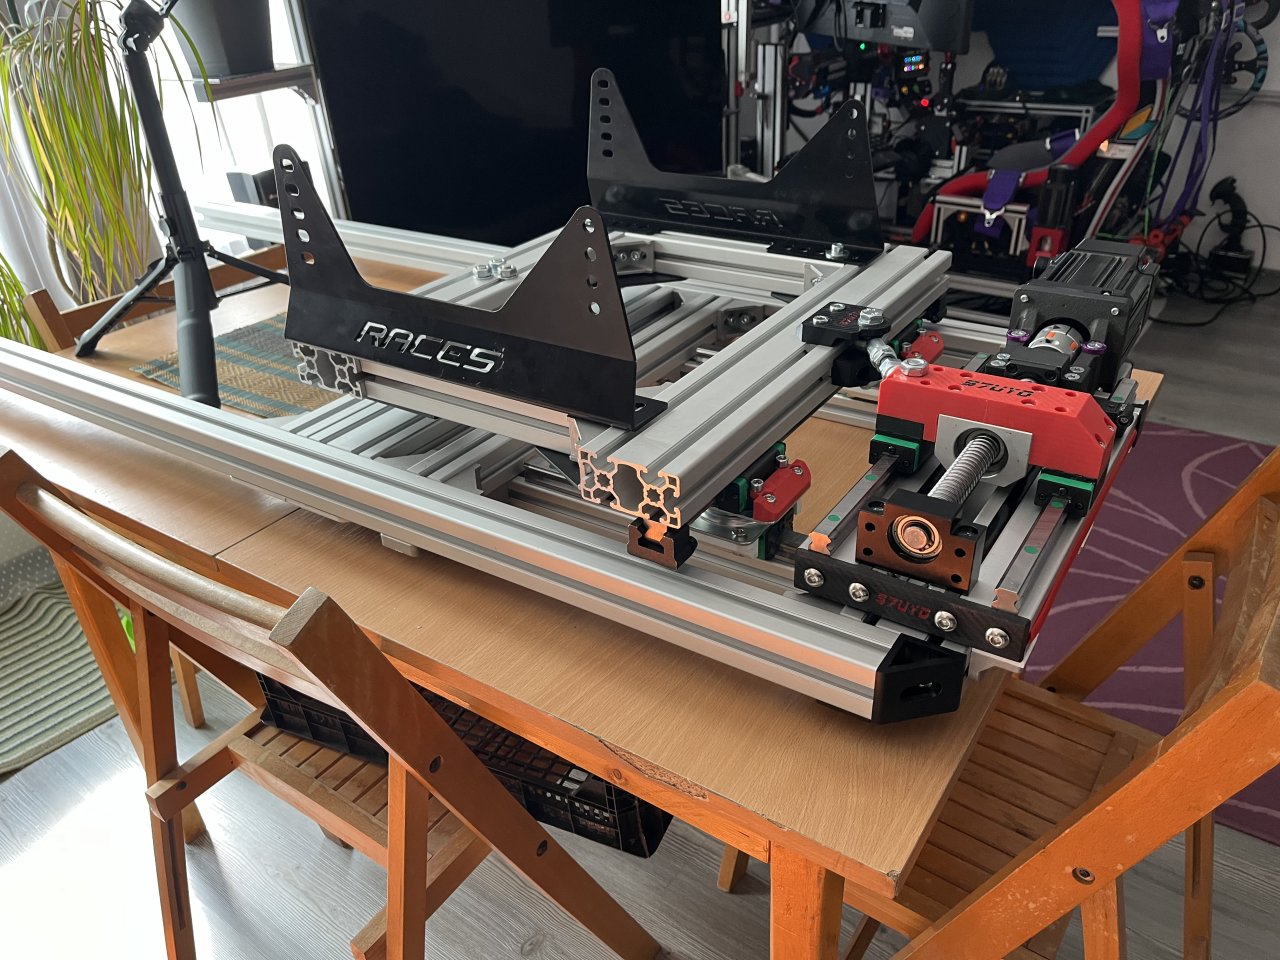
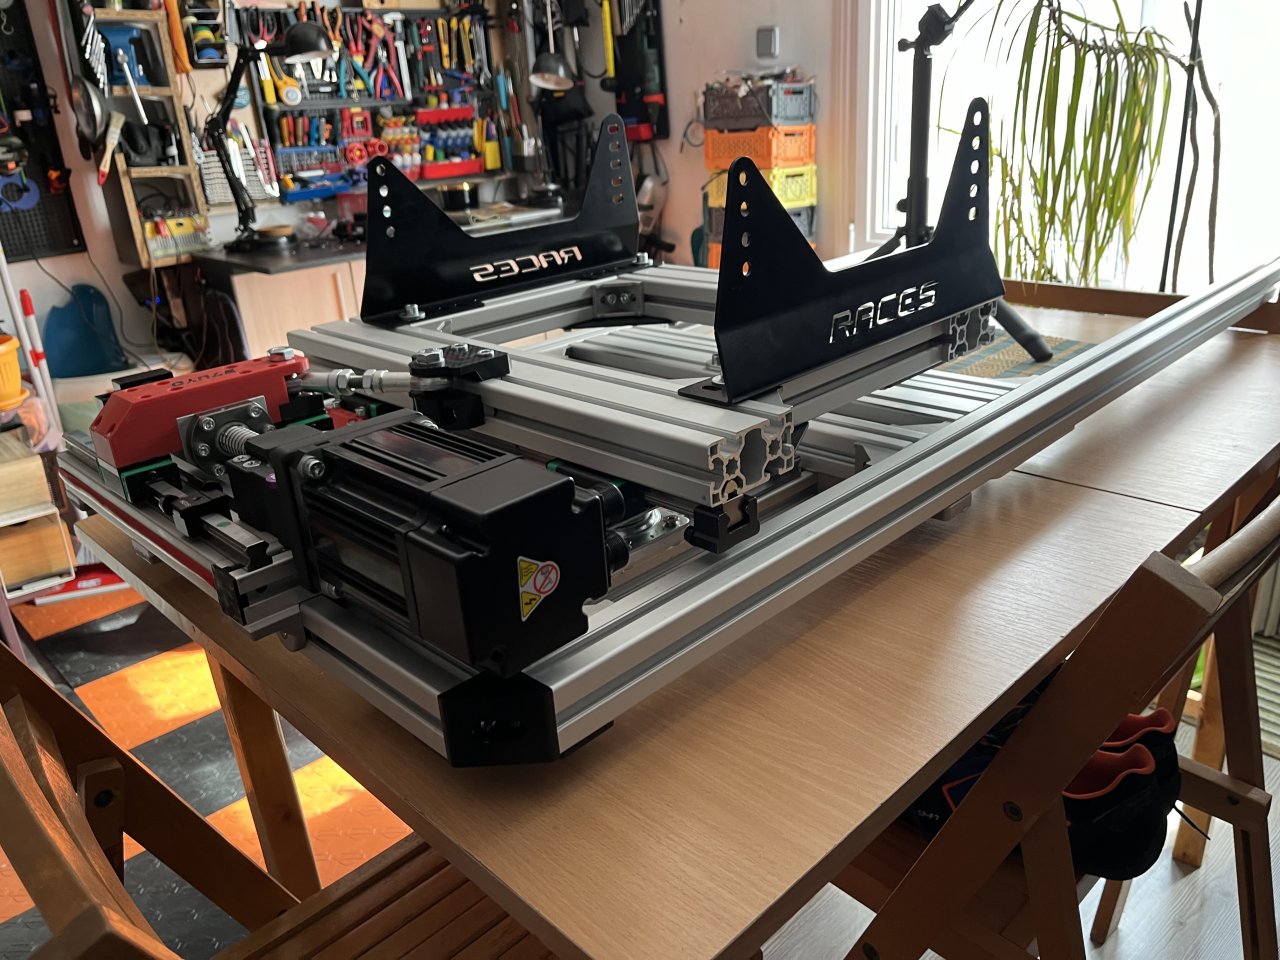
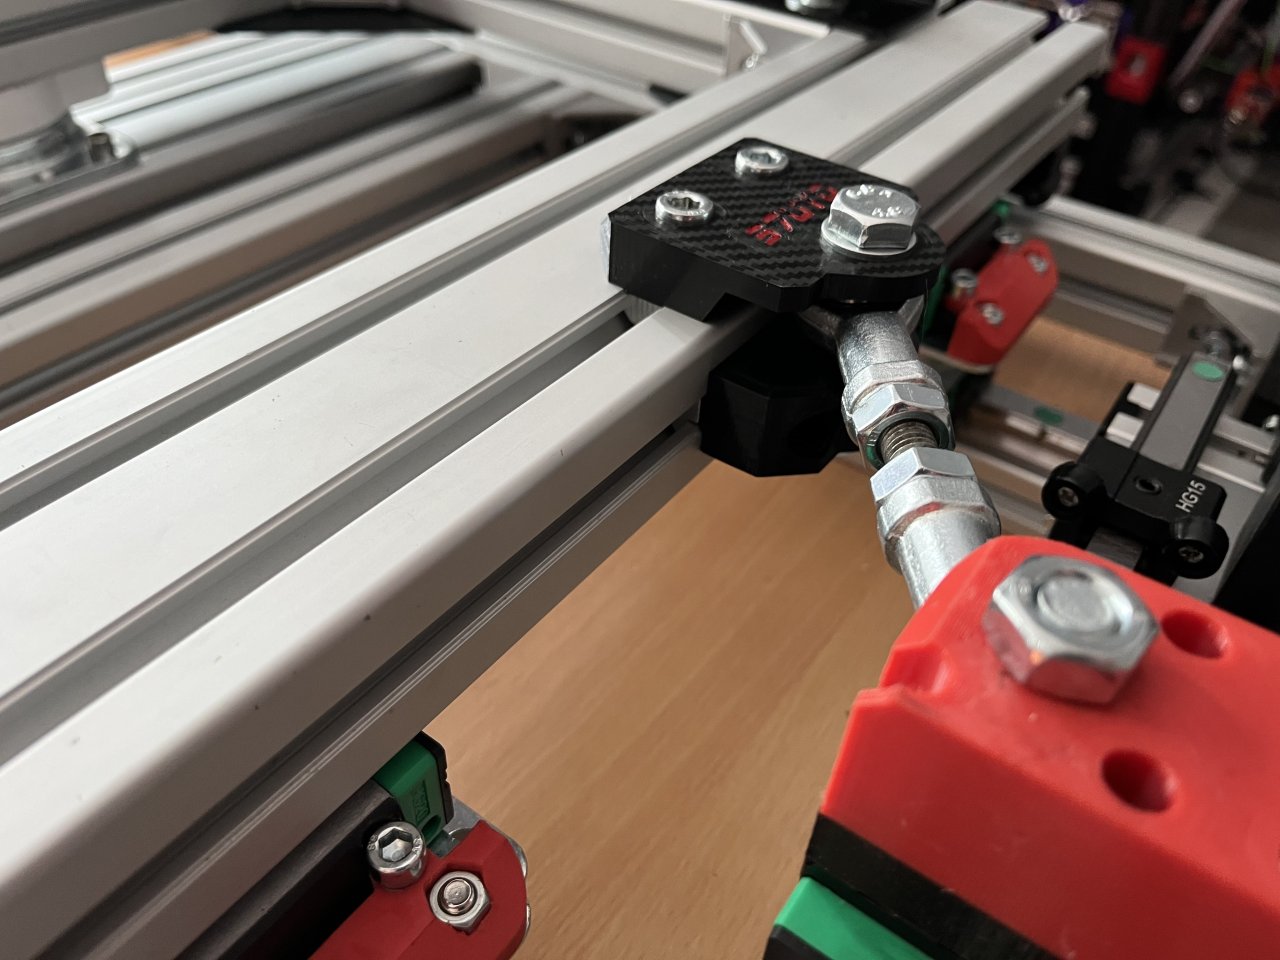
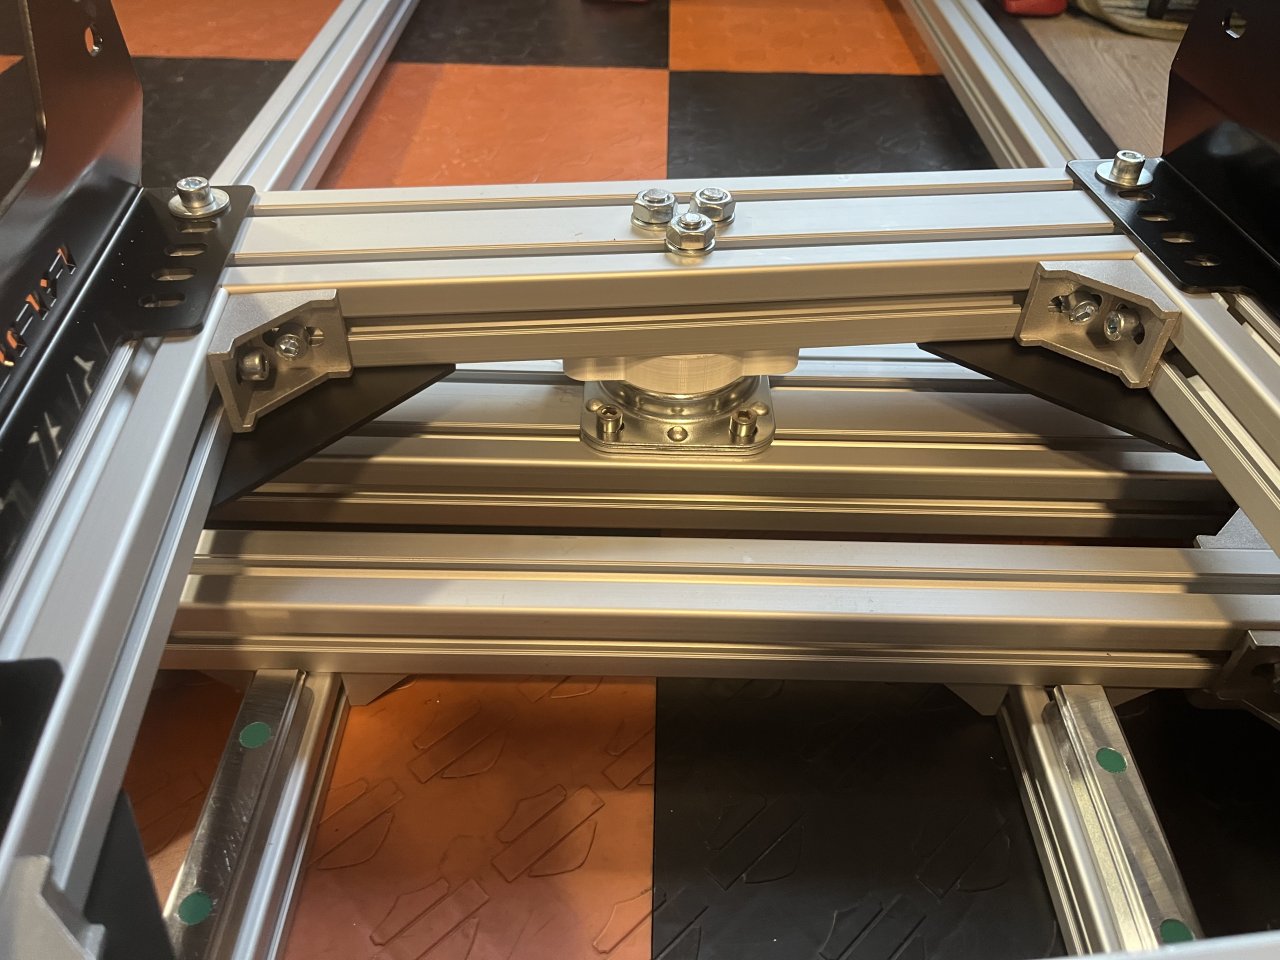
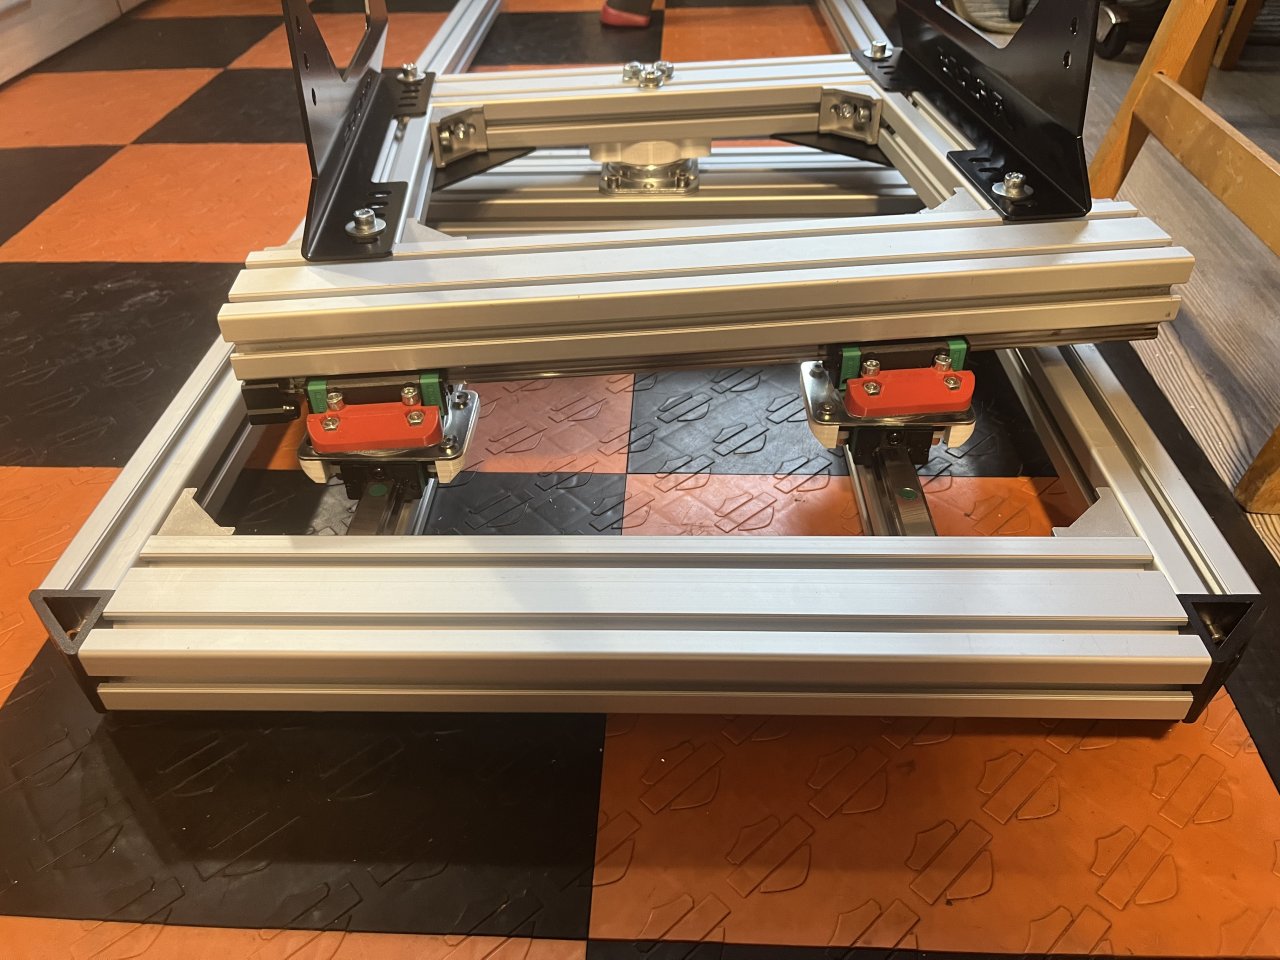
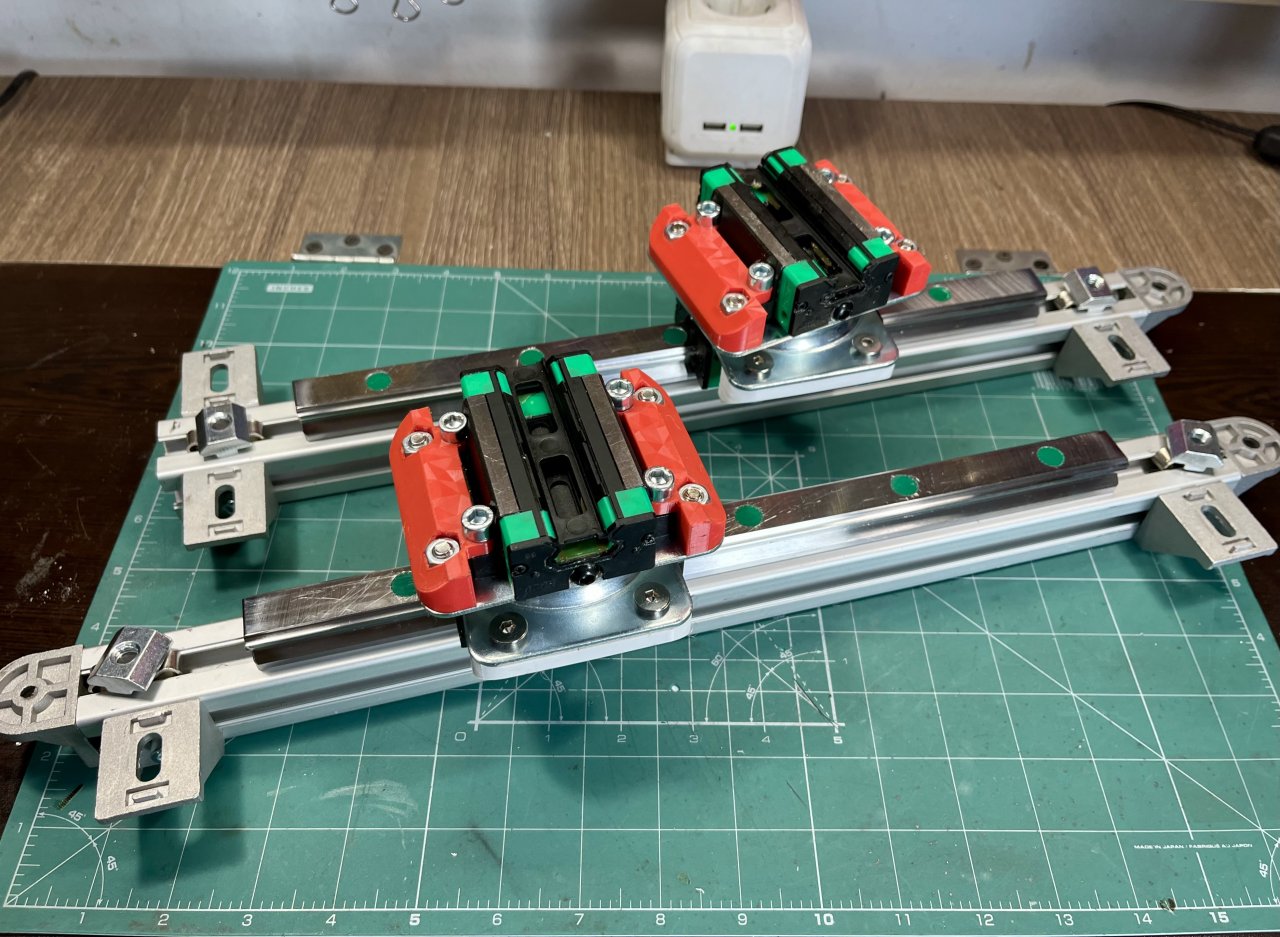
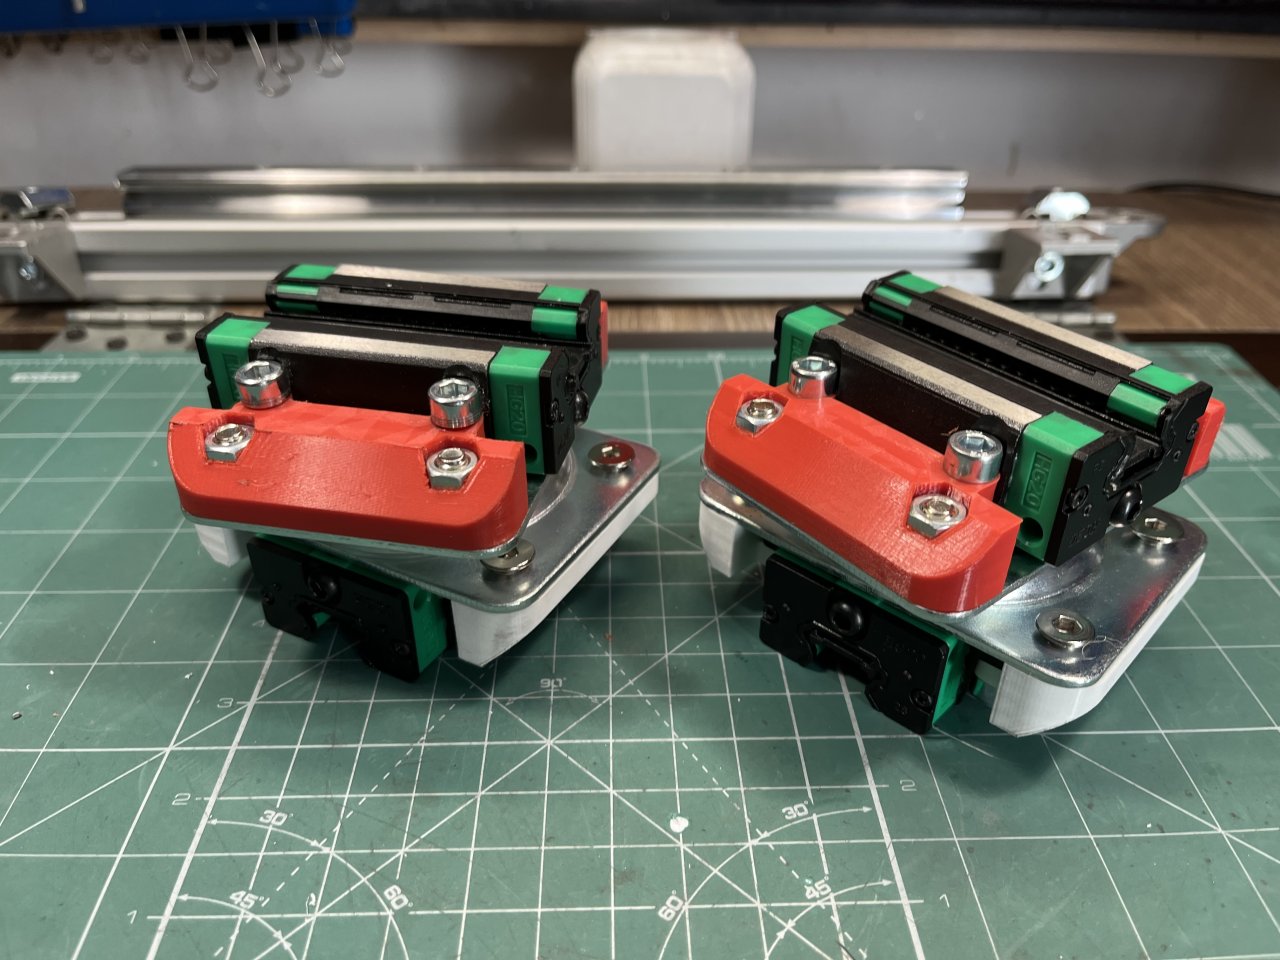
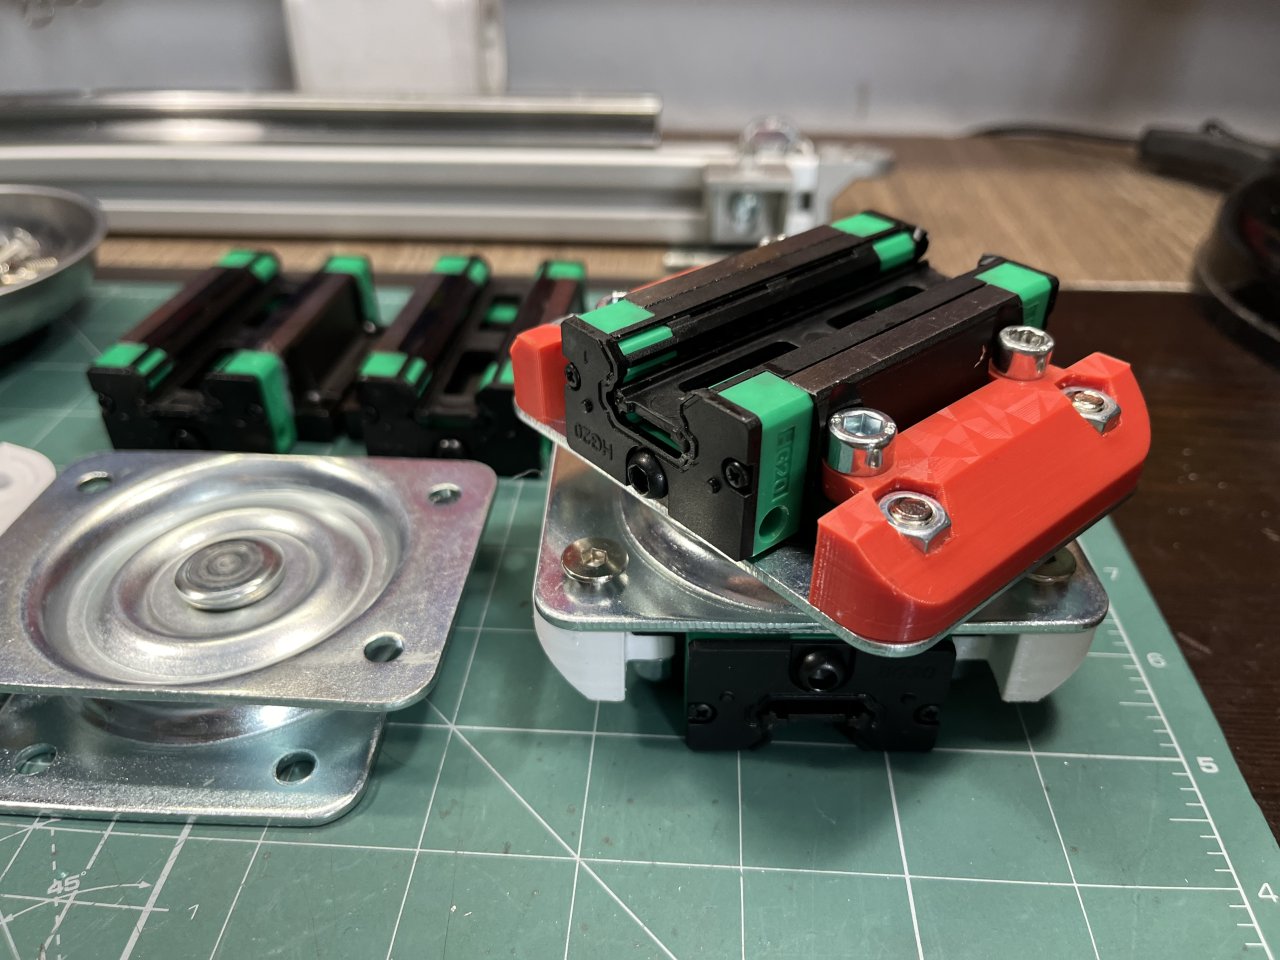
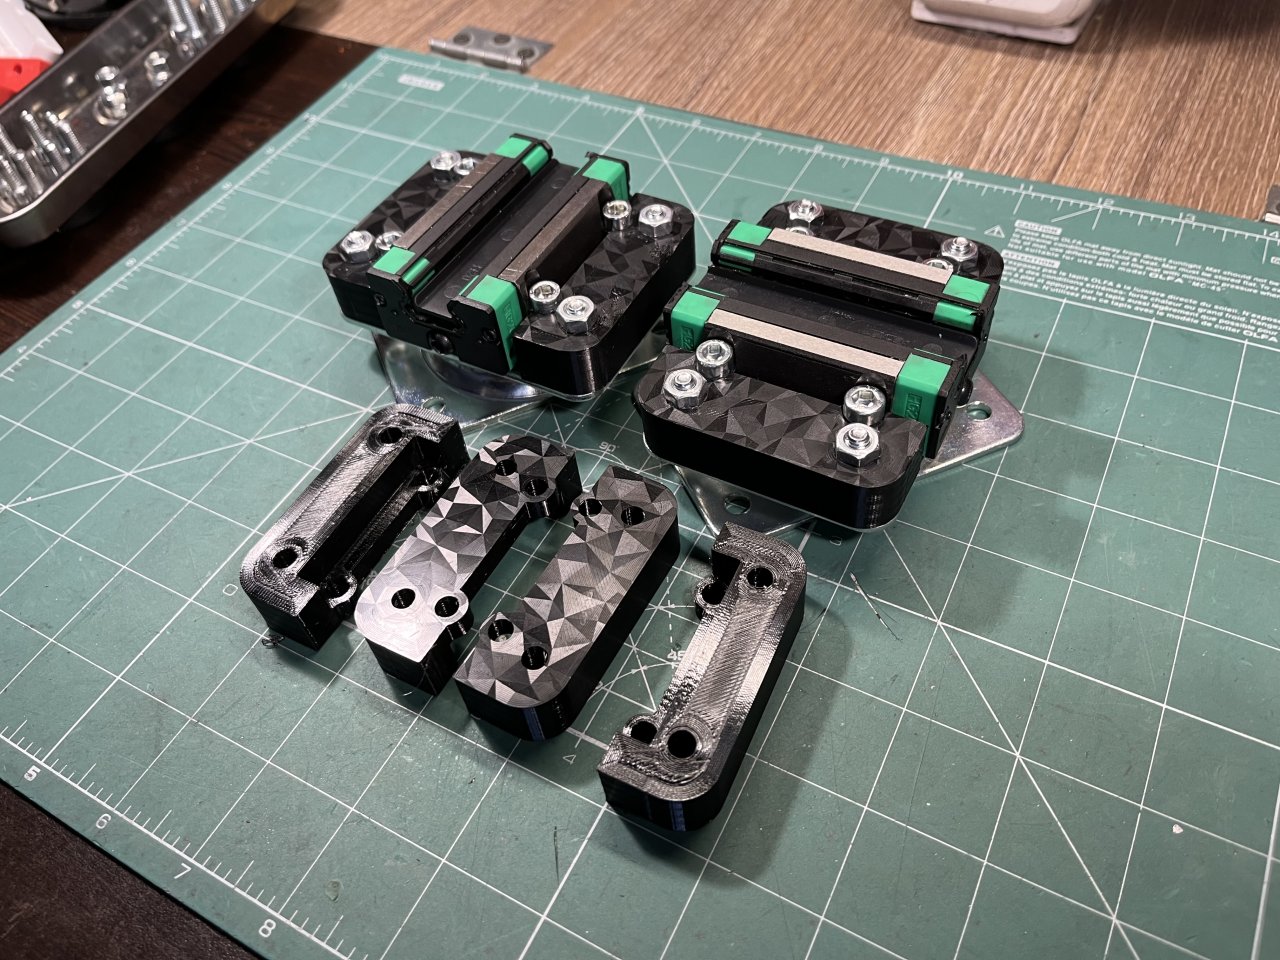
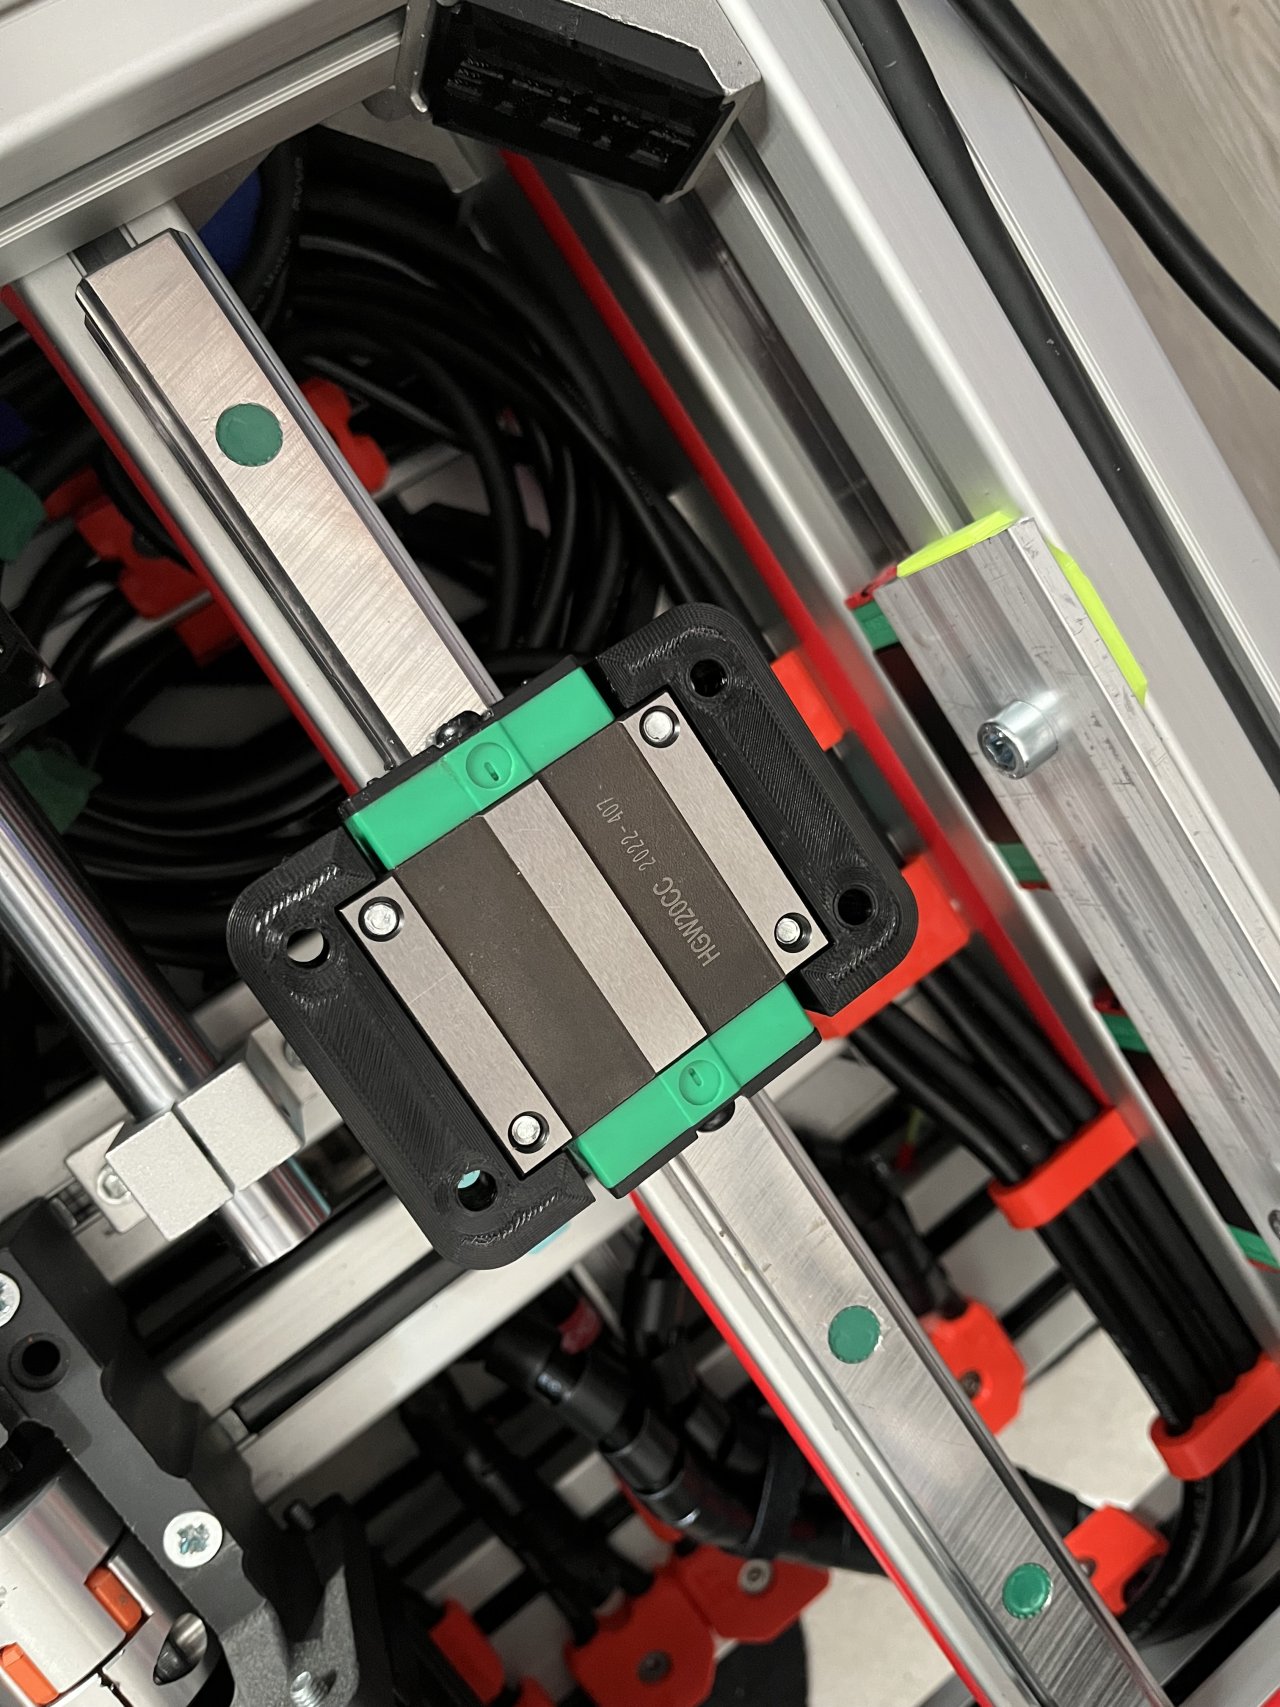
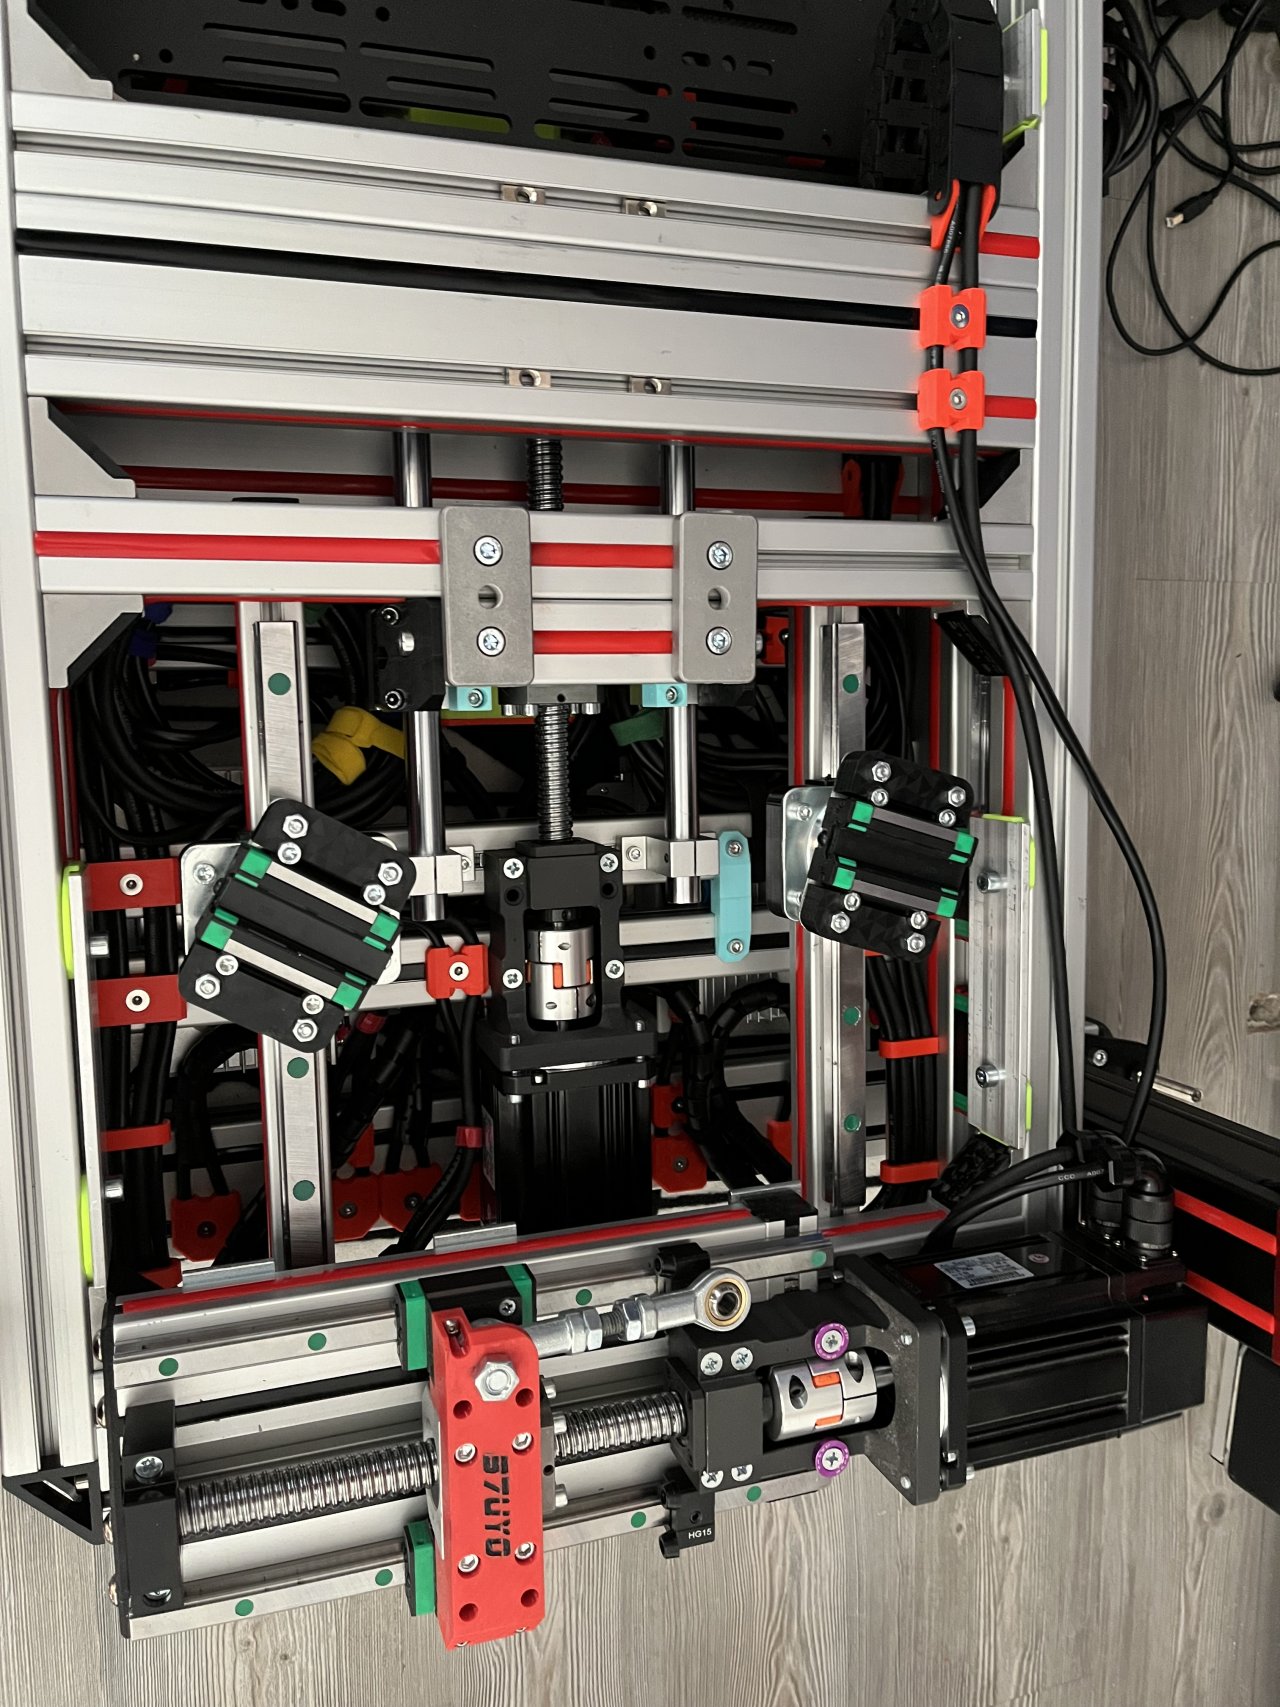
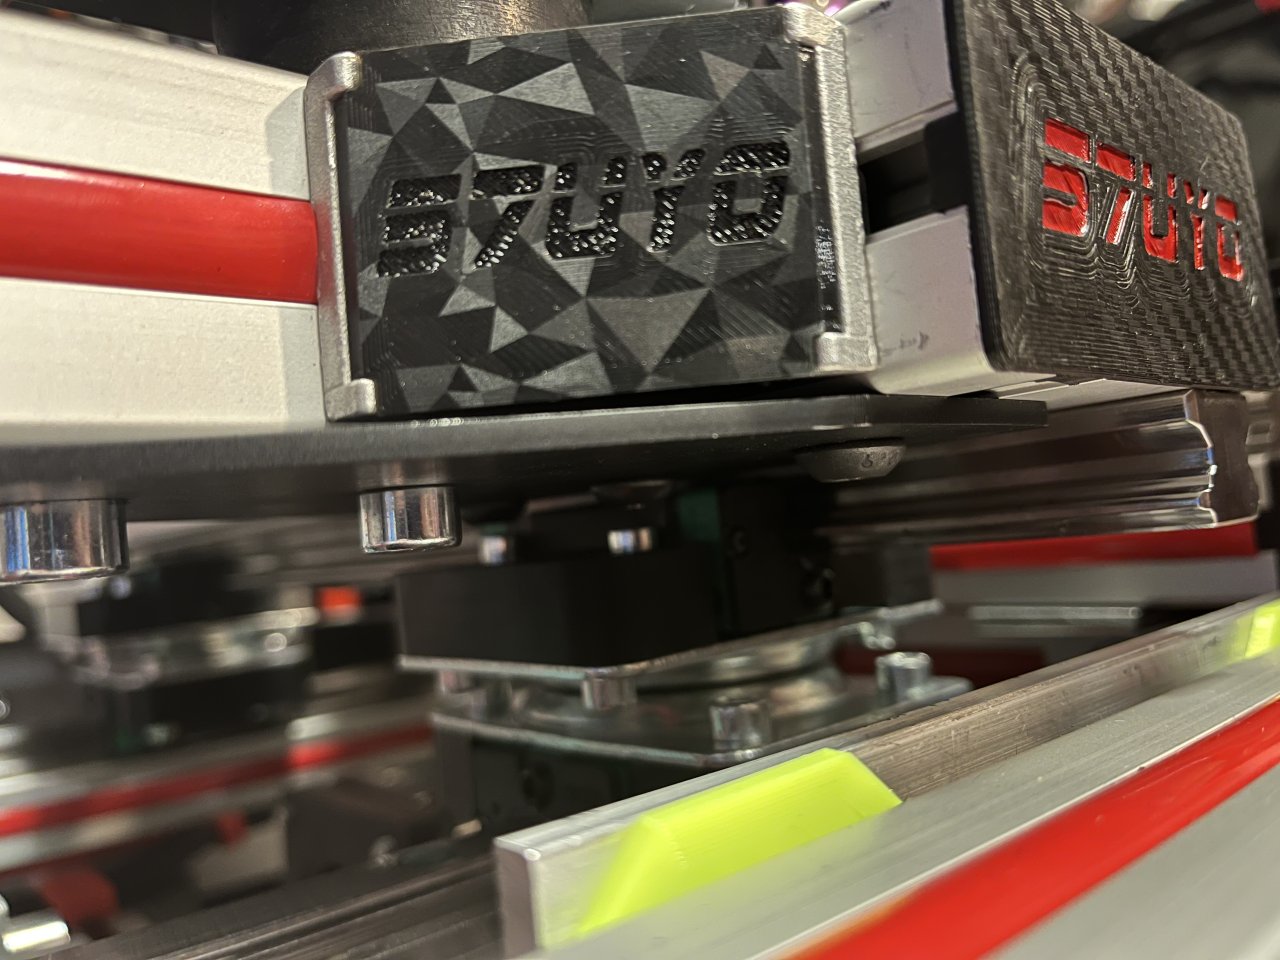
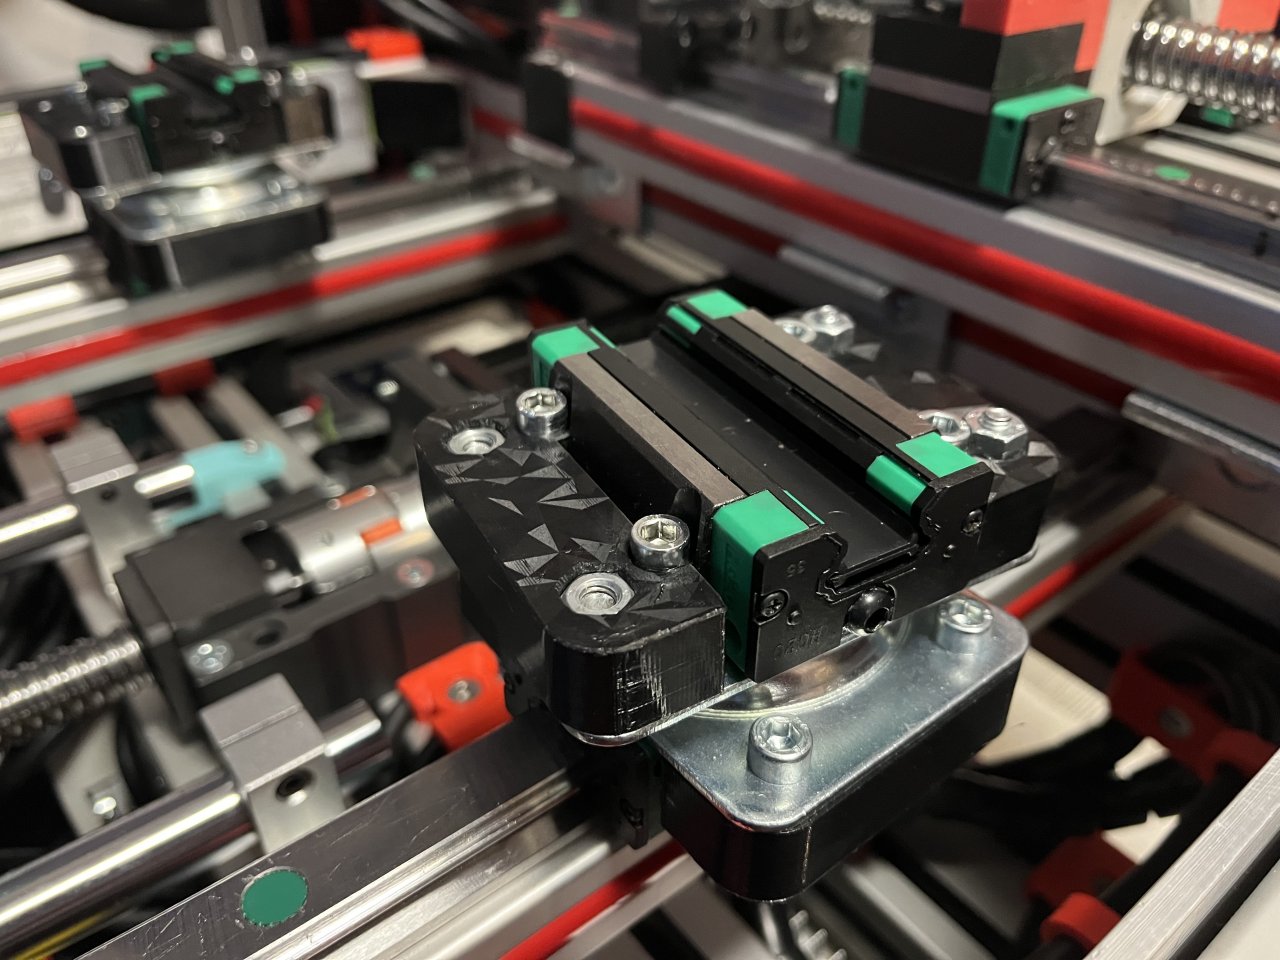
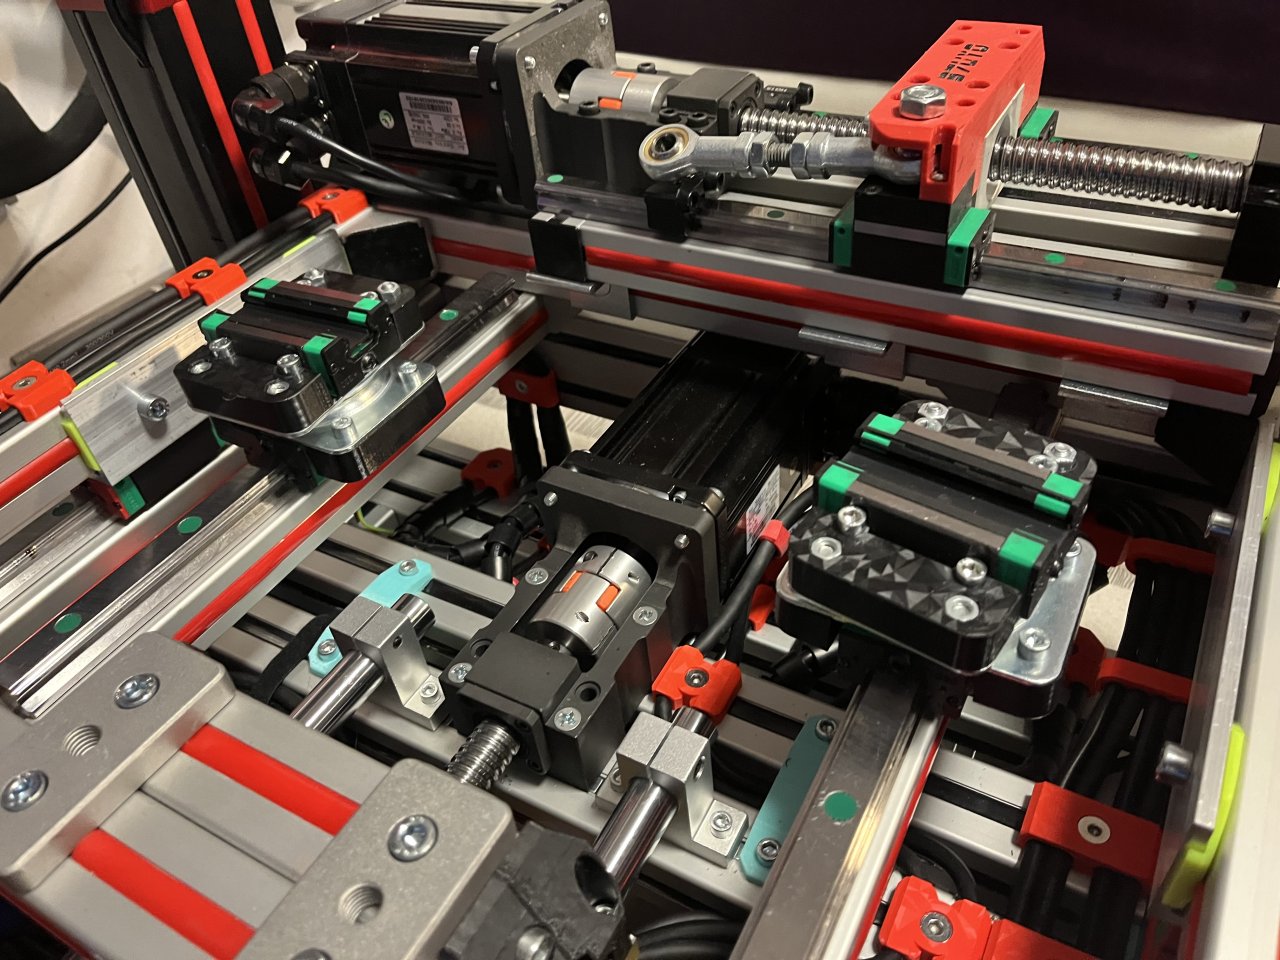
Added another option for the HGW mounts - low profile heavy duty blocks. They have the M6 nut groove inside to provide clearance for the T-connect plate on the back 4080 profile to be used. I had to switch to domed bolts (lower head) on the bottom holes of the plate and now it has more than enough clearance to pass over the blocks (check new pictures attached). The new blocks are designed to use M6x18mm screws, but as I did not have those went with 16mm - still works fine.
Use those blocks only as the top-front HGW block mounts. They have only 1mm layers shared between the 4 screws holding the assembly together so they are not as strung as the Heavy Duty ones! The rest 6 positions are fine with using the high ones with through-bolts.
Using the T-Connect plate under the seat frame is highly recommended as it adds rigidity! Everything is assembled and tested, result is as expected.
***Update 14.02.2025 - new HGW block heavy duty mounts***
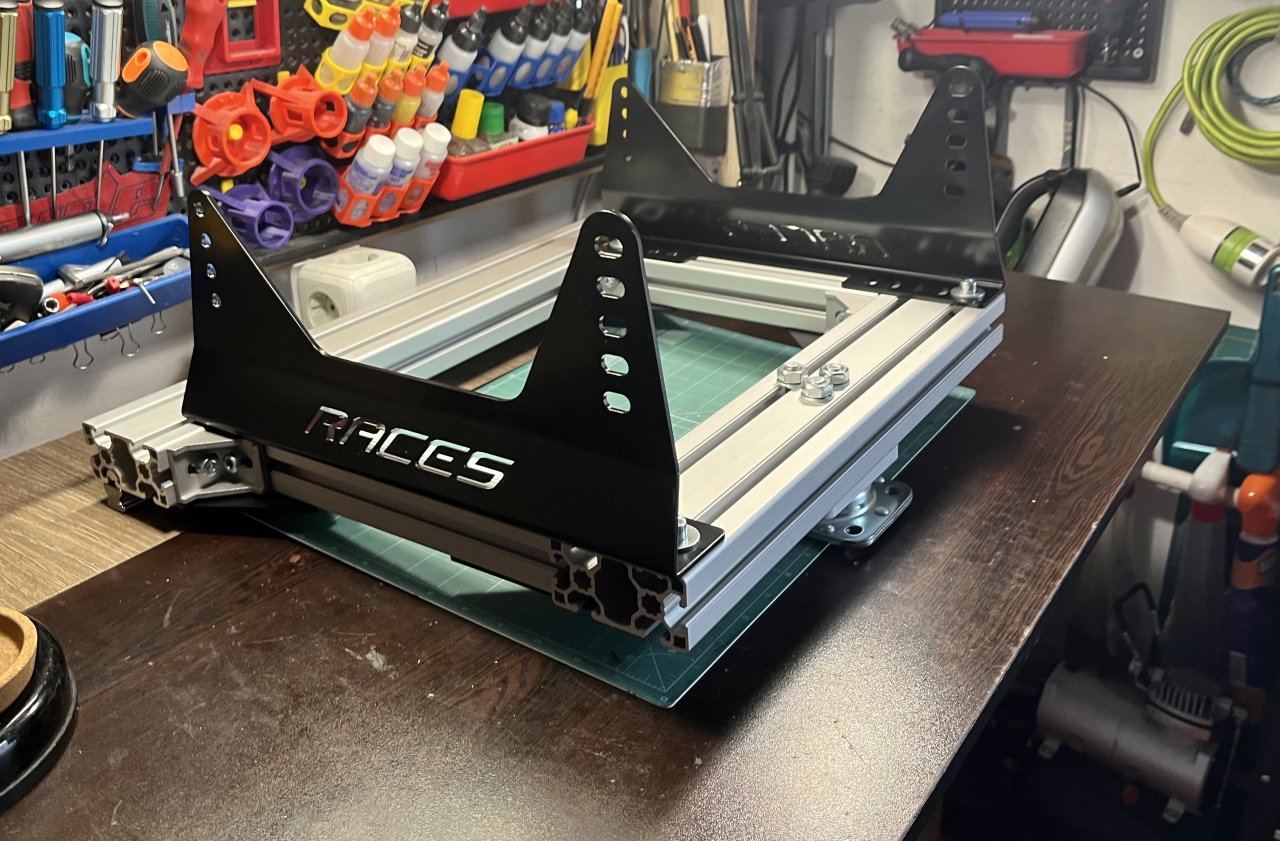
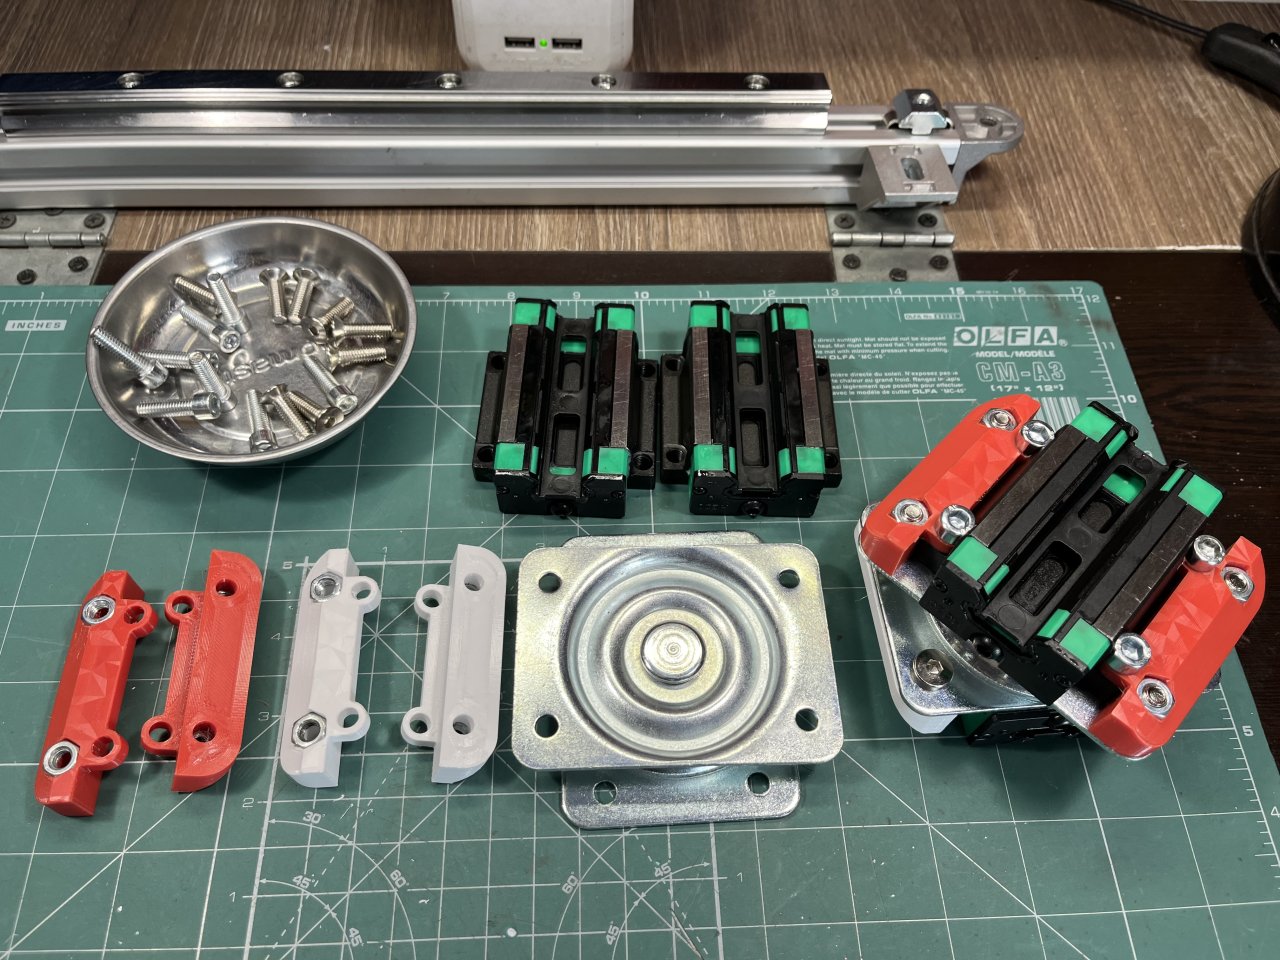
As expected the HGW blocks were weak part and broke very easy when accidentally I set the TL actuator to full range and overpasses the back rail range. New heavy duty block mounts are included now in the package, mounted them with M6x20mm socket bolts. The rotating assembly has enough height to accept socket bolts + it does not rotate enough for the mounting bolts actually to touch each other. The added height of the rotating assembly HGW mount made me to switch to lower head M8 bolts on the seat 40 series frame - the extra connector plate I put as reinforcement on the back side of the frame was interfering with the M6 nut on the HGW bracket.
The bracket itself is designed in a way to rely on layer strength and is held throughout its total height + has extra side walls encompassing the HGW block body.
Backstory and Inspiration:
Compact Traction Loss Motion Platform for seat. Basically a TL Seat Mover system. Based on the work of Sven Buchenthal and Alex Poldersma and extended to modern standards. I spent quite some time designing and searching info for such system but to no avail until I randomly hit Alex's presentation of his solution. The plan formed quickly and the last piece of my design was evident!
Even before I sold my V3 Seat Mover I was considering with what system to change it. It was operating together with my RS Mega+ full motion system and was providing Surge + TL-like effect, also extended Roll. These additional effects were extending well the Full Motion System, regrettably being second platform and somewhat different motion implementation there was certain disconnect between both systems.
Since the V3 was removed I definitely was missing the Surge+TL effects, full motion is cool and all but the immediate acceleration given by seat only movement is another thing. There is long discussion what is best, some people prefer full motion, some people are convinced seat mover is better at representing G-forces. Having long history using both I can soundly confirm truth is somewhere in the middle.
Seat Mover Motion Dynamics:
Below I will describe the basic effects I was using on the V3 motion together with the RS Maga+ full rig. The seatmover was set as extension only exaggerating certain effects, the rest was handled by the full motion system.
V3 Surge Effect: Have heard enough comments that moving seat only and having static wheel feels unnatural - this clearly for me is not true! Seat pressing me against the wheel when stopping and pulling away when accelerating definitely is very convincing especially in VR. With this gone my rig feels a little "lifeless" now. The Surge effect was great with the V3, the only downside is that your body is not static against the pedals. It takes some time to get accustomed to but at some point it starts to feel natural.
V3 TL like Effect: My seat was sitting relatively behind the V3 platform so roll effect produced certain tilt. This was producing very convincing Traction Loss effect. I could swear in VR my behind was moving sideways!
V3 Roll Effect: This was toned down a bit and was left only as exaggeration to add some additional angle to the RS Mega+ Roll. This added some range and felt good without having to tilt the whole platform much, furthermore it is faster.
V3 Dynamics: Moving only seat + driver gives decent acceleration. The seatmover is definitely faster and snappier system, throwing around your body as in a real car. Both systems working together were actually able to throw me out of the seat - good I wear belts ;)
With the RS Mega+ things are more "static" now. I am in fixed position seat - controls and my body is not moving around the cockpit so these extra acceleration I was used to are gone.
RS Mega+ Strengths: All rest effects with 4 post actuator system are great - body roll, elevation gains, suspension travel, etc. This system also have very good haptics and especially since SimHub supports it natively it feels great!
The Idea:
Being left only with 3DOF system I started contemplating next steps and now to extend it. Naturally the V3 seatmover is not great extension, but there should be something to work well, right?
Considerations: I have very limited space for my rig so full fledged TL is system is out of question. Also I opted for the Thanos AMC which can drive 7 servo motors, which made my life easier to add more freedom axis.
Surge: This was quite obvious. I wanted a static wheel so plan was to build slider platform on top of the rig frame and mount on it pedals and seat only. More on that in the dedicate Surge platform Project page.
TL: Started contemplating is it possible to add such effect seat only? Obvious choice was add two actuators and create a seat mover like install, but I was wondering can I do a pure TL only horizontal axis on the seat with one actuator? This is when I stumbled upon Alex's video and my next project was clear!
Technical Details:
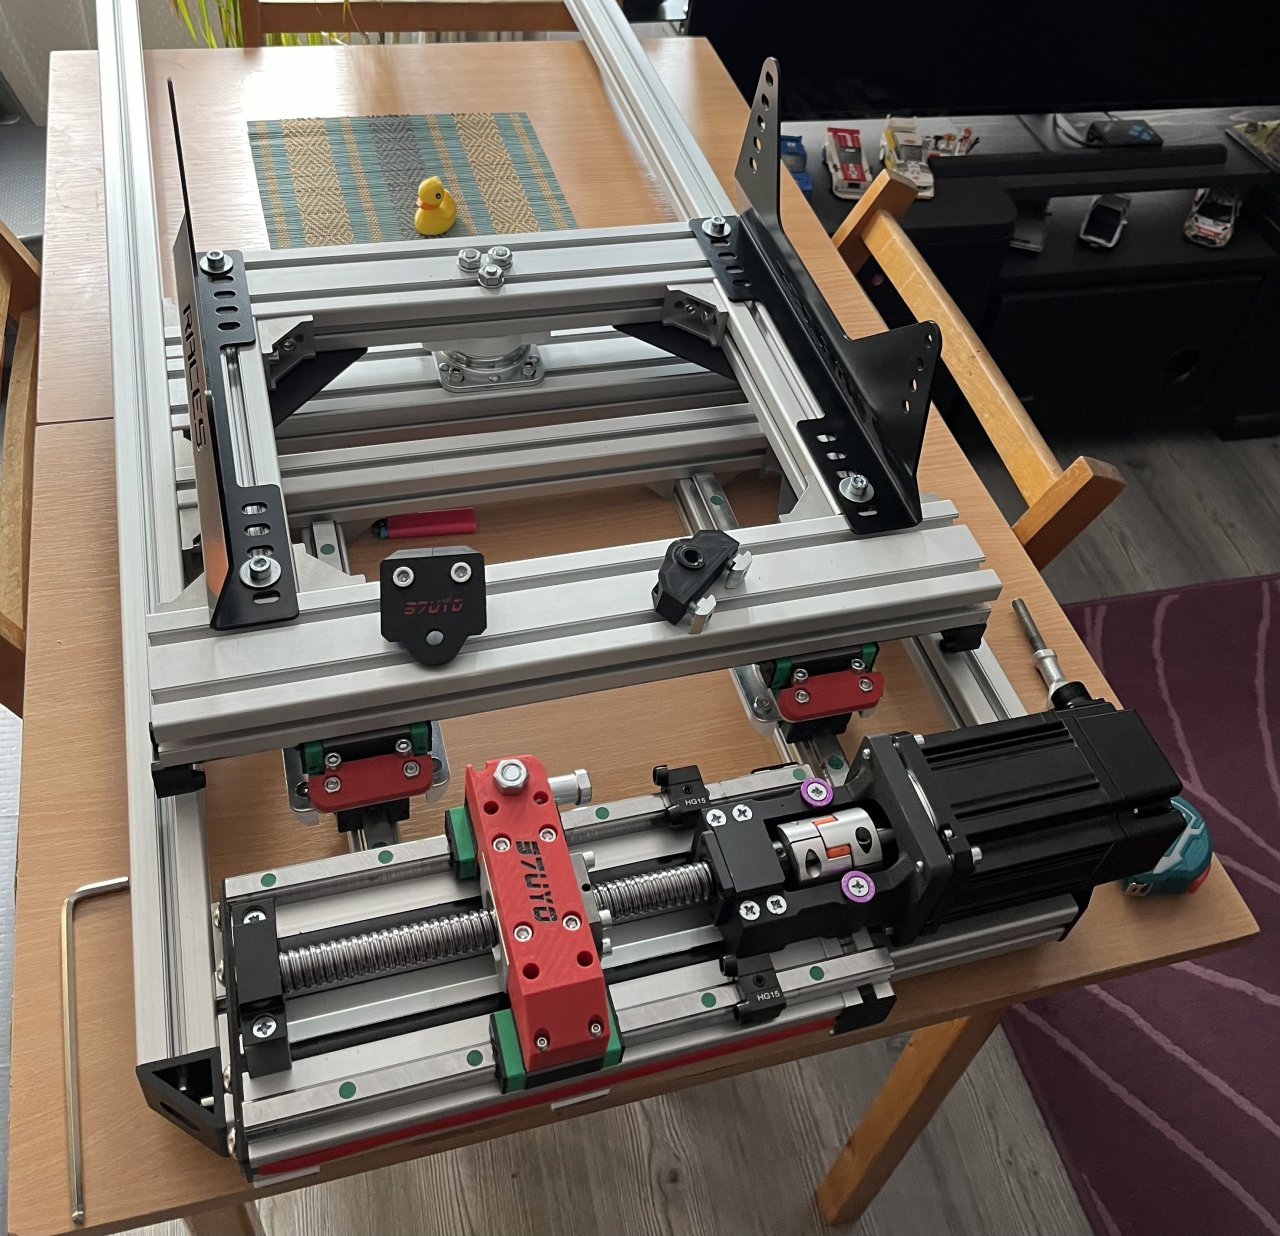
- Platform is based on HGR20 rails for extra stability and durability. This also ensures low friction in the slider assembly. Using 20mm rails is overkill, but pricewise it is little difference than using 15mm. Also they provide easier mounting options to 4040 and 3030 profiles, which added to my ultimate decision.
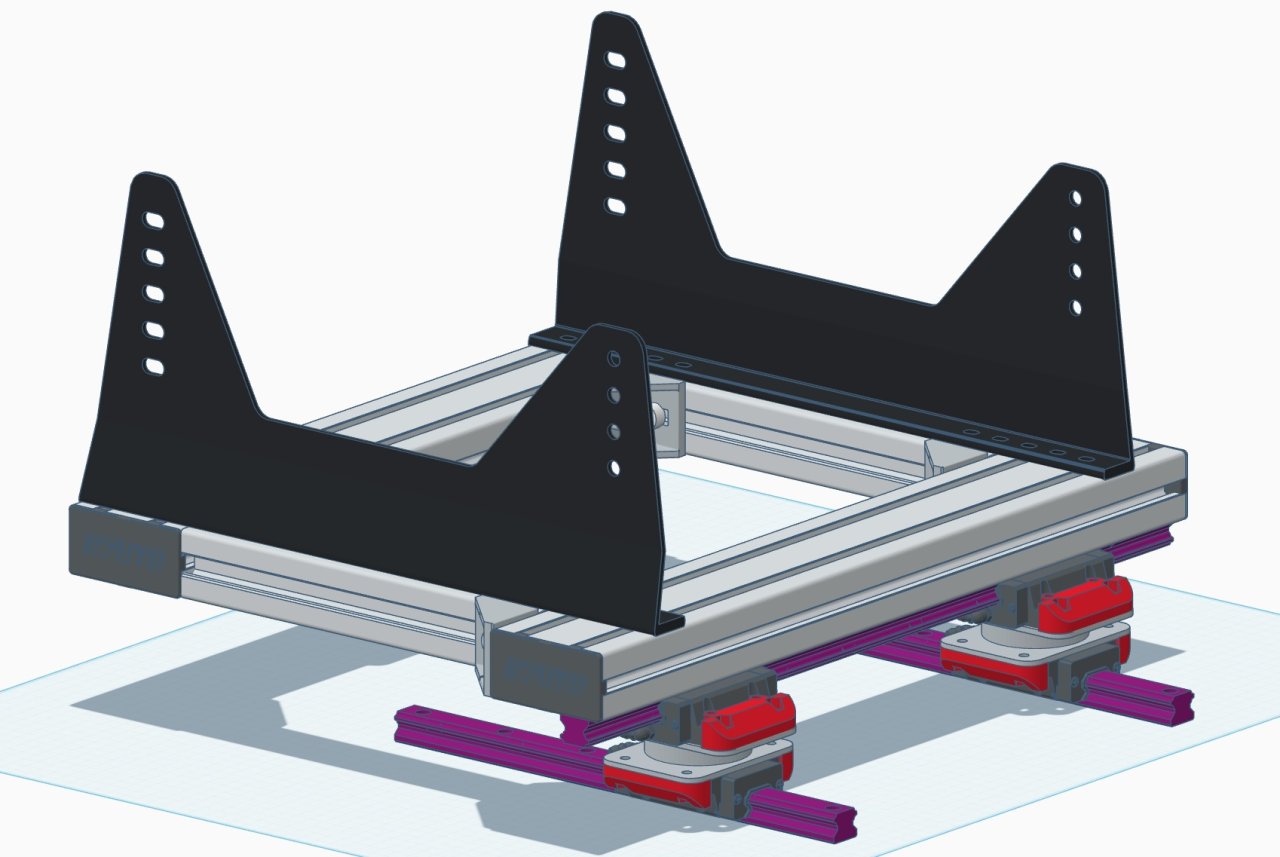
- Utilizes 3 heavy duty swivel mounts which are supposed to create solid connection with the subframe. This platform will be on top of 4DOF system and will be tossed around a lot.
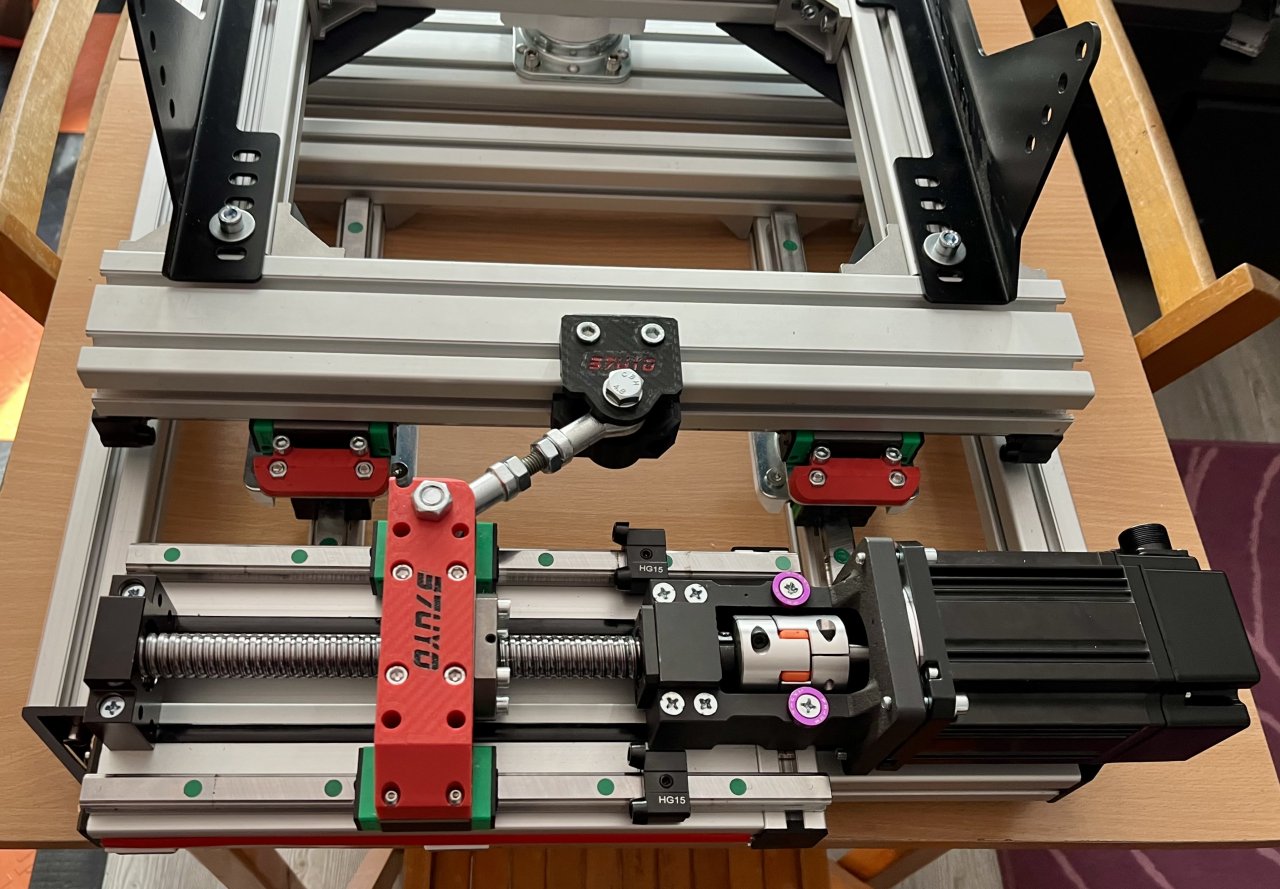
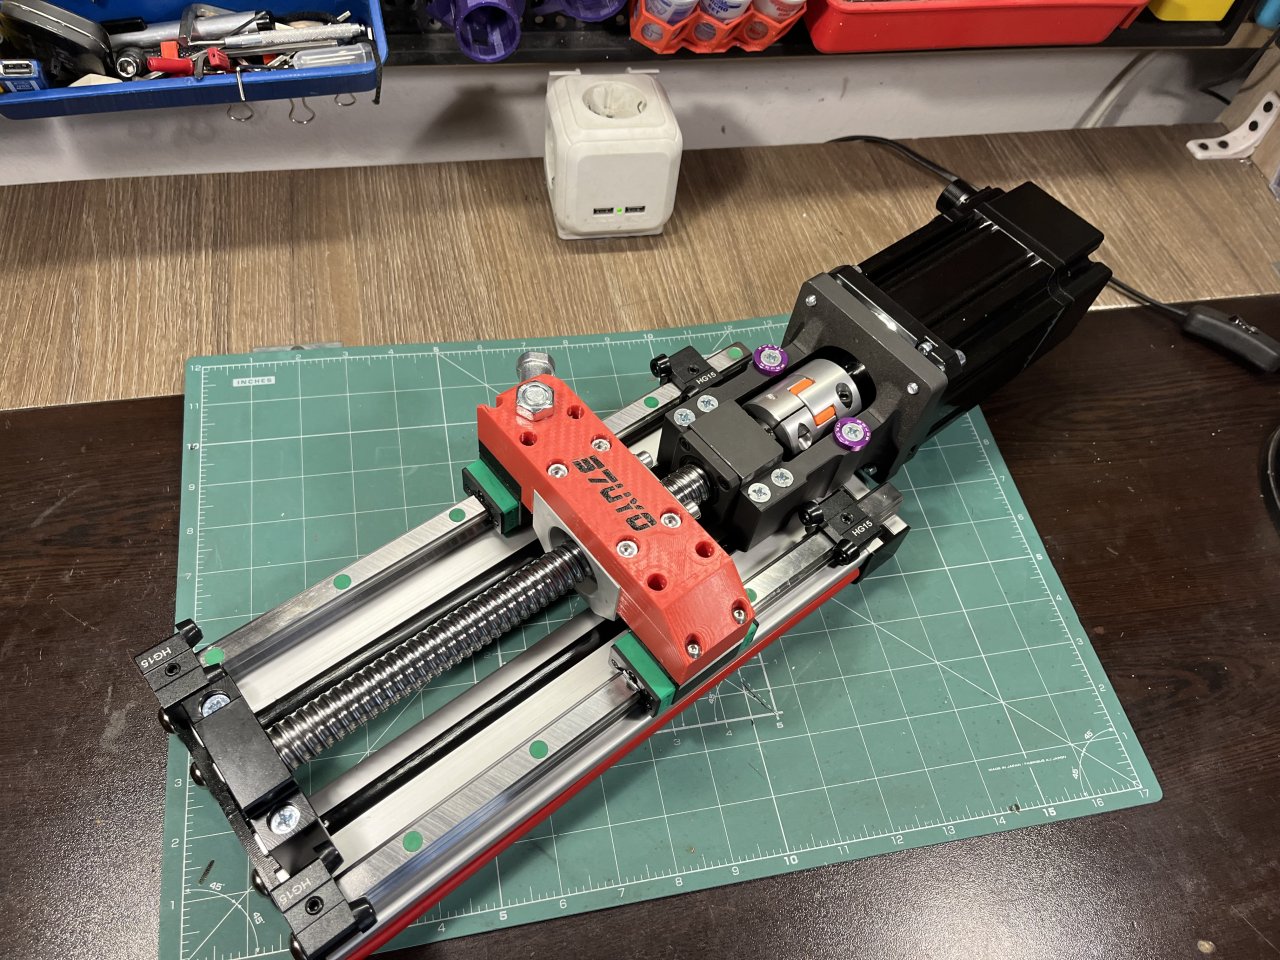
- Designed to work with my low footprint linear table actuator.
- Currently with this spacing between swivel and rail and actuator travel of 160mm I have +/- 11 degrees of TL rotation. This is actually a lot, most probably I will have to use less travel which will give me even better acceleration.
- Angle can be easily adjusted by flipping front pivot mount or placing the back rail closer. It can work with smaller actuator as well.
- Side rails are not fixed width - you can put them wherever you fancy. I myself put them as far as I could without the back rail getting out the the rail block for extra stability on the seat assembly.
- Front swivel Is 40mm higher than side rails bottom. Designed so the side rails drop inside the support frame for lower stack. Lower frame also serves as rail limiter.
- Platform is very compact , designed to fit 560mm wide rigs and clear the vertical actuators at extreme angle.
- Front swivel is rated at 350kg, back ones each is for 250kg load. HGR20 assembly has also very high load tolerance.
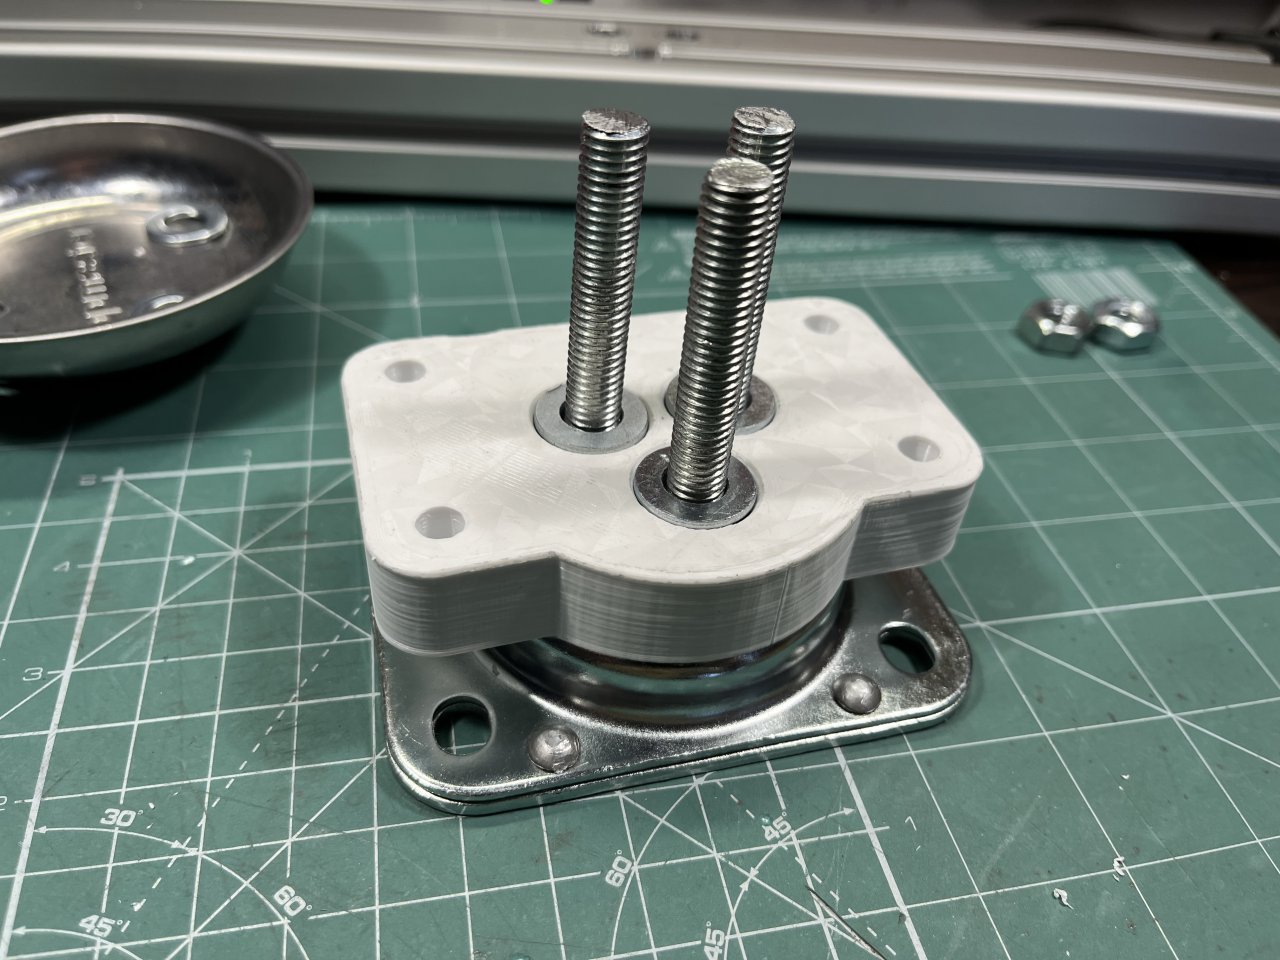
- The front swivel distance print part was designed to provide extra sideways stability, but the mail load is carried by the three M10 nuts and washers under the 8040 front profile.
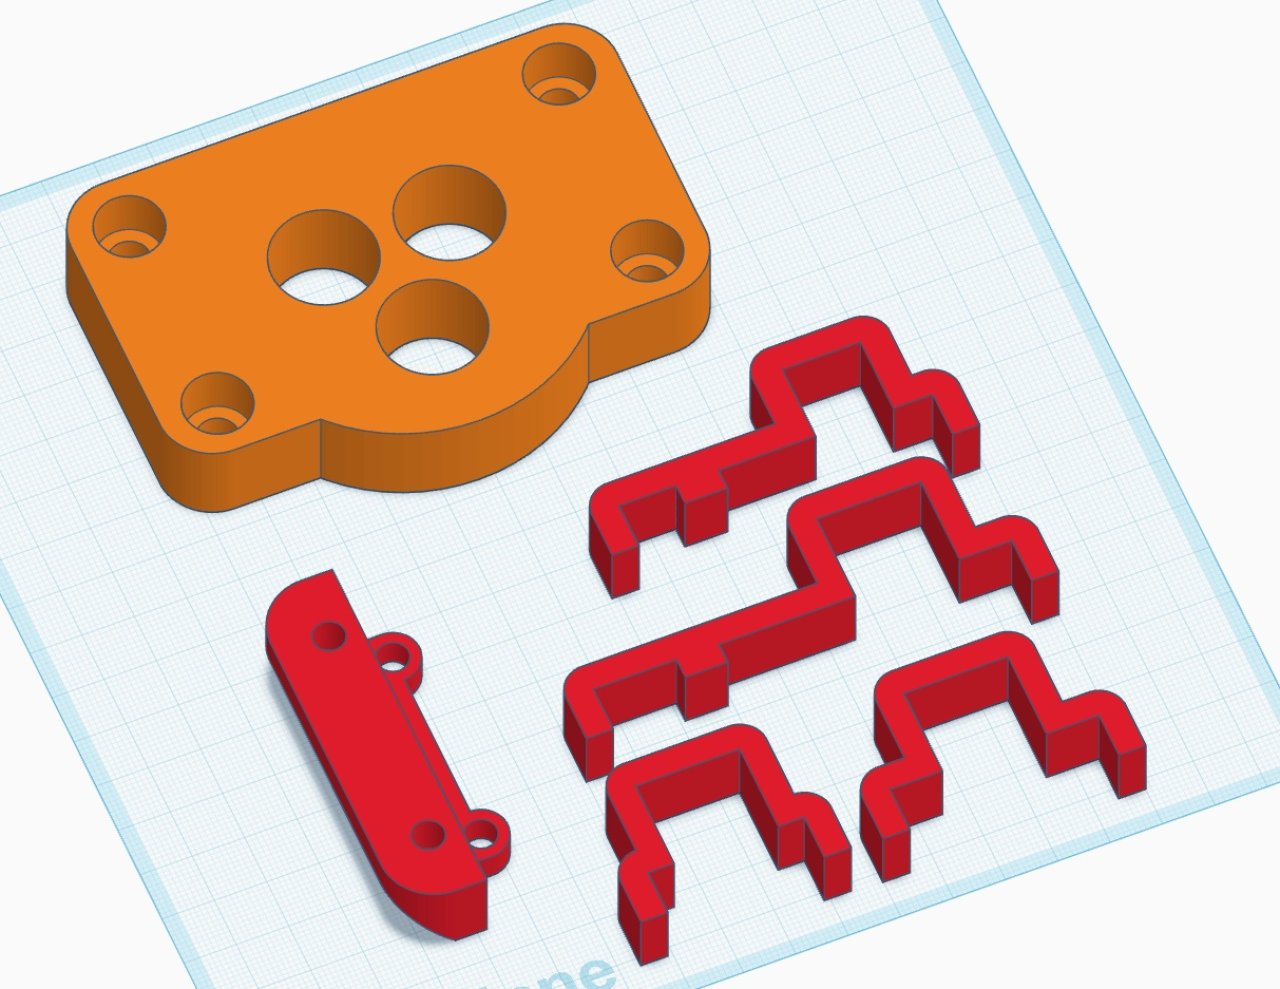
- The back swivel assembly brackets are designed to be printed in such orientation to provide layer stability and solid connection between HGW block and thrust bearing.
-
3D model:
Pats list:
Notes:
Included in files you can find HGR rail alignment tools. Strongly advised to print them so you can properly align the rails to the support frames.
End stops once the assembly is finished are not mandatory. Still bettor to keep them on.
Prices are in EUR with VAT included, all current at the moment the material was written.
M10 threaded rod I cut y measure, it was about 90mm long. The advised one I could find was only 85mm, better buy longer piece and cut yourself. Still, based on the design and my estimations 85mm should also work.
Width between side rails is not fixed. Be careful when assembling the platform not to exceed the maximum angle so the back rail falls out from the HGW blocks!
Print Settings:
All parts were designed to be printed without supports as long as your printed is good at overhangs. All was printed in PETG for better longevity. The more walls/layers you put the better. I myself printed at 9 perimeters, layers top/bottom and 40% infill.



Comments (0)