-
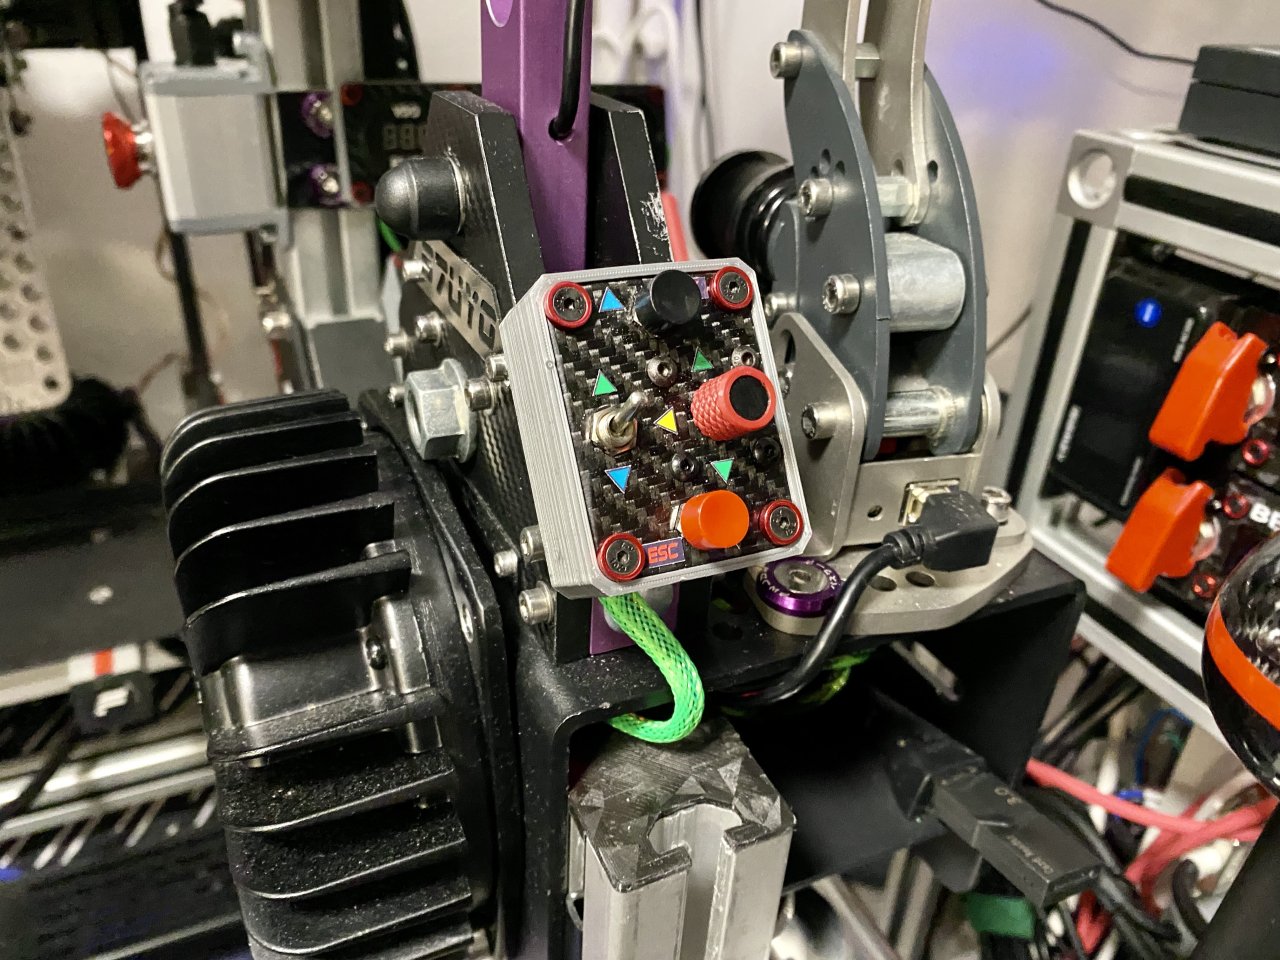
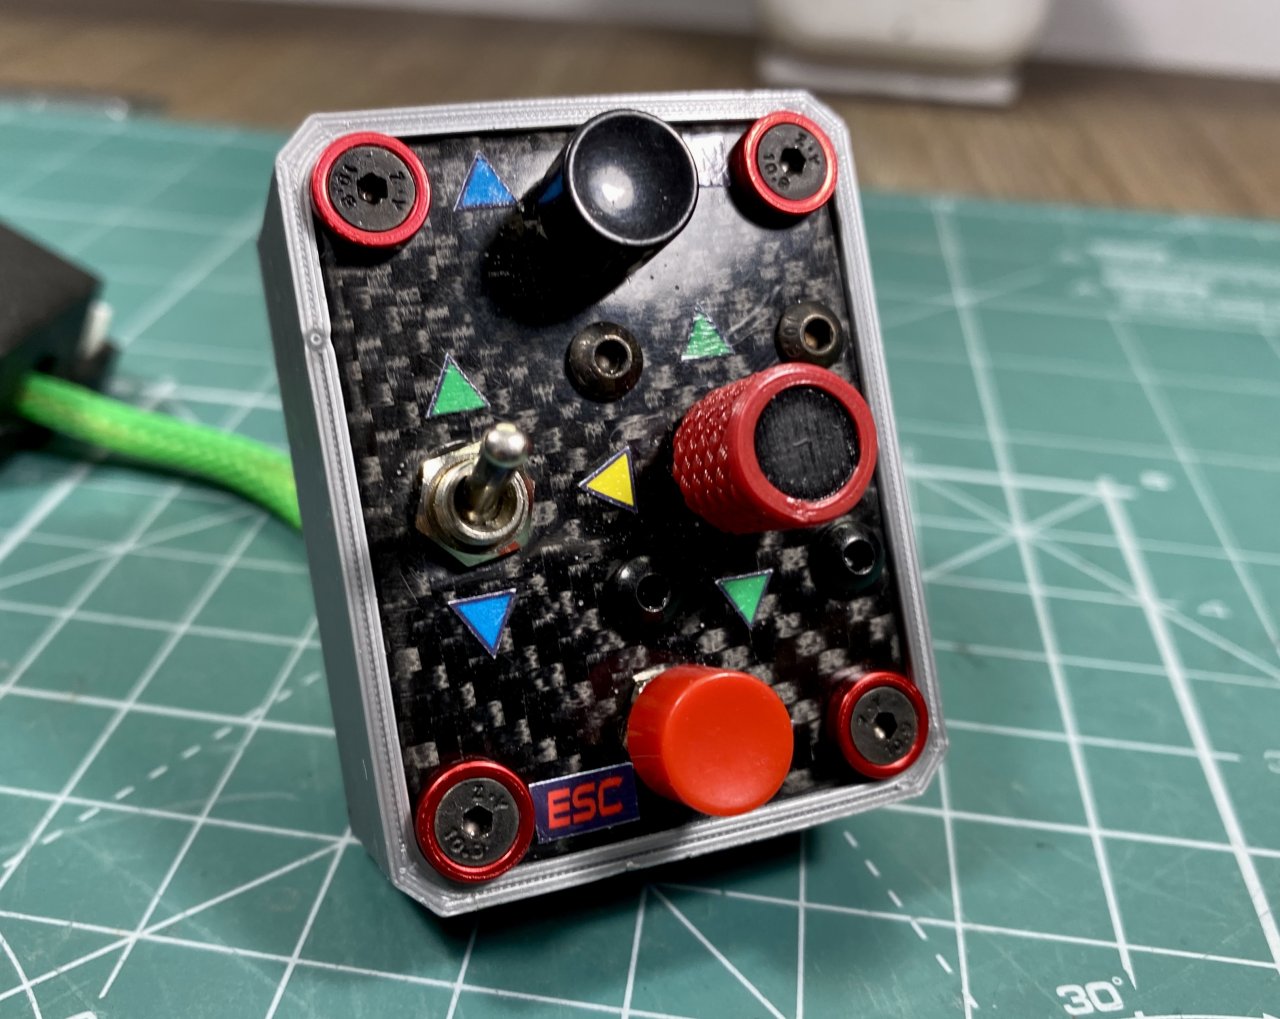
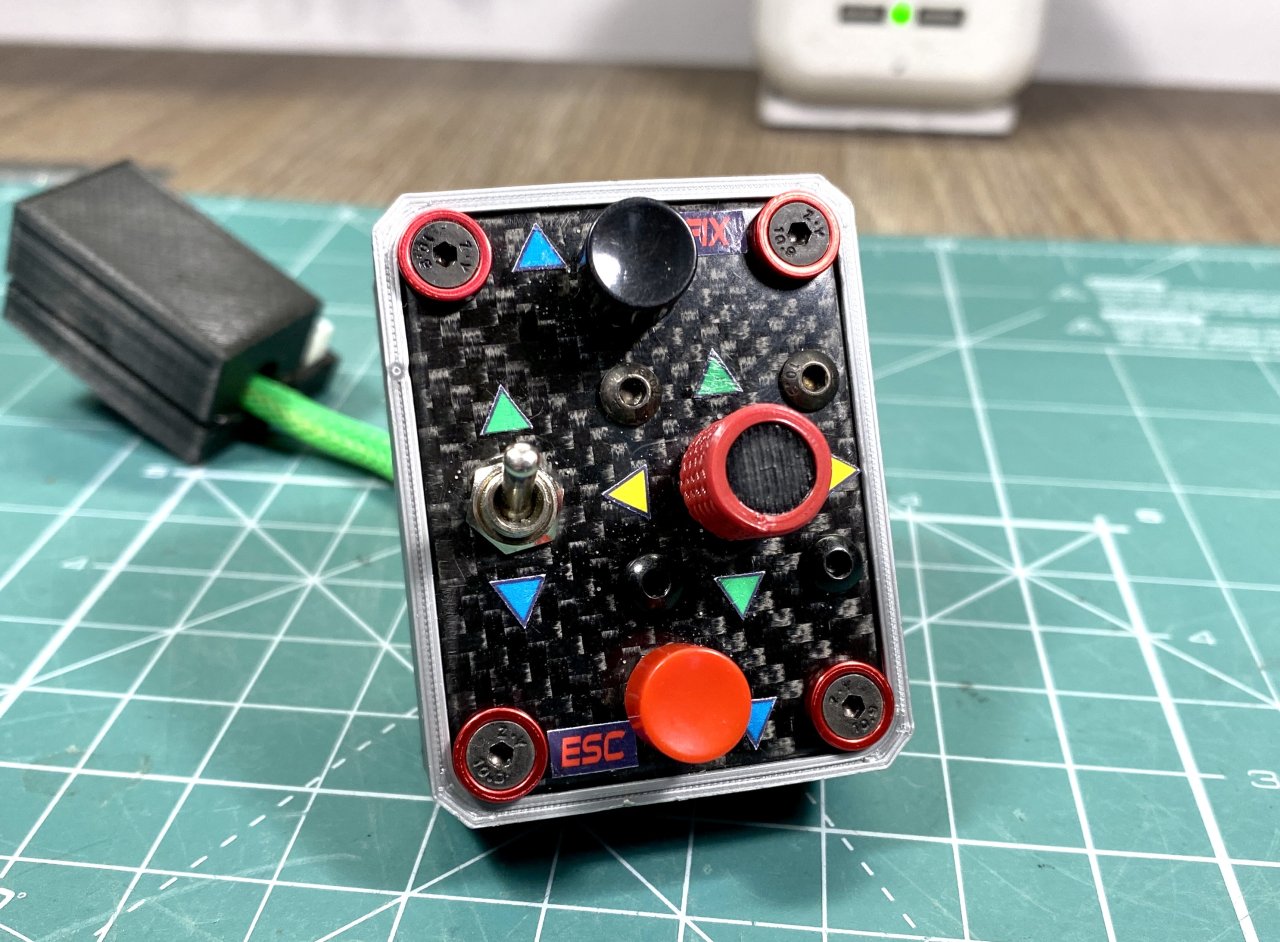
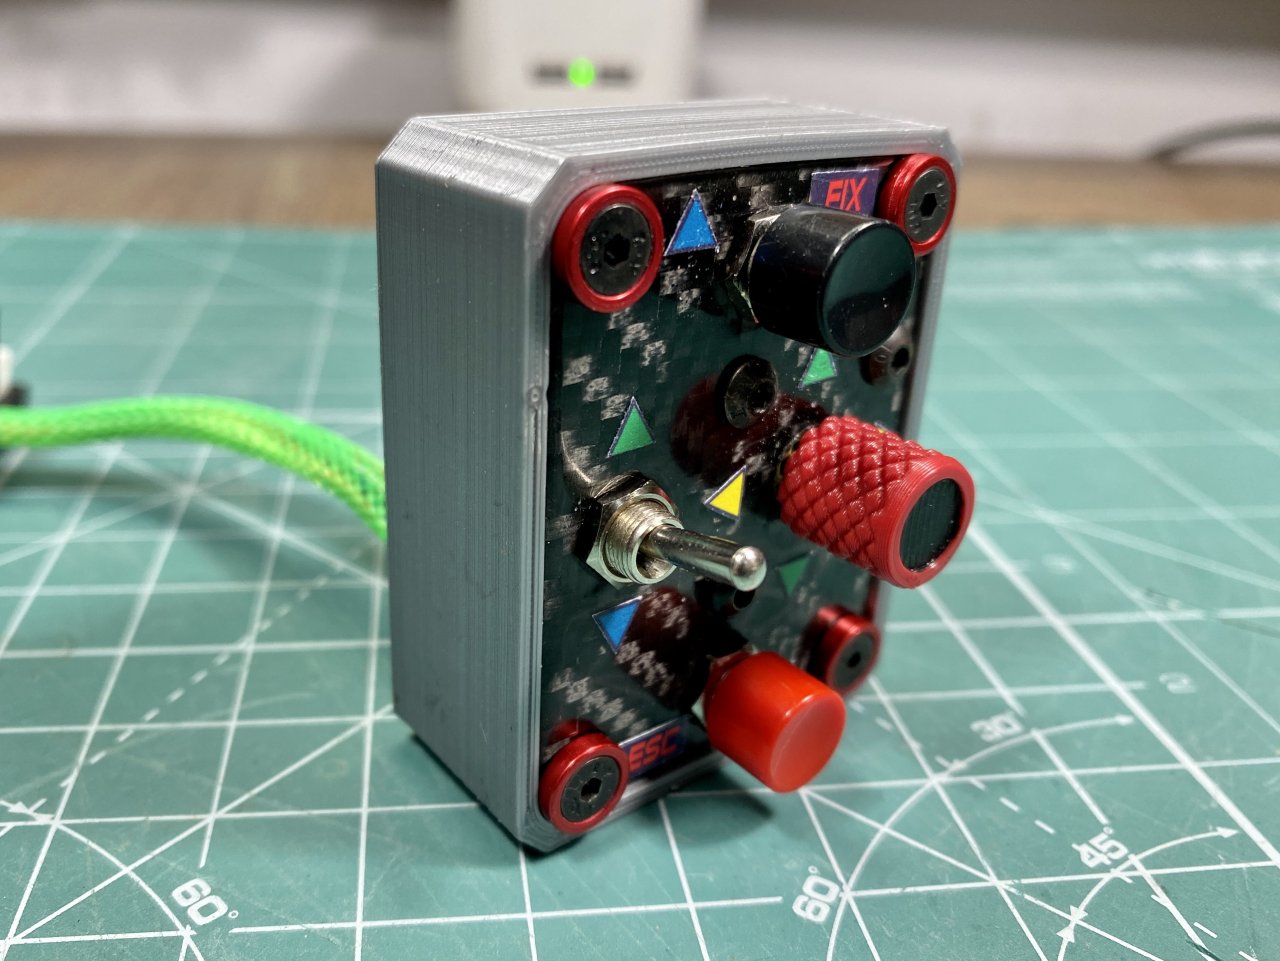
Mini Control Button Box for Sim Racing. Has two buttons, Funky switch and toggle switch. All 7 buttons are connected in keypad matrix, switch toggles between two configurations. Funky Rotary Encoder is connected separately.
Center plate is carbon fiber skinned for better look.
All of this is connected to Arduino Pro Micro so can be used directly in games.
First layout I use mainly for menu navigation - directions on the Funky mapped to keyboard arrows, center press in Enter, bottom button is ESC. The 7th button on top is directly mapped in games as needed. Funky rotation is great for tab switching.
Second layout takes care of my car seat setup in game when playing VR - 6 buttons for adjustment, center Funky press is VR reset.
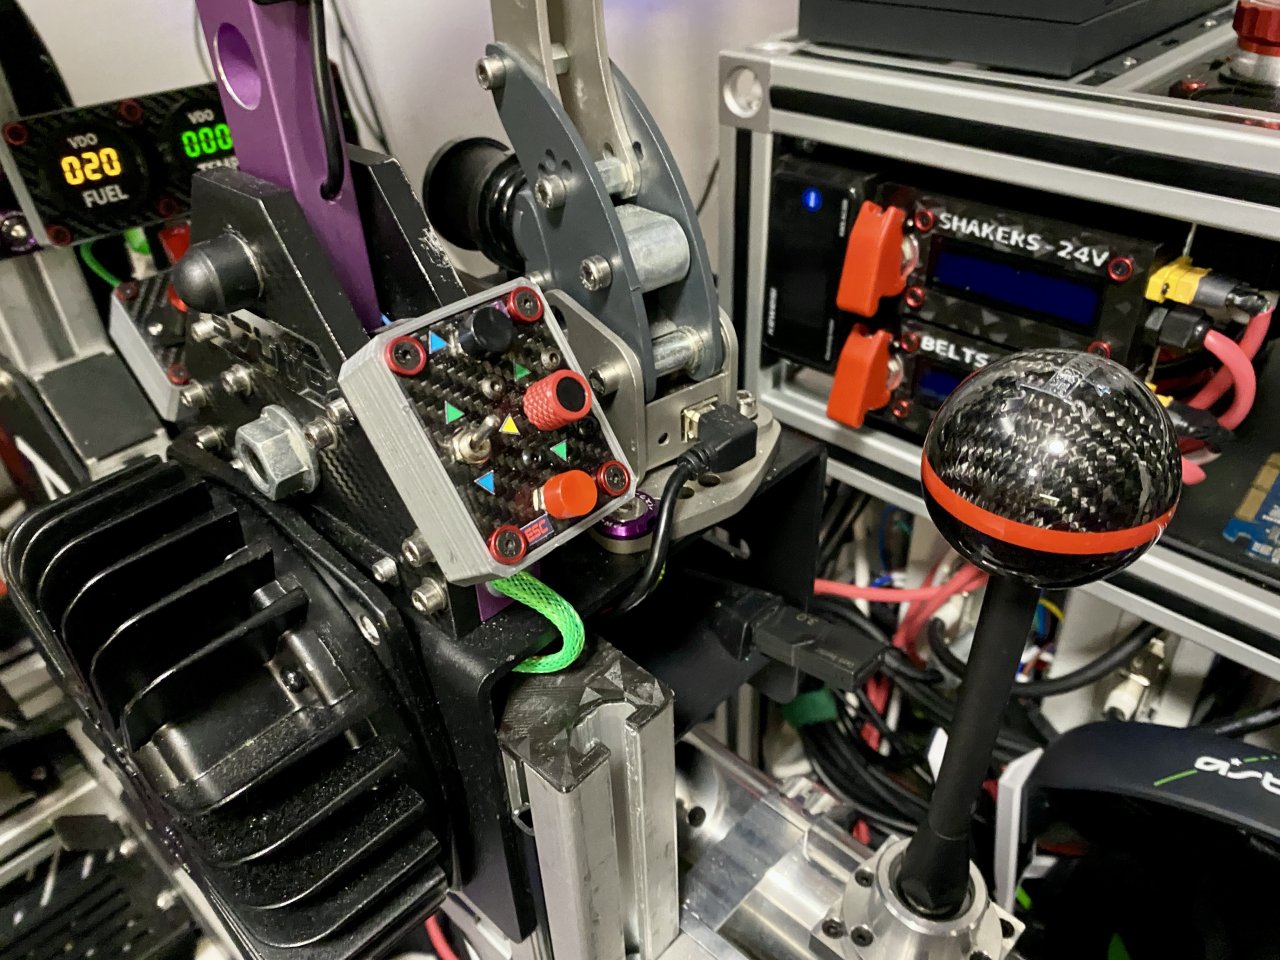
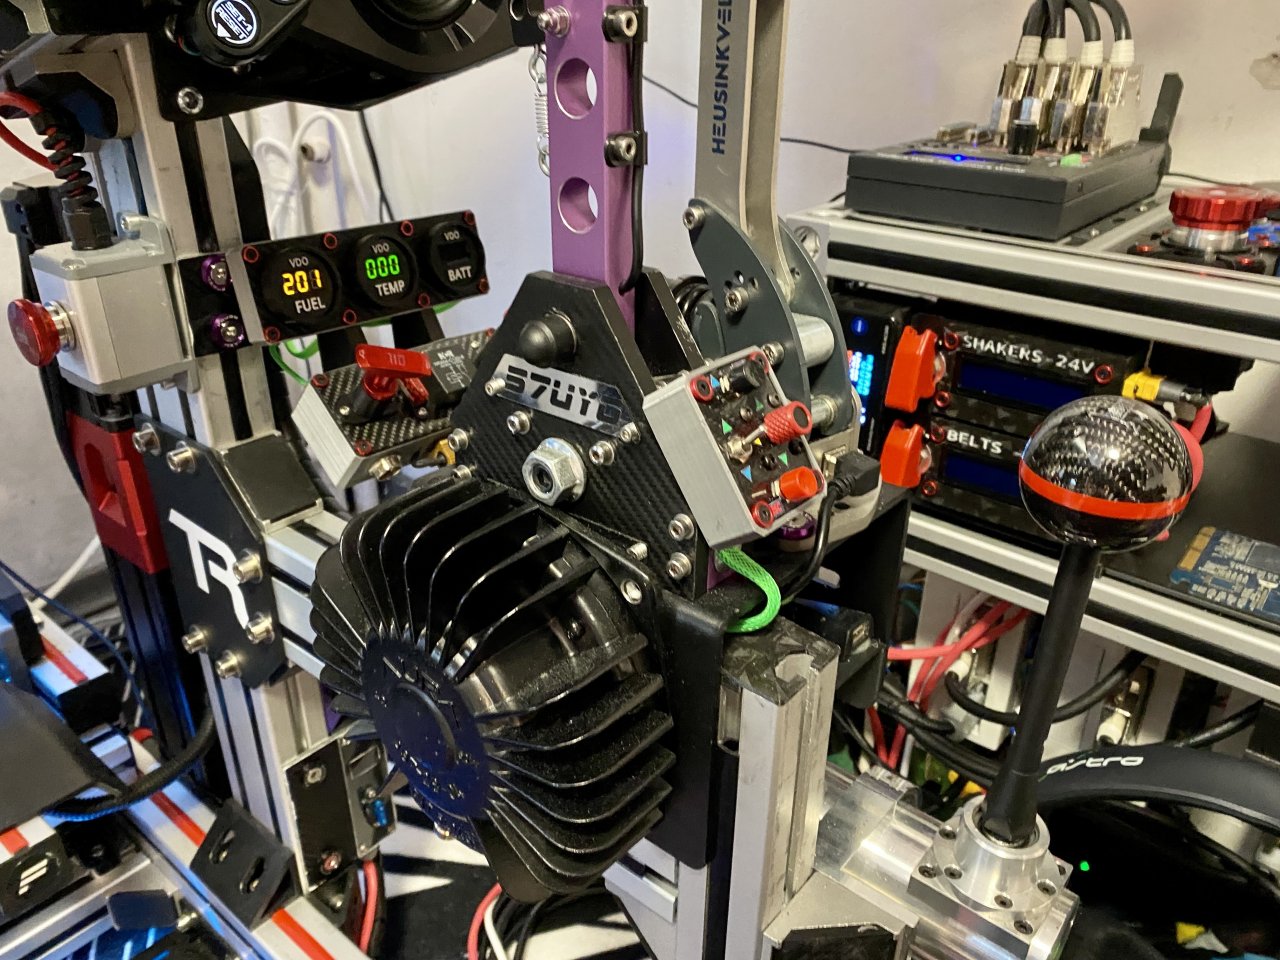
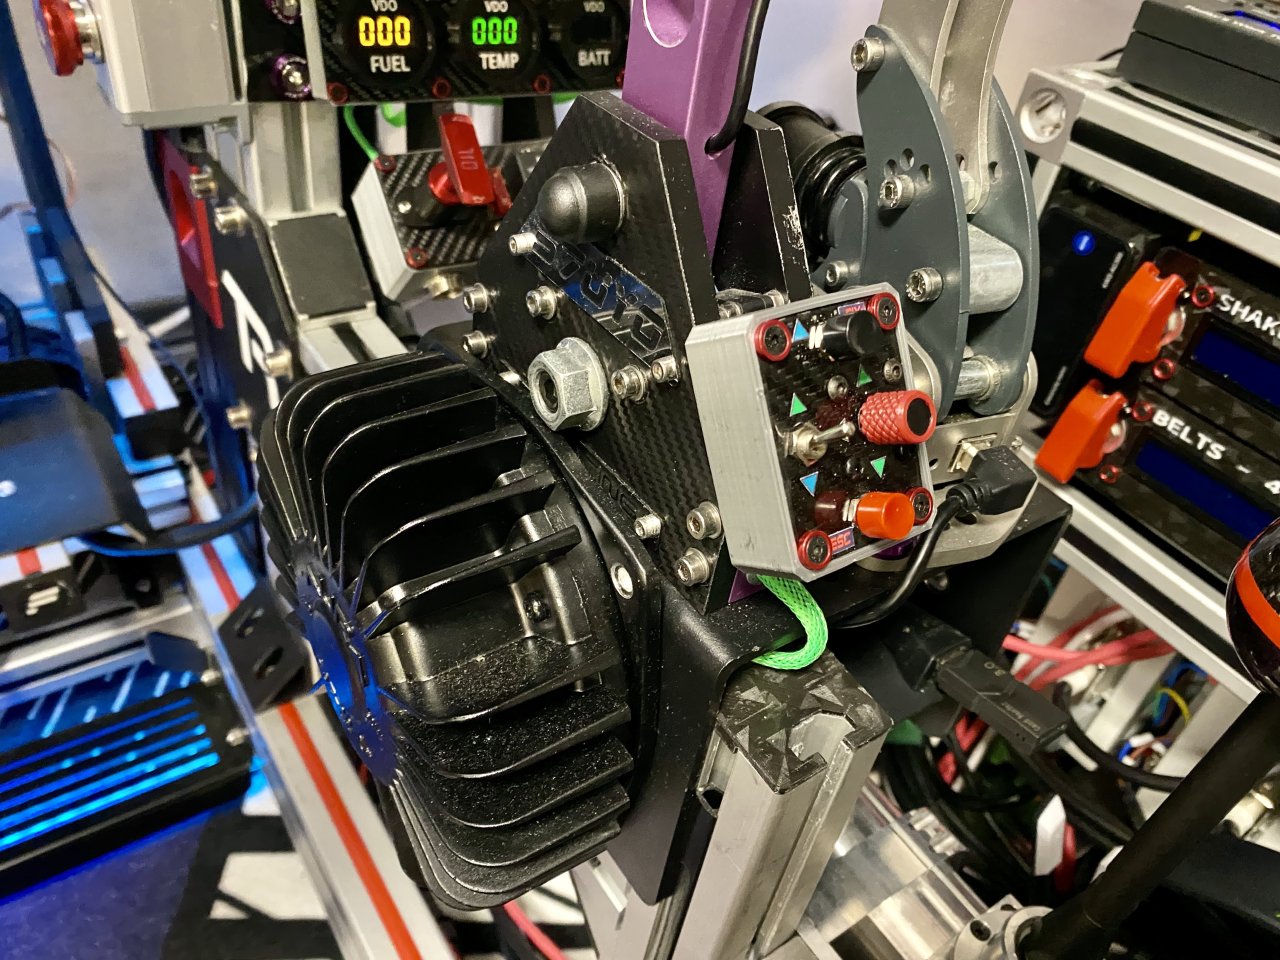
Package includes minimalistic GoPro back mount, I have mine mounted with double sided tape.
In package there are several options for Funky knob. As all the new models I found are with the new design (thicker, shorter shaft) most of the knobs are intended to be used with such. Only one design has the old interface.
Box itself had multiple mounting holes, cable opening can be oriented both top and bottom for easier routing. Arduino does not fit inside box - use extension cable.
Small form factor, very convenient. Check for wiring the "More info" tab.
-
Parts needed:
- M3 Alu washers for slick look, not so needed: https://www.aliexpress.com/item/32968161596.html
- M3x10-20mm countersunk for mounting the top with alu washers (screwed directly in box)
- M3x14mm for the Funky mount
- M3 hardware for attaching the GoPro interface
- Funky switch - https://www.aliexpress.com/item/32702076331.html
- Tactile push button, 6mm - https://www.aliexpress.com/item/1005003692635582.html
- Two way toggle switch, latching, 7mm - https://www.aliexpress.com/item/1005002513676315.html
The Funky holder was not tested, but is meant to be used with the new Funky switches models. Should work, if needed with minimal modification.
Print settings:
Bottom/top layers: 5; Walls: 5; Infill: 60%; No rafts needed
Wiring:
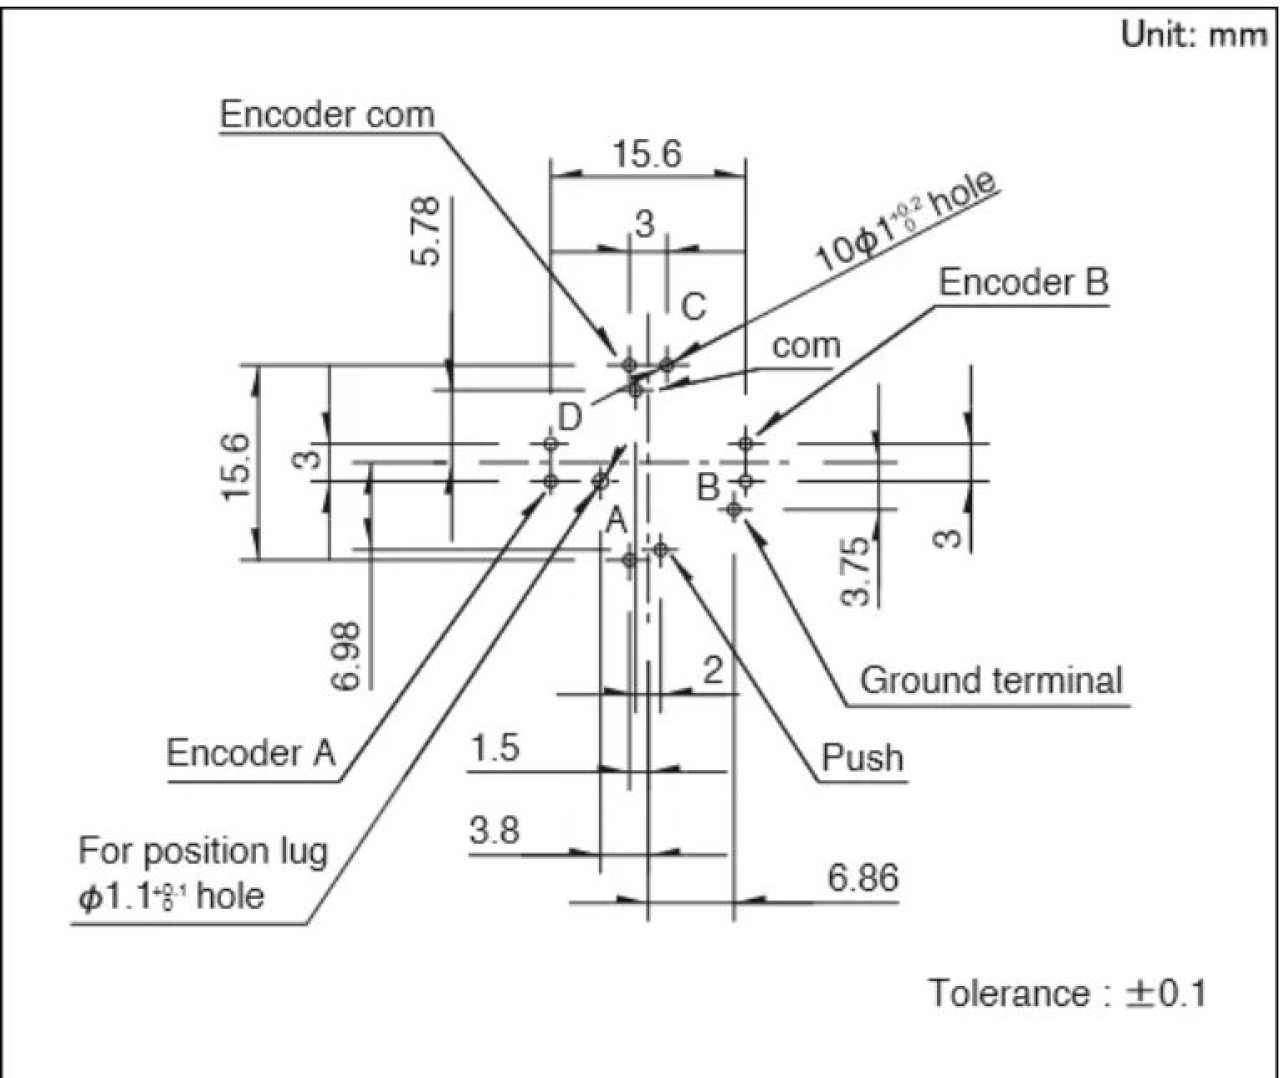
Funky Switch always presses the middle button - i.e. when you press direction, middle is pressed too (ON).
It is important to wire it in keypad matrix configuration, middle button should be on pin with higher ID - all this was done with SimHub Arduino config, which does not support multiple keypress. If you program yourself you have to take this to account in code.
As SimHub config does not have this functionality middle button will work only when Funky is pressed center.
The 2 position switch toggles COM on the COM port of the directional switch part on the Funky. This literally translates to 10 buttons - 2 rows with 4 directions and 1 press button.
N.B.! - The encoder COM port is separate.
Funky Switch Pinout:
-
Comments (3)
Leave a comment




kim
very good
I can't find the wiring on the "More Information" tab.
Tell me the wiring
Thank you.
Kris
Hi Stuyo.
Greetings from Canada!
I'm also wondering/hoping you can provide some help with wiring diagram. I know you have lots of porjects but we're all not talented like you! :)
Regards!
Elias Onstad
Hi,
We people that do not have that great electrical knowlegde need a guide or a complete pinout for this awsome controll box.