
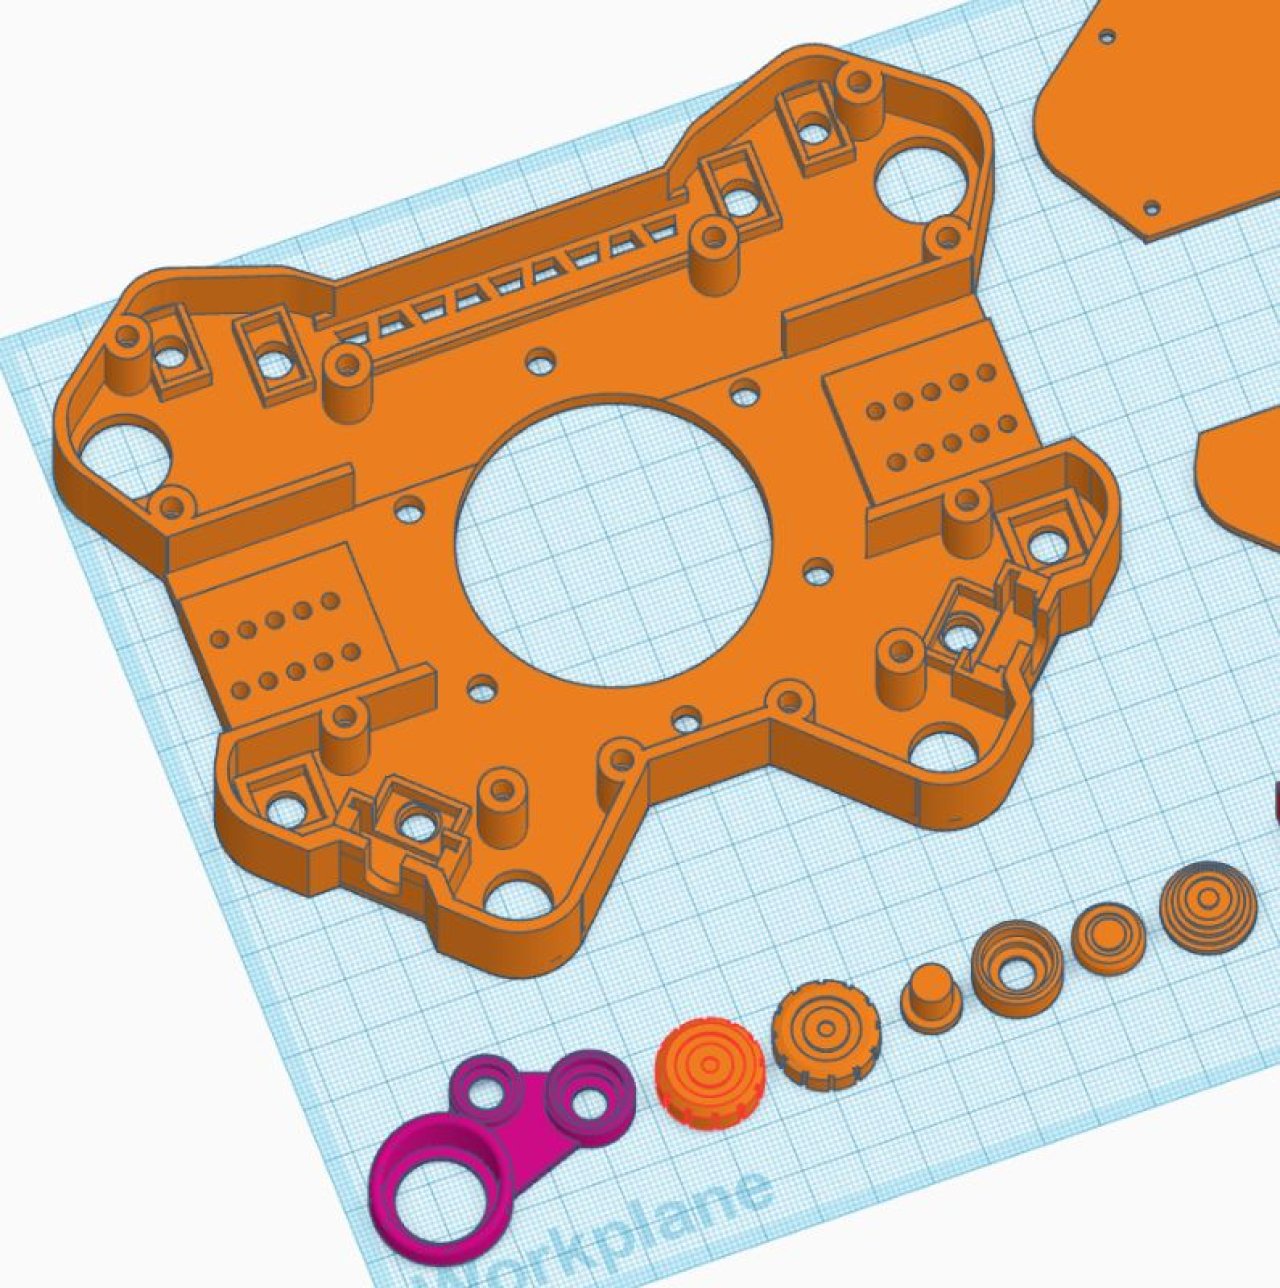
GT Button Plate V2
Uploaded 30 July 2024 | Hits: 12264 | Downloads: 818 | Steering Wheels | Free | Digital


-
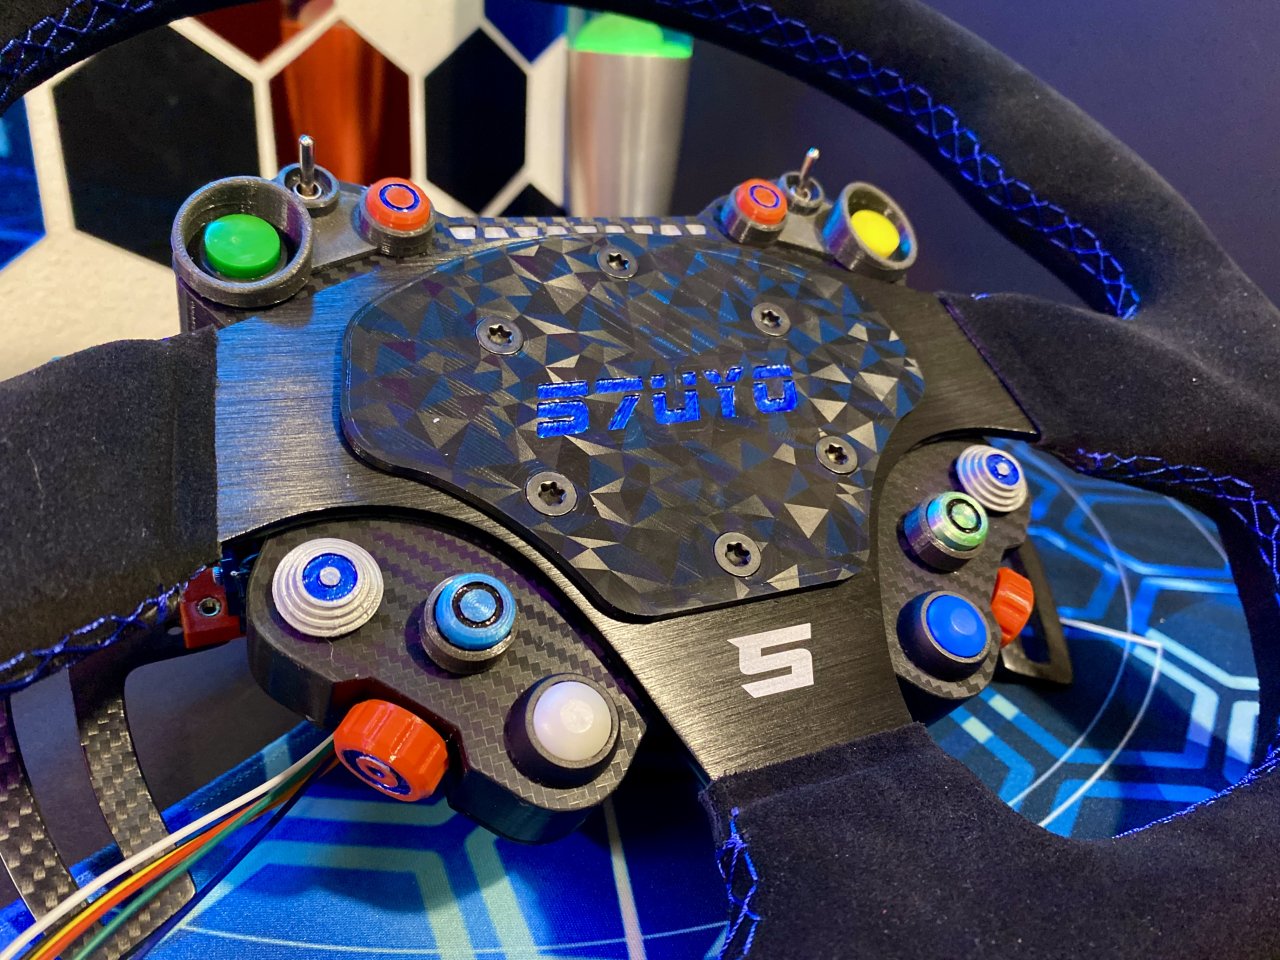
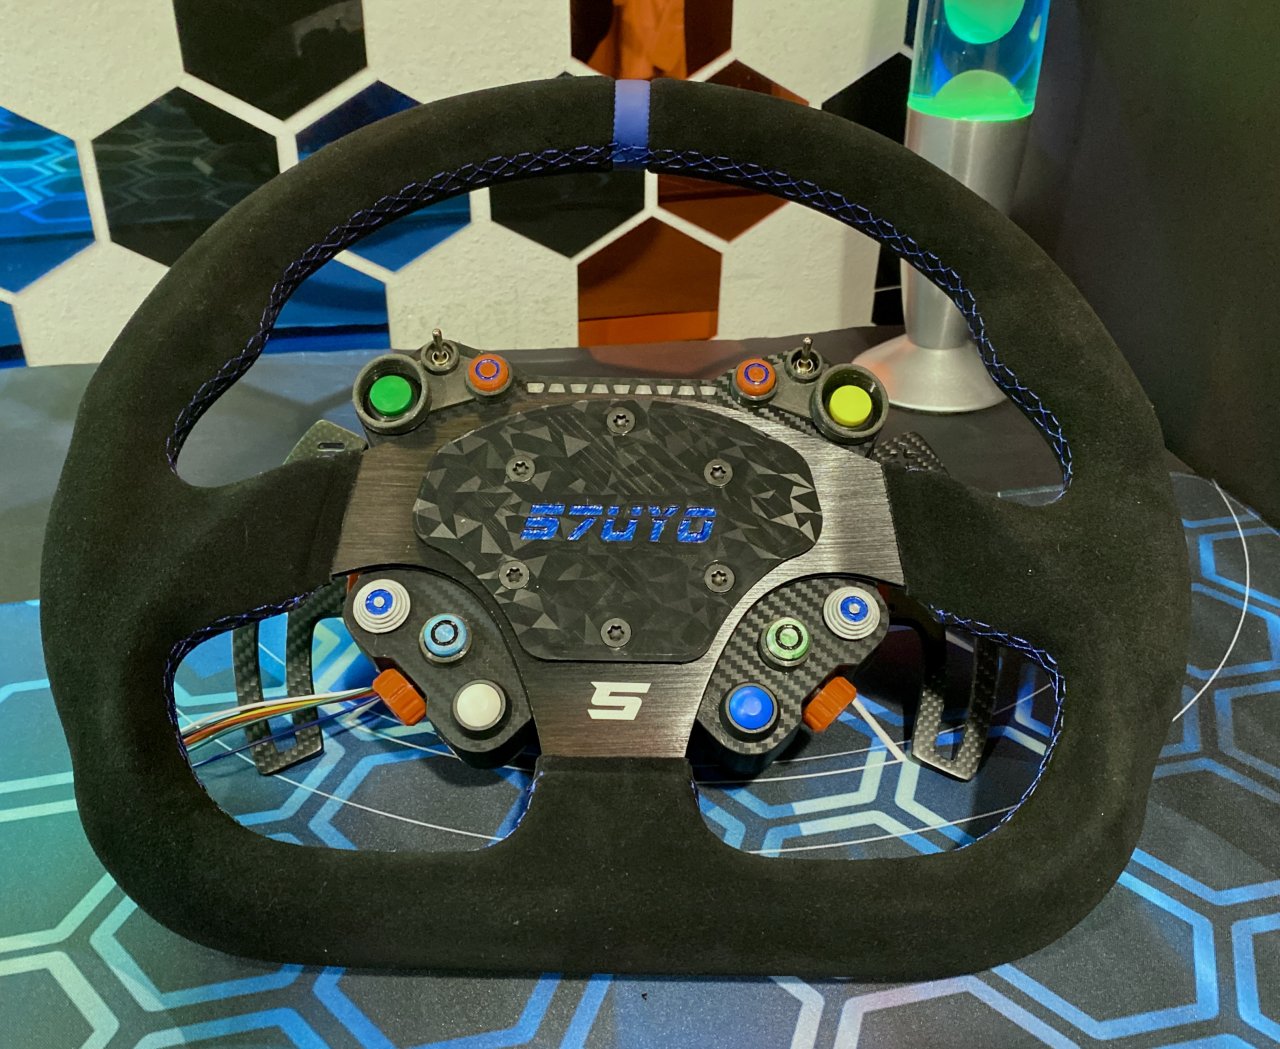
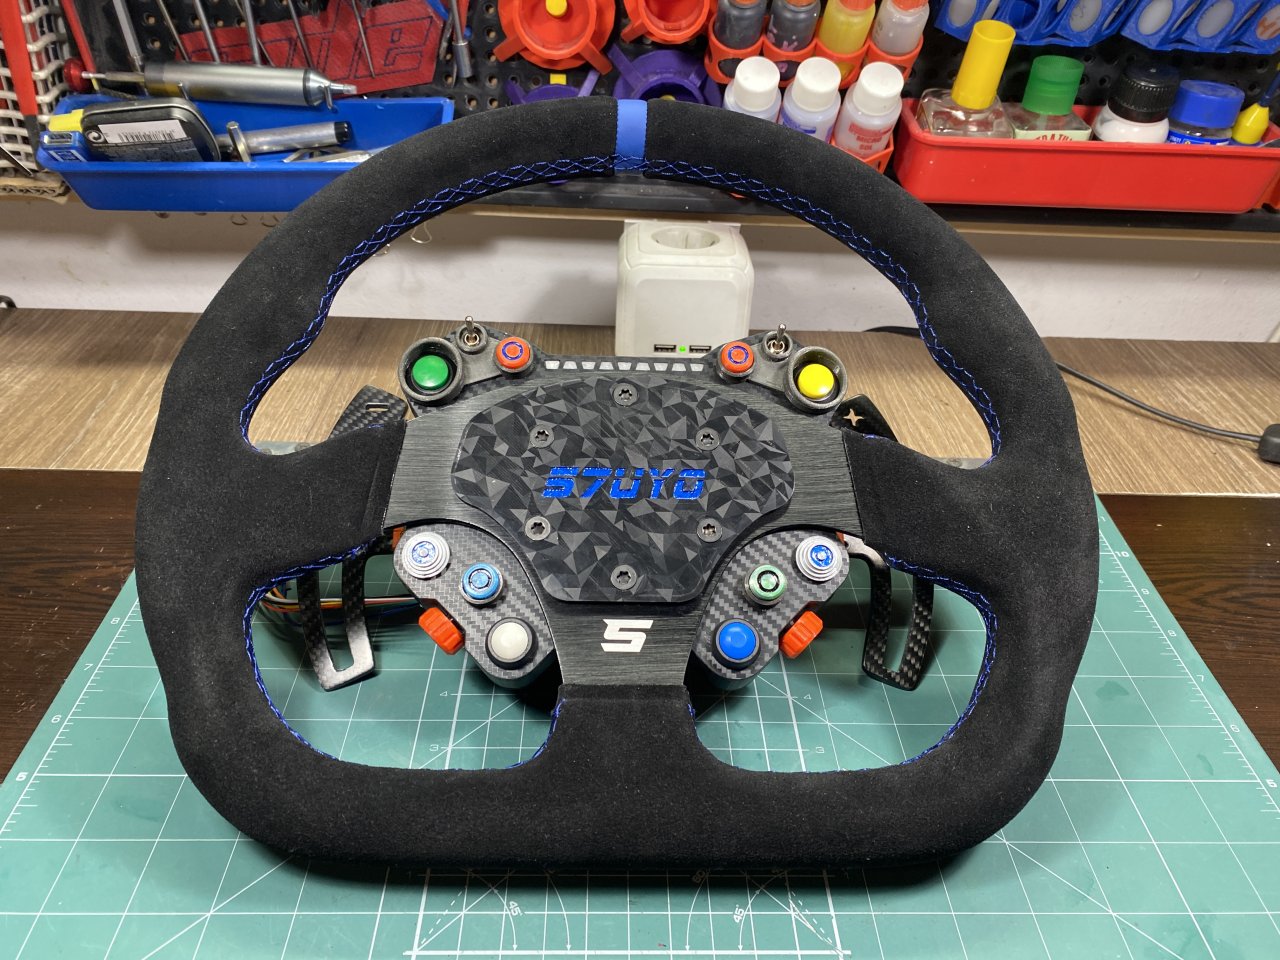
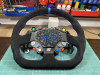
Evolution of my GT/Rally universal plate tailored more for GT cars. Now it has LEDs, toggle switches, more buttons and D-Pads.
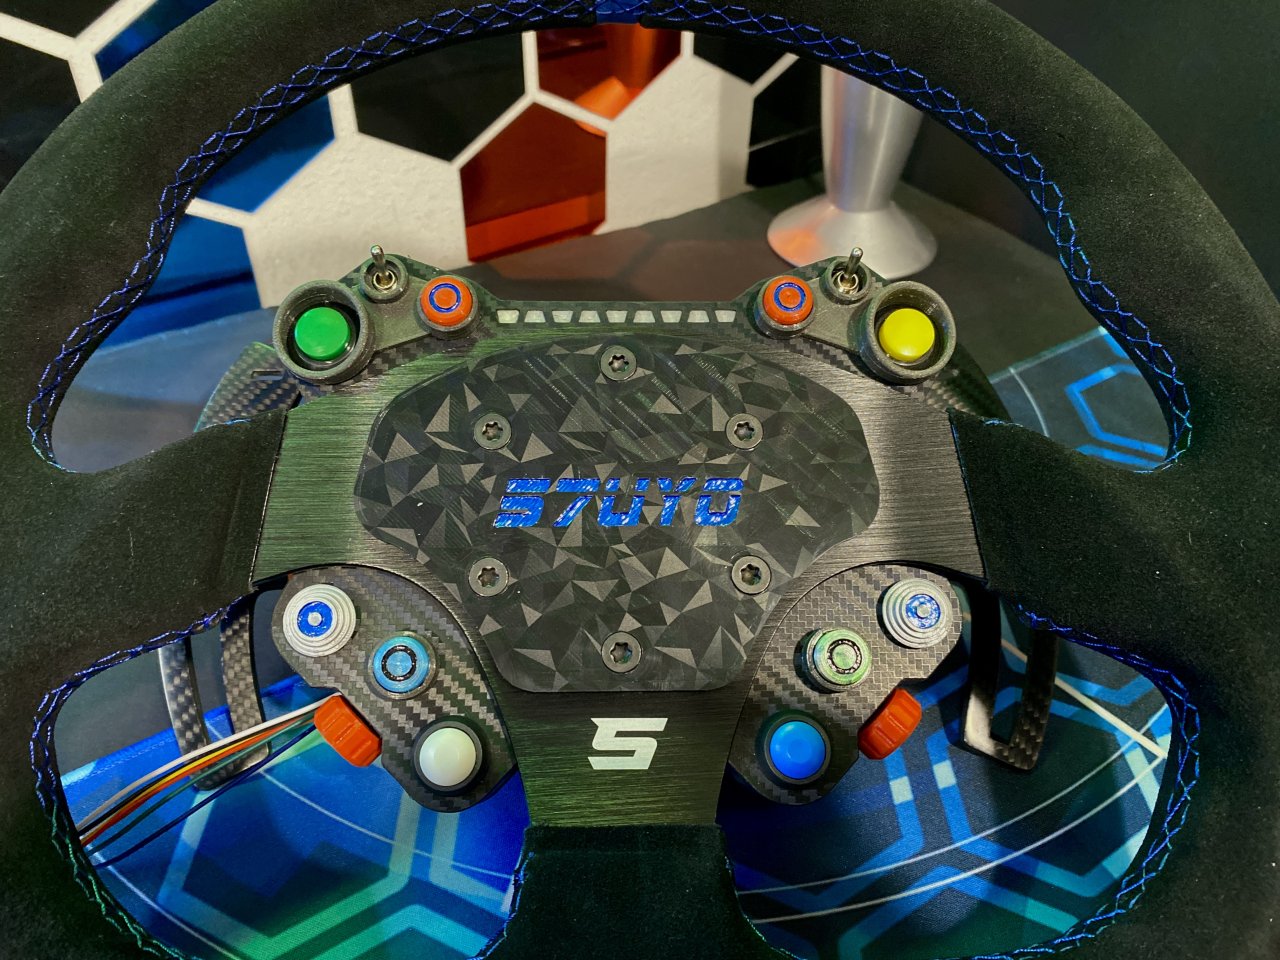
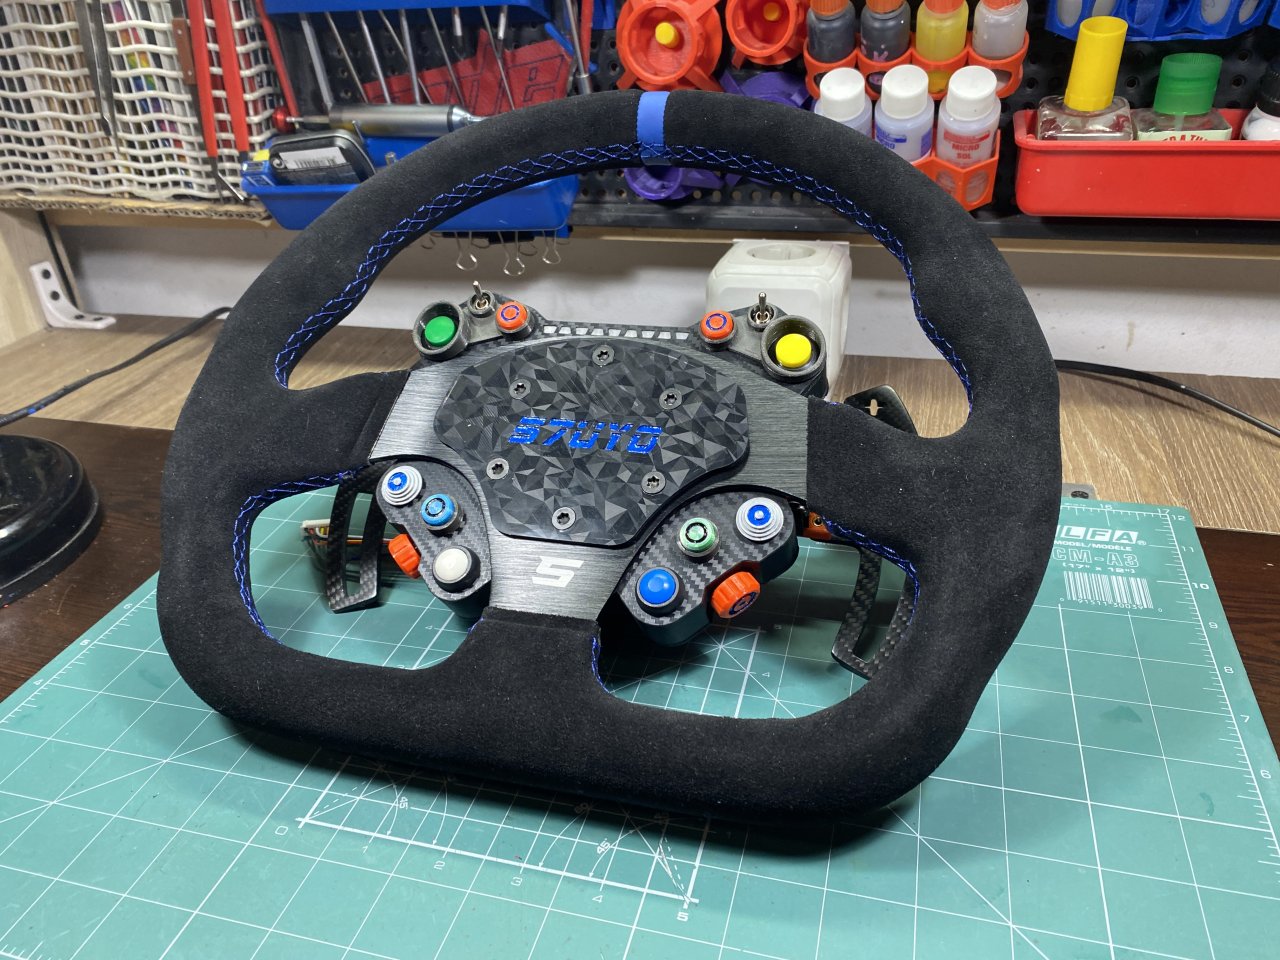
It is relatively easy project to print and assemble. REV lights are cut out from aRGB 144 LED per meter strip.
This particular design was made to work with my Fanatec emulator, so features only buttons + REV lights, controlled directly from wheelbase.
I am working on extension of the project that will feature rotaries and Funky switches, quite possibly dual clutch as well.
Horn delete plate you can find in the original project. Most of the buttons have trim for better look.
-
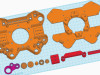
Parts Needed:
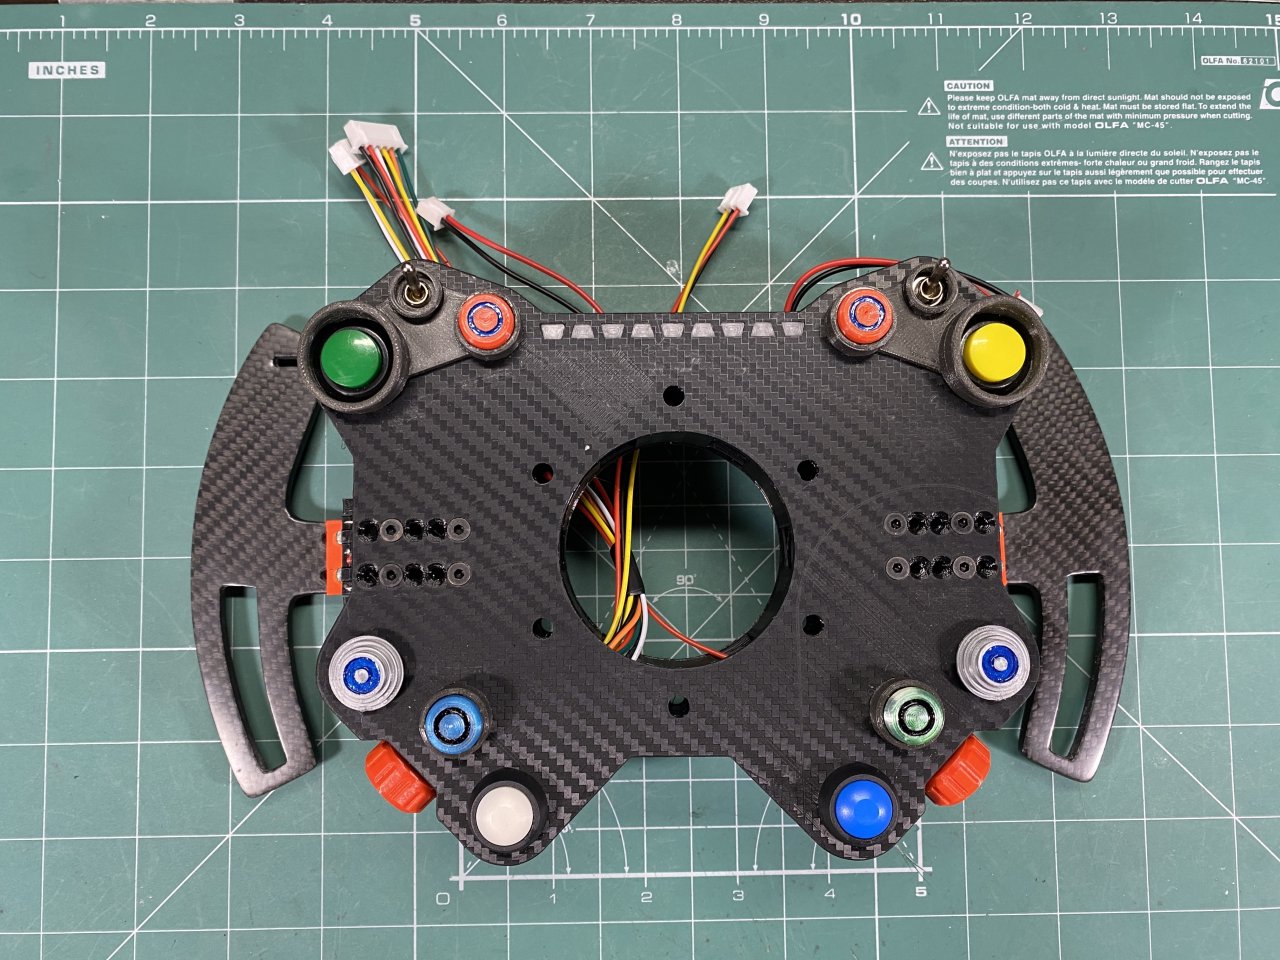
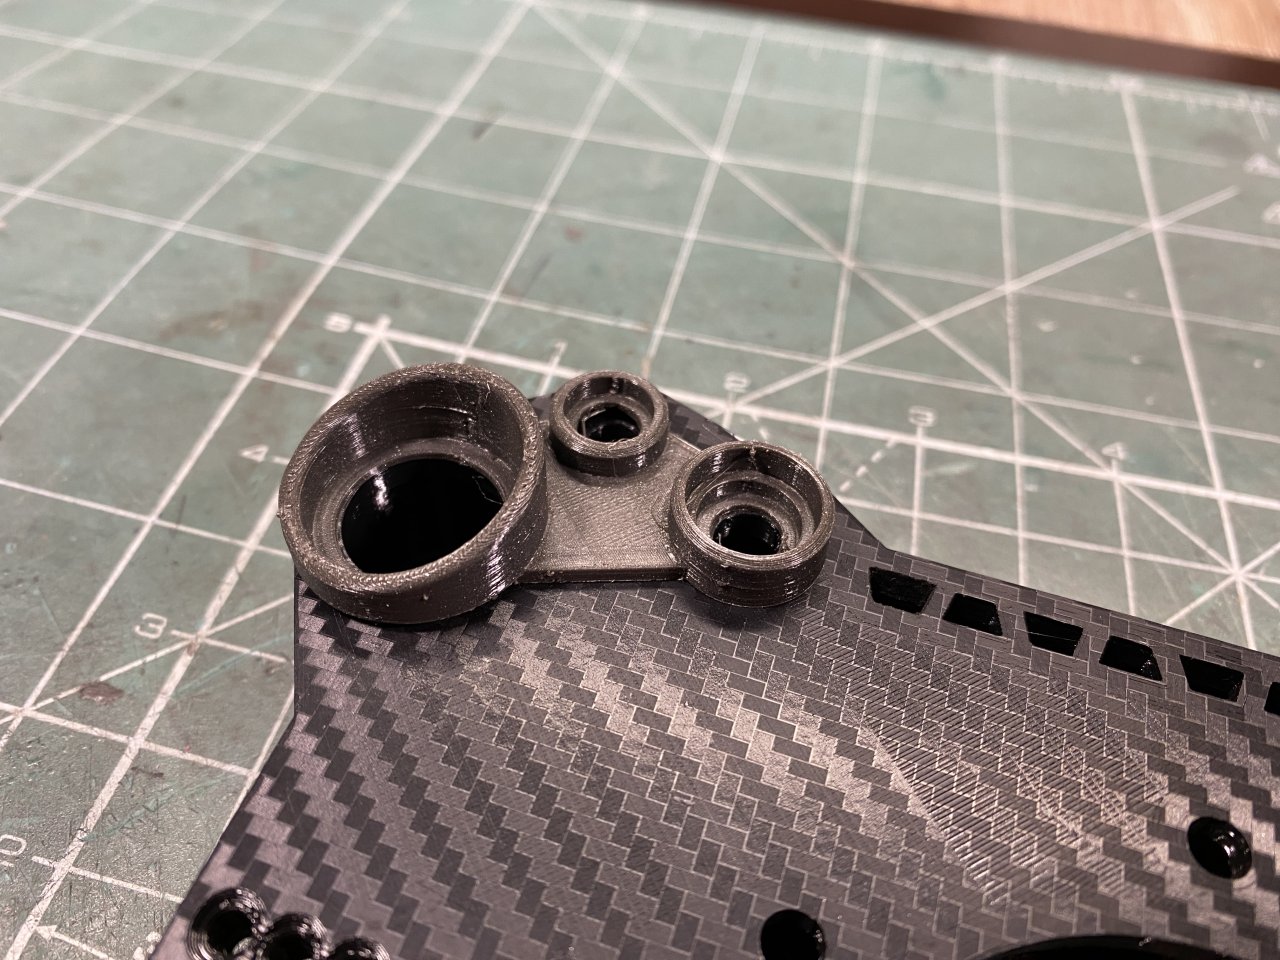
1. Momentary Push Button Switch 16mm - x2, flat head buttons on top
2. Snap-Acting Click Momentary ON-MOM Mini Push Button Switch - x4, small buttons top and bottom
3. Momentary Switch 2 Pin 12mm Waterproof Power Reset Non-locking - x2, domed buttons bottom
4. Five way Switch Multi-direction Switch 10x10mm - x2, D-Pads on lower clusters L+R
5. Red Mini 3pin 6mm 2/3 Position Self-resetting Toggle Switches ON-(ON)DPDT Mini Toggle Switches - x2, upper cluster toggles switches. For Fanatec I used (ON)-OFF, 2 position
6. Tactile Push Button Switch Momentary 12*12*7.3MM Micro switch - x2, soldered on piece of project PCB for the side buttons
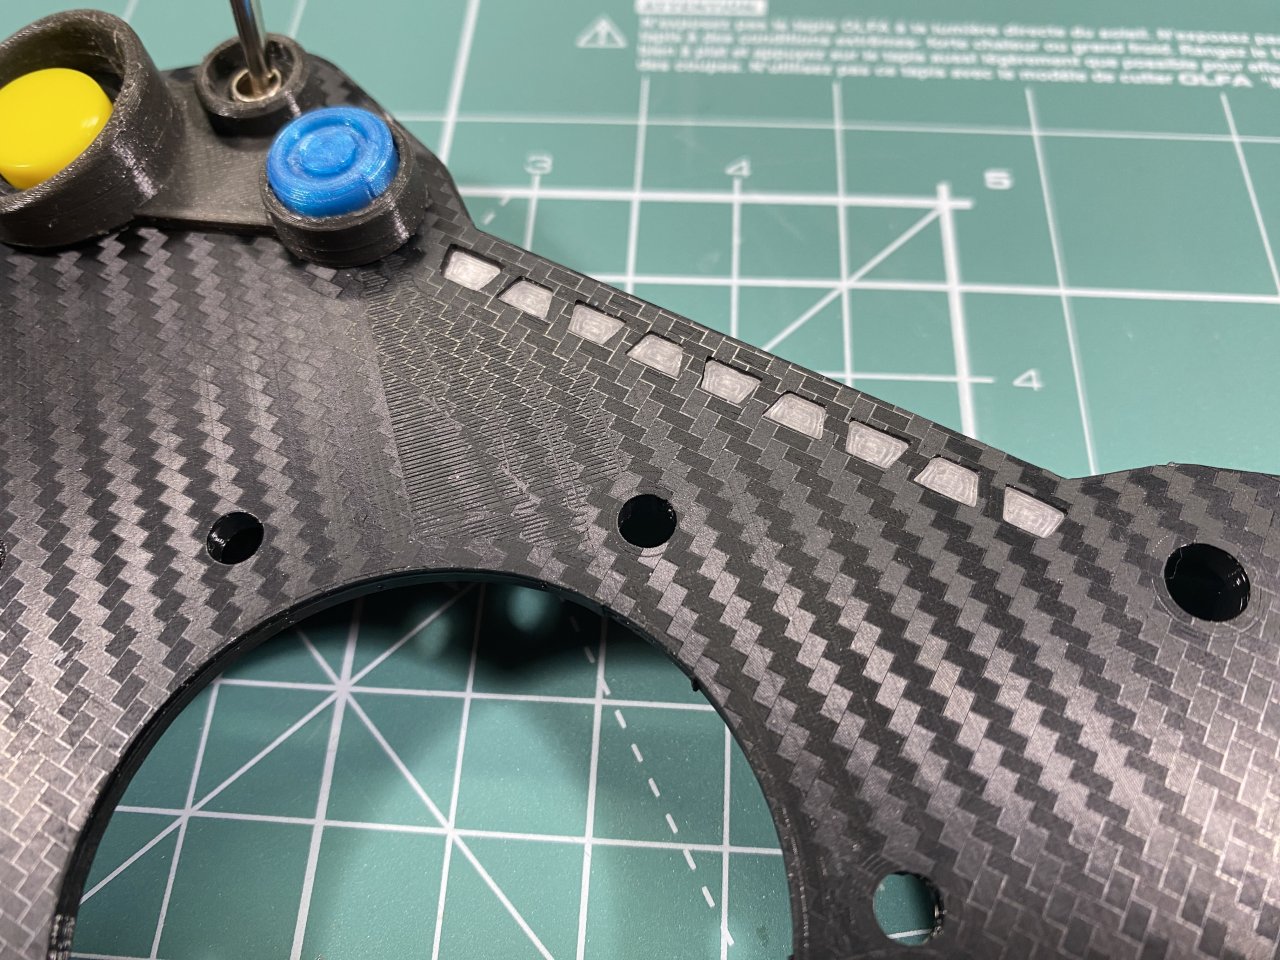
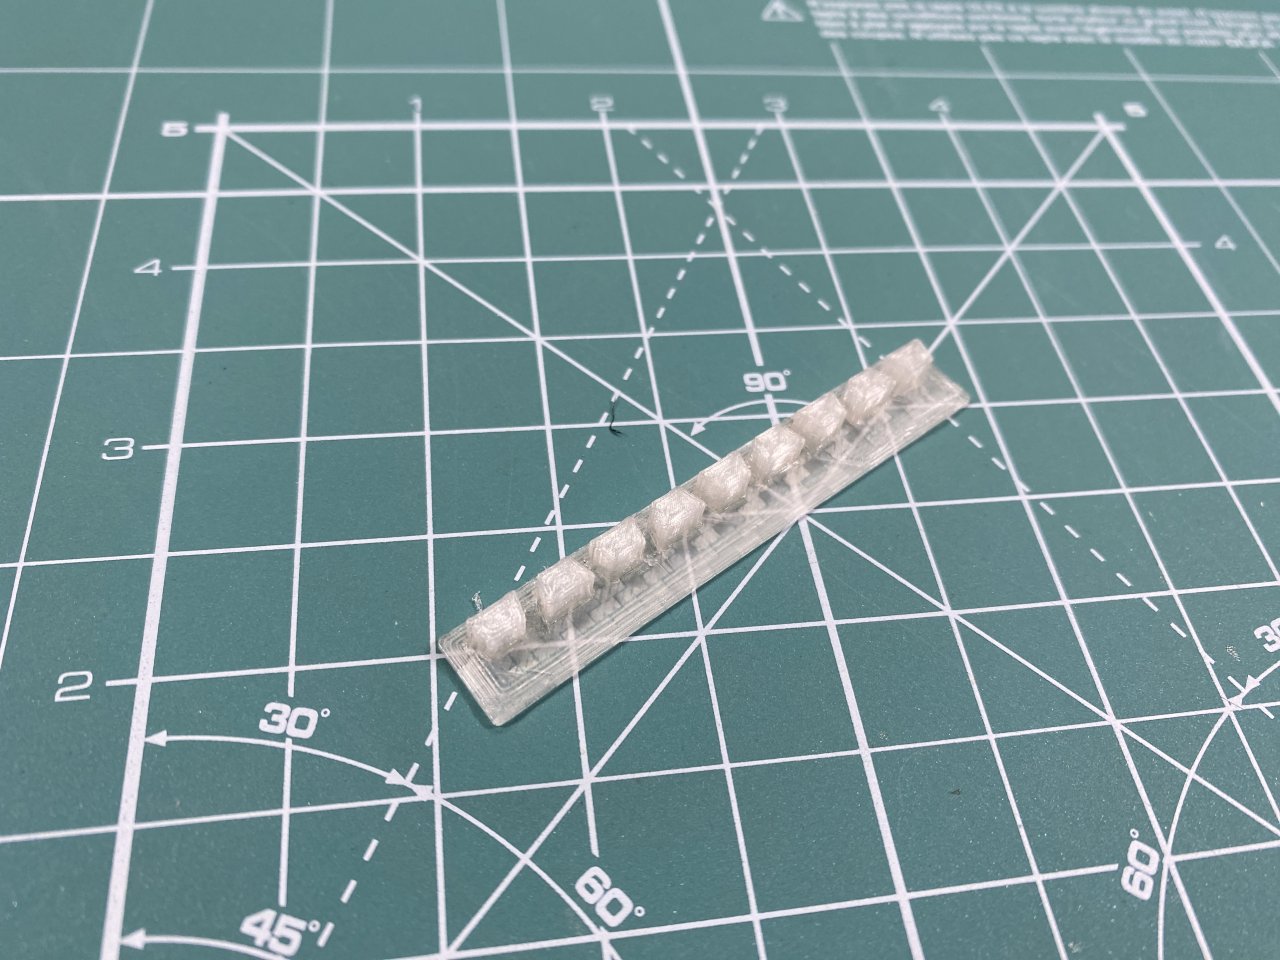
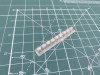
7. WS2812B 5050 Addressable RGB Strip, 144 LED per meter, DC5V - cut 9 LEDs in strip for the Rev Light
8. Brass Hot Melt Insert Knurled Nut M3 4.2x6mm
9. M3 mounting hardware to close the box
Print Settings:
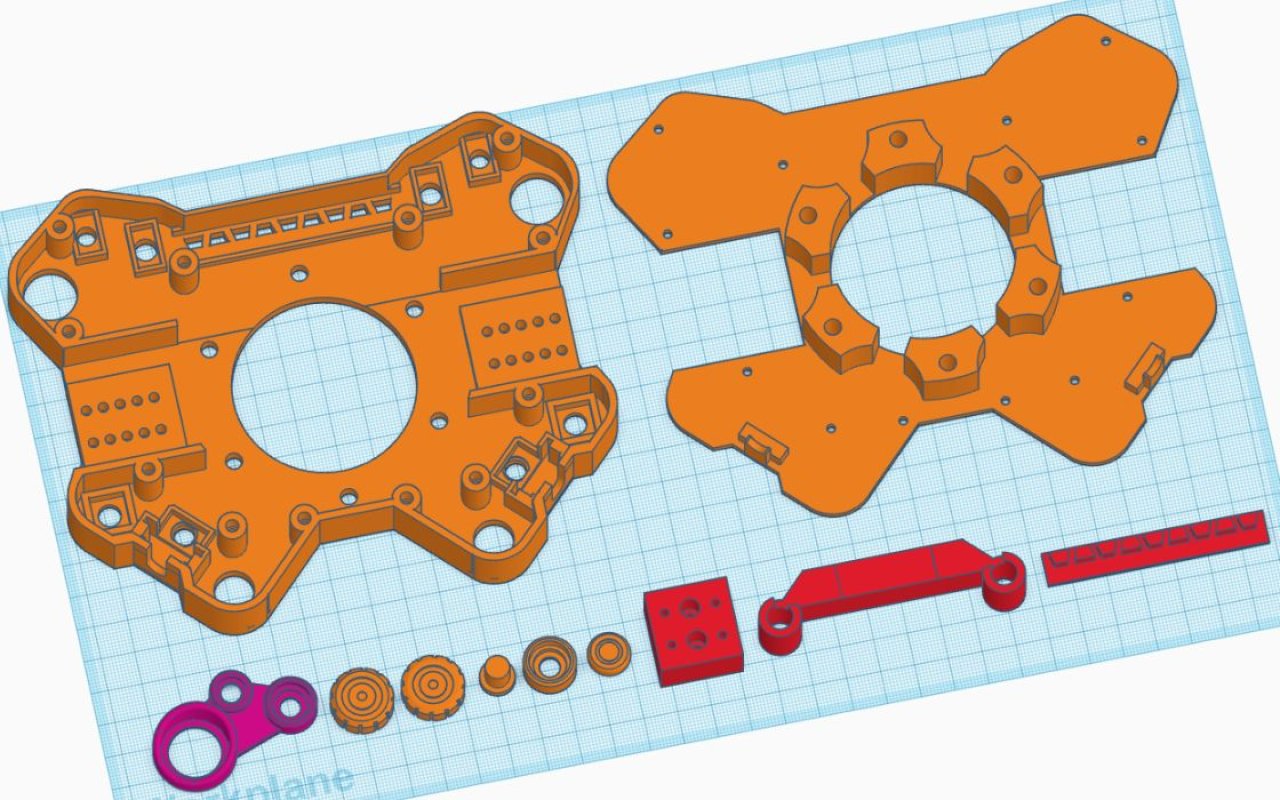
No supports needed, everything was printed with 5 walls/layers in PLA.
LED diffuser needs to be printed in transparent filament (PLA).
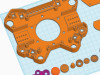
Assembly Instructions:
Put piece of white paper between LEDs and diffuser for even better lighting effect.
Fanatec emulator code linked up on the GitHub button
Side buttons soldered on PCB so they can fit the hole (it was designed for rotary encoders)
Controller you need to figure by your own choice
Buttons can be changed for rotaries, etc.
Build video how I made mine will be online at some point, till then you need to use your imagination how to assemble.
-
Comments (9)
Leave a comment
Igor
What wheel rim are you using?
Stoyan Pamukchiev
Hi, it is designed to work with 320mm wheels.
Dario
Rotary encoder quali usi?
Diego Tabali
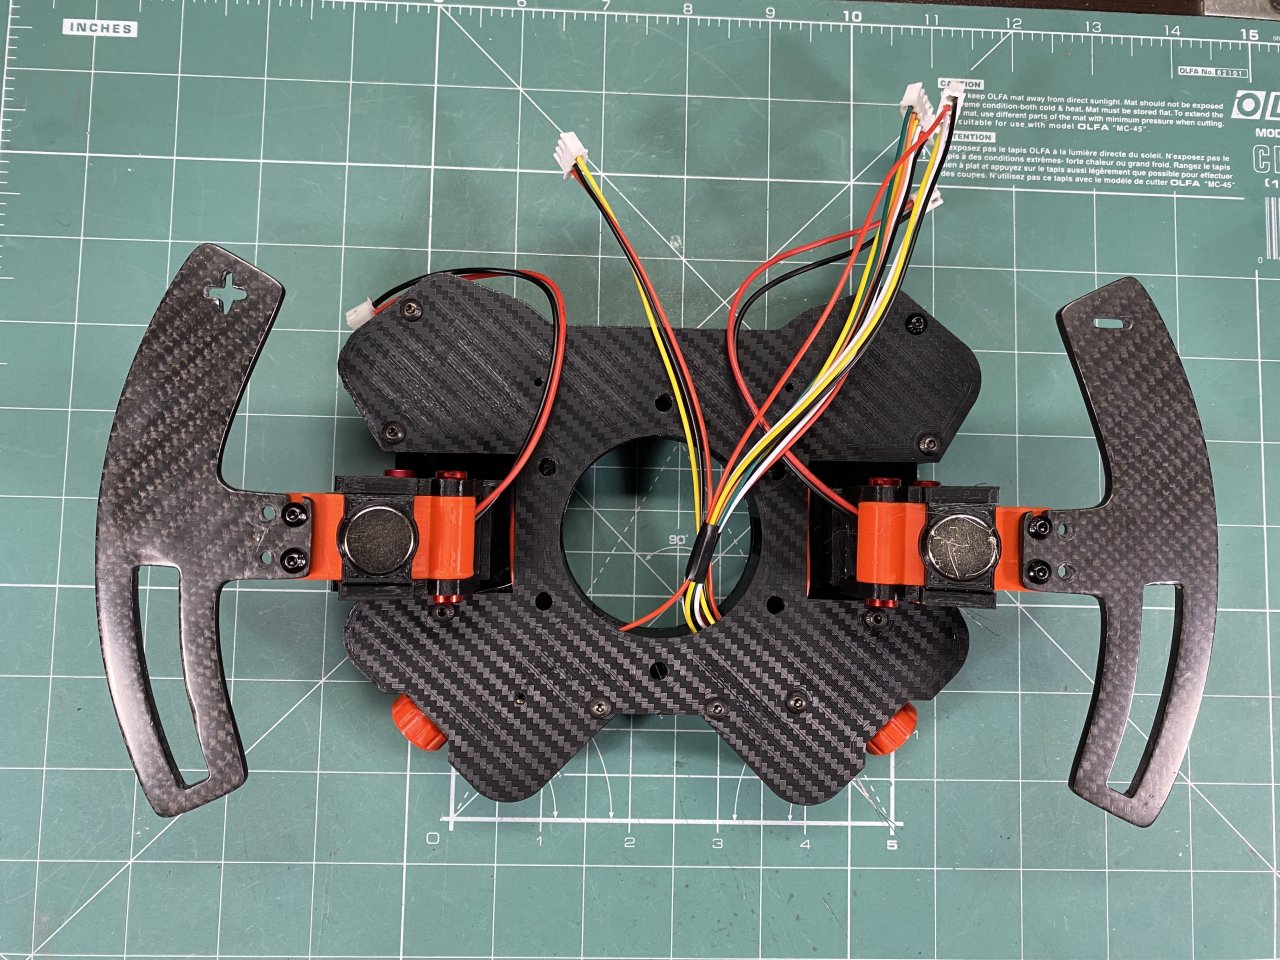
Just wondering, what shifters did you use in the build? I’ve been looking through it and can’t find any that seem to fit.
Stoyan Pamukchiev
I used the V2 shifters with some distancing blocks. Since then I designed the V3 ones to deal with proper spacing. Button plate was redone there to have this distancer built in for easier assembly, but still have not printed to test - issues with printer and time.
Stoyan Pamukchiev
Forgot to mention, all shifters have base plate in both orientation - sideways or inline for better fit and compatibility. Just select the orientation you need.
Dario
Ho stampato e fatto funzionare tutto wireless design veramnte bellissimo!
yusuf
What is the diameter of the steering wheel yours use?
i wanna build like this button plate
Dario
320mm