
My 75 mm SimHub DIY Belt Tensioner – Volair rig, P1S and Hall safety
- dgb1986@hotmail.com
-
 Topic Author
- Offline
- New Member
-

Less
More
- Posts: 1
- Thank you received: 0
1 month 3 weeks ago #12
by dgb1986@hotmail.com
My 75 mm SimHub DIY Belt Tensioner – Volair rig, P1S and Hall safety was created by dgb1986@hotmail.com
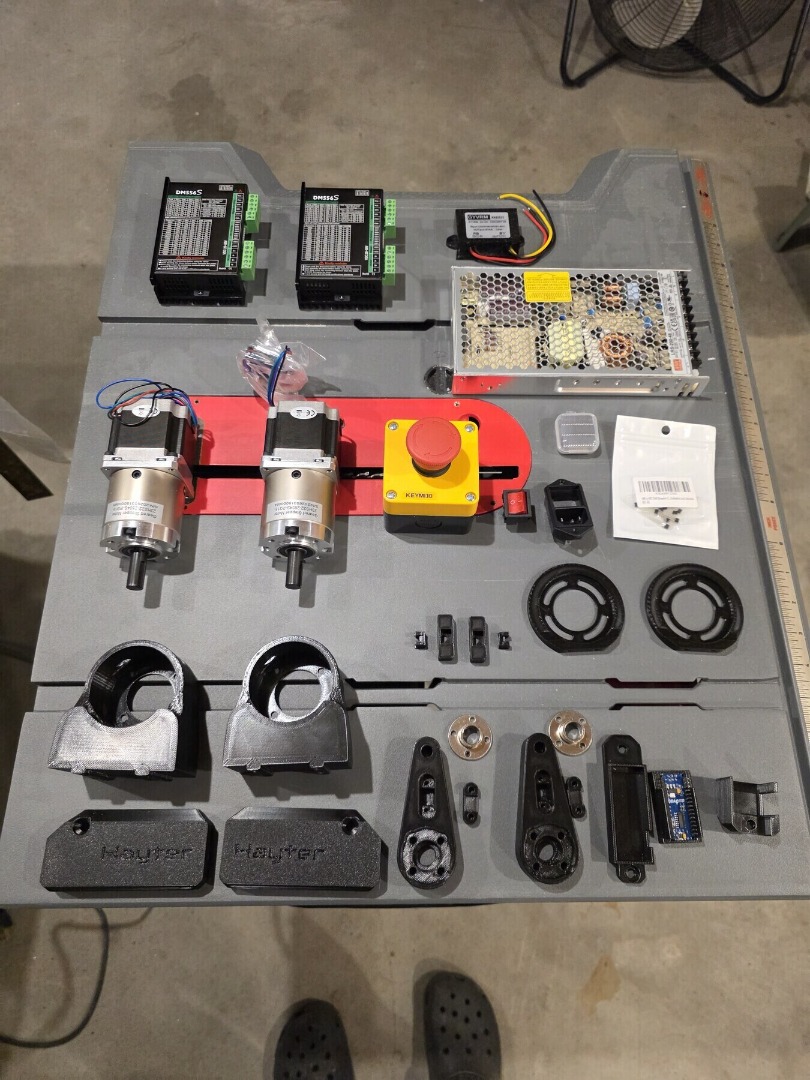
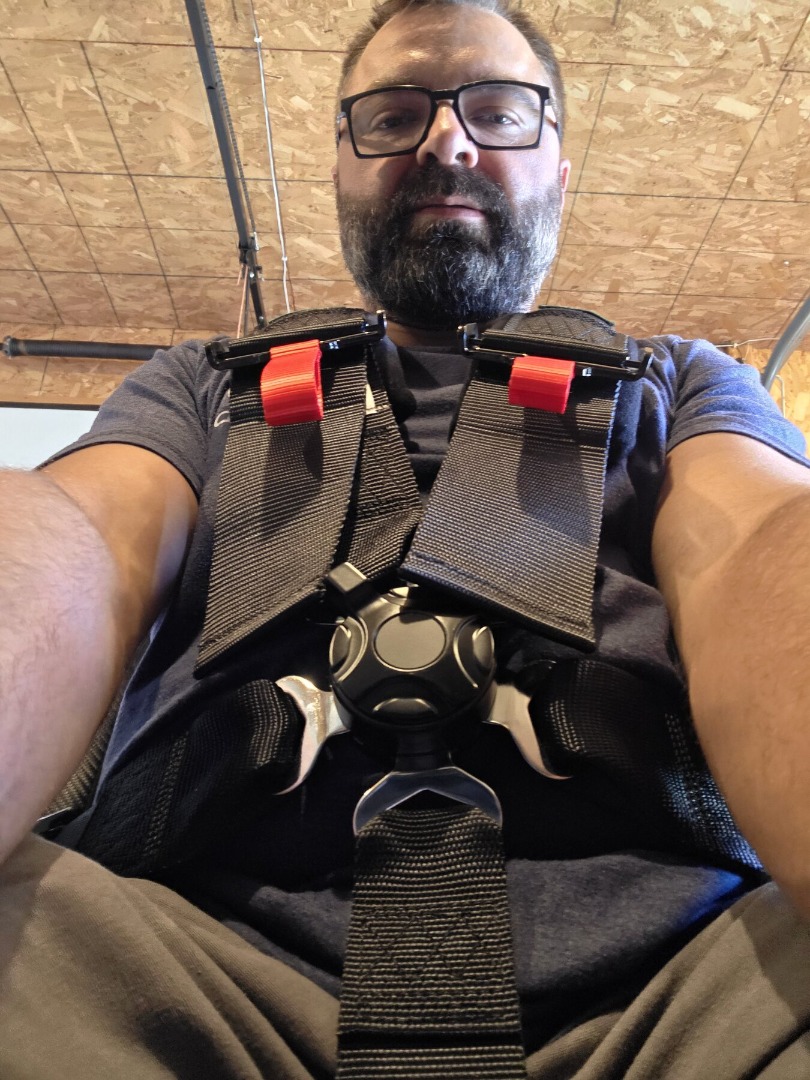
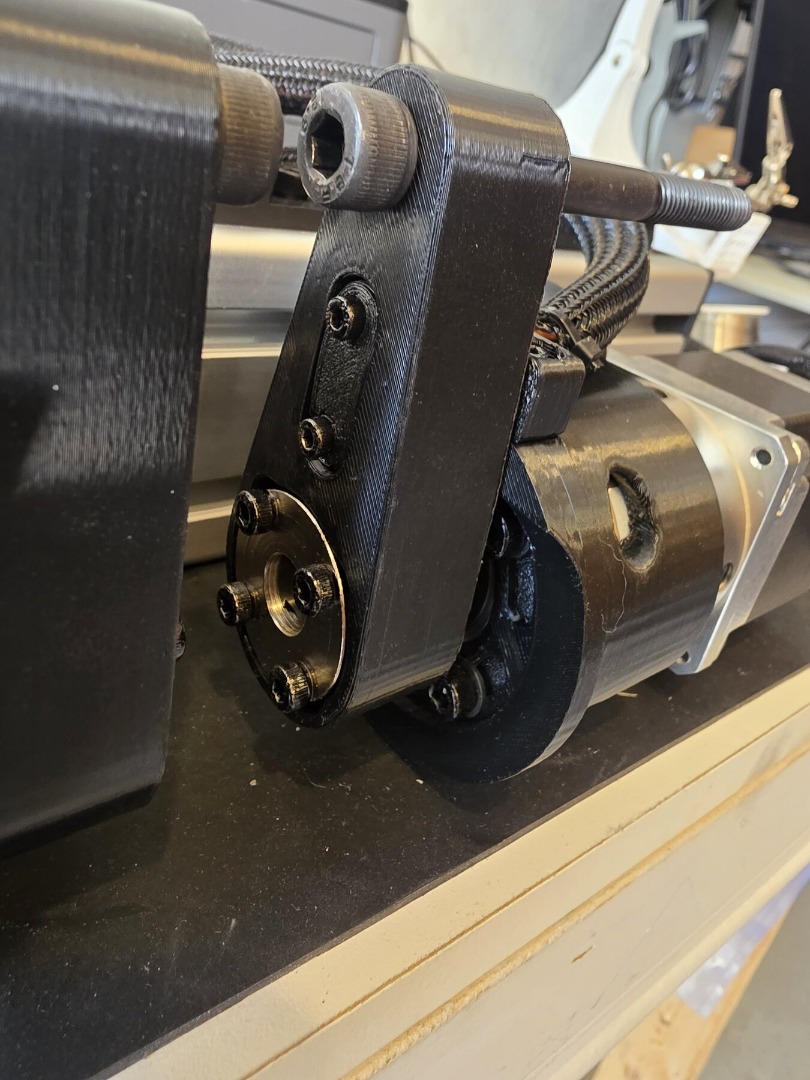
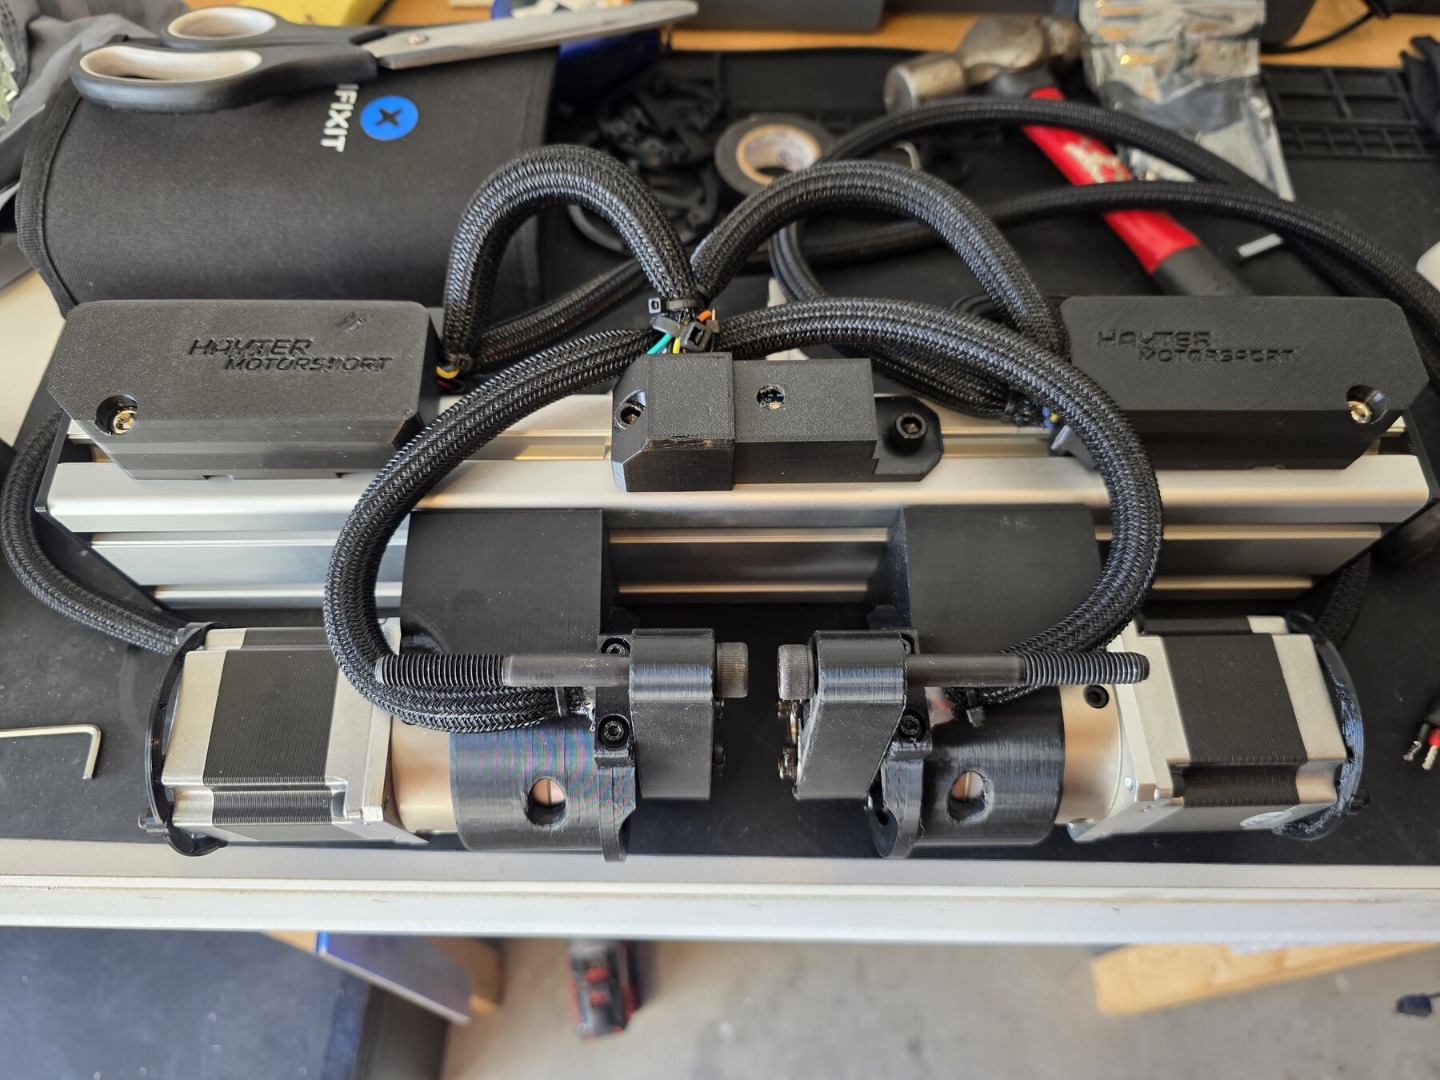
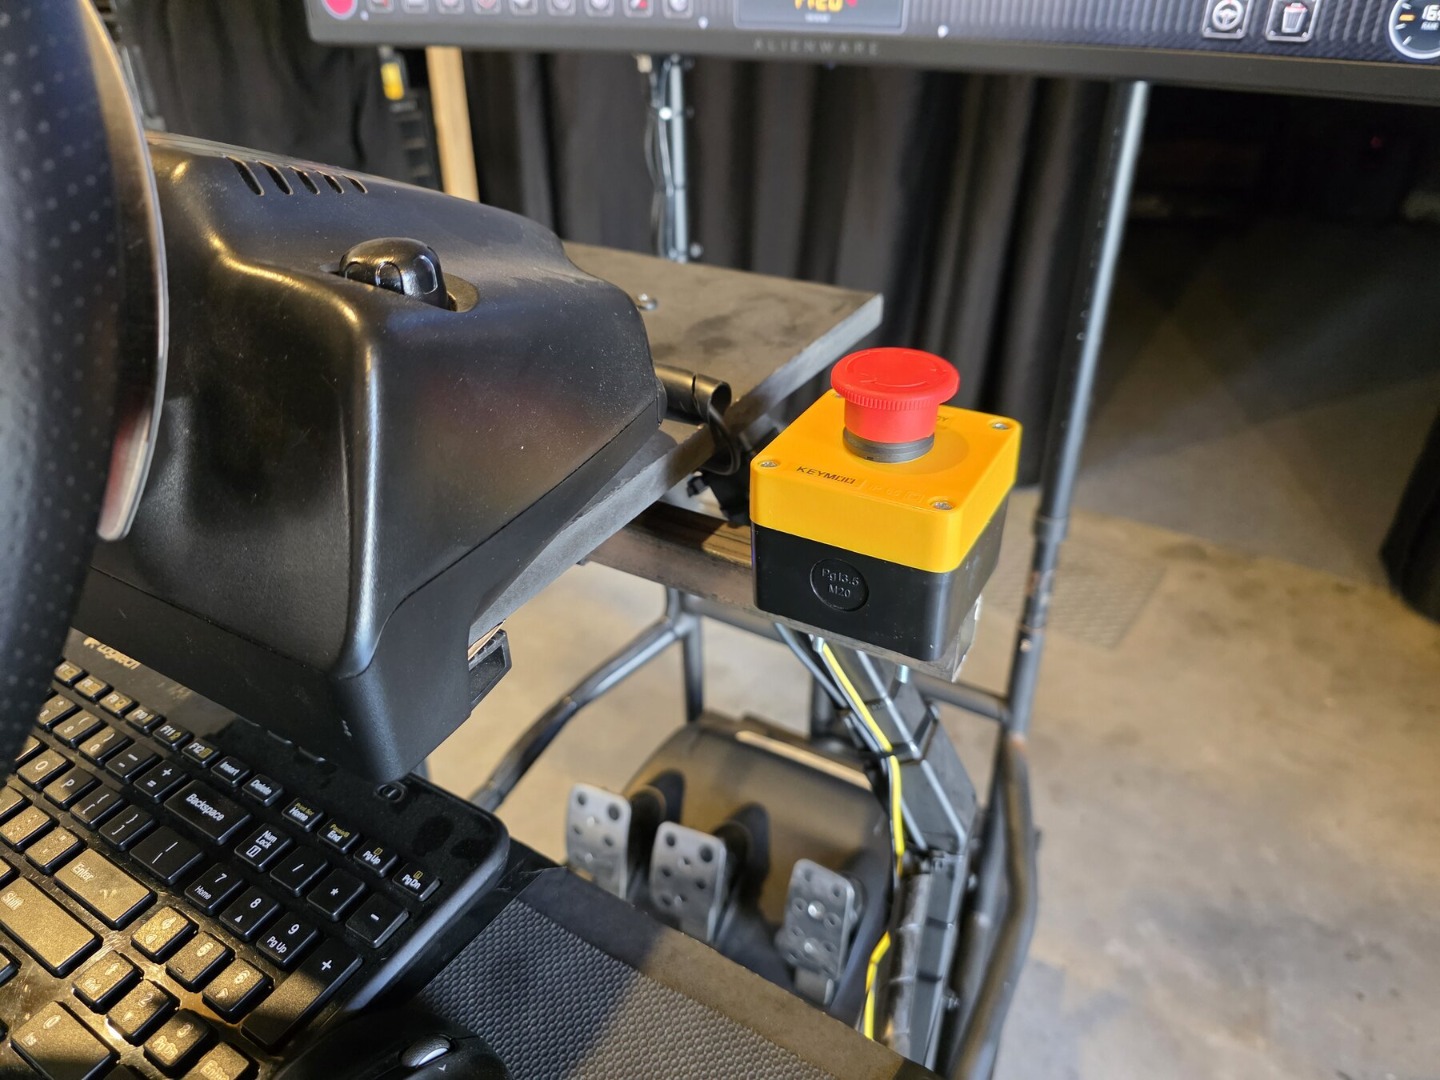
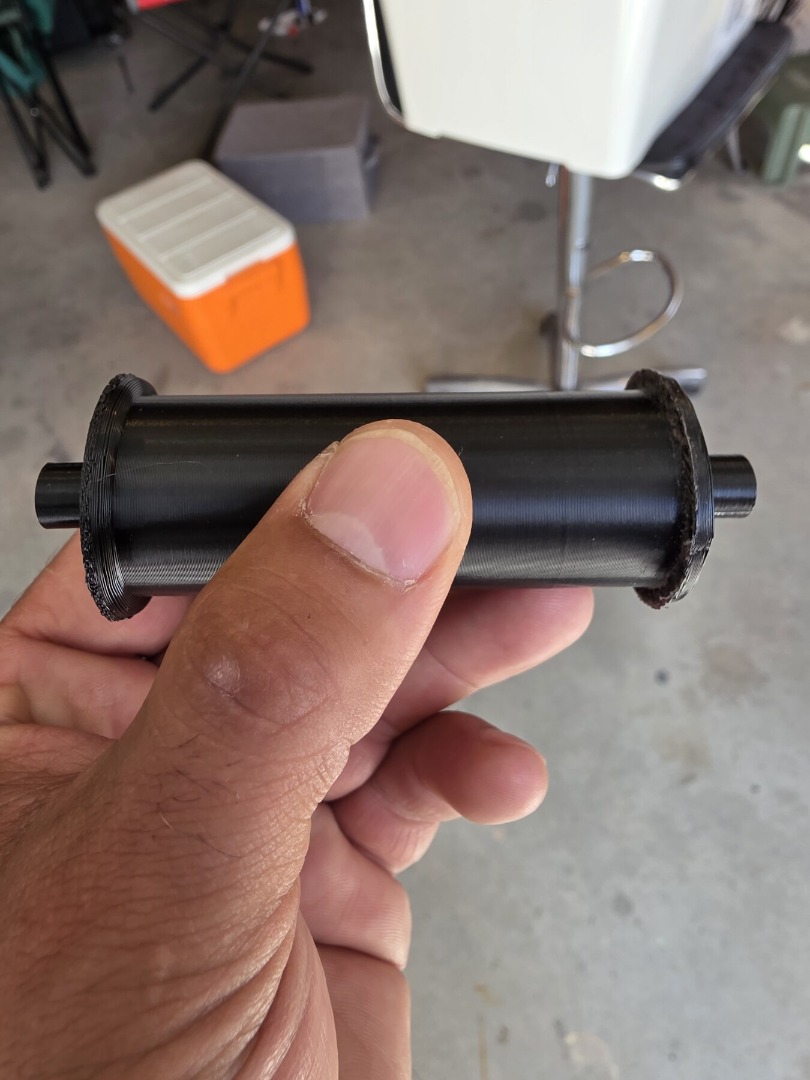
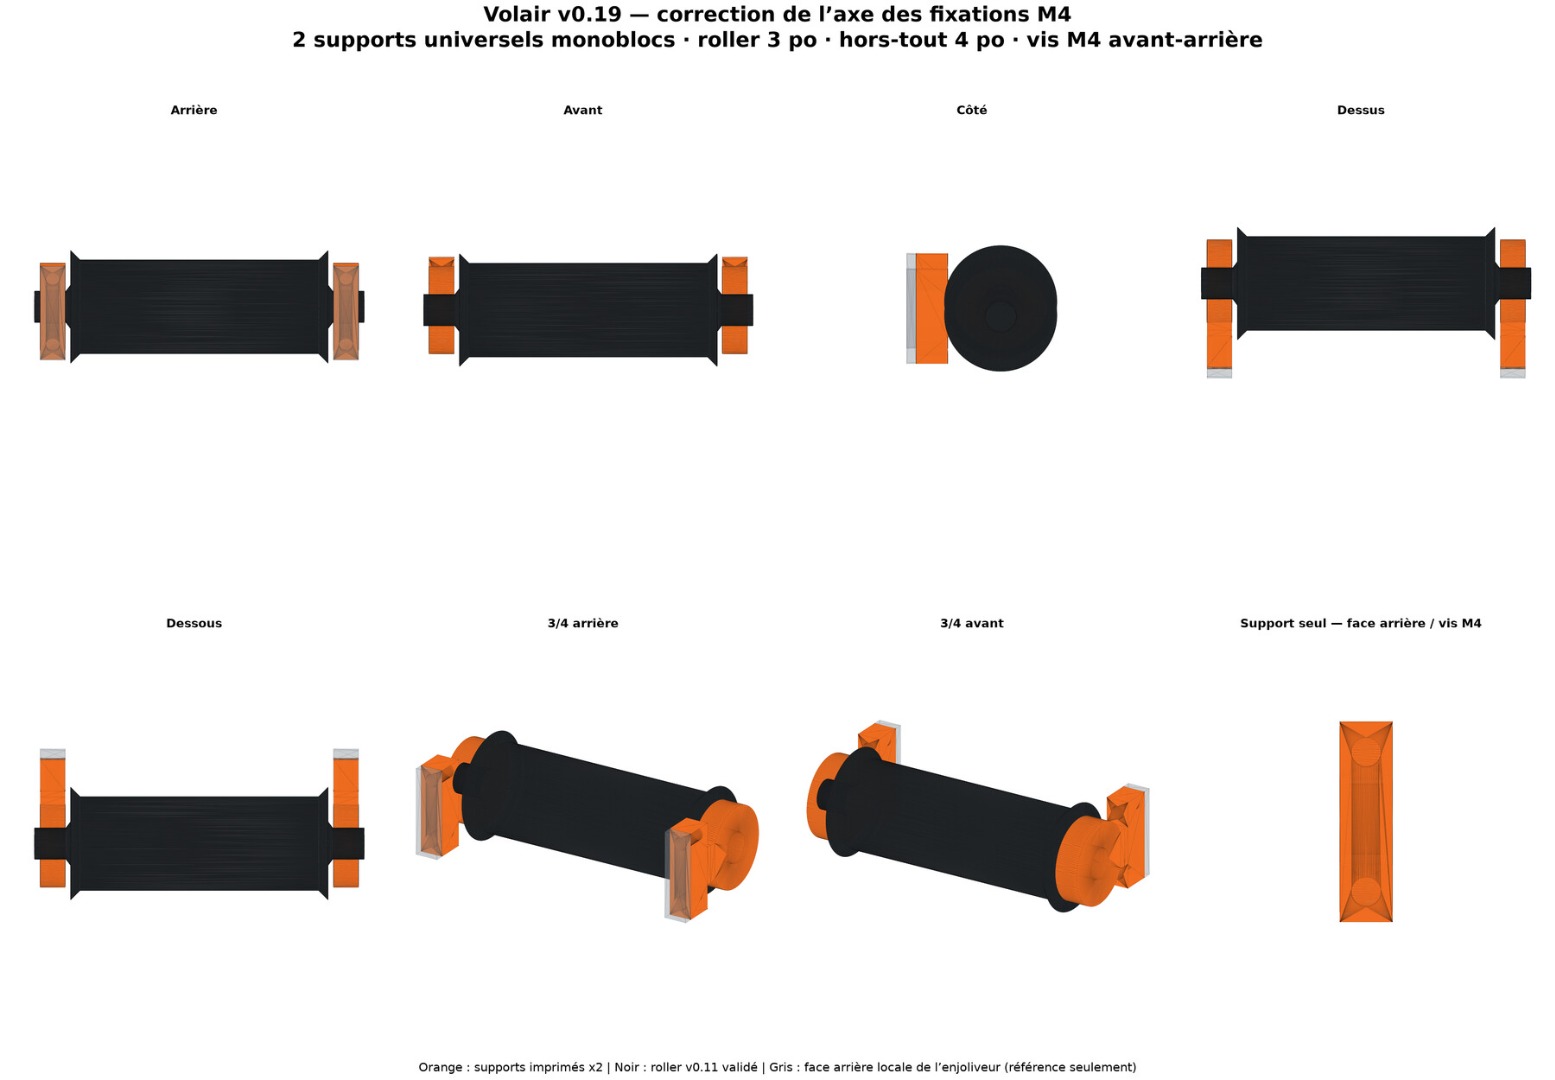
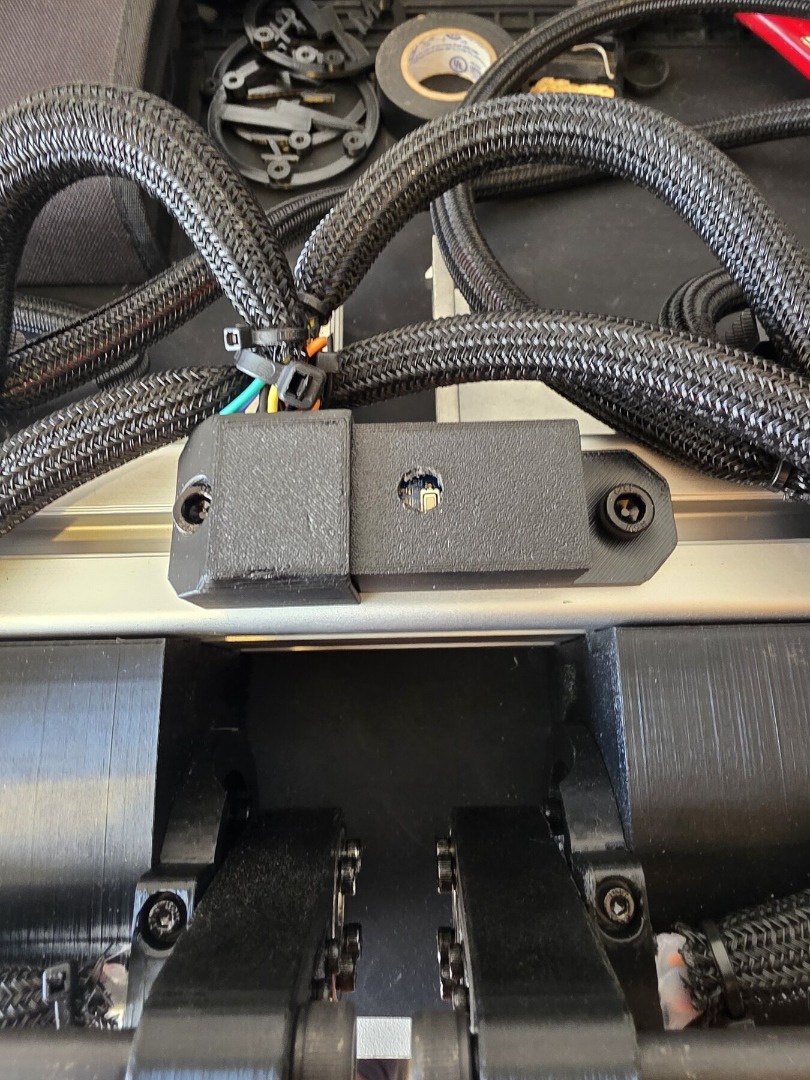
Hi everyone, After a long stretch of measuring, printing, rejecting parts, redesigning, wiring, calibrating and testing, my dual-motor SimHub belt tensioner is finally installed and working on my Volair rig. I wanted to share the journey because this project would never have happened without the work already shared by this community. First and most importantly, thank you: - Wotever, for SimHub and the original DIY Belt Tensioner design, guide, firmware and Motion Addon integration. This is the foundation of the entire build.- Mark T, for the cleaner mechanical redesign that became the basis of the version I followed.- Stuyo, for the excellent 75 mm / 3-inch harness adaptation, the updated parts, videos, cable covers, Arduino mount, universal roller work and all the practical inspiration shared on DIY-Sim.- Everyone in the DIY-Sim and SimHub communities who documents experiments, answers questions and makes ambitious projects like this approachable. My hardware - Two NEMA 23 motors with 15:1 planetary gearboxes- Two DM556S stepper drivers configured for 800 pulses per revolution- 48 V / 350 W power supply- Arduino Nano running the SimHub Motion Addon firmware- Two linear Hall sensors- 12 mm rigid steel flange couplers with four M4 face-mounting holes and a shaft locking screw- 75 mm / 3-inch harness- Hardware emergency-stop circuit- Bambu Lab P1S for all calibration coupons, prototypes and final printed parts Why this became more than a straight build My Volair cockpit and the exact hardware I received did not match every nominal dimension in the available files. Instead of forcing parts together, I treated each mismatch as a calibration problem. Some of the work included: - Measuring the real steel flange couplers and producing several fit coupons before modifying the lever interface.- Earlier in the build, adapting the second arm for my real M8 hardware, including a 13.5 mm captive-nut pocket.- Designing a custom rear 3-inch harness routing and roller solution for the Volair seat, using printed supports, steel M8 hardware and 608 bearings.- Printing more than twenty final functional parts, plus many coupons and rejected prototypes.- Reworking cosmetic and protective parts, including readable Hayter cable covers, a Nano cradle, DM556 cable covers and several finishing caps.- Using reinforced PETG settings for the load-bearing parts, generally with high wall counts and substantial infill, while keeping the parts printable without unnecessary support. There were plenty of lessons along the way: wrong clearances, a captive nut that was too tight, mirrored lettering, roller concepts that did not survive physical inspection, and several prints that were useful only as measurement tools. The Bambu P1S made iteration fast, but every final fit still had to be checked on the real rig. A flange failure that changed the final build Late in the project, the flange on the right-hand lever failed. I replaced it with one of these 12 mm rigid steel flange couplers (Amazon: https://www.amazon.ca/dp/B0DZXMRVQF). This replacement has four M4 face-mounting holes as well as a separate shaft locking screw. The new flange also let me go back to Stuyo's original lever, which was actually the first version I had printed. With this combination, I could properly install and tighten all four screws between the lever and flange, then tighten the separate retention screw against the gearbox output shaft. The previous flange model did not let me secure all of those fasteners correctly. This was an important correction, not just a cosmetic change. The final right-hand assembly is simpler, uses the original proven lever geometry, and has a much more complete mechanical connection than my earlier flange/lever combination. I recalibrated and retested that axis after the replacement before returning to normal use. Hall-sensor safety improvement During final in-game testing, I found an important edge case. The Hall sensors were used during calibration, but a lever could still travel past its Hall position during a normal return if the software position no longer matched the physical position. I added a local runtime Hall safeguard to the Motion firmware. While an axis is physically returning toward its calibrated Hall sensor, a Hall trigger now forces an immediate stop and re-establishes zero. I also kept the axis updates alive while the firmware waits for serial packet bytes, so Hall monitoring is not suspended by a partial packet. Both axes were recalibrated and tested individually, together, and during a normal return from 15% travel. The firmware produced one Hall safety stop per axis, and both levers stopped sharply at the sensors without travelling toward the seat. This was then confirmed again in game. This is still a software safeguard, not a substitute for a real emergency stop, careful mechanical limits and progressive testing. SimHub setup and result I am using the SimHub Motion Addon with a custom profile called Belt - Tensionner Hayter. The controller currently runs at 4,000 steps/s and 20,000 steps/s². The profile combines belt Surge, Sway and Heave with haptic suspension, traction-loss, kerb, gear-change and ABS effects. The finished system has now been tested under load and in Project CARS 2. Braking pull, cornering balance, road texture, kerbs, gear changes and ABS are all coming through clearly. Most importantly, both levers always return rearward and stop at their Hall sensors. The emergency stop, temperatures and extended operation have also been checked on the physical rig. The result genuinely adds another layer of immersion. Feeling the harness tighten under braking and change left-to-right through a corner is completely different from vibration alone. I used an AI-assisted engineering and documentation workflow to keep track of measurements, CAD revisions, print parameters and test evidence, but every fit, movement and safety decision was validated on the physical hardware before I considered it finished. I will add photos of the components, calibration work, printed adaptations, roller development, electronics, final assembly and installed system below. If anyone is interested, I am happy to share more details about my original Volair adapters, print settings and runtime Hall-safety changes where the relevant licences allow it. Thank you again to Wotever, Mark T, Stuyo, SimHub and the whole DIY-Sim community. Your work turned a pile of motors, drivers, filament and hardware into one of the most satisfying upgrades I have built for my simulator. David Gagné
Attachments:
Please Log in or Create an account to join the conversation.
Time to create page: 1.788 seconds